Ball Toy Spinner for Cats
- Arrives in 2 to 7 business days Printed in Auckland. $10 shipping, free over $75
- 14-day faulty refund If it arrives broken or misprinted, we reprint or refund it
- Secure checkout Card payments handled by Stripe
- Material
- High-Detail Resin (8K)
- Colour
- Grey
- Weight
- ~112 g
- Express shipping
- $20
More information
Description & Functions
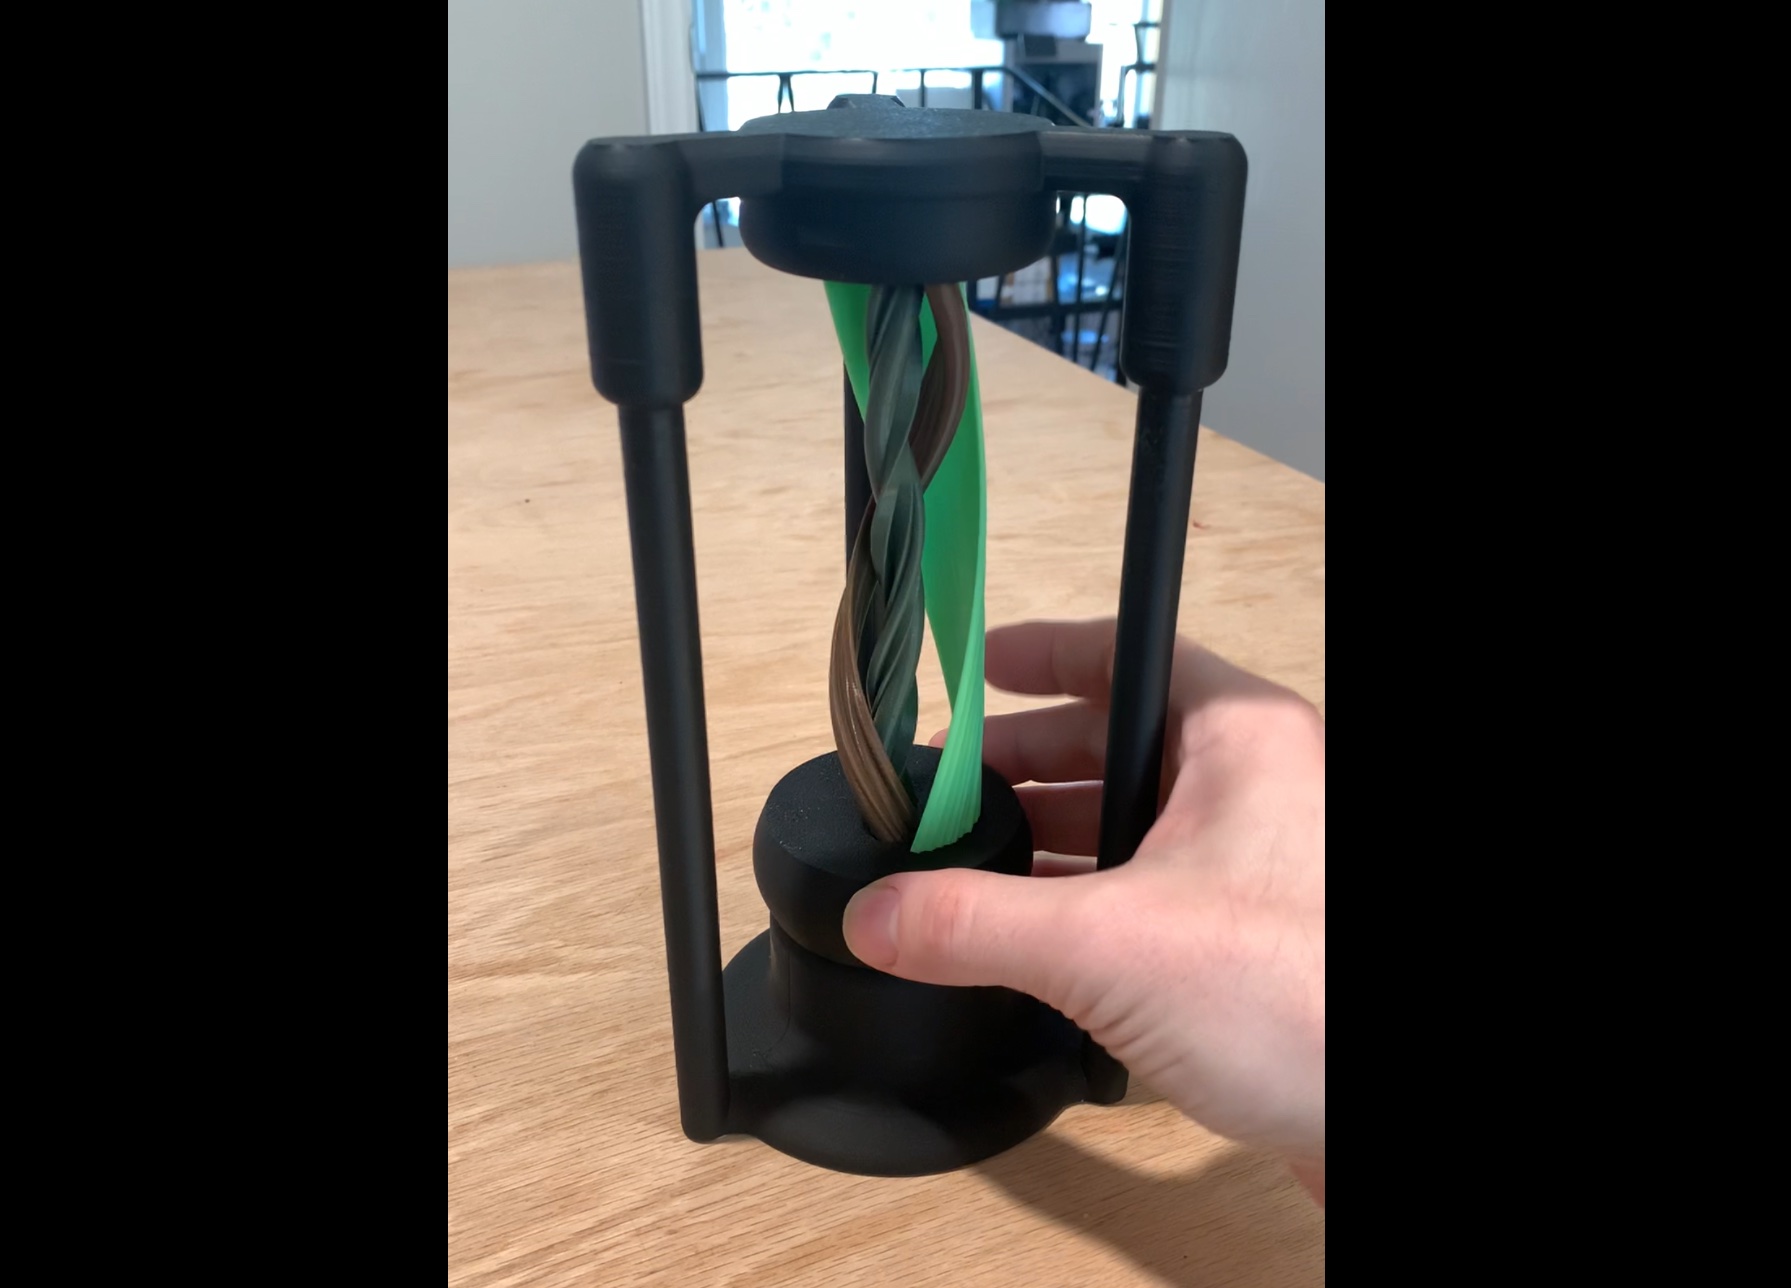
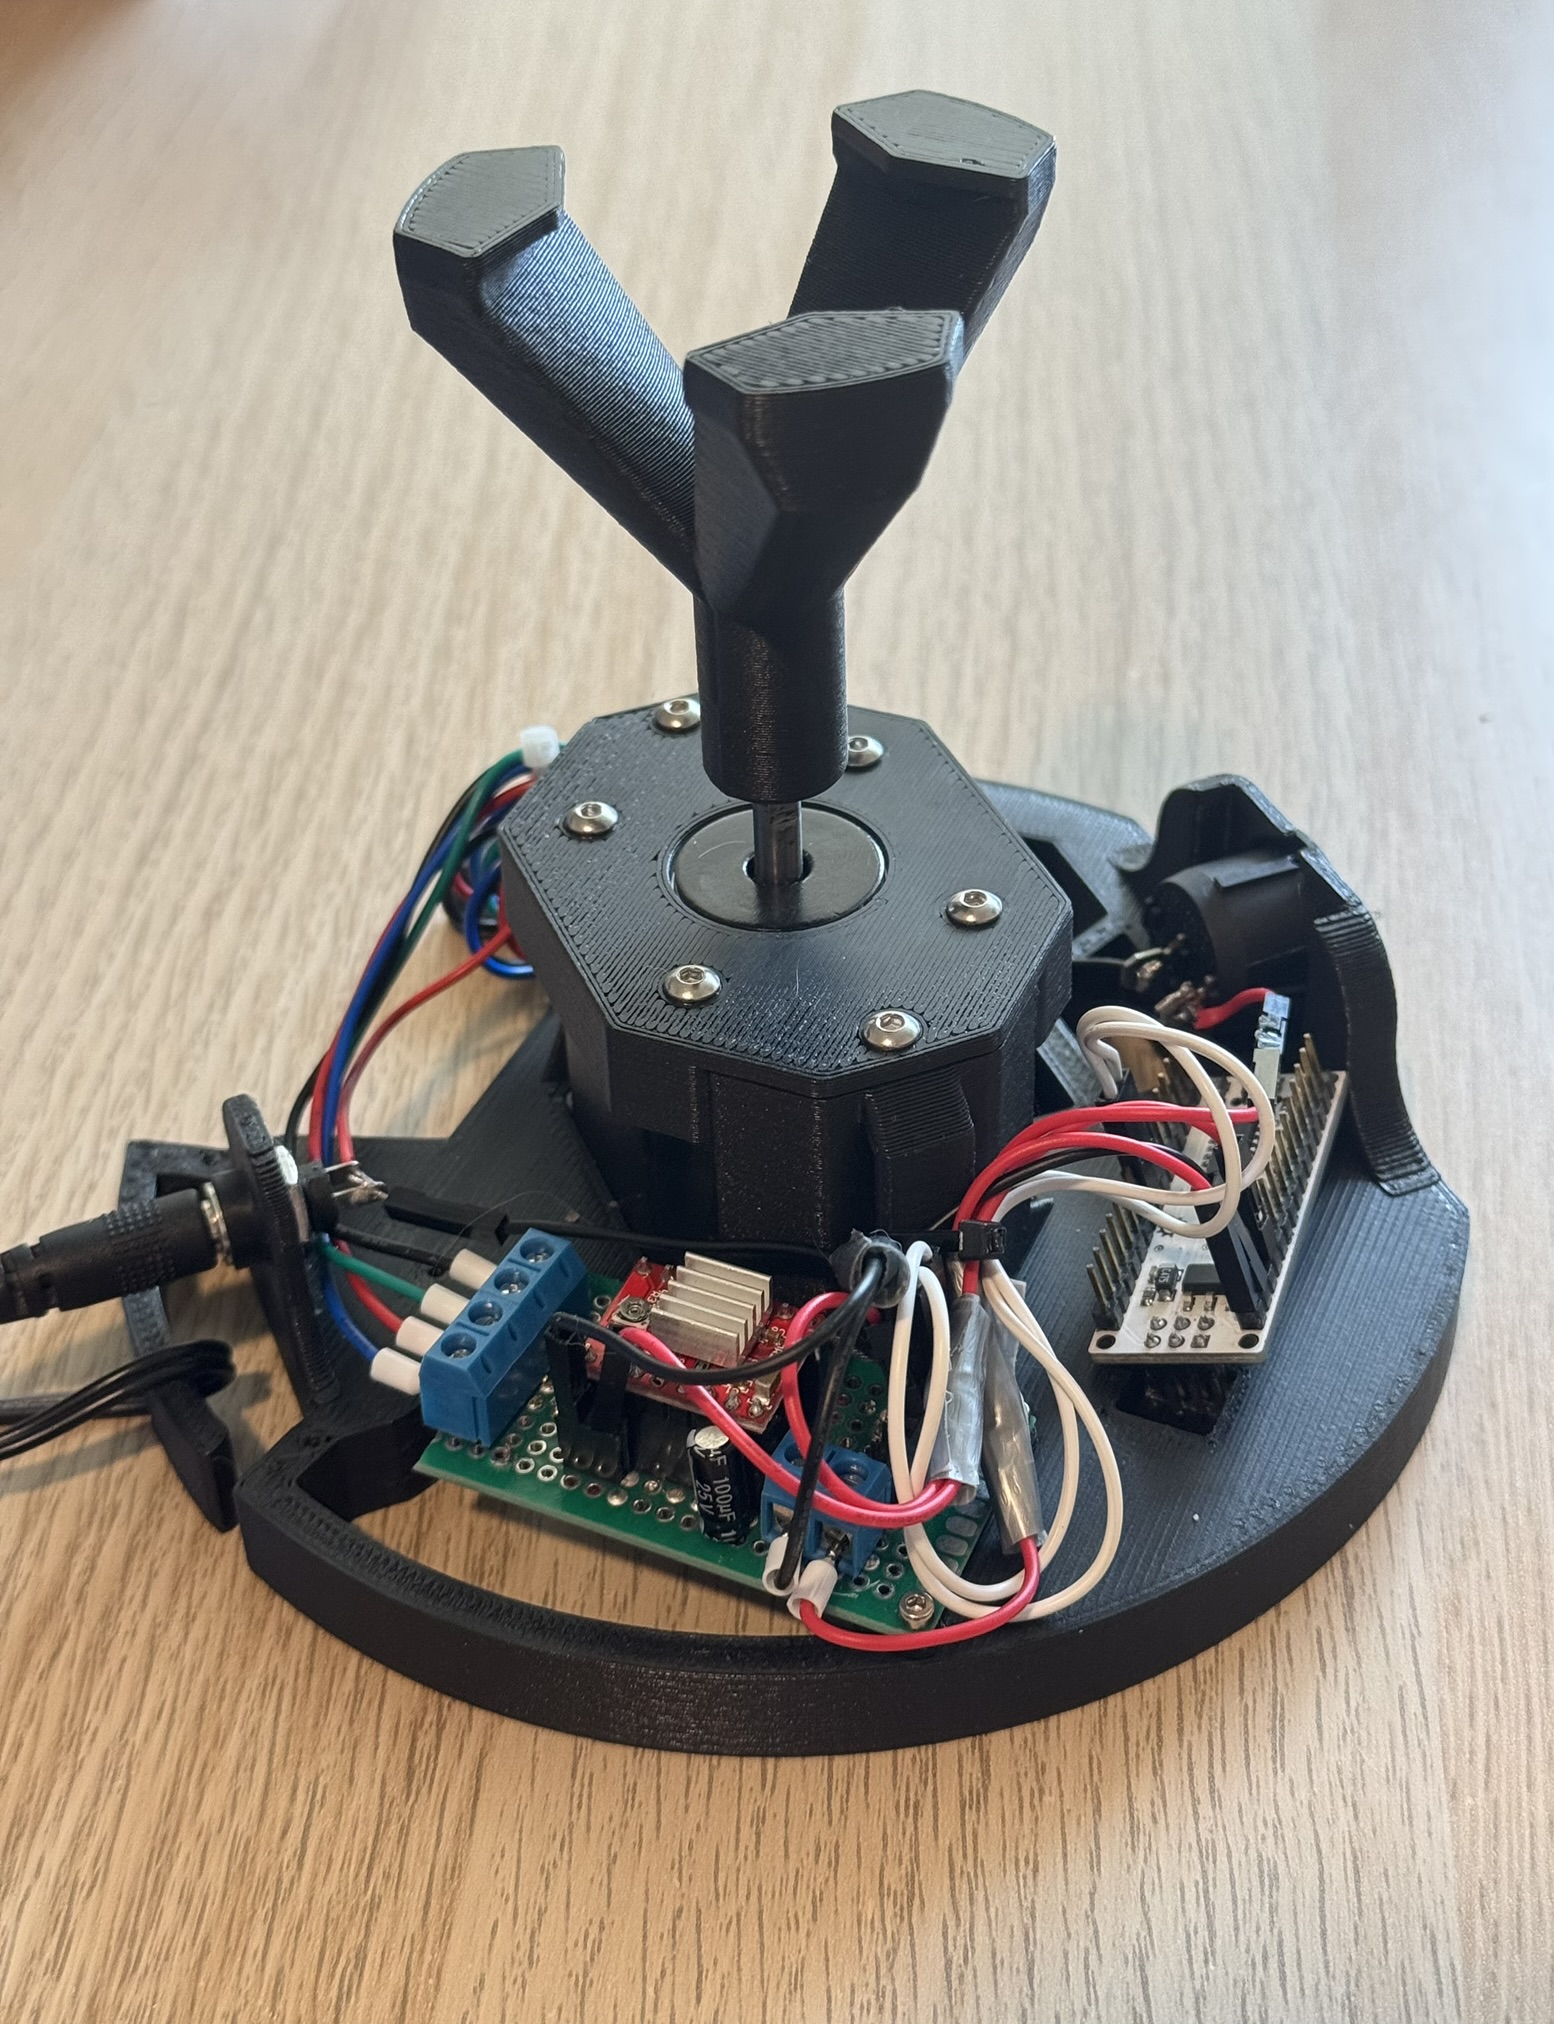
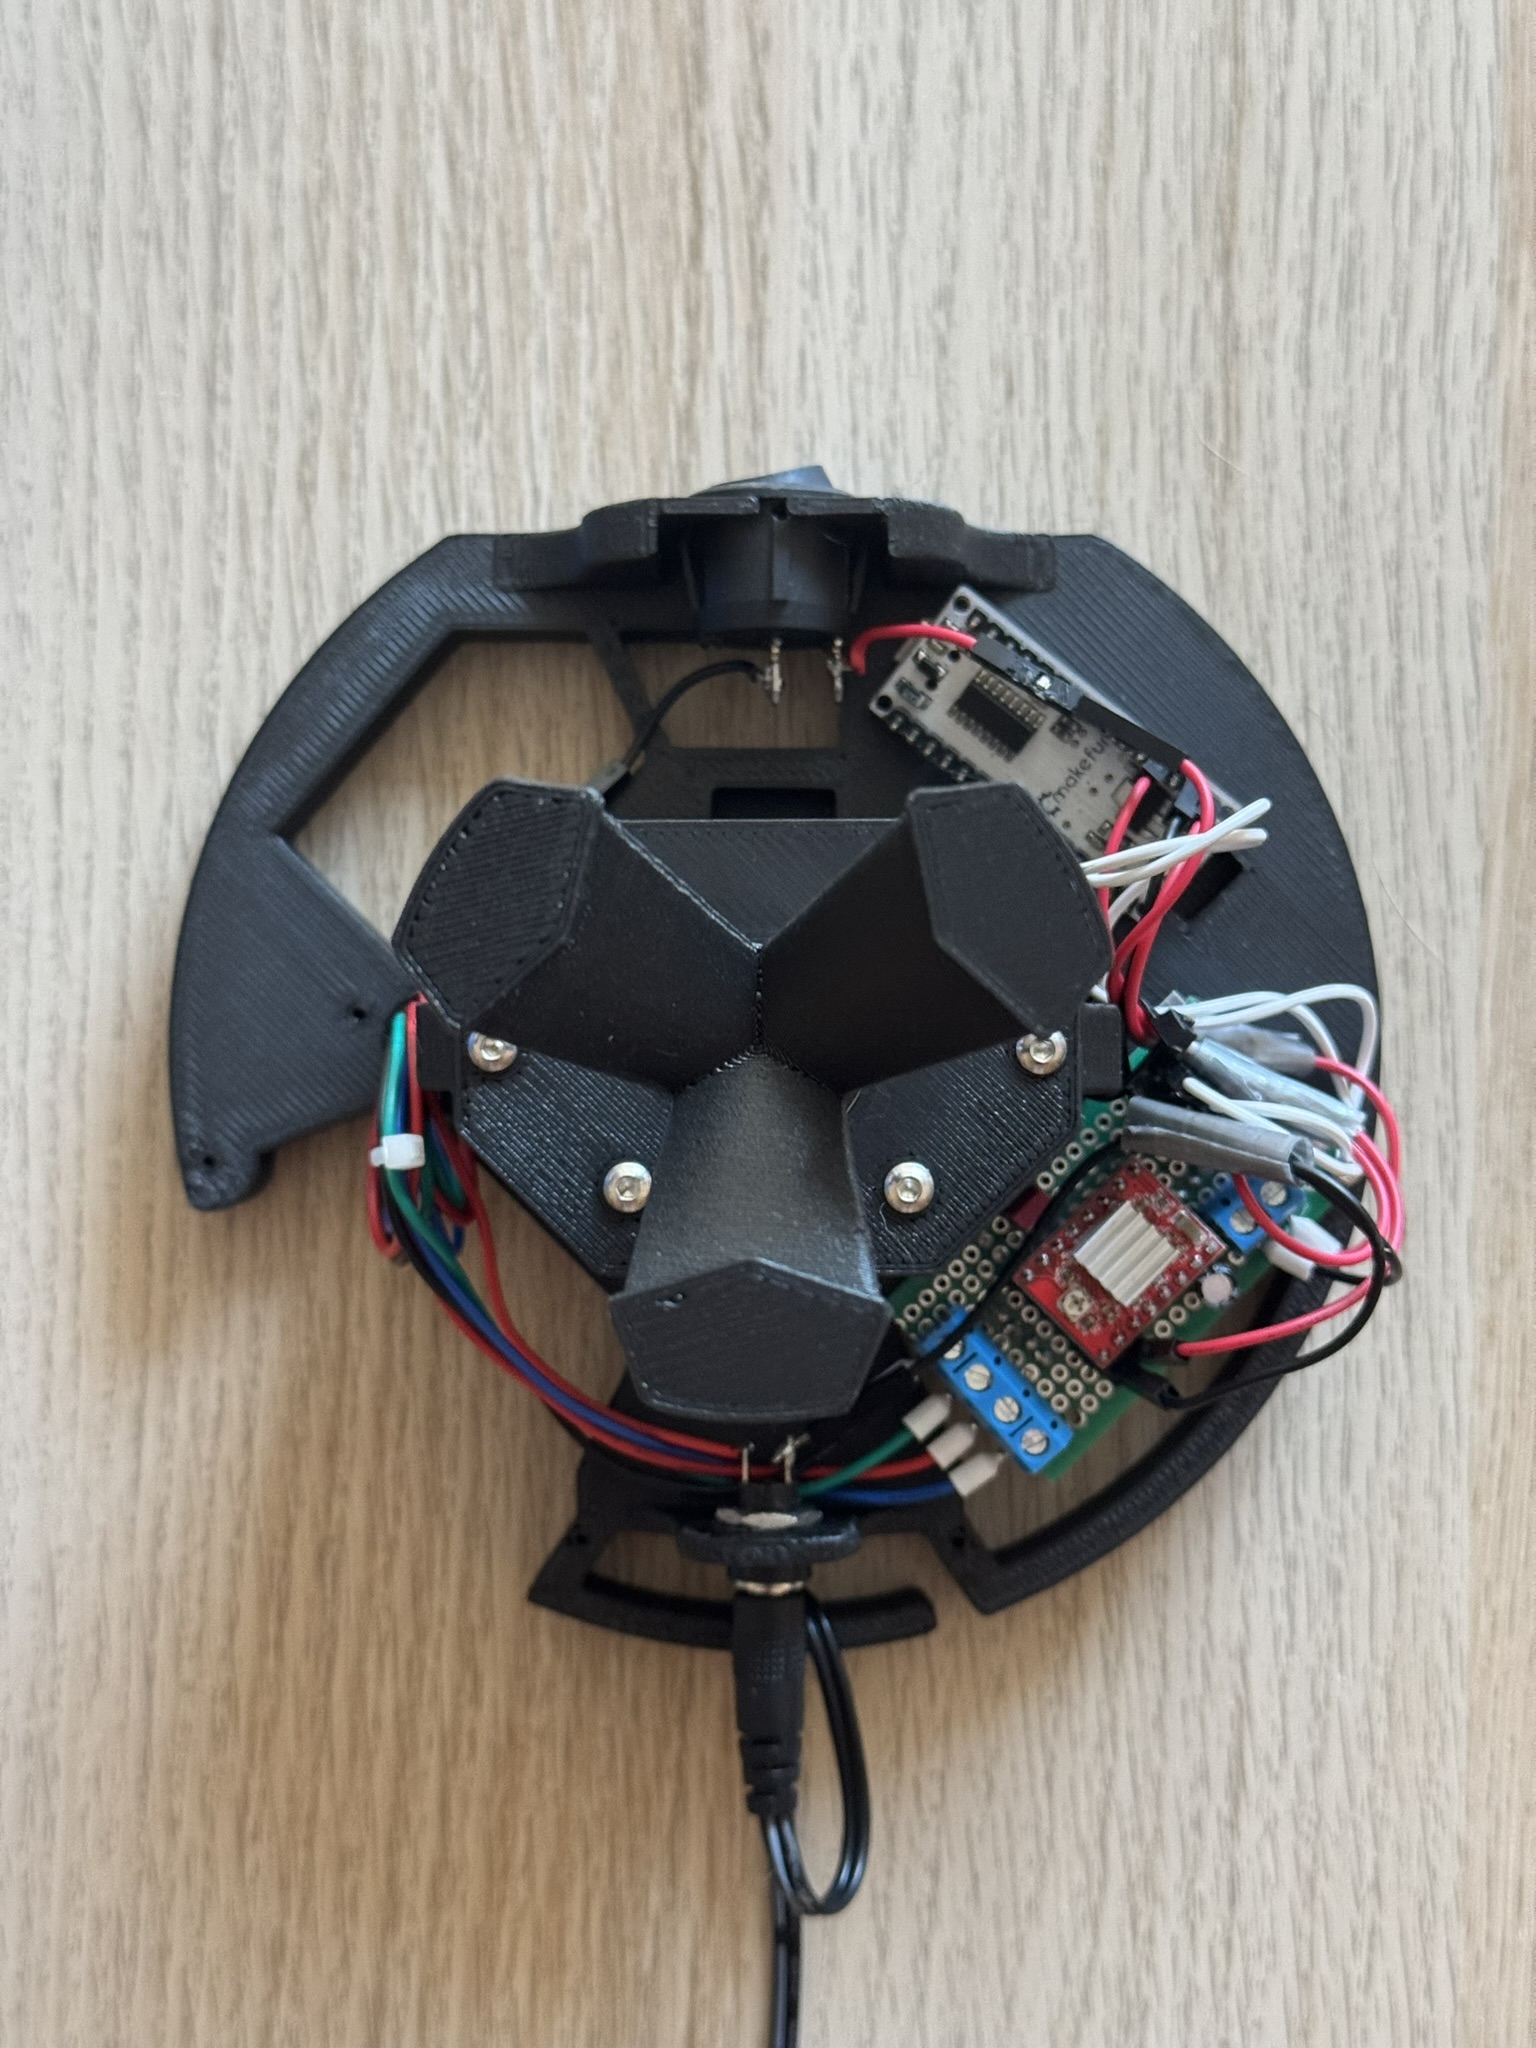
This device is designed for use with the “Vibrant Life Triple Chase 3 Tier Tower Interactive Ball Toy for Cats” (see picture). I made this for my cat Walter, but maybe someone else will find it useful! A motor sits inside of the toy and spins it around at random intervals and speeds, making several minutes of fun for your cat! It uses an Arduino Nano running some basic randomization code.
Hardware and Software
Here's my hardware list:
• 1x Cat Toy (~$10) • 3x Printed Parts • 6x M3x5 BHCS • 1x Arduino Nano (any small enough board will do) • 1x Nema 17 Stepper Motor (up to 47mm) • 1x Polulu A4988 Stepper Motor Driver board • 1x Barrel Jack + 9V Power Adapter • 1x Toggle Switch (optional) • 24 AWG wire + soldering iron • DuPont connectors • Zip ties
For software, I used PlatformIO, Wokwi, VS Code, Autodesk Fusion, PrusaSlicer, and OctoPrint, but you will only need Arduino IDE and a slicer to make it yourself.
Wiring Diagram & Code
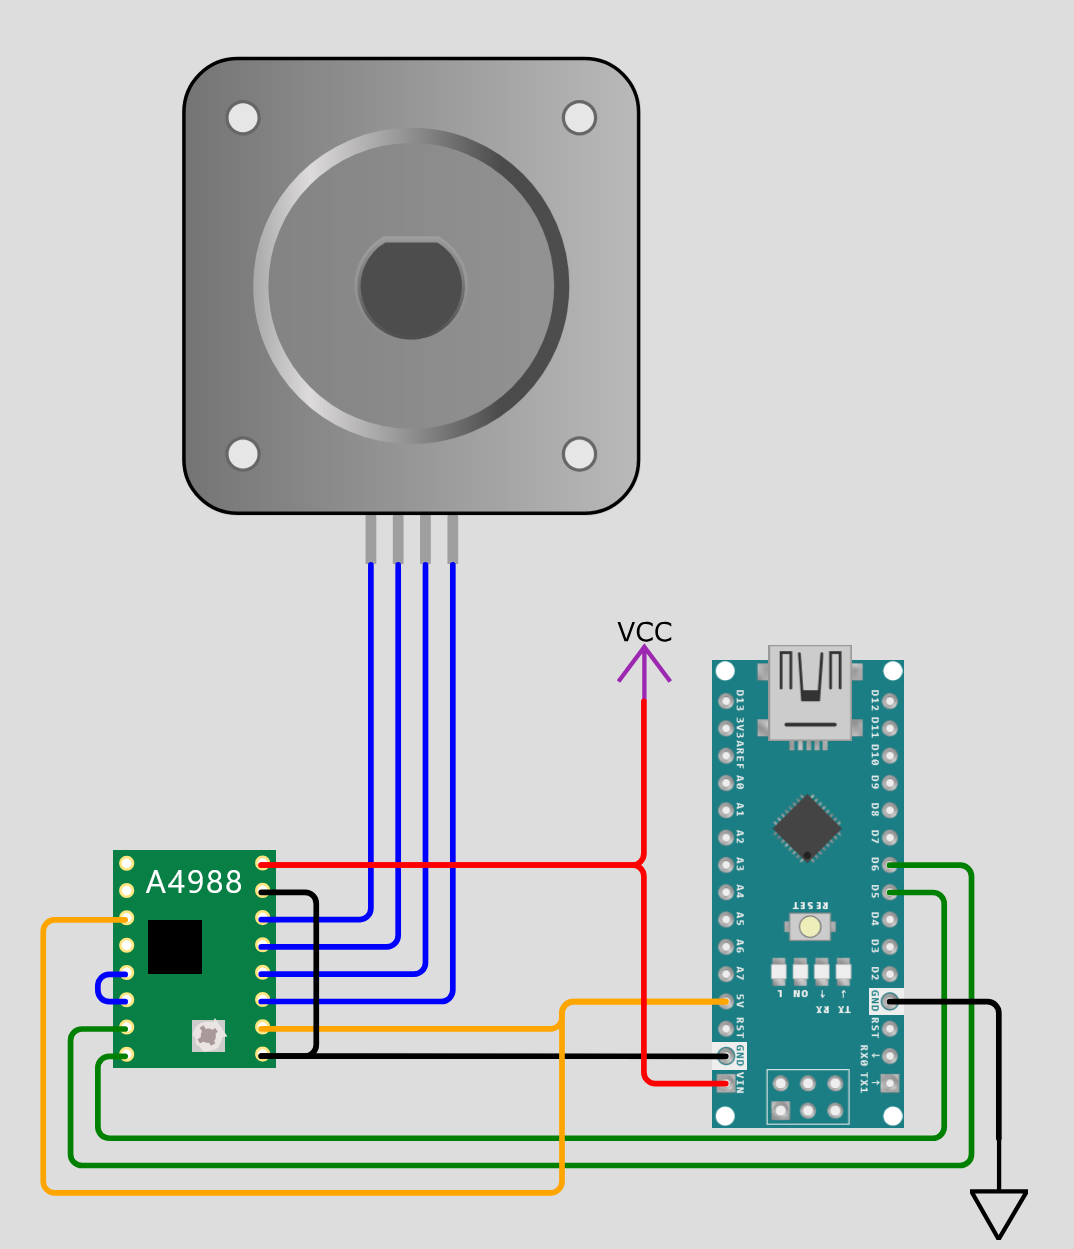
• The wiring diagram can be found in the project images. • The code ('main.ino') can be found under the “Other Files” section of the project.
Printing Instructions
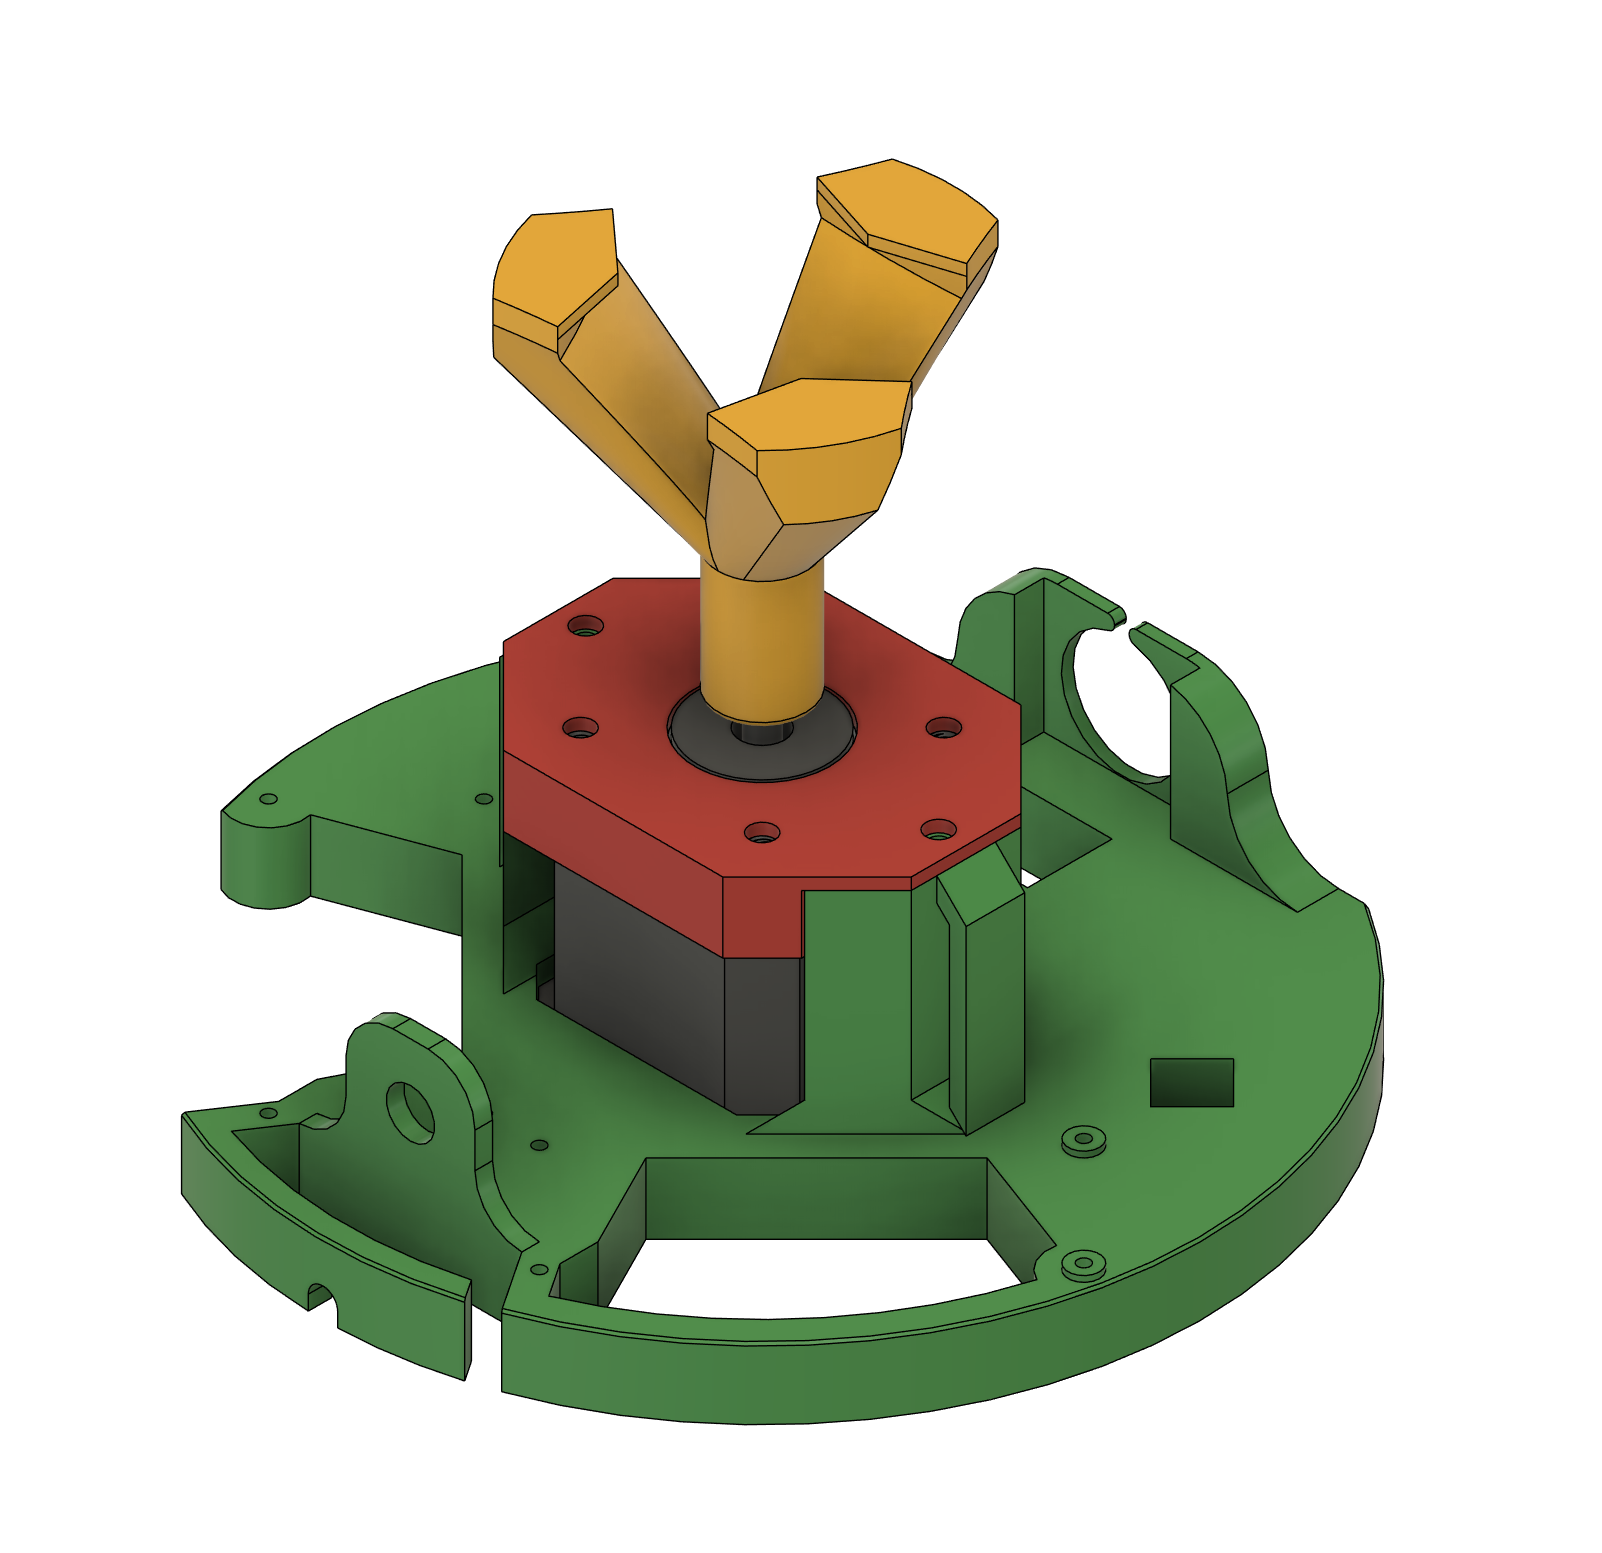
• You can print all parts in PLA or PETG on a 0.2-0.3mm layer height preset. I recommend at least 15% infill. • No supports are required, but the “Motor Flange” and “Spinner Attachment” will need to be flipped over to be printed.
Assembly Instructions
• Attach the motor flange to the stepper motor with 4x M3x5 screws. • Fix the motor flange to the base with the remaining screws. • Assemble the electronic circuit affix it to the base (you could use double-sided VHB tape). Personally, I built a small PCB with prototyping board and screwed it to the base with 2x M2 screws. • Place the spinner on the shaft of the motor.
Usage & Troubleshooting Tips
• Turn on the device and place the cat toy on top of it. The spinner will engage with toy, causing the balls to roll around! • If the motor doesn't spin, make sure you followed the wiring diagram exactly. The RST pin on the A4988 must be connected to SLP, and MS2 should be connected to VDD. • If the power cable gets in the way of rotation, route it underneath the base. There is a small cutout for the cable on the edge to hold it down to the floor.
Closing
Thanks so much for reading! If you made one, consider showing it to me with a Make! (I want to see your cats).
Design and description by Bri's Prints , licensed CC-BY.
Frequently asked
How long does shipping take?
Ball Toy Spinner for Cats is printed to order. Lead time is typically 1-3 business days plus 1-4 days NZ shipping. Standard NZ shipping is $10, free over $75.
What material is this printed in?
By default this is printed in High-Detail Resin (8K) at 0.025 mm layer height on an MSLA resin printer. Custom material and colour swaps are available, just leave a note at checkout.
Can I get this in a different colour?
Yes. Every product can be printed in any of the resin colours we stock, or hand-painted on request. Leave a note at checkout or email [email protected].
Do you ship outside of New Zealand?
Currently New Zealand only. Australian shipping is coming.
Who designed this?
Designed by an independent sculptor and licensed for commercial printing. The original is linked on this page.