
Caroma Dual-Flush Button Replacement (Part #772135)
- Arrives in 2 to 7 business days Printed in Auckland. $10 shipping, free over $75
- 14-day faulty refund If it arrives broken or misprinted, we reprint or refund it
- Secure checkout Card payments handled by Stripe
- Material
- High-Detail Resin (8K)
- Colour
- Grey
- Weight
- ~37 g
- Print time
- ~2 h
- Express shipping
- $20
More information
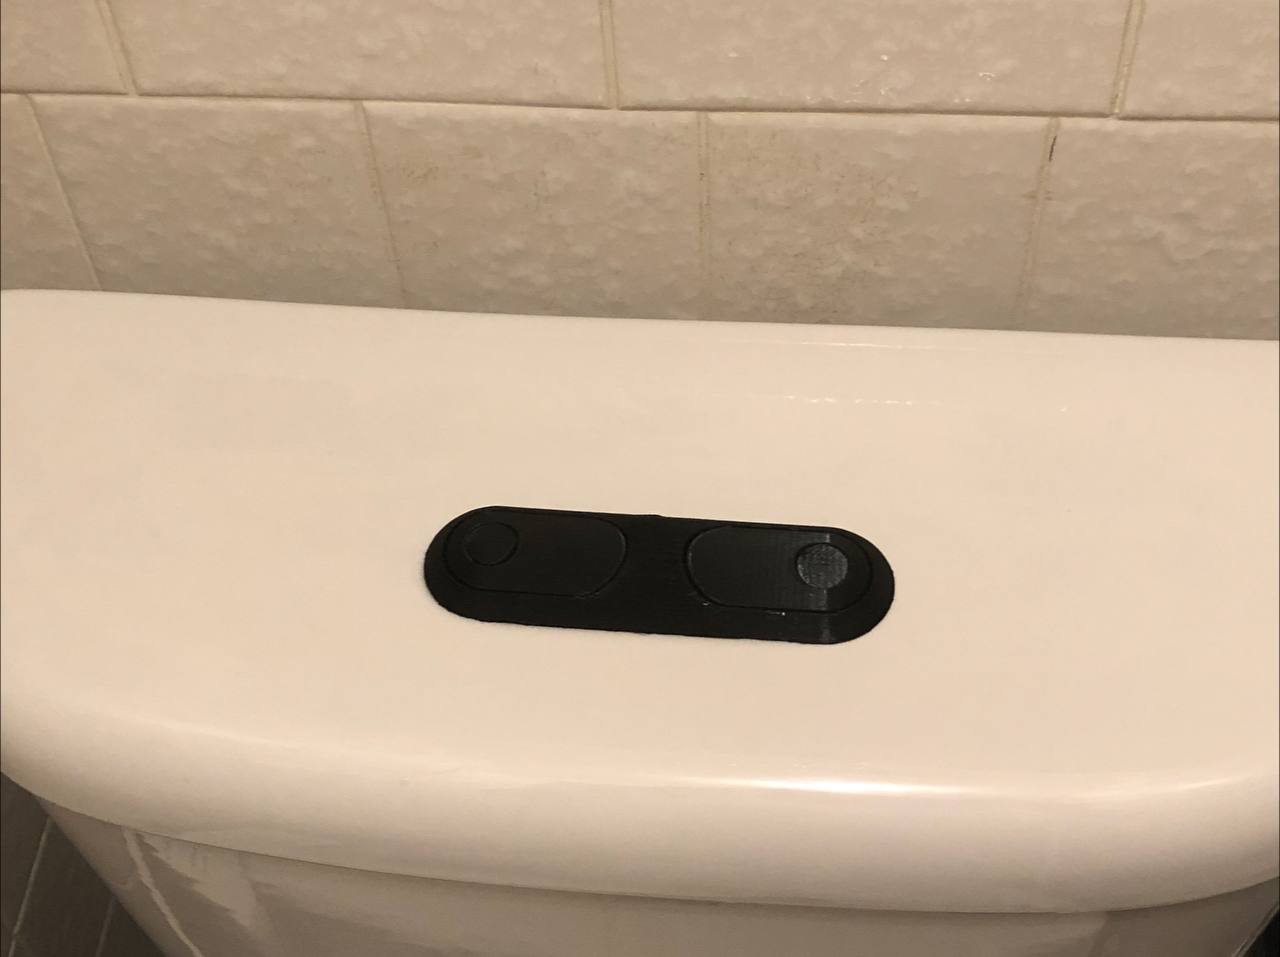
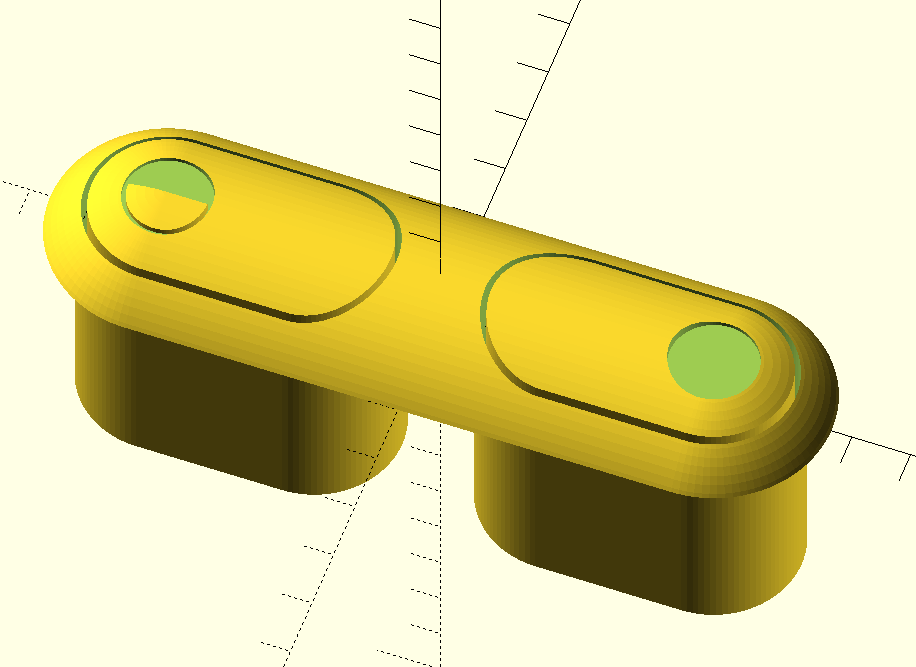
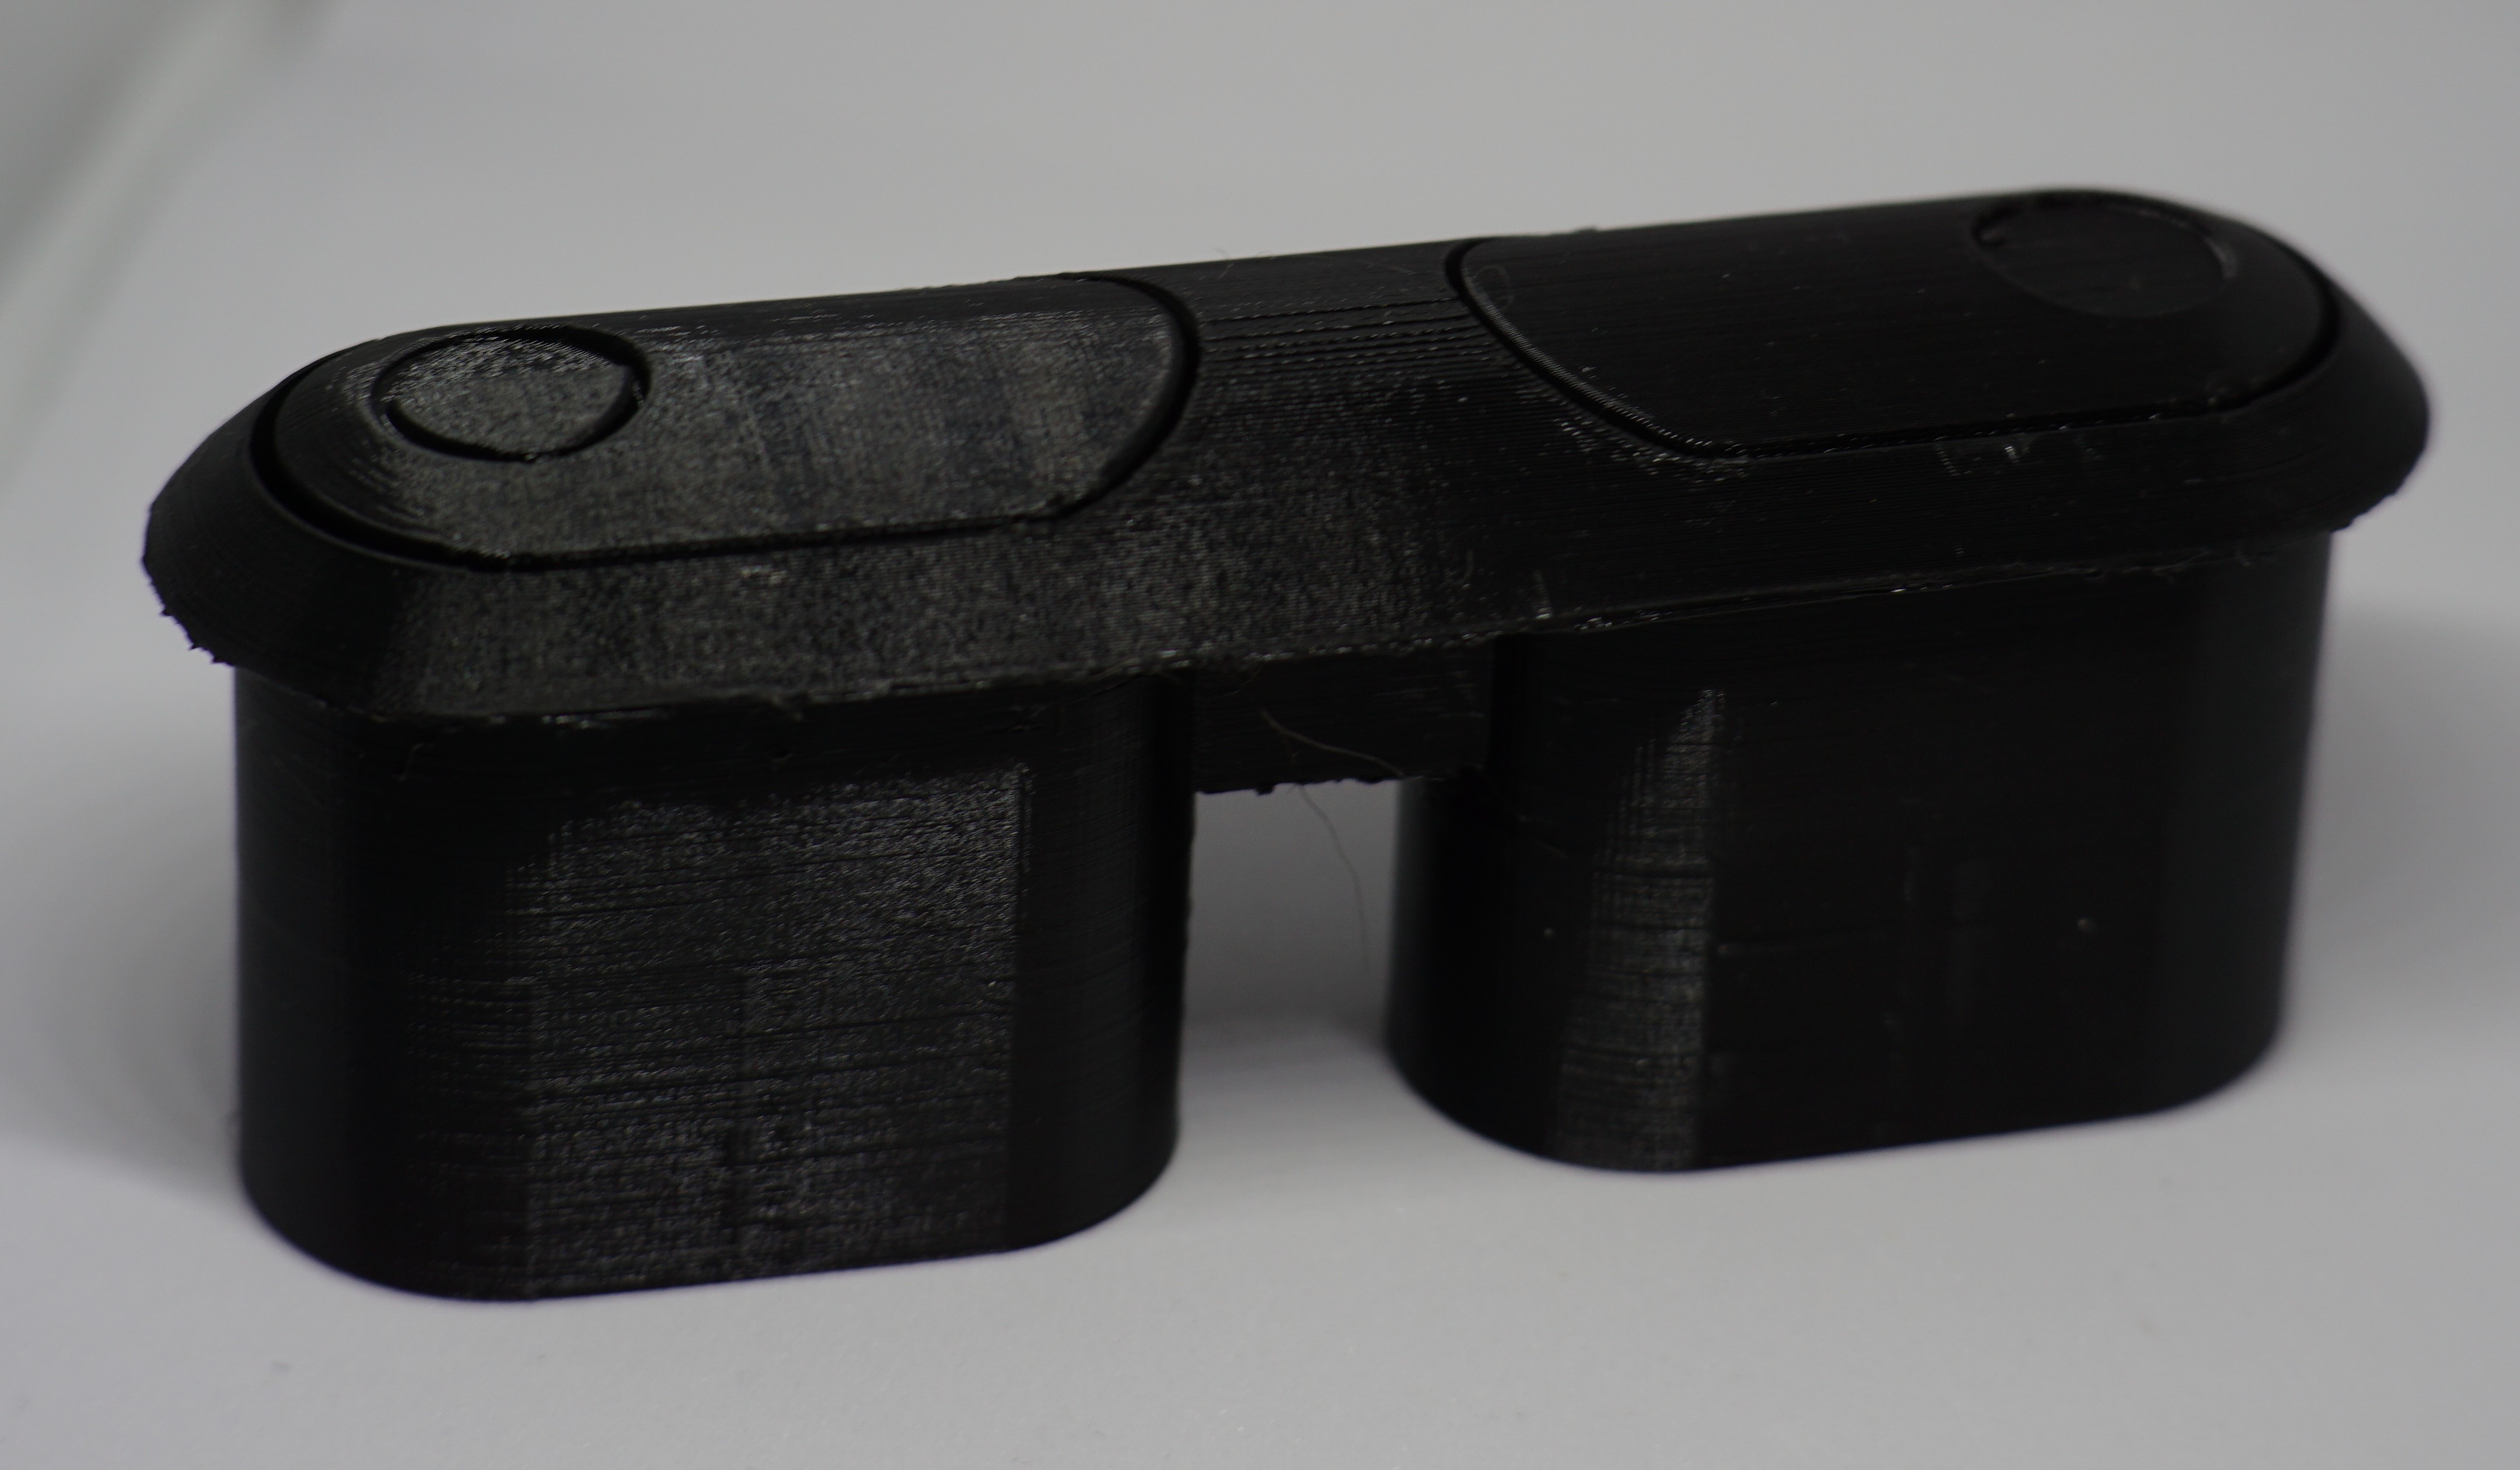
In humid environments, the springs inside the dual-flush buttons for Caroma toilets can rust, causing the buttons to stick in the down position. This model is a replacement of the entire push-button assembly that can be used in place of the original buttons.
Parts Needed
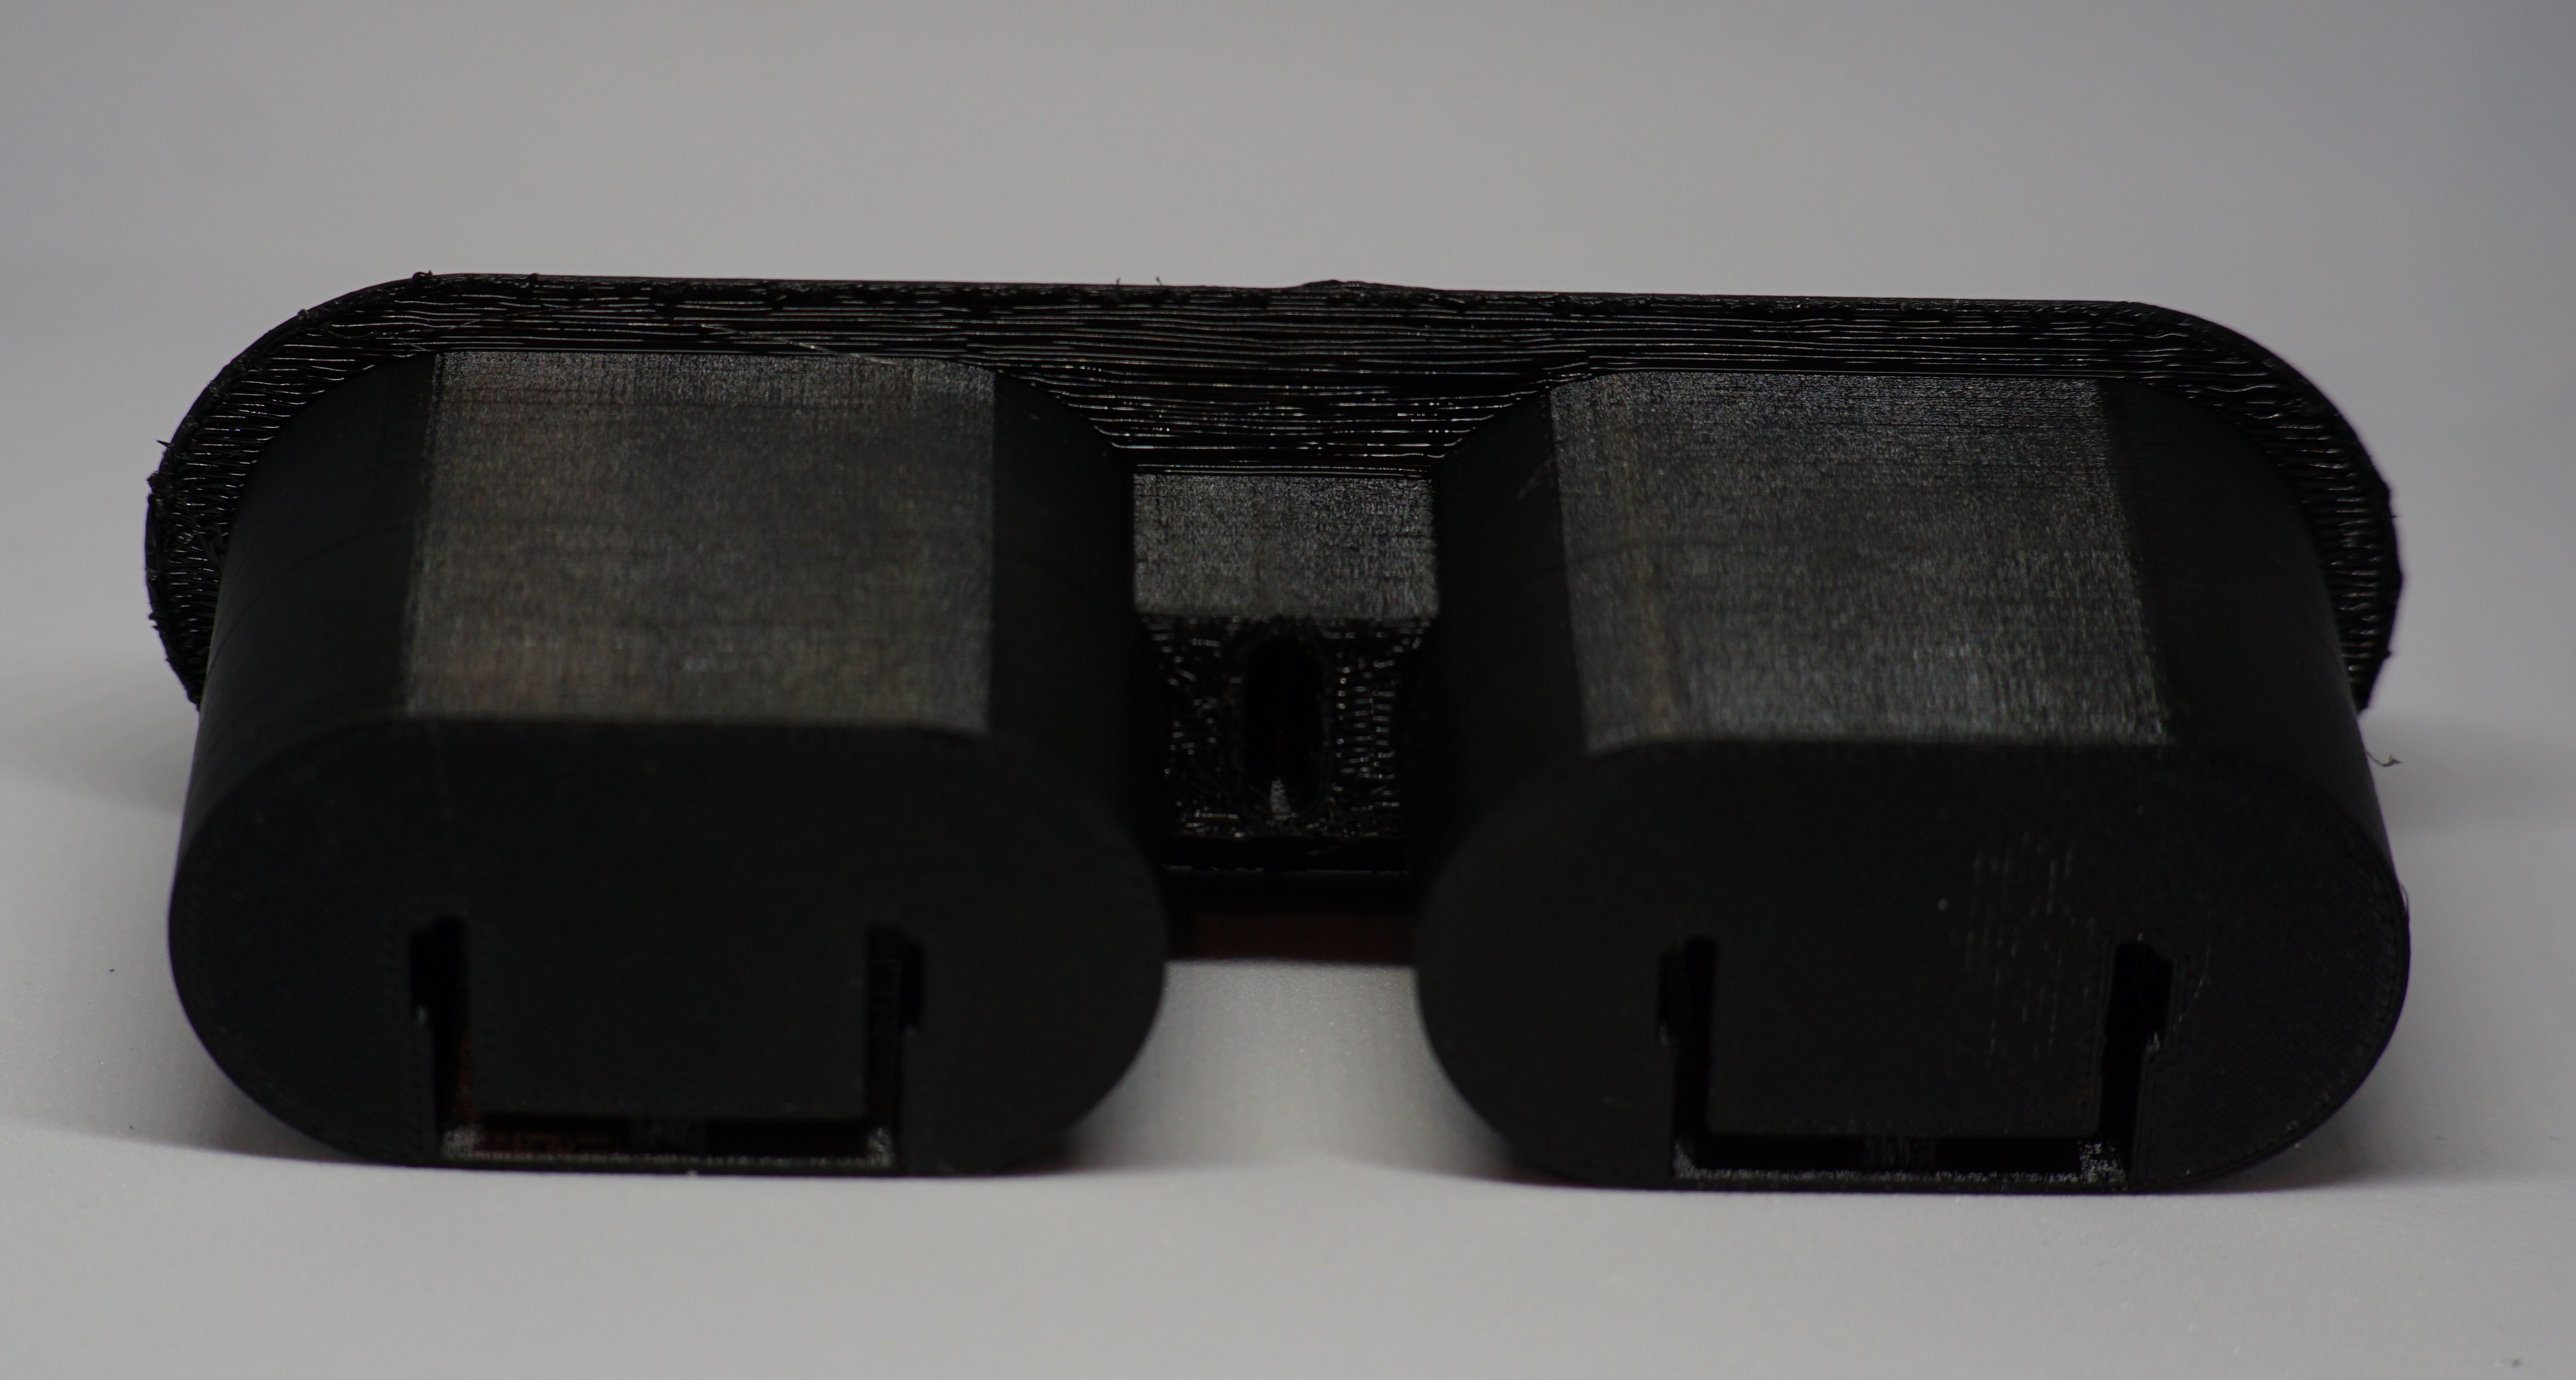
To assemble this, you'll need two compression springs that are 35 - 40mm long (free length), and no more than 9.22mm in diameter. Compressed length needs to be 20mm or shorter. To have a reasonable resistance, you're going to want a spring that provides roughly 0.3 N/mm to 0.6 N/mm. Resistances outside this range will probably work, but may be too soft or too stiff for regular use.
See https://www.amazon.com/dp/B005S4I8K2/ and https://www.amazon.com/dp/B076LTYY69/ for examples of suitable springs.
Printing
If your slicer supports variable layer depths, you can print the vast majority of this part at 0.3mm. However, since the crown portion that is visible is curved, you're going to want to adjust layers to be as high a resolution as possible for just that part of the print.
For reference, when I take this approach, I can print the frame and both buttons in exactly 6 hours using a Prusa MK3s.
You will want to print the frame upright, and the buttons lying down on the plate. All parts need supports to print properly.
These print and work just fine in PLA (which is what I used for my prototyping), although I would recommend the use of PETG for longevity, since PLA can become weak in consistently wet environments.
Assembly
Once printed, insert the springs into the round holes at the bottom of the frame, then line the buttons up and push them in. You'll have to push really quite hard to get them to insert all the way. Once they reach the bottom, they should snap into place and move freely.
Be careful: once inserted, the buttons are extremely difficult to remove without destroying the buttons and/or the frame. In particular, make sure you are inserting the correct button on the correct side of the frame: they will fit in backwards, but look really bad.
Installation
Once assembled, flip the toilet lid over and remove the screw that secures the old button assembly. Slide the replacement in place, and use the same screw to secure the new buttons.
The flush assembly inside Caroma toilet tanks has a couple of screws that can be used to adjust the height of the surface that the buttons push on. You may need to adjust them up or down slightly to match the new assembly.
Design and description by Adam Roach , licensed CC-BY-SA.
Frequently asked
How long does shipping take?
Caroma Dual-Flush Button Replacement (Part #772135) is printed to order. Lead time is typically 1-3 business days plus 1-4 days NZ shipping. Standard NZ shipping is $10, free over $75.
What material is this printed in?
By default this is printed in High-Detail Resin (8K) at 0.025 mm layer height on an MSLA resin printer. Custom material and colour swaps are available, just leave a note at checkout.
Can I get this in a different colour?
Yes. Every product can be printed in any of the resin colours we stock, or hand-painted on request. Leave a note at checkout or email [email protected].
Do you ship outside of New Zealand?
Currently New Zealand only. Australian shipping is coming.
Who designed this?
Designed by an independent sculptor and licensed for commercial printing. The original is linked on this page.