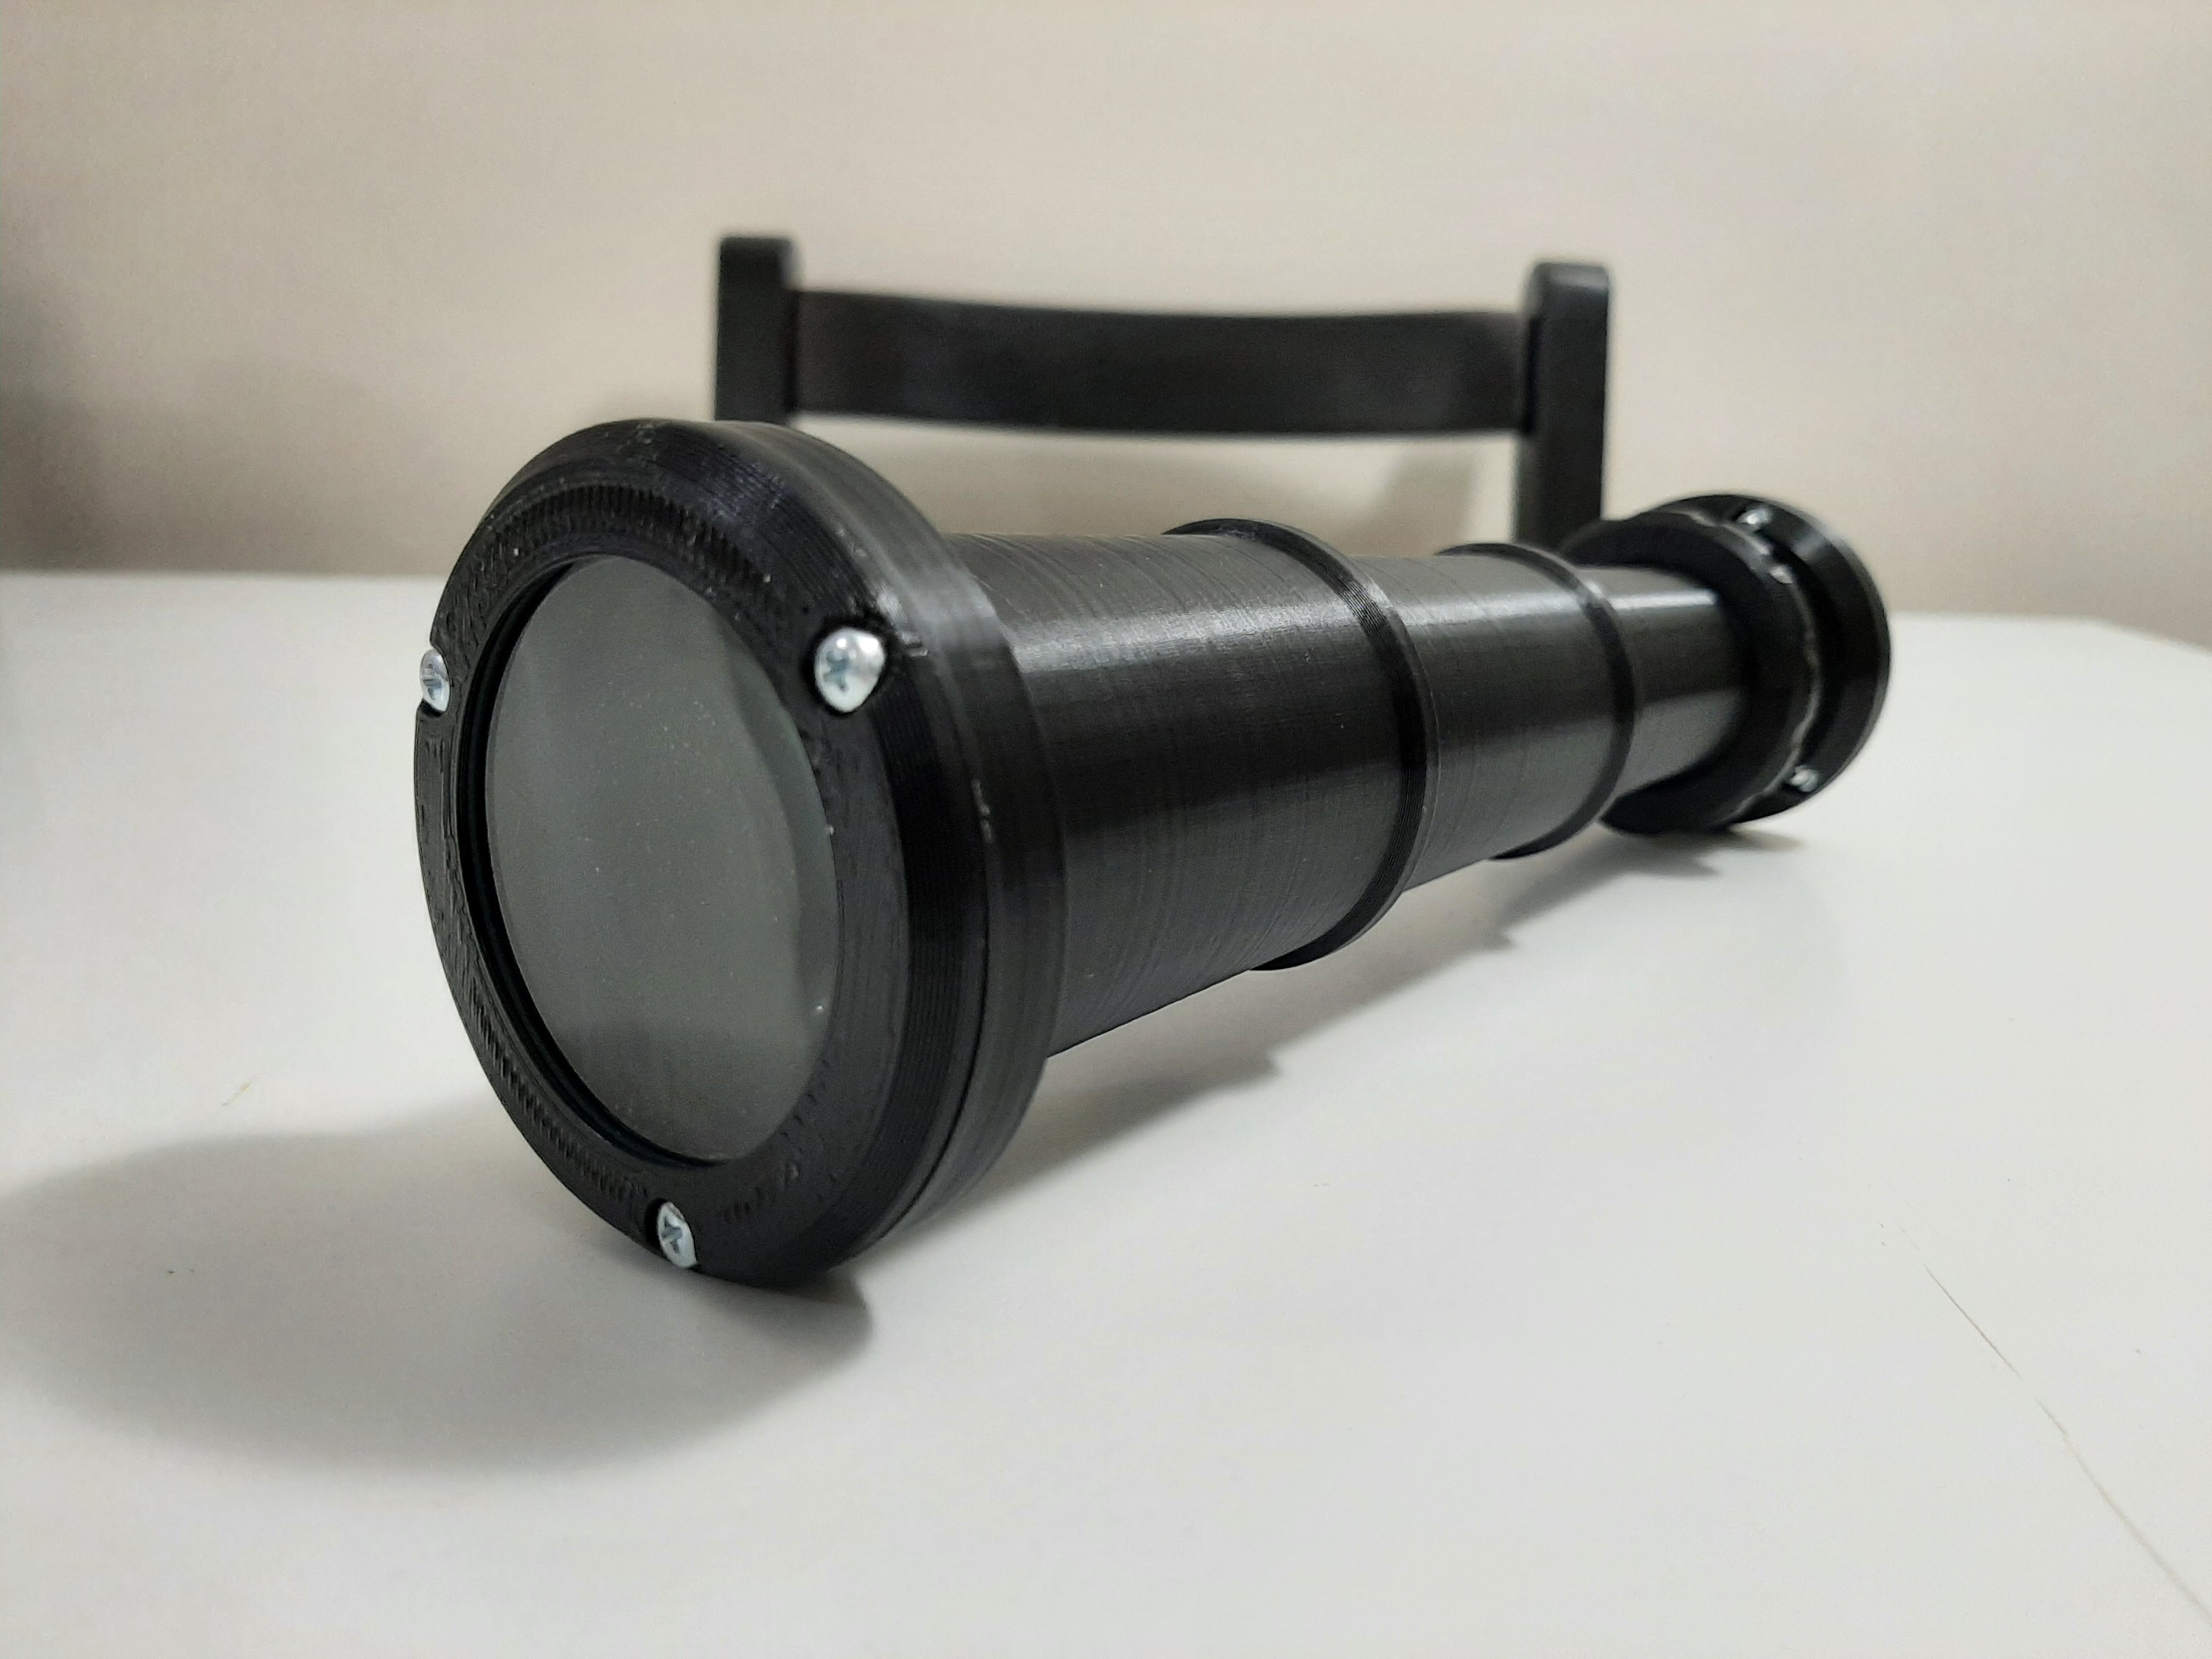
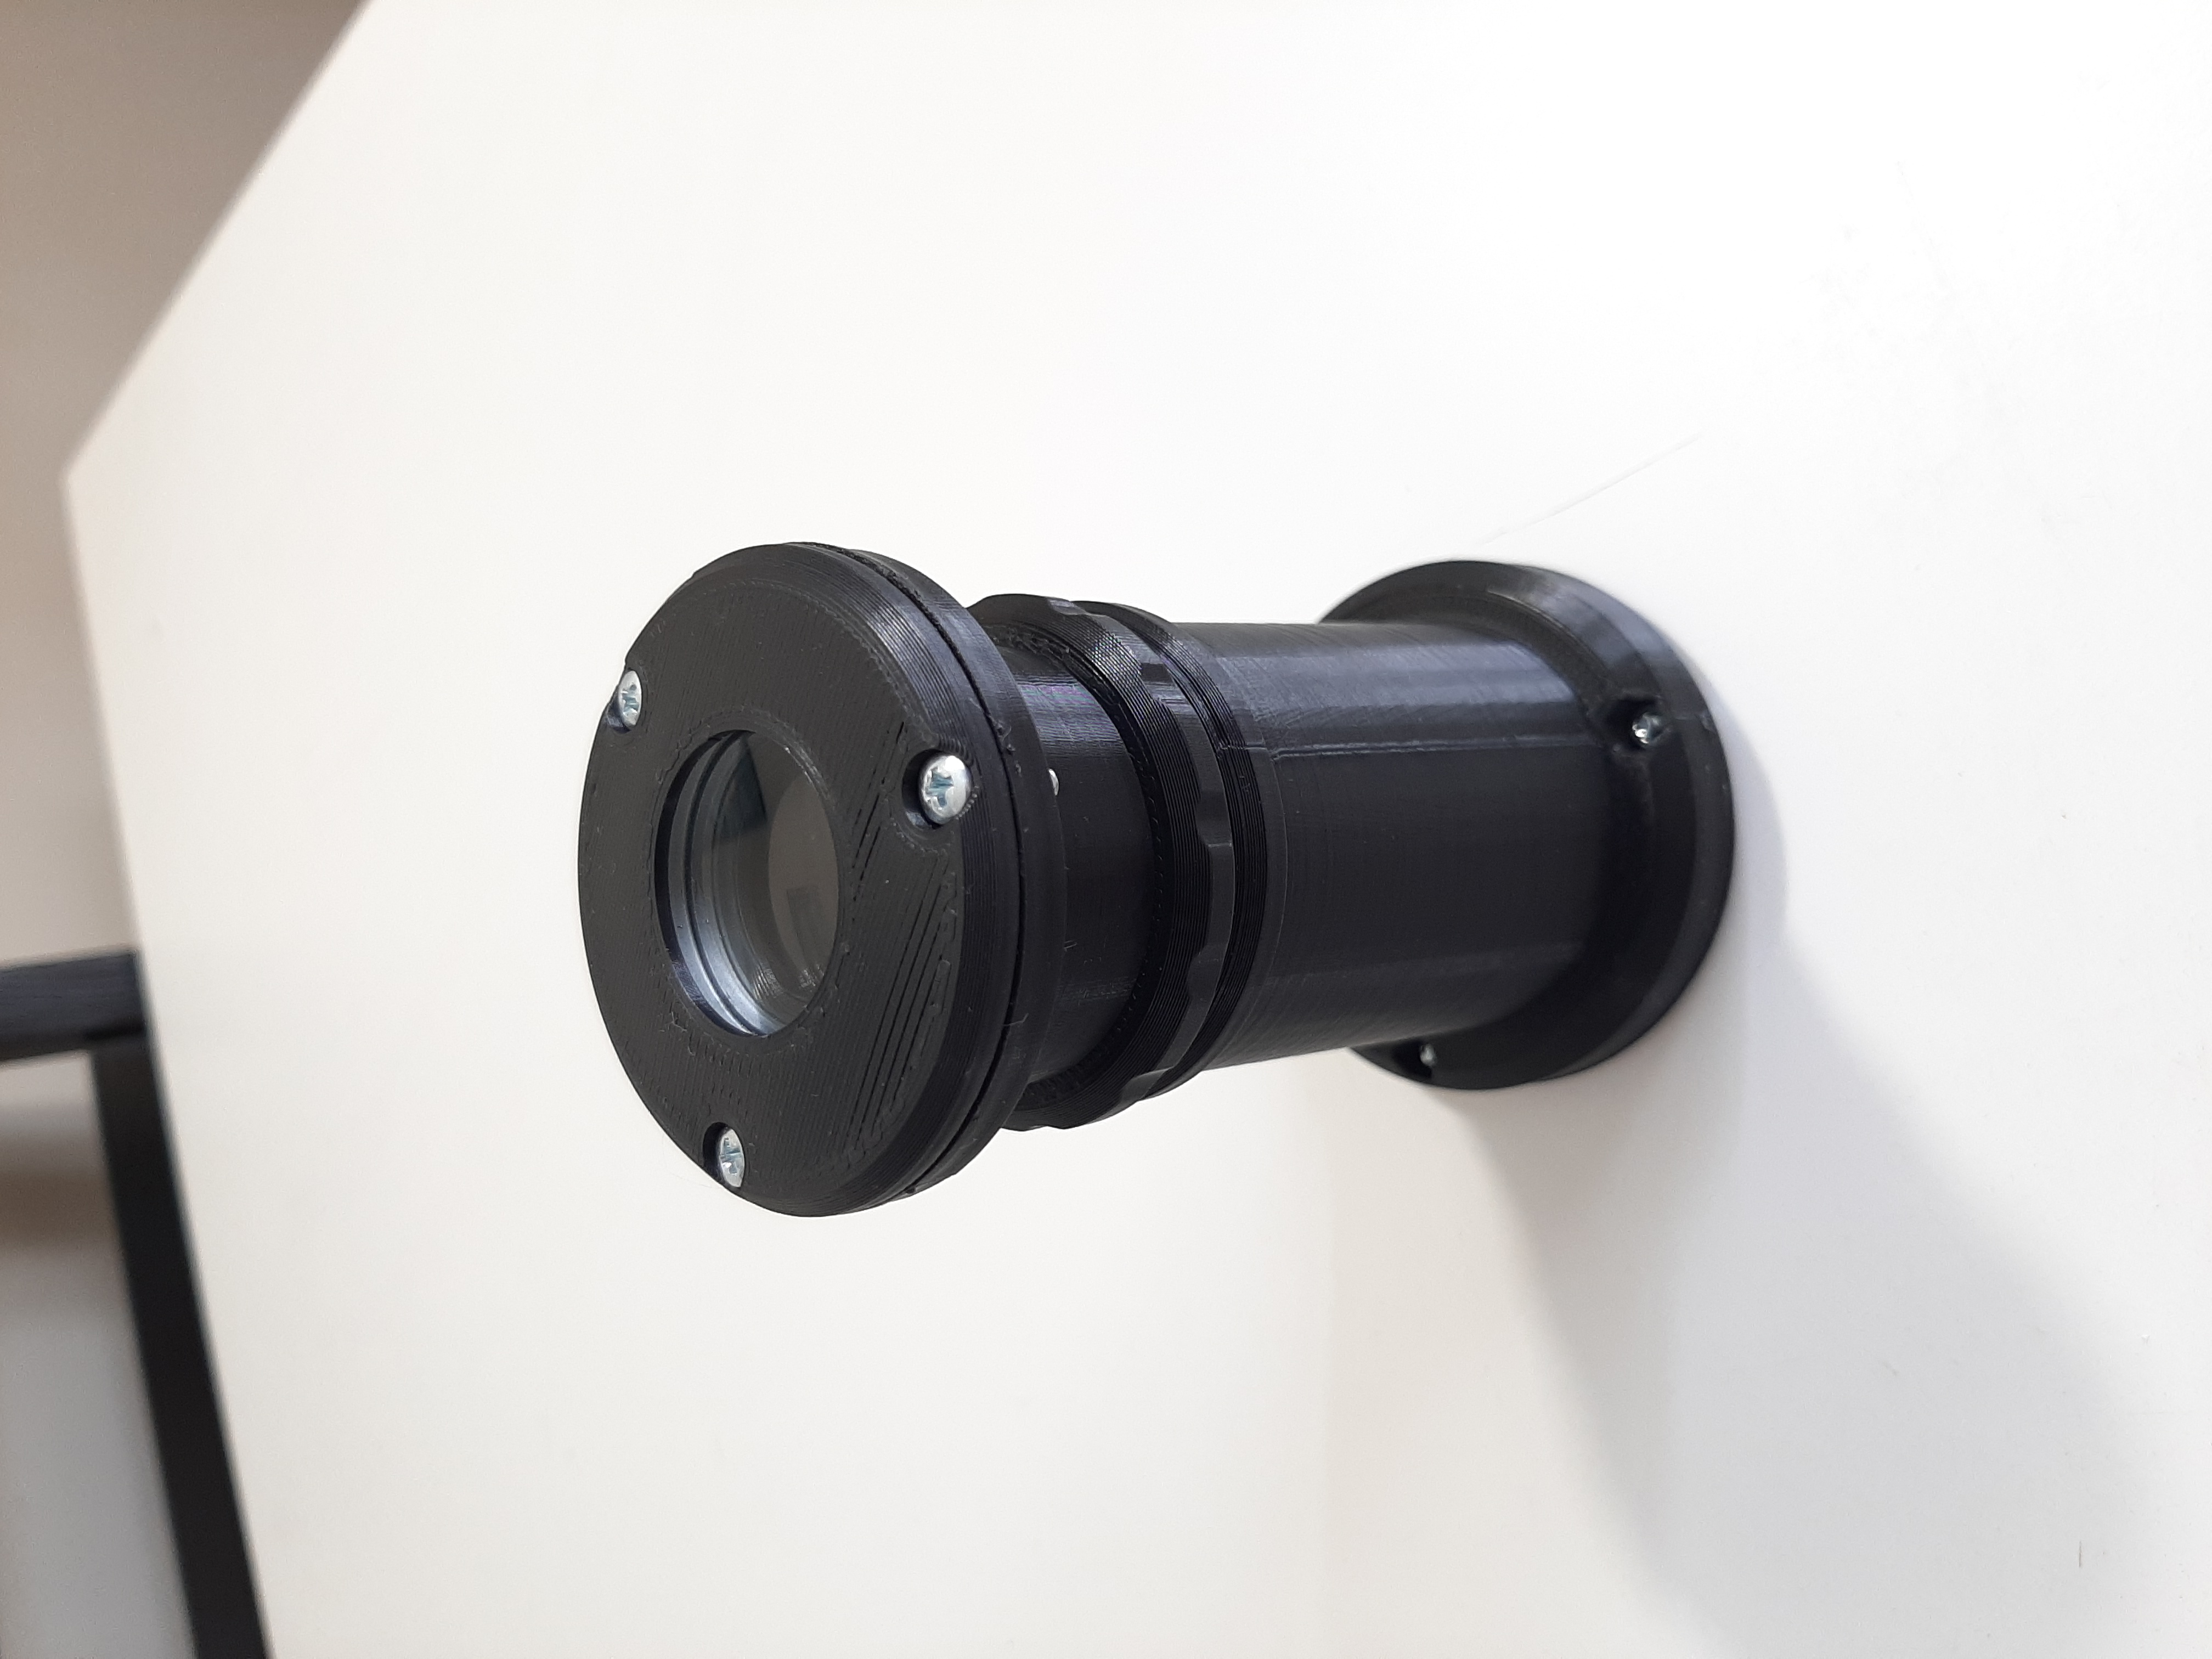
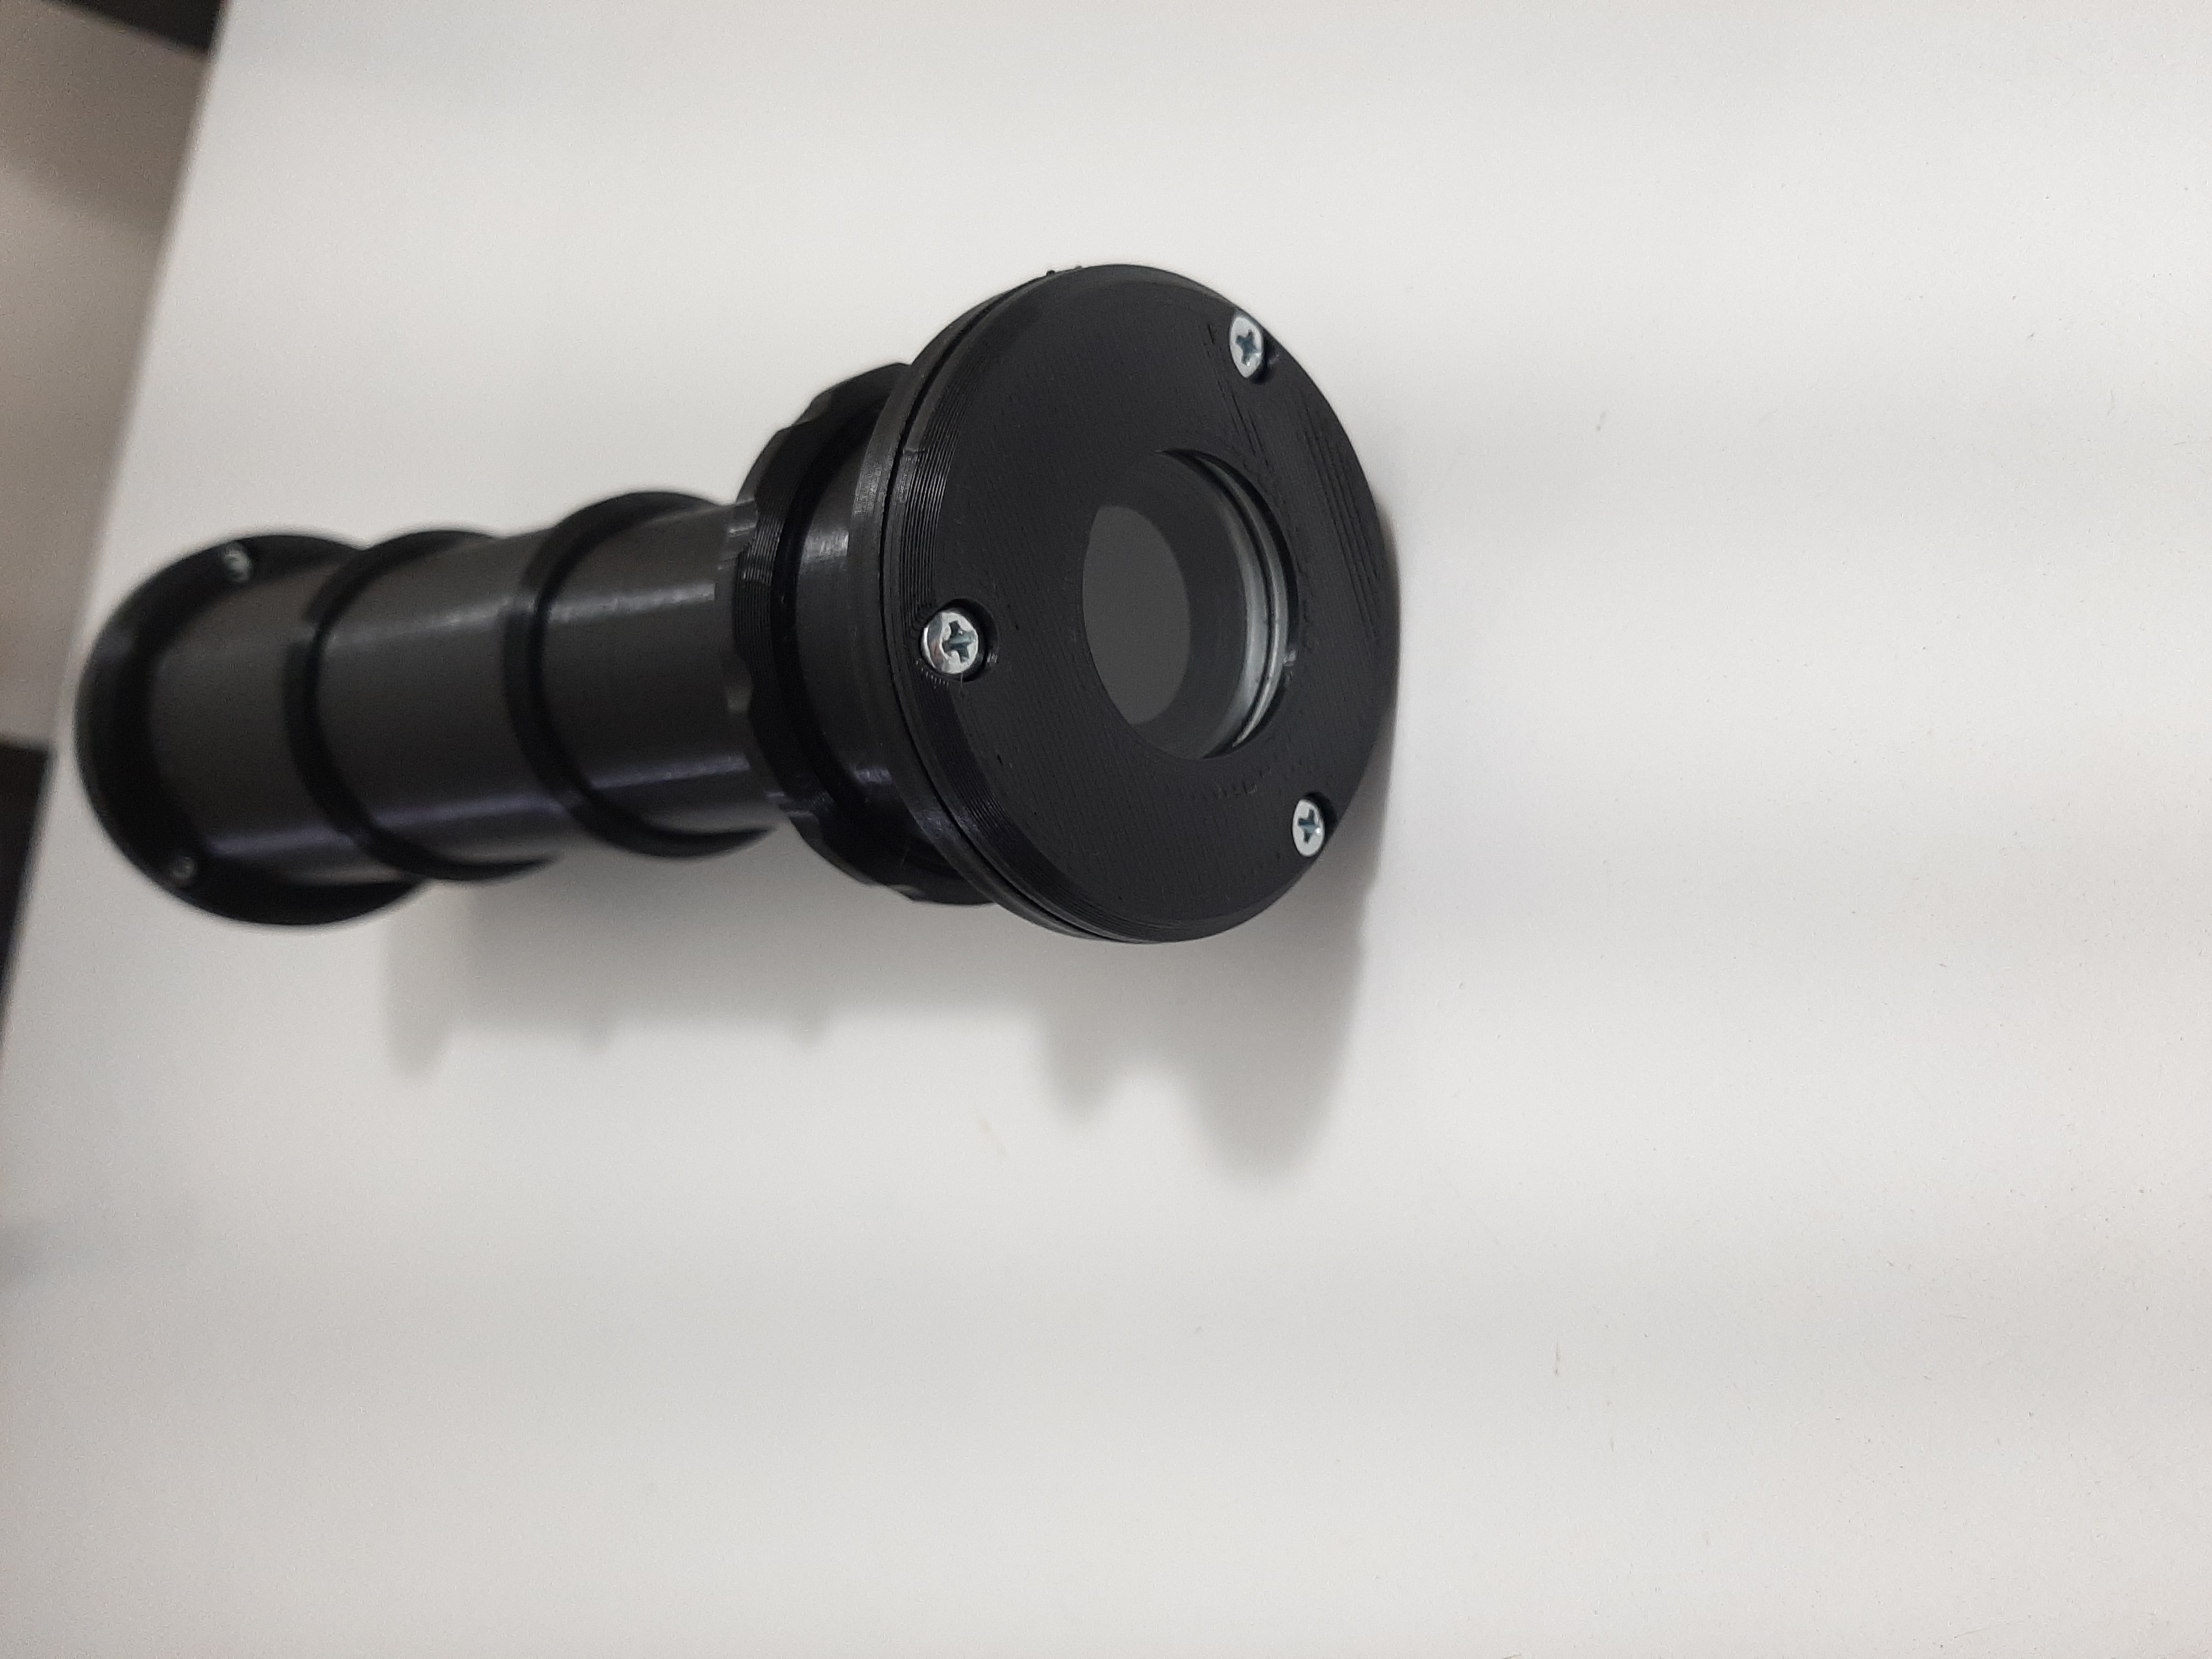
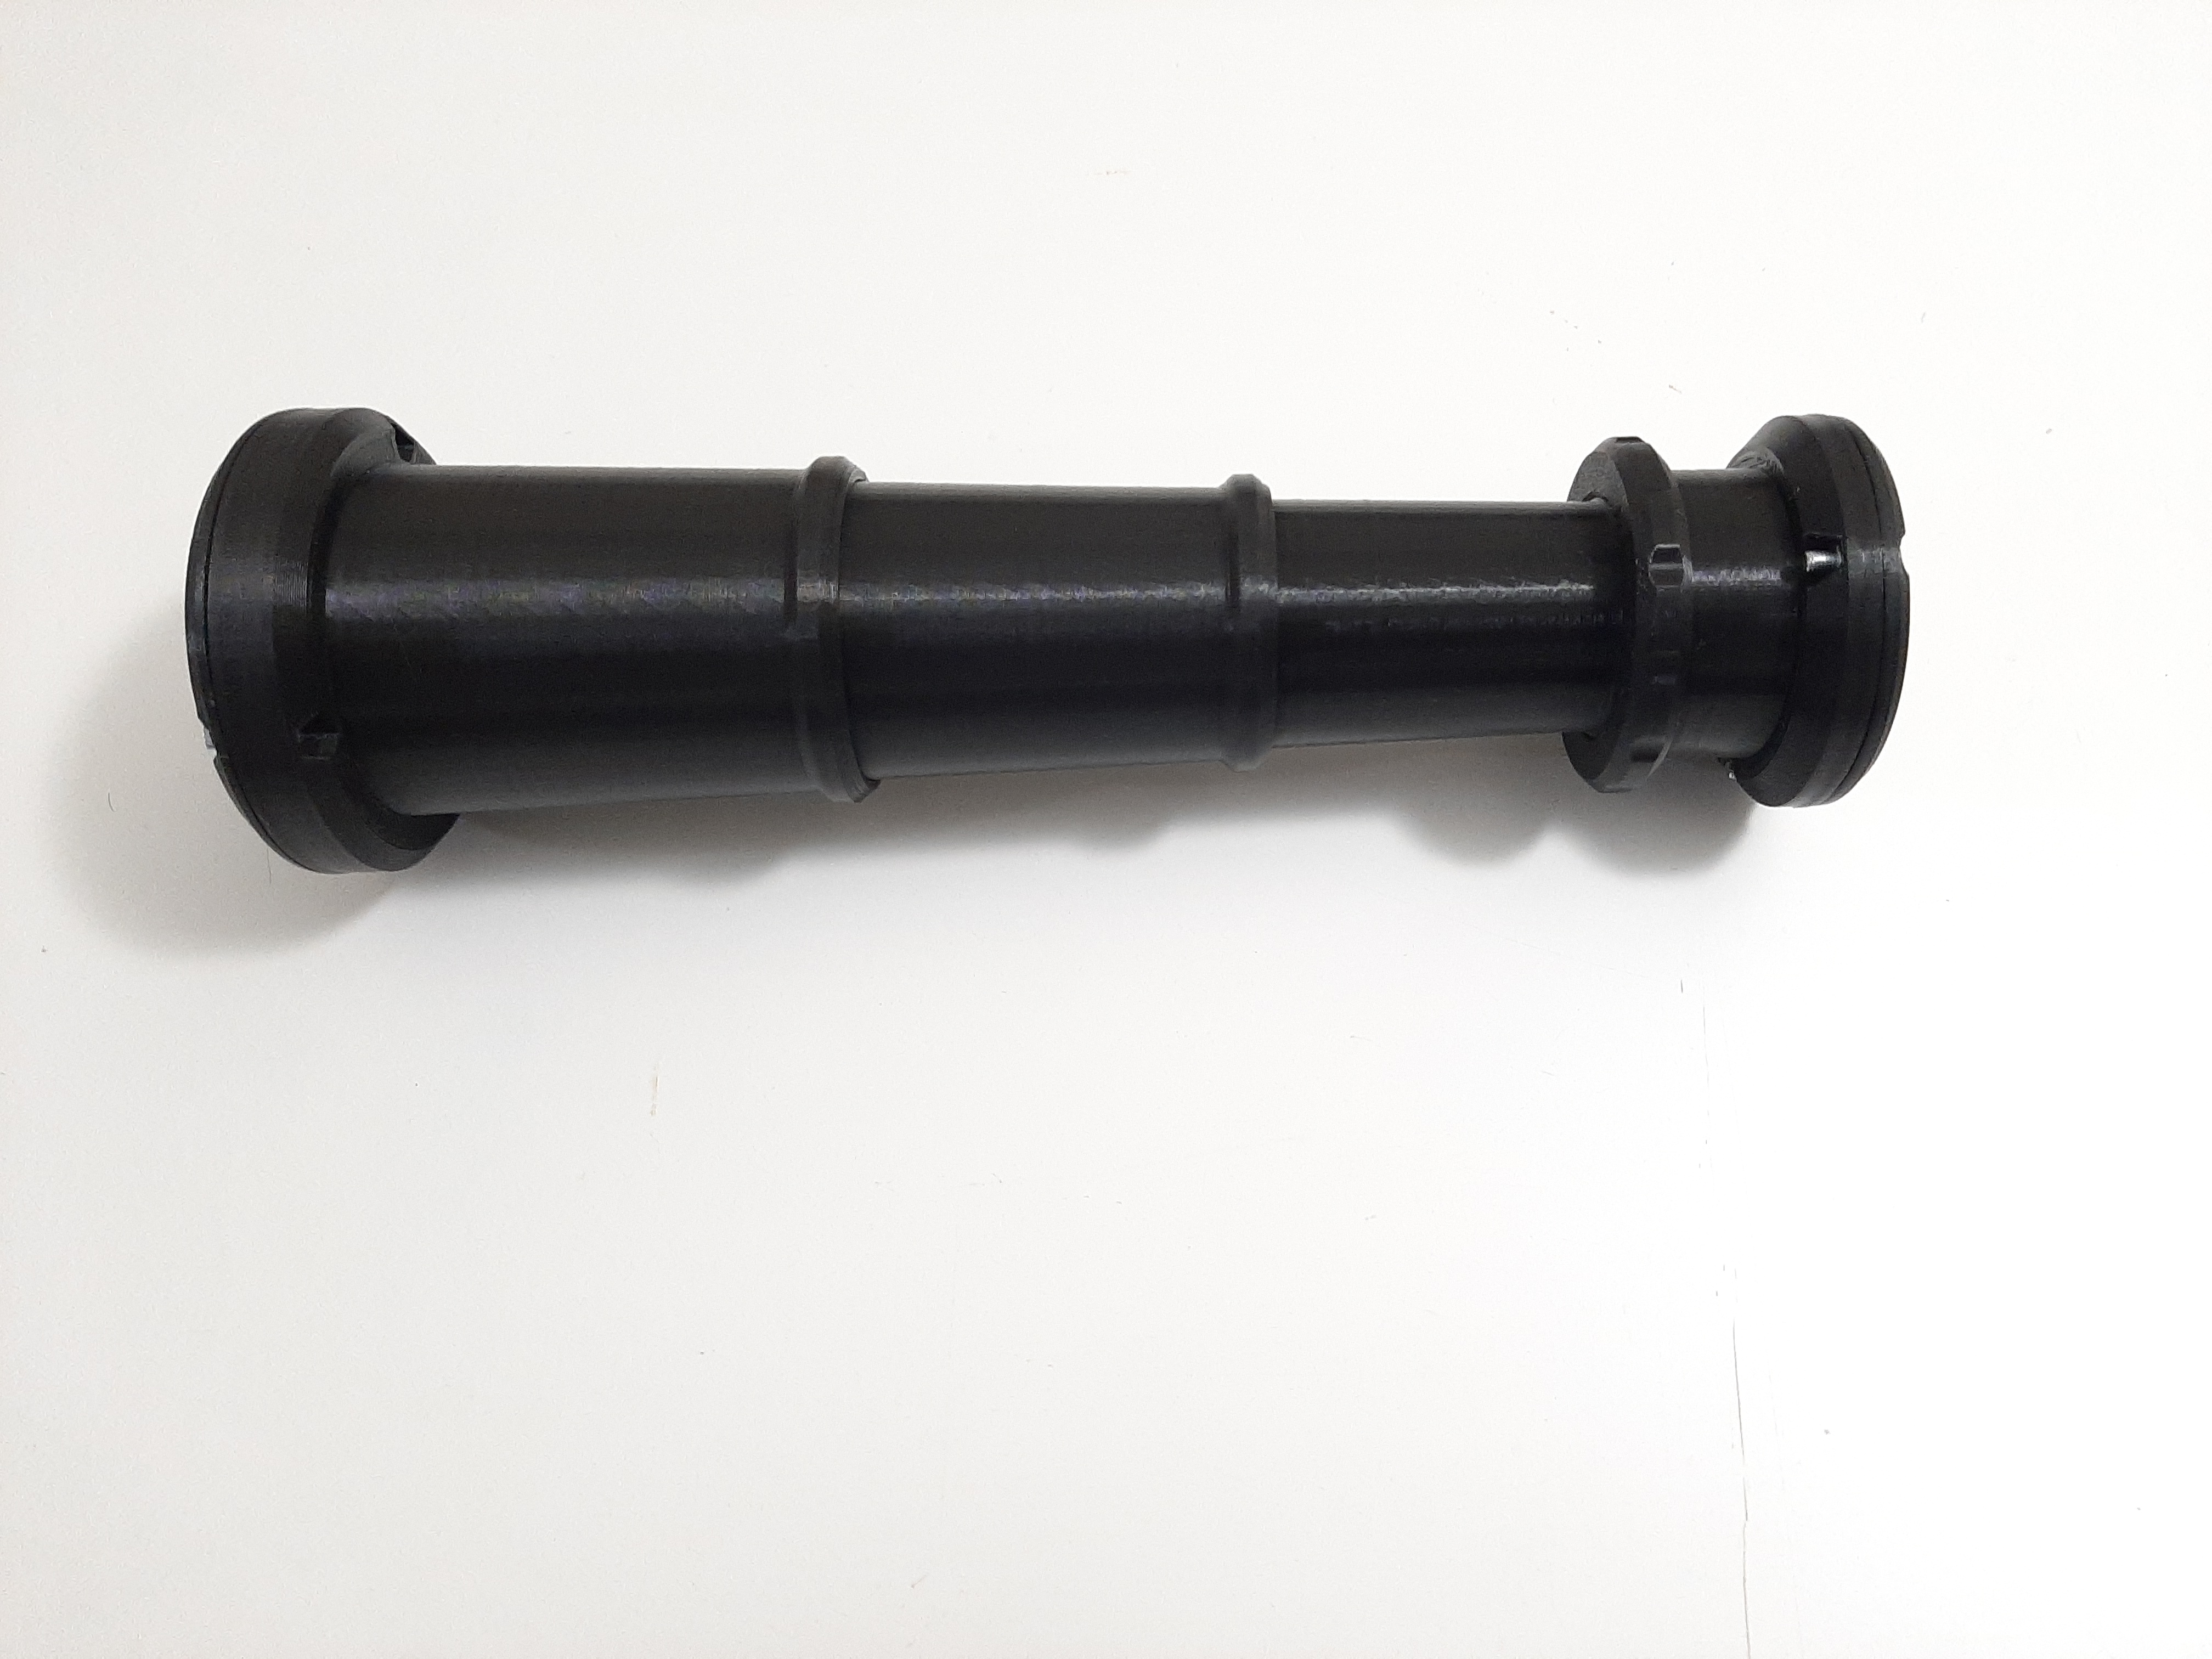
Collapsible toy telescope
- Arrives in 2 to 7 business days Printed in Auckland. $10 shipping, free over $75
- 14-day faulty refund If it arrives broken or misprinted, we reprint or refund it
- Secure checkout Card payments handled by Stripe
- Material
- High-Detail Resin (8K)
- Colour
- Grey
- Weight
- ~63 g
- Print time
- ~3.5 h
- Express shipping
- $20
More information
Intro
This is a fun little collapsible telescope. I built this mainly as a way of playing with optics and having some fun along the way.
It does work, and in my (very rough) testing it's similar to 4x25 binoculars, but with a narrower field of view. You would be better off with even a cheap pair of binoculars, but where's the fun in that?
If you skip the lenses, it can still be a fun little toy for kids as well. I might make a fully print-in-place version without screws for that purpose if I have time.
Total cost should be under $10 CAD, which is mostly the lenses and filament.
Parts
• Lens kit: a 30mm (diam) -75mm (focal length) biconcave lens to use as the “eyepiece” and a 50mm (diam) 300mm (focal length) plano-convex lens to use as the objective lens. I bought these as a kit on AliExpress, but you can find the same lenses if you search for “Projector lens” • 6x m3x10mm screws (longer will work, but might stick out a bit) • 6x m3 nuts (optionally, heat set inserts should work too. The ones I tested did, at least)
Printing
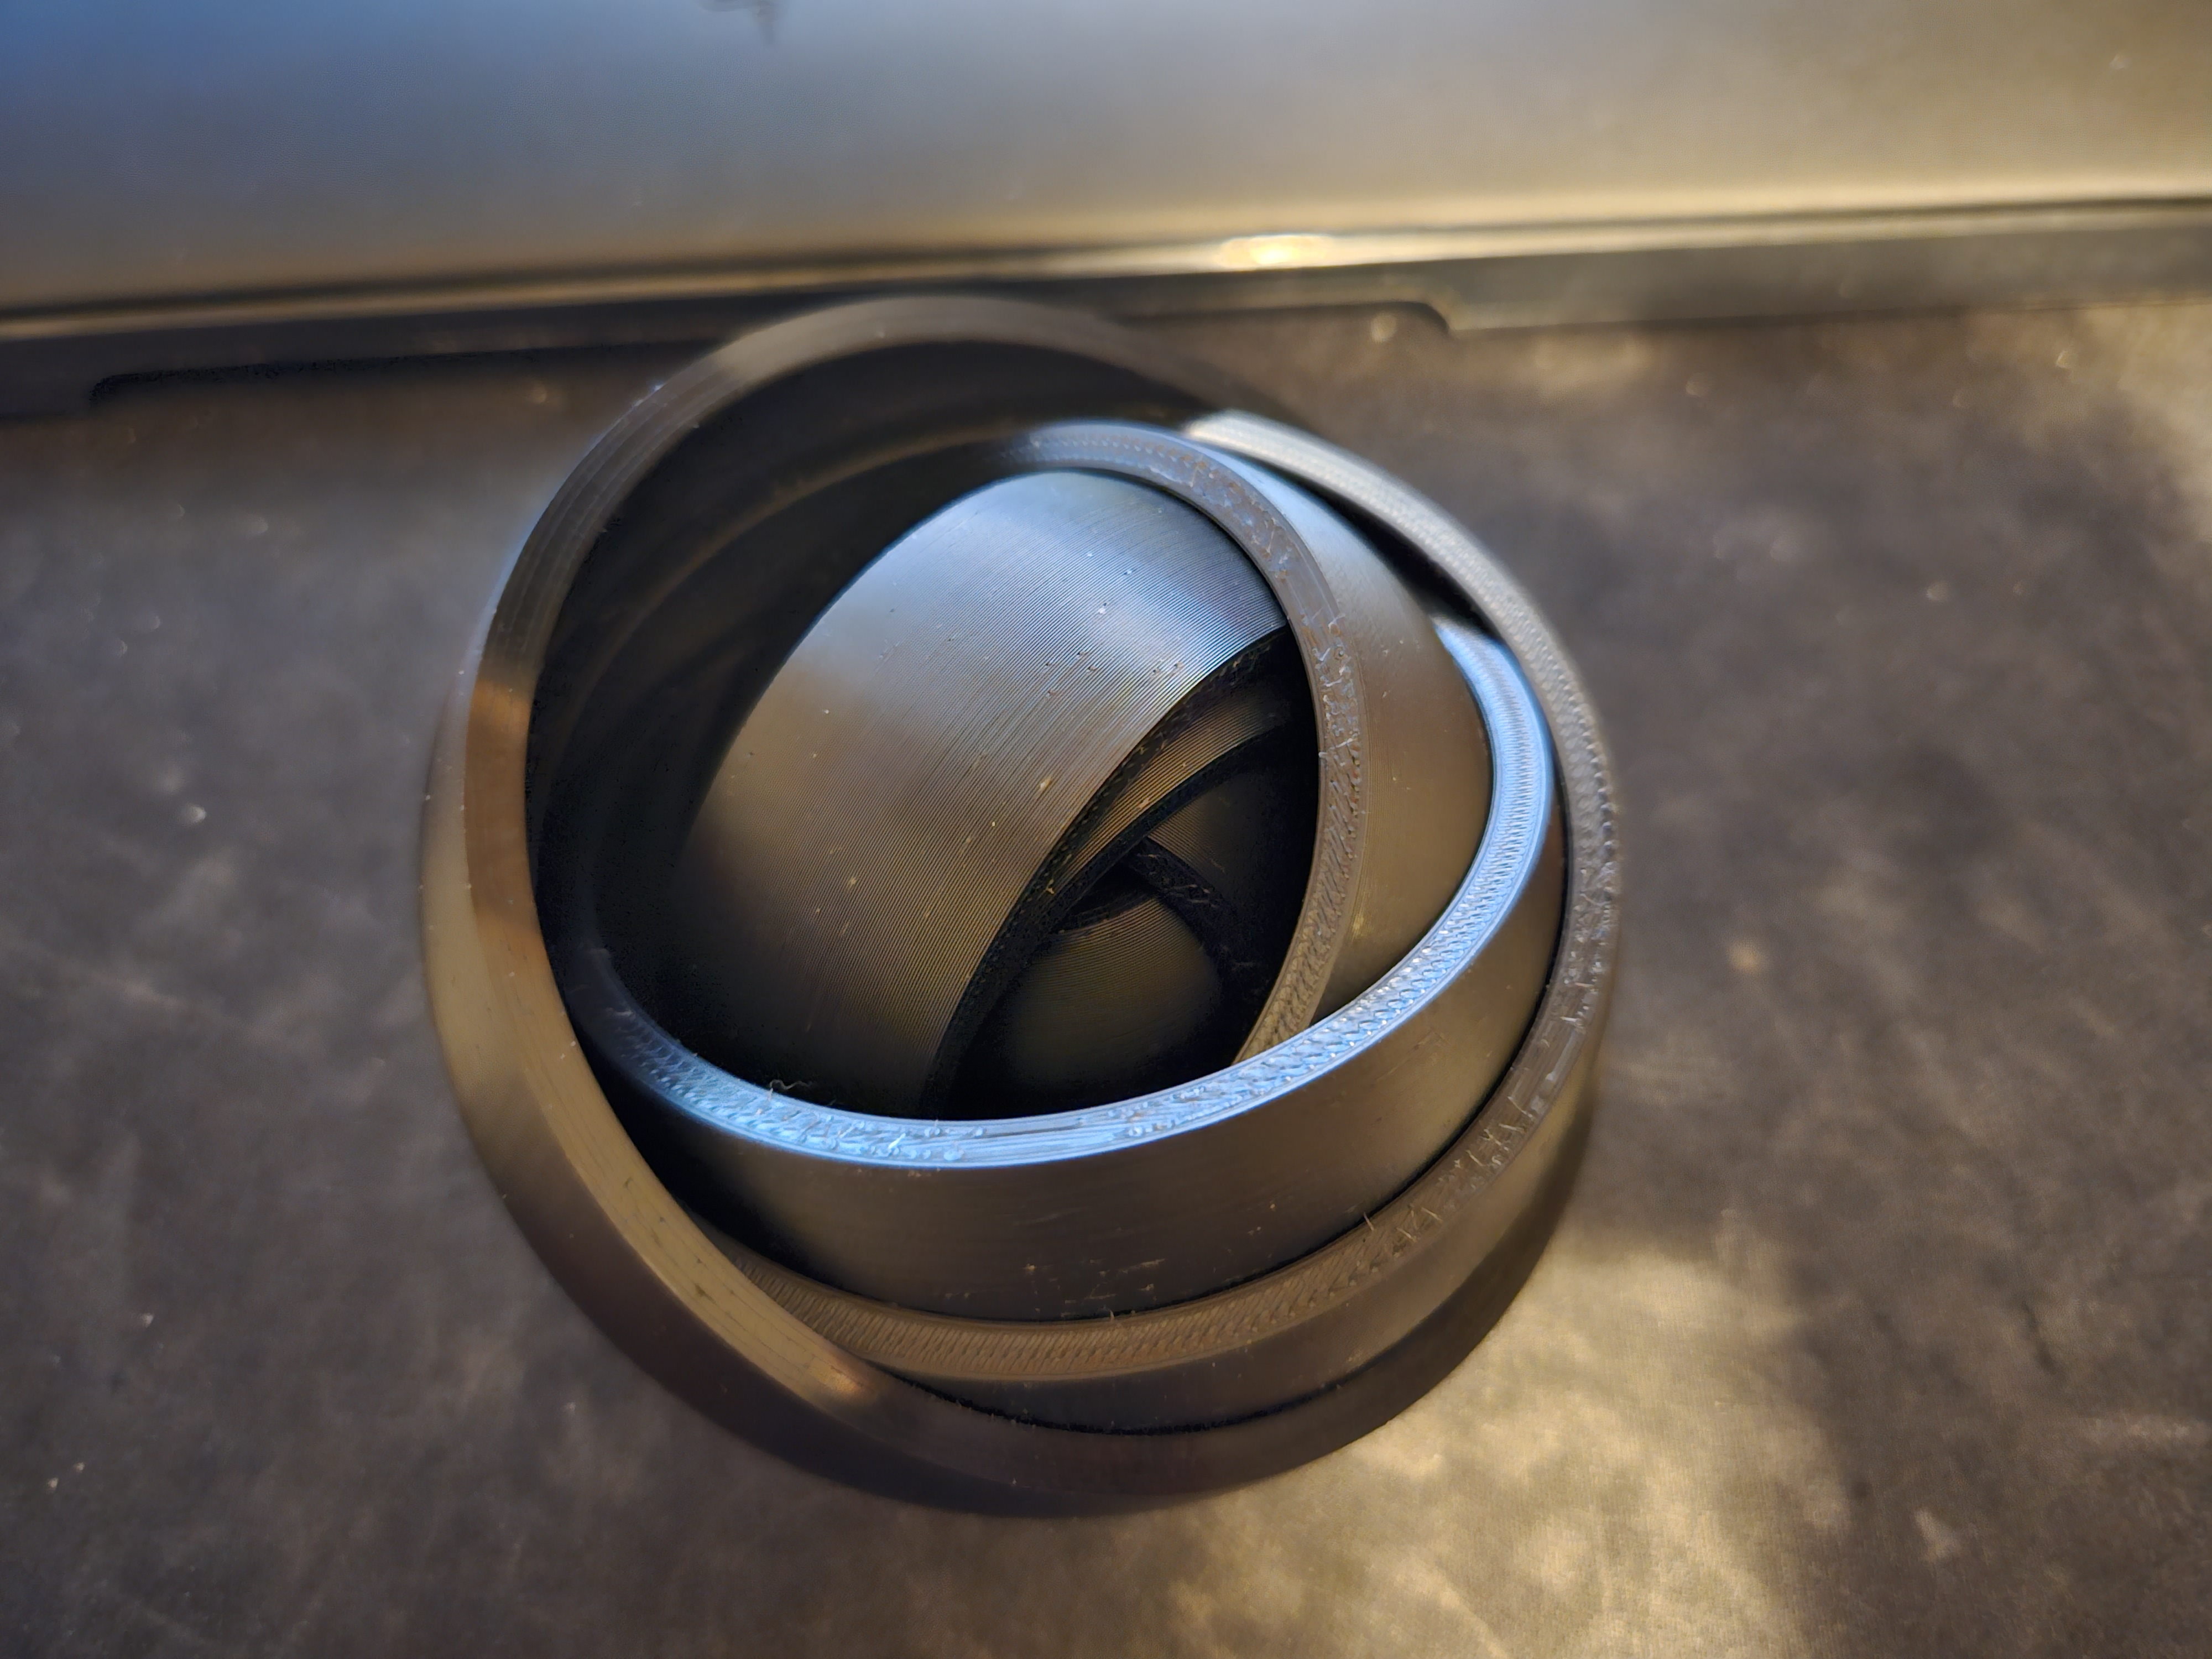
When printing the main body, I recommend printing all three parts (inside, middle, outside) together. The outside part has a large surface area so it should stick well, and will act as a draft shield for the other two parts. On my Ender 3, this prints nicely. If you decide to print them separately, I recommend using brim (the “adhesion” checkbox in Cura).
I printed this with the following settings
• 0.6mm nozzle • 0.2mm layer height (I wouldn't go thicker on the threaded parts) • No supports needed • Models are already in the correct orientation
Assembly
• Make sure the three parts of the main body are inside each other. Now place the larger lens inside the “Primary Cap”, and line that up with the base of the main body. Use 3 screws+nuts to attach these together • Put the smaller (concave) lens inside the the “Eyepiece Cap”, and line this up with the “Eyepiece Base”. Use the last 3 screws+nuts to attach these together. • Spin the “Locking Nut” onto the main body. • Spin the Eyepiece assembly onto the main body.
Usage
In order to use this you'll need to focus. Once the telescope is expanded, you can adjust focus by spinning the eyepiece part to move it closer/farther. Once you've got a good focus, you can tighten the locking nut against it to hold it in place.
Once you've done that, you'll need to aim it. The best way to do this is to look at your target, then (without moving your head or eye) bring the telescope up to your eye. Because there's such a narrow field of view, this is a bit tricky, but I was able to observe the Pleiades cluster with it.
Design and description by JoshShabtaiCa , licensed CC-BY-SA.
Frequently asked
How long does shipping take?
Collapsible toy telescope is printed to order. Lead time is typically 1-3 business days plus 1-4 days NZ shipping. Standard NZ shipping is $10, free over $75.
What material is this printed in?
By default this is printed in High-Detail Resin (8K) at 0.025 mm layer height on an MSLA resin printer. Custom material and colour swaps are available, just leave a note at checkout.
Can I get this in a different colour?
Yes. Every product can be printed in any of the resin colours we stock, or hand-painted on request. Leave a note at checkout or email [email protected].
Do you ship outside of New Zealand?
Currently New Zealand only. Australian shipping is coming.
Who designed this?
Designed by an independent sculptor and licensed for commercial printing. The original is linked on this page.