Storage & Boxes
Collectible Card Tambour Box
SKU 3DPW-pr-1052999
$66.00NZD
In stock · Made-to-order resin · Ships from Auckland · Free shipping over $75
- Material
- High-Detail Resin (8K)
- Colour
- Grey
- Weight
- ~40 g
- Print time
- ~4.5 h
- Shipping
- $10 std · $20 express
- Lead time
- 1-3 d print + 1-4 d ship
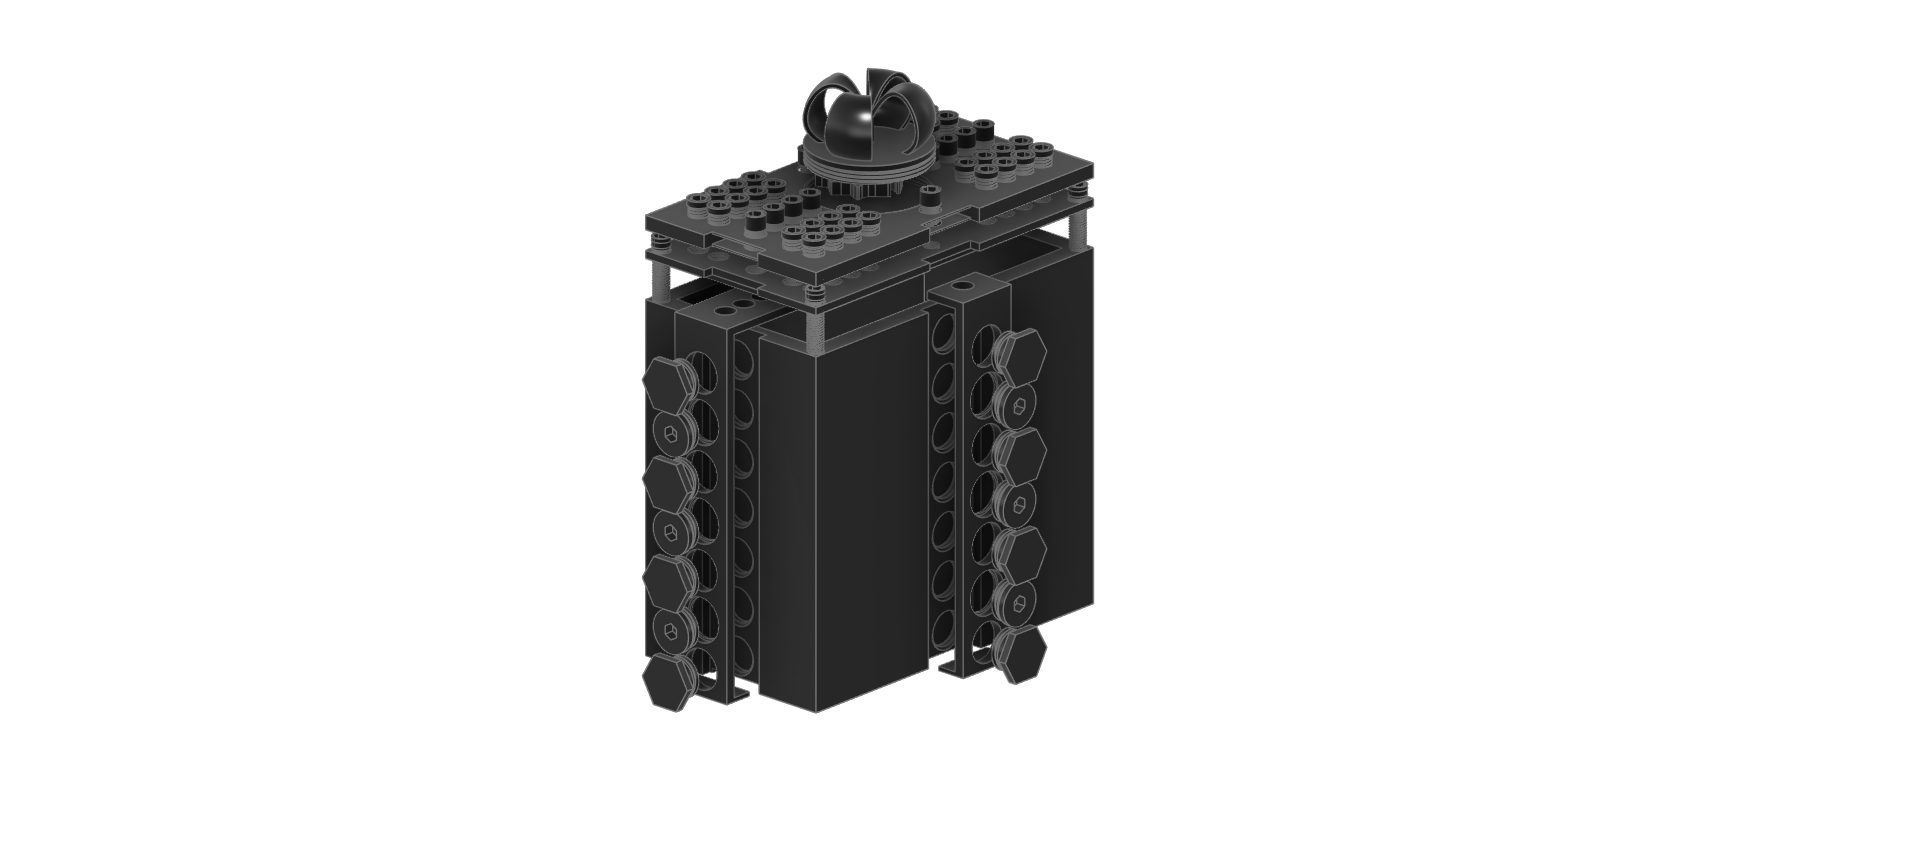
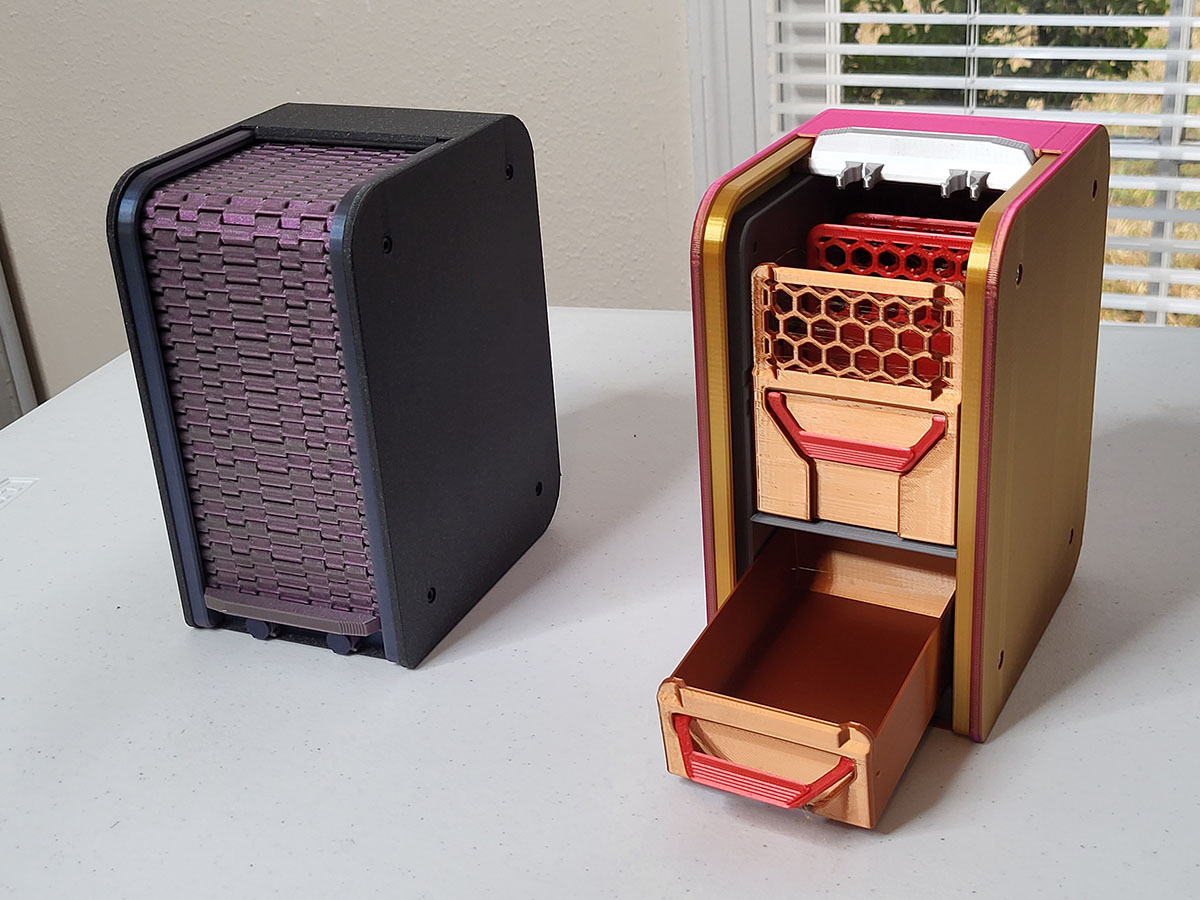
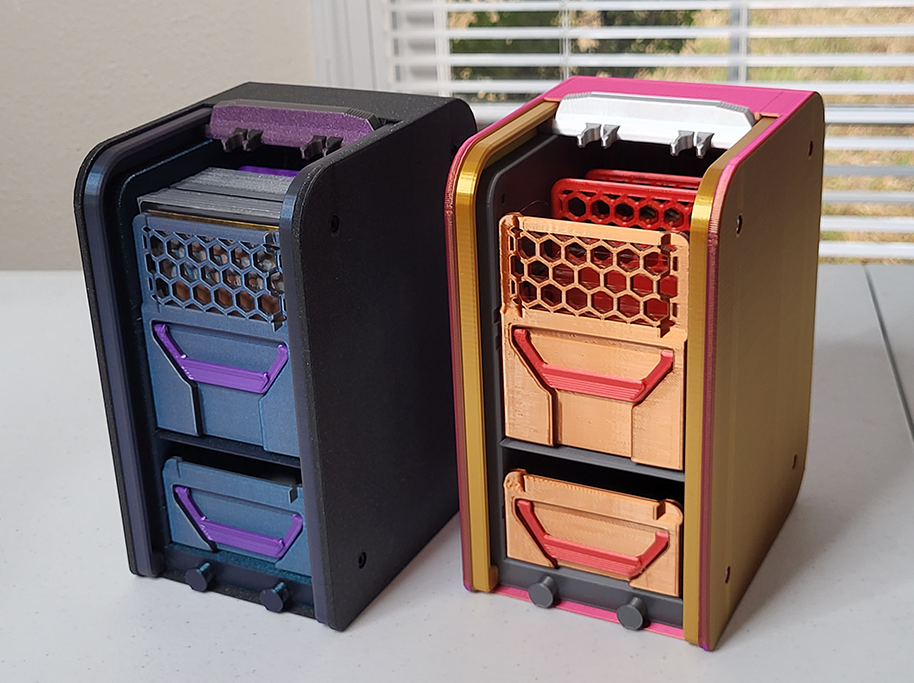
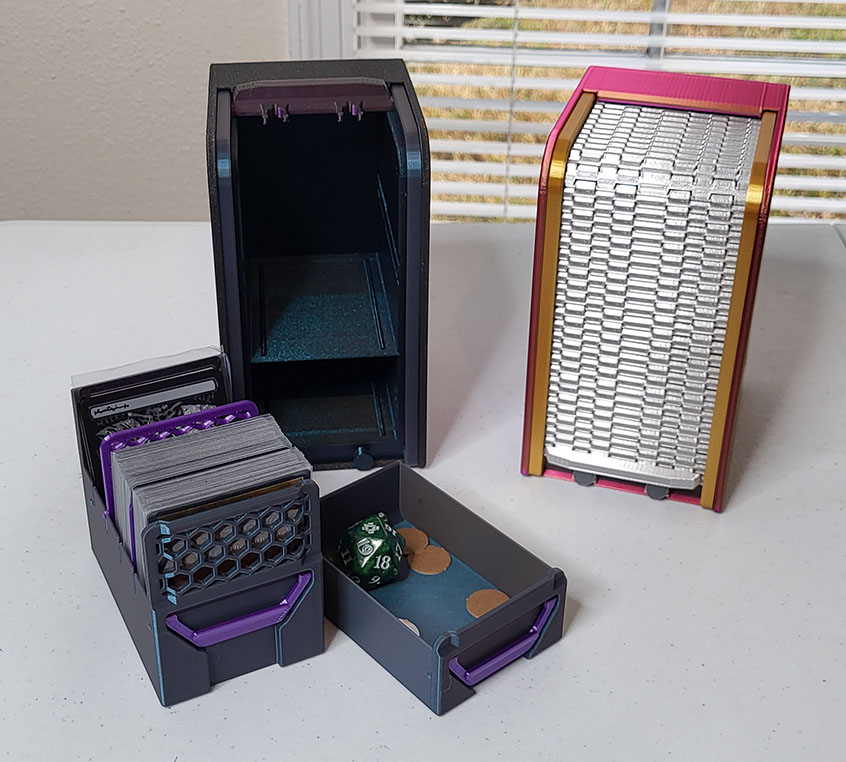
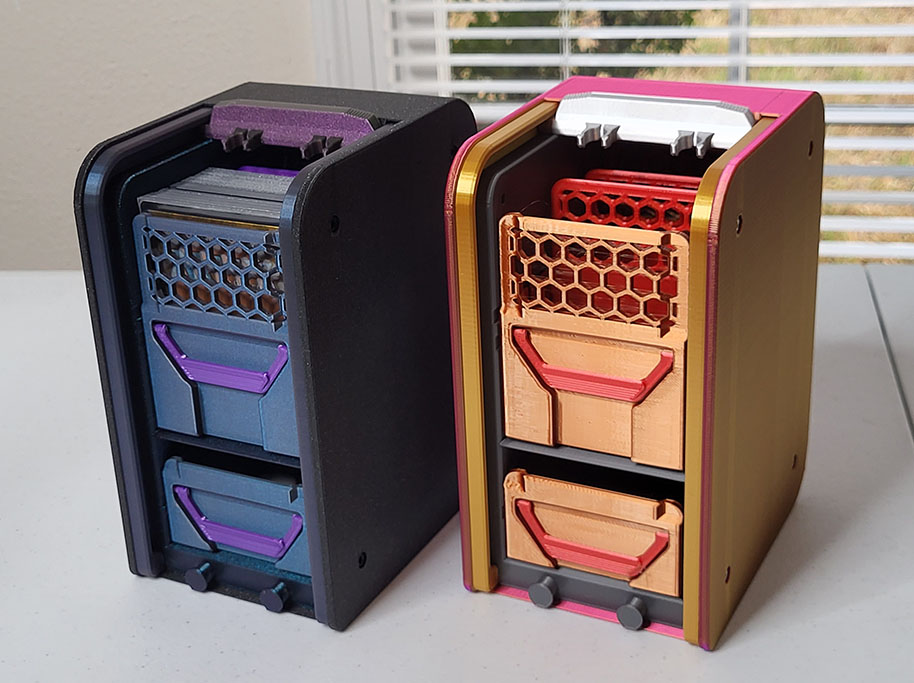
Playing around with the tracks mechanism made for with the Rolling Tracks Glasses Case, I decided to fashion them into tracks for a tambour lid. https://youtu.be/qomvkPnO_fI ALERT!: Before you attempt to make this and start printing, ensure you have a print bed large enough to print the Tambour Tracks; this is the longest model in the project and may not fit on smaller print beds. Note that this is a somewhat challenging print. It has big interlocking parts that must accurately align with each other (so any misprint is probably unsalvagable), and the Tracks has a lot of perimeter and print-in-place hinges. PrintingAll model files should already be in the correct orientation so that when placed in the slicer program, the correct side is on the bed. All parts do not need brims or supports except for the Mother Shell. The print should work with any rigid material except for the Tracks, which requires a material good for complaint mechanism latch (e.g., PLA, PETG). Mother Shellx1Print with snug supports over the build plate only - unless your printer can do godly overhangs.Cabinet Corex1Tambour Rail InsertsBOTH parts A and BDrawerx1Tubx1 - EITHER the Locking Support or Tub Simple version. The Simple version does not have the hole on its floor or the cutouts for the locking divider.Tambour Tracksx1 - EITHER the loose or normal. The normal version will need more exercise to loosen, but it is slightly firmer. The loose version is easier to print and to use right after printing.Handlesx2DividersOPTIONAL - If printing a Locking Support Tub, I recommend printing at least 1 Locked Card Stand.Bumper StencilOPTIONAL—This is only needed if you want a guide to attach these adhesive furniture bumpers. There's nothing special about these bumpers; just choose one from Amazon.Other Tools And PartsM3 Square Nutsx8M3-8 Socket Hex Screwsx8Choose a finish type that compliments the filament color of the Mother Shell.Firm puttyUsed to hold nuts in place since they sit loose in the seats. Not too picky on what type of clay/putty to use (plasticine, polymer clay, real clay, Sticky Tack, poster mount putty, Play-Doh, used chewing gum (TMI?), etc.)M3 Driver (Allen wrench or compatible Torx driver)AssemblySee the video for the assembly demonstration. Inspect parts for any misprints. If the Tracks, Mother Shell, Tambour Rail Inserts or Cabinet Core have warping, they are probably unusable.Remove the modeled-in support from the tracks and any supports on the Mother Shell.Place an M3 square nut in each of the nut seats of the Cabinet Core. There are 8 - one on each corner on both sides. Nuts may need extra force to be pushed in, or nuts may be loose and need a little putty to be held in place. If putty is used, it only needs to hold until the screws are threaded later.Place a Tambour Rail Insert on each side of the Cabinet Core. Ensure each Tambour Rail Insert is on the right side and facing the correct direction. The sharp corner should match the bottom front of the Cabinet, and the indexing guides are sloped in a way to prevent using the wrong insert on the wrong side.Slide into the Mother Shell to double-check orientations, fit, and alignments. Slide back out after verification. Again, the sharper corner should line up with the bottom front of the Cabinet.Place the Tracks around the Cabinet Core in the rails between the Tambour Rail Inserts. Make sure the latch grip is facing outwards and that the side with the latch can mate with the other part of the latch on the bottom of the Cabinet Core.Slide the Cabinet Core subassembly into the Mother Shell - again, be careful that it's slid in with the correct orientation.Ensure all screw bores are clear and can line up. If not, clear them up, and consider performing post-work to get the bores to line up (i.e., stick something in and gouge through the bores with force to clear and align them).Screw all the M3-8 screws into the bores. Screws should be inserted so that the heads are on the side that match their sockets on the outside. Do not over-tighten. Screws should not pass the bores into the inside of the Cabinet.Test the Tracks. If it's tight (especially if the non-loose one is used), exercise the Tracks to loosen them. If they're not tight because of a misprint, they will also get looser over time and use.Place the Handles into the Tub and Drawer. Some extra force will be required. The handles have two sides, one with a subtle graphical feature and a flat side. Make sure the side with the graphic feature faces outward.Place divider(s) into TubLift open the TracksInsert the Tub and Drawer into the box. Note that the Tub has two rails: the top one locks dividers, and the bottom one slides the Tub in and provides interference. Make sure not to accidentally slide the Tub into the top rail.If adding furniture bumpers to the bottom, close the box (print the stencil) and apply them.Notes and CaveatsThe furniture bumpers aren't necessary. It's more for faux production value.Parts of it may be tight, such as the latch mechanism and tracks, but they will probably loosen as they wear over time and use.The lockable dividers slide into the top Tub rail. This means the dividers cannot be easily removed while the box is still in the cabinet.Not sure how much the compliant mechanism latch will wear over time - may need to revisit the design with something less fragile.
Tags: box, container, mtg, magic, storagebox, magicthegathering, resin print, nz made, made to order
Design credit: Original design by reavenk - licensed under CC-BY.
View original model + STL files on Printables ↗
View original model + STL files on Printables ↗
Frequently asked
How long does shipping take?
Collectible Card Tambour Box is printed to order. Lead time is typically 1-3 business days plus 1-4 days NZ shipping. Standard NZ shipping is $10, free over $75.
What material is this printed in?
By default this is printed in High-Detail Resin (8K) at 0.025 mm layer height on an MSLA resin printer. Custom material and colour swaps are available, just leave a note at checkout.
Can I get this in a different colour?
Yes. Every product can be printed in any of the resin colours we stock, or hand-painted on request. Leave a note at checkout or email [email protected].
Do you ship outside of New Zealand?
Currently New Zealand only. Australian shipping is coming.
Who designed this?
Designed by an independent sculptor and licensed for commercial printing. The original is linked on this page.