Storage & Boxes
Customizable Stackable Tube/Pipe Clamp (UPDATED!)
SKU 3DPW-pr-303550
$44.00NZD
In stock · Made-to-order resin · Ships from Auckland · Free shipping over $75
- Material
- High-Detail Resin (8K)
- Colour
- Grey
- Weight
- ~40 g
- Print time
- ~4.5 h
- Shipping
- $10 std · $20 express
- Lead time
- 1-3 d print + 1-4 d ship
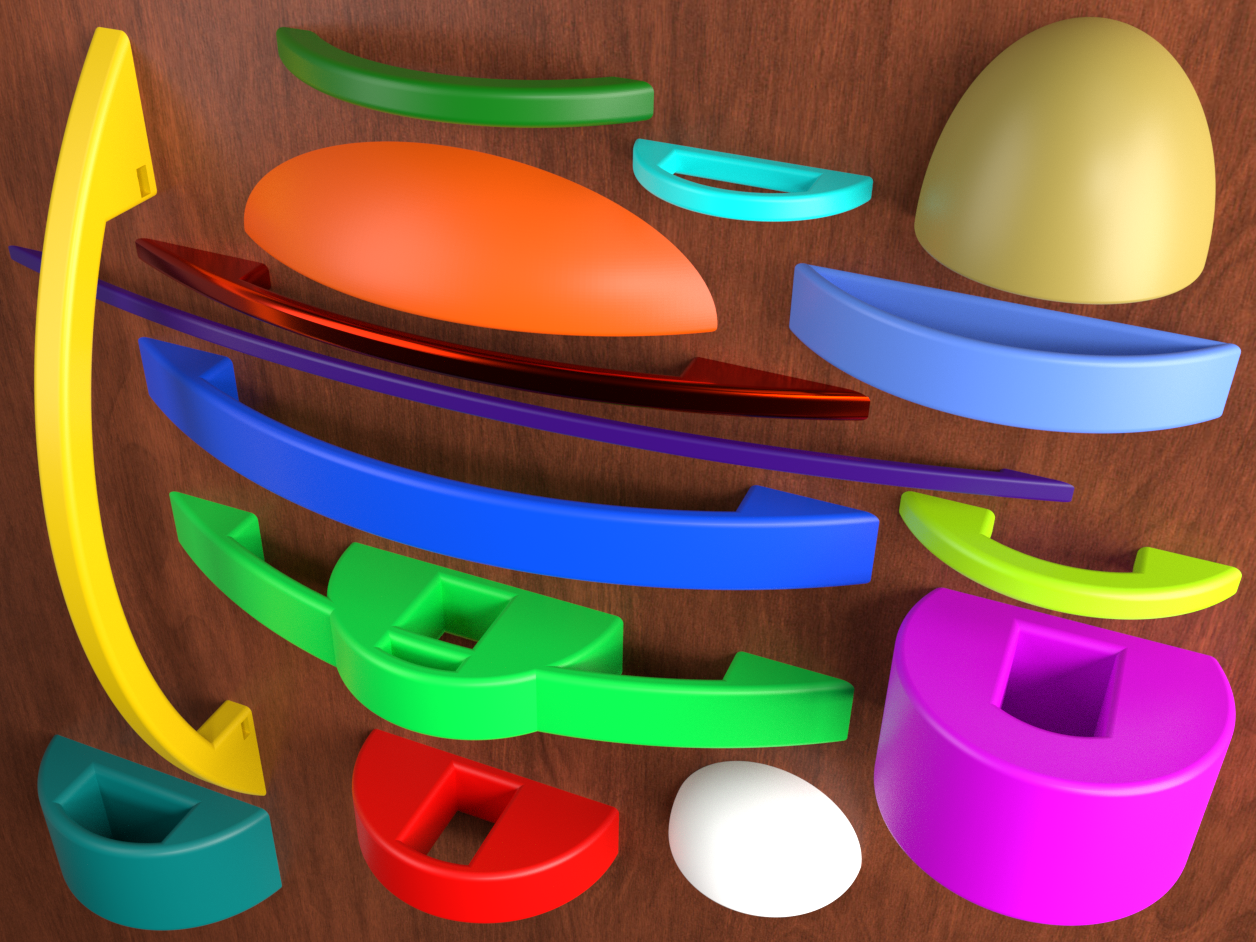
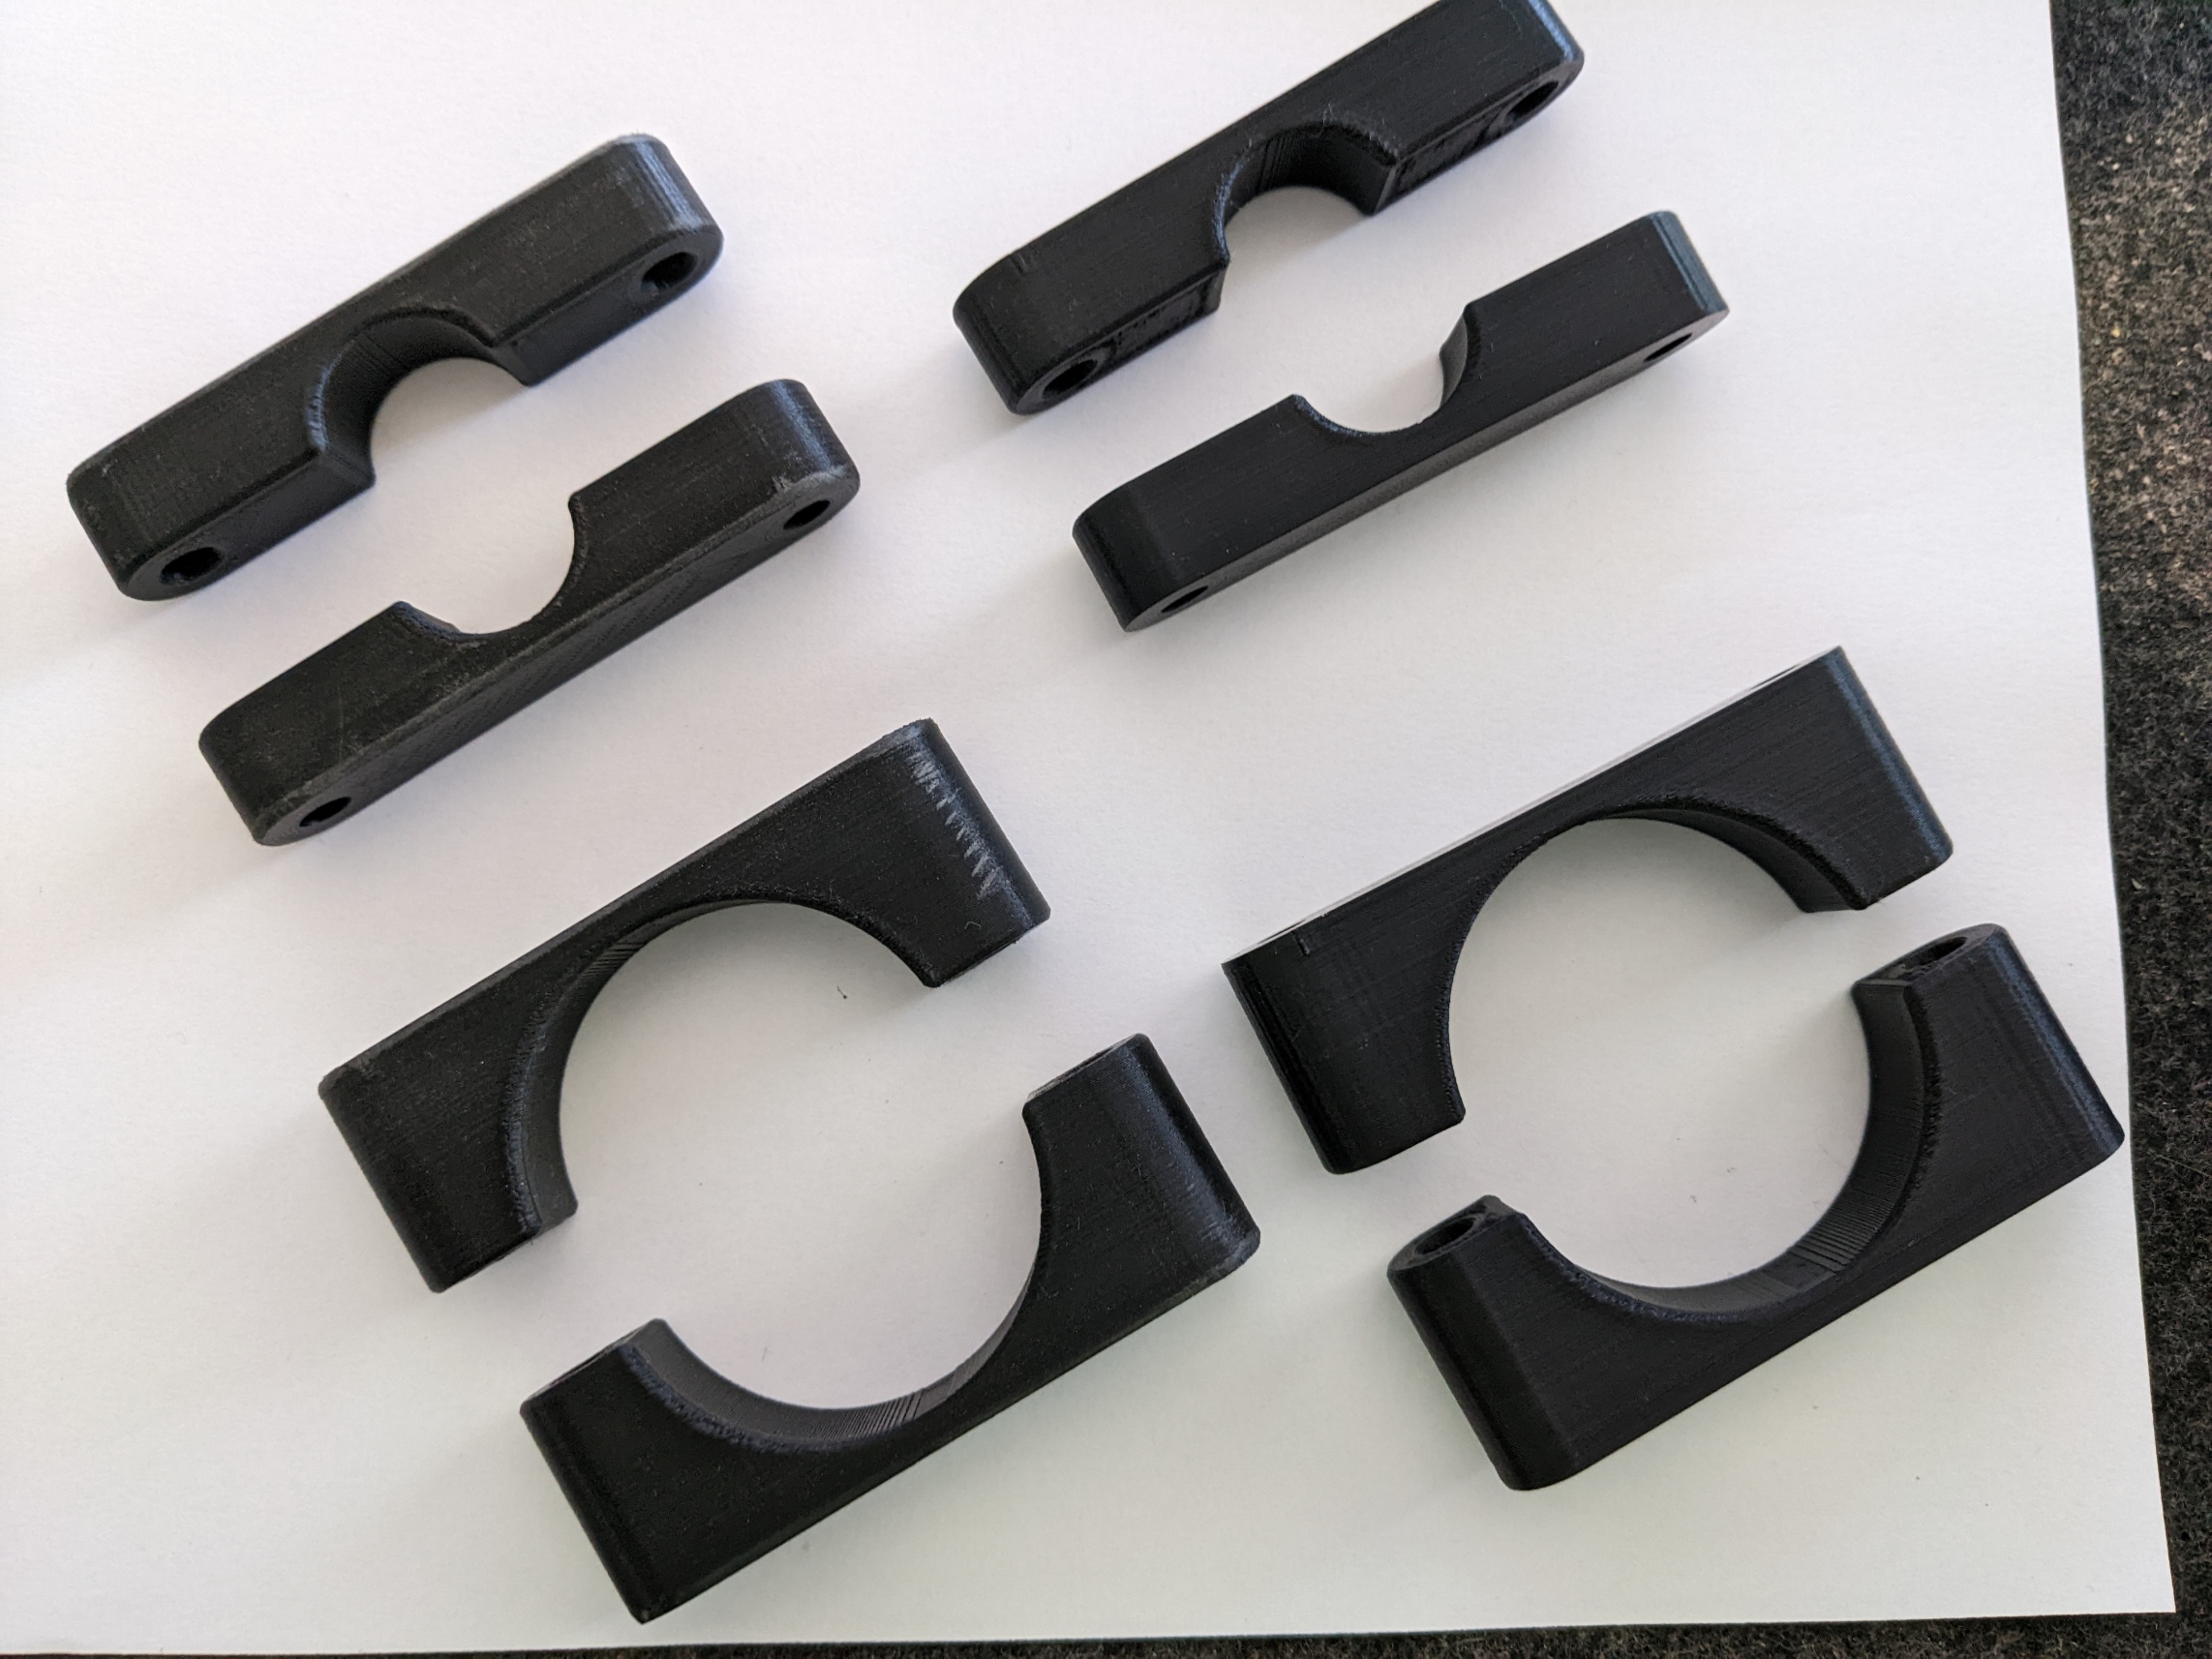
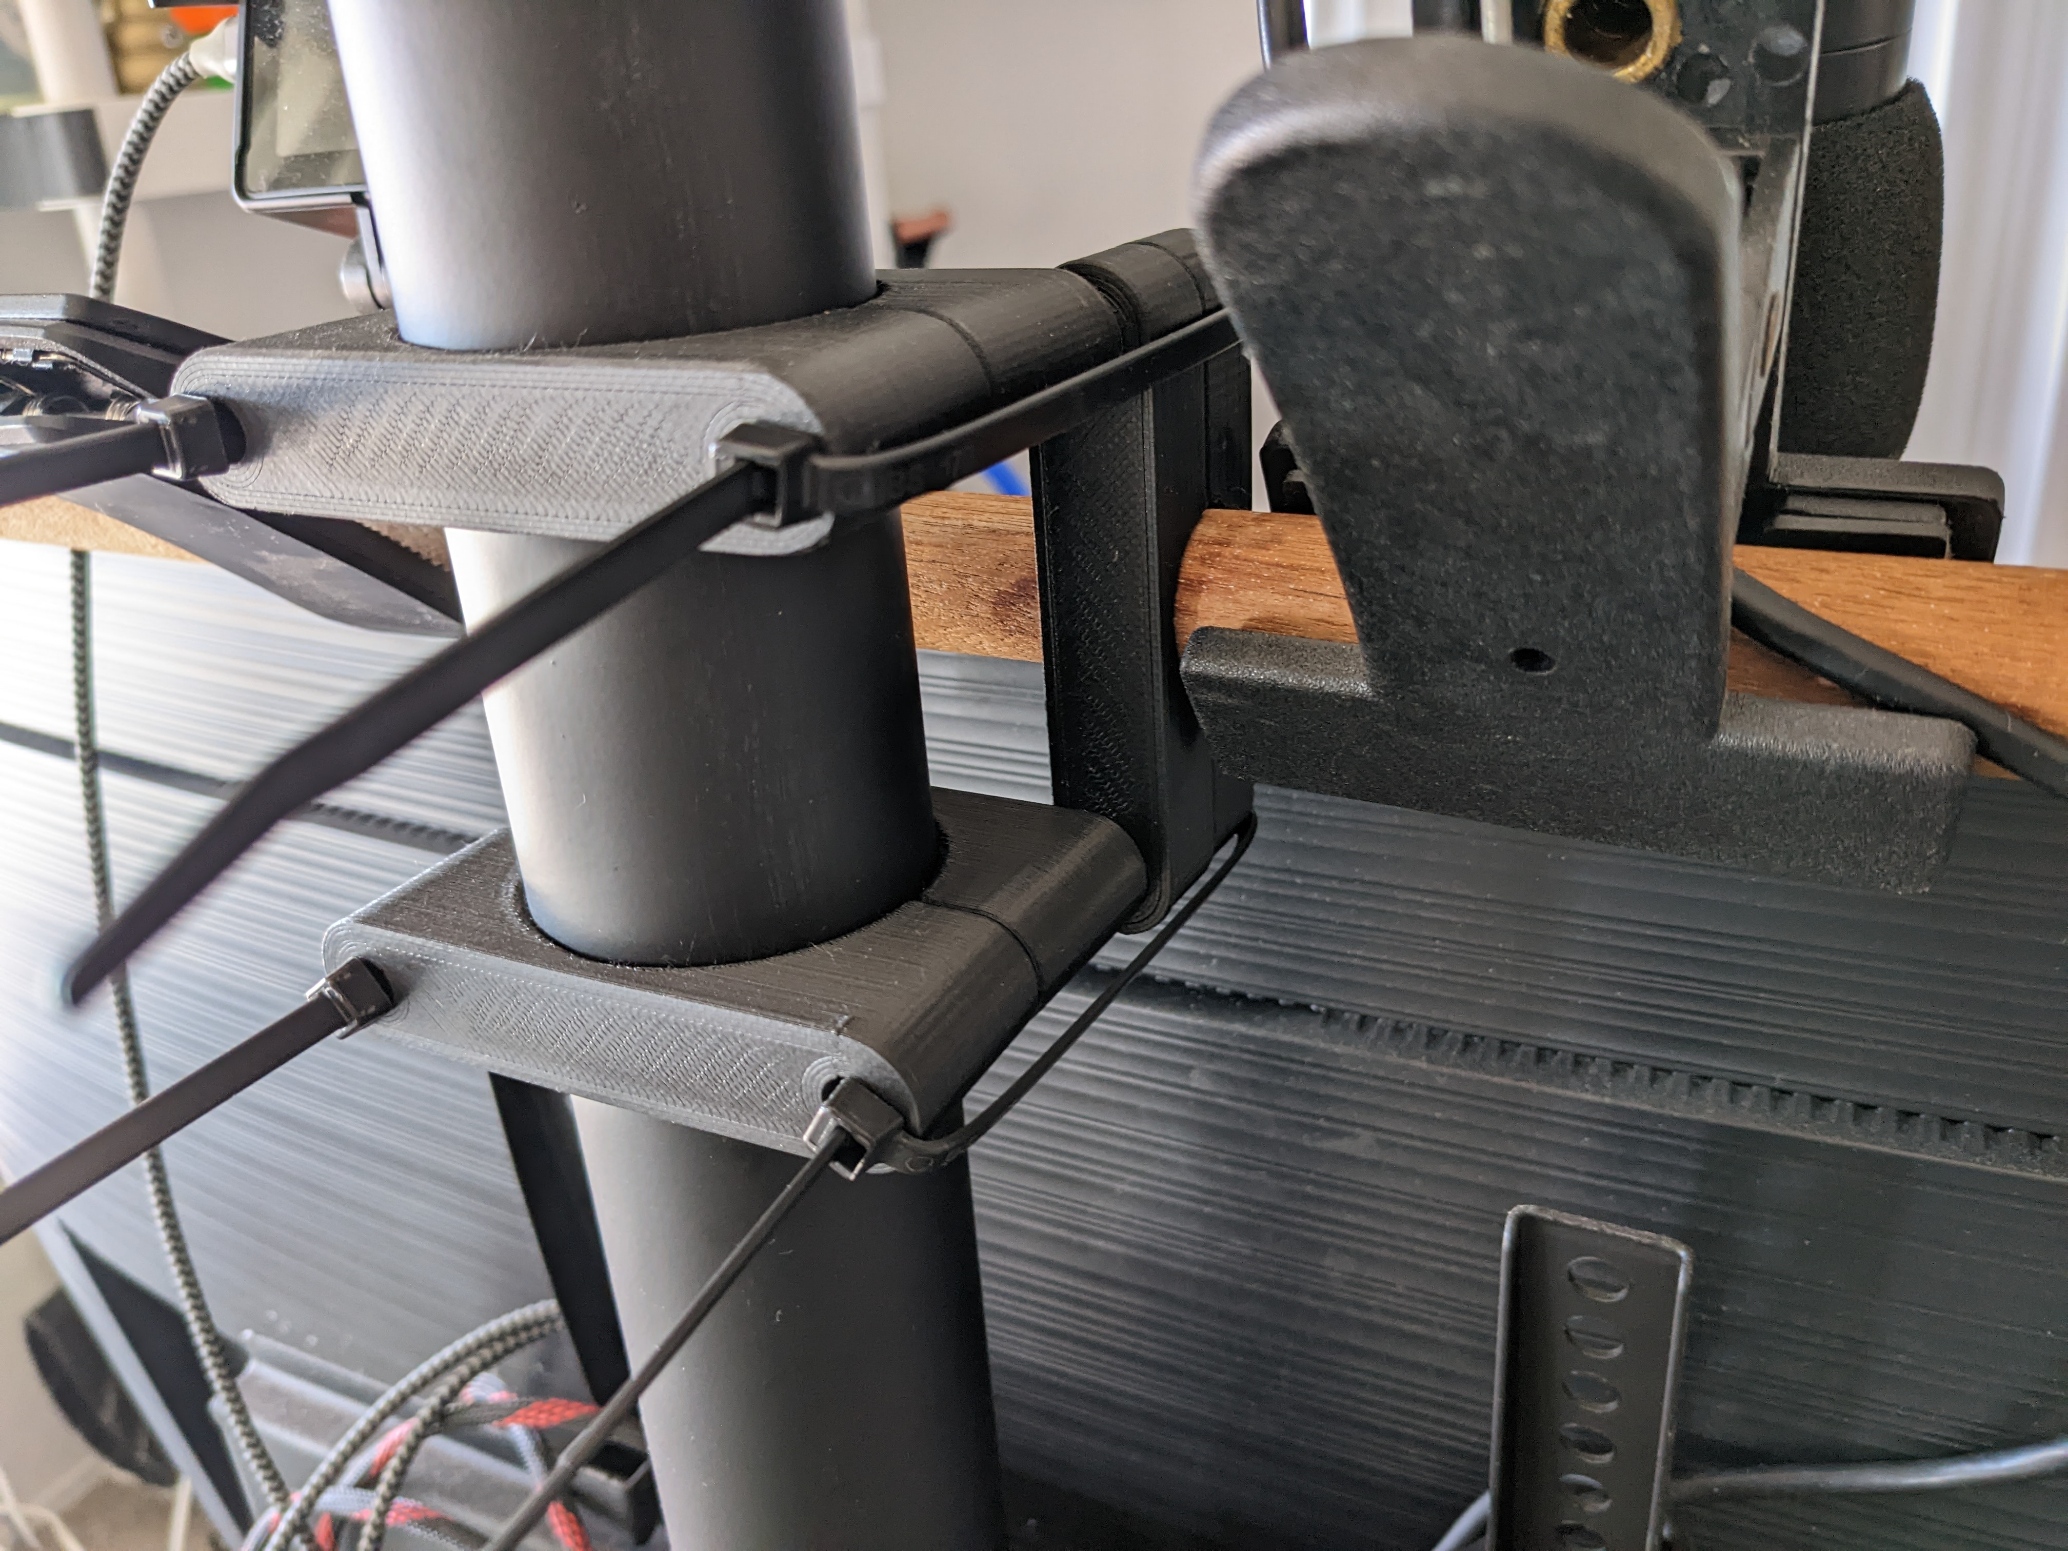
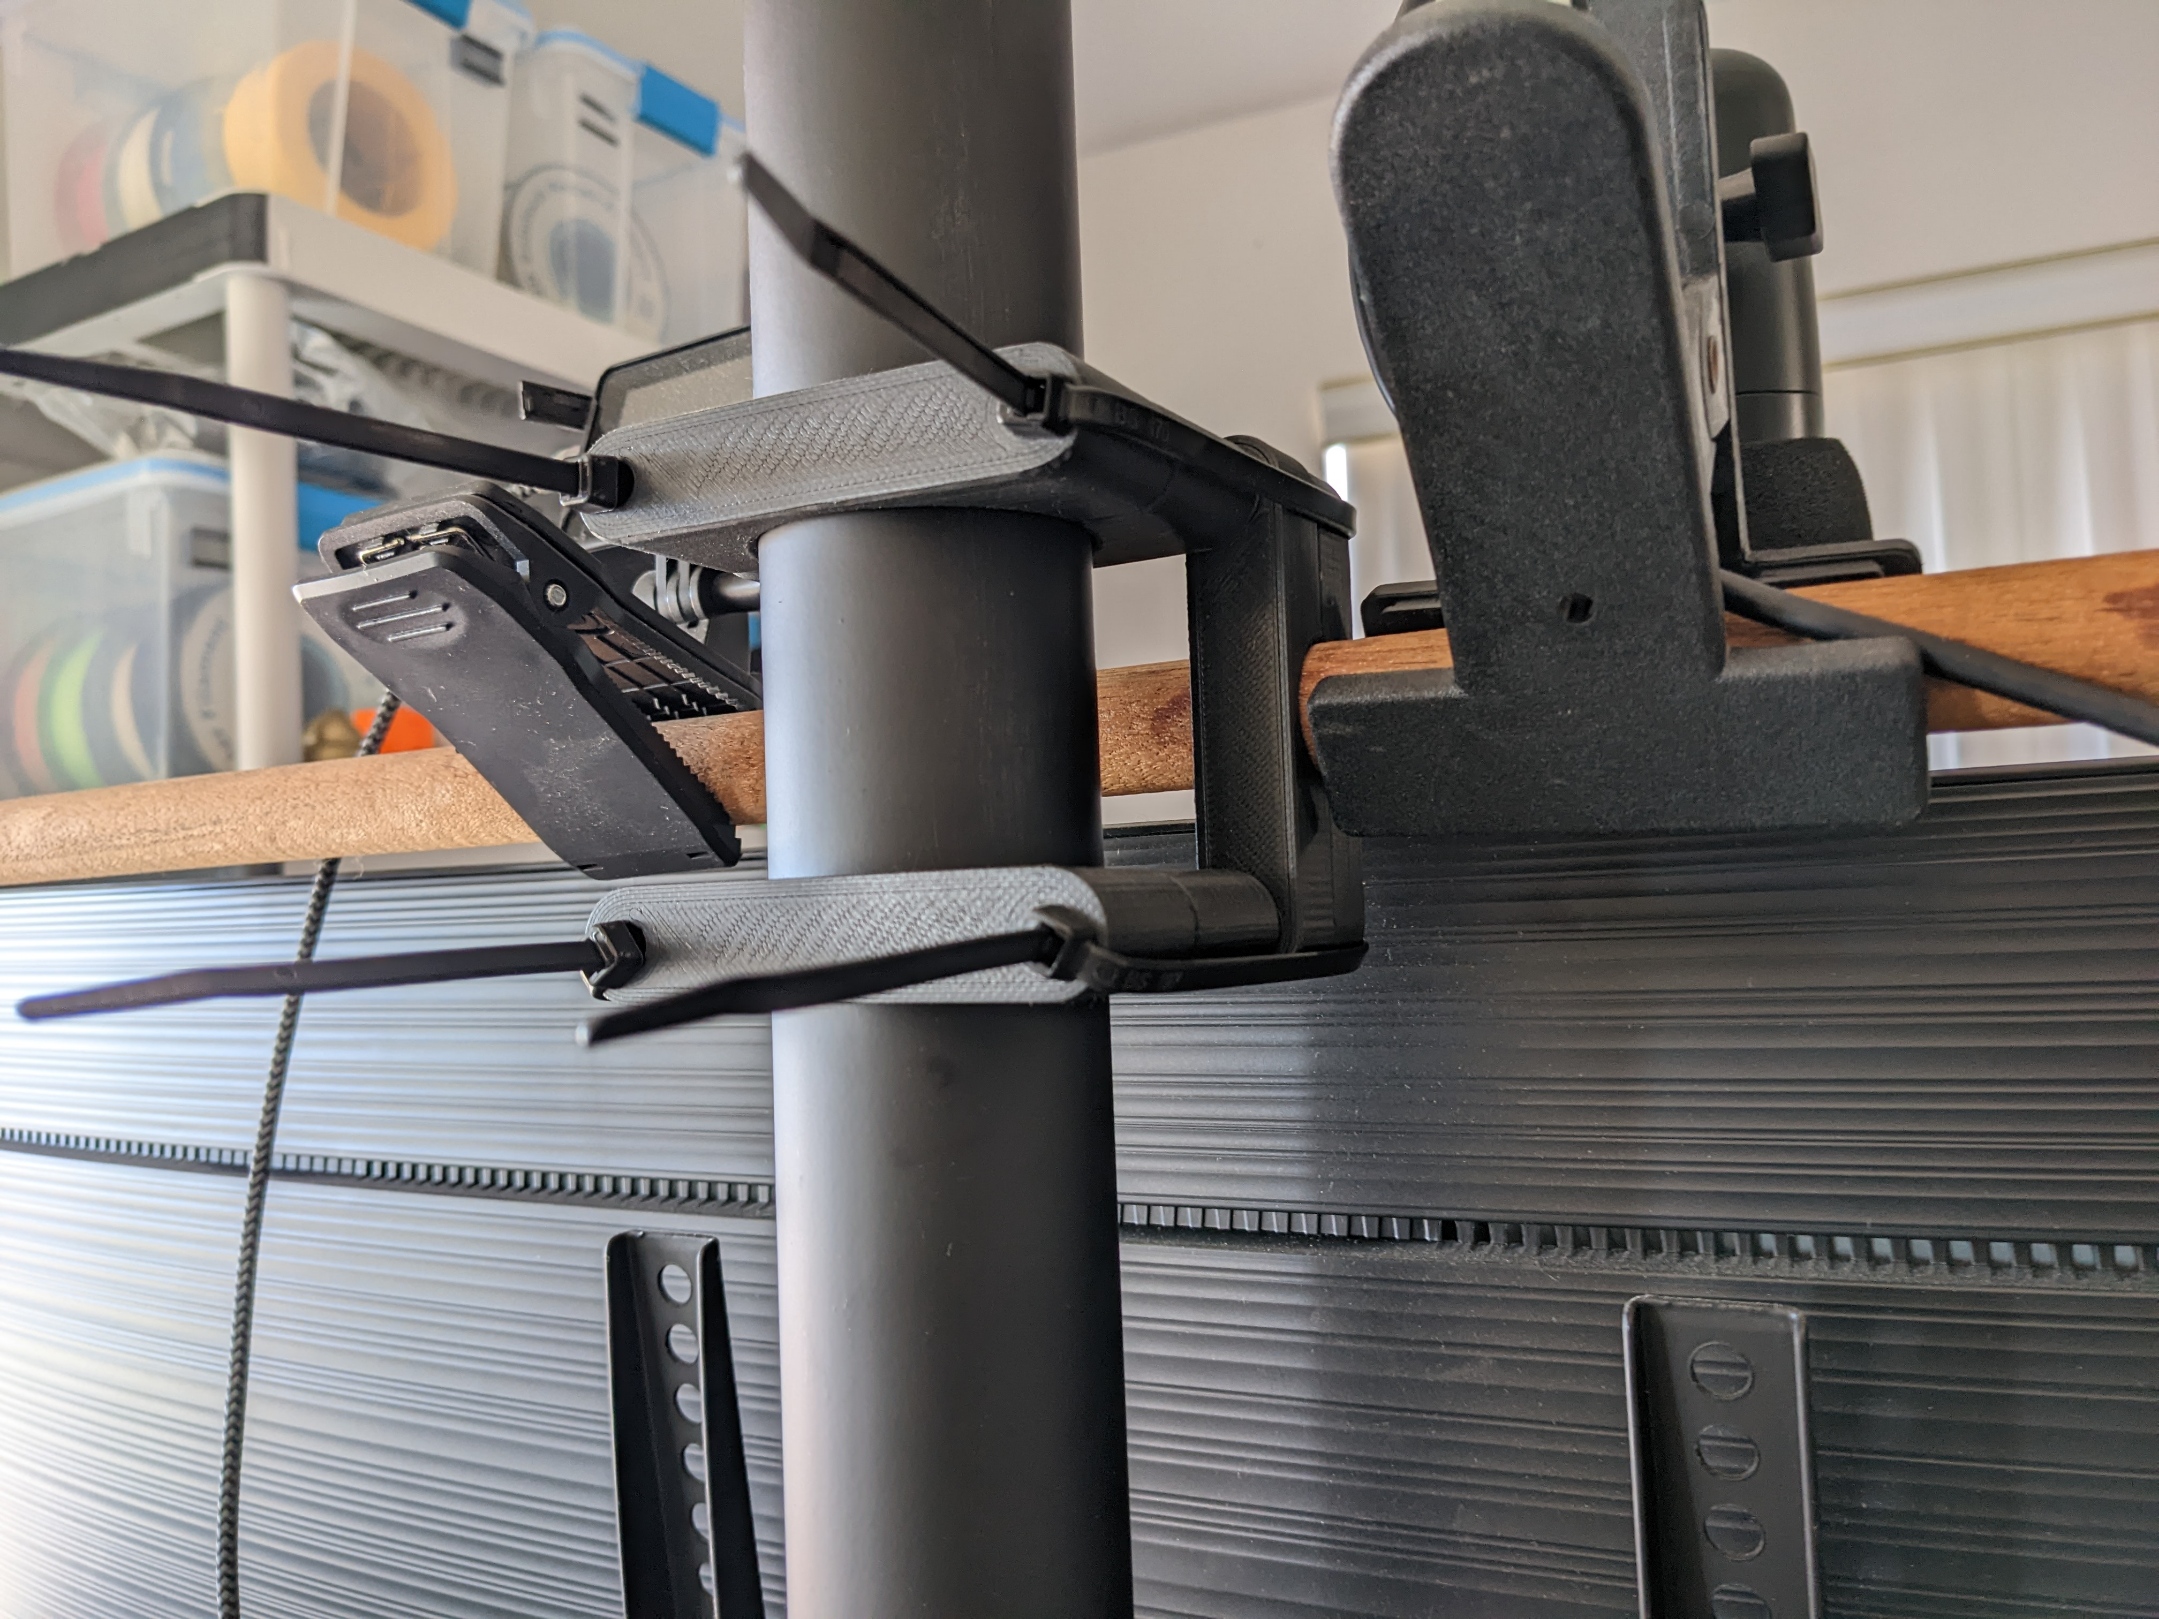
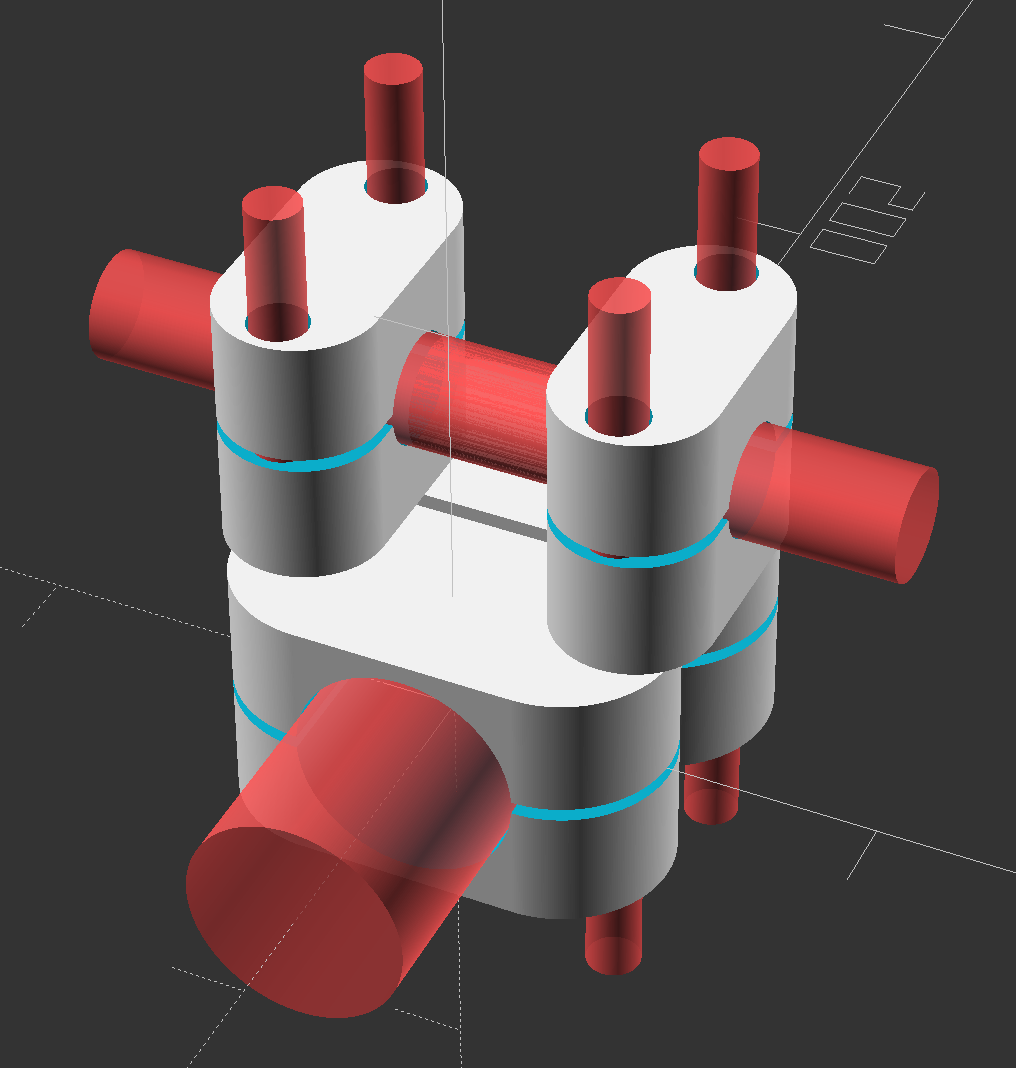
Overview: My office rolls to where I need it in my home. I use a 55" curved 4K TV as my monitor (equivalent to four 27" 1080p monitors in area, but way better in use), mounted on a rolling TV stand. I needed to attach my Zoom kit (mic, webcam and light), and trying to use spring clips on the thin bezel of the monitor was a FAIL. I designed this clamp system to let me add a horizontal 7/8" (22 mm) diameter wooden rod to the stand's 2" (50.8 mm) vertical tube to provide a bar above the monitor for the spring clips. I initially implemented this in OpenSCAD (that file is still included), but as I continued to evolve the design, I got fed up with the OpenSCAD Customizer being a post-processor, rather than natively integrated with the design. I was also upset that I couldn't easily add fillets or chamfers without making each element from scratch as an extrusion, rather than as a simple 3D CSG object with a small modification. The only suitable OpenSCAD alternative I could find was IceSL, which in addition to being known as an advanced slicer, also includes full CSG (Computational Solid Geometry) support with the addition of volumetric processing capabilities not available in OpenSCAD. Another advantage is that the IceSL language is Lua, a very popular embedded scripting language, rather than the proprietary and limited OpenSCAD language. Beyond this, IceSL also lets you explicitly manage the user interface, adding statefulness and letting computations interact directly with the user. Be sure to read the Notes at the end! I've collected some hints, tips and tricks there that really didn't fit anywhere else. ToDo Items: Possible upcoming changes for TubeClamp.lua. Maybe. Eventually. Add a slider to increase the clamp height, to add strength to the middle of the clamp.Add Lua code to provide support for the OpenSCAD presets JSON file (TubeClamp.json). Preparation: Record the following measurements. While it is OK to use the nominal value (if known), making a careful measurement (preferably using digital calipers) will ensure the best clamp fit and performance. Measure the diameter of each tube/pipe/rod for which clamps are needed. Measure the diameter of the bolt or threaded rod to be used to connect the clamps. Note: If using tie-wraps, the diameter value to use should be roughly 1.5 times the width of the tie-wrap. Instructions for the IceSL Lua file: (Tested only on Windows 10.) Install IceSL. Download and unzip TubeClamp.lua.zip (and any other files you desire). Start IceSL-slicer. You will notice two windows appear, a console and a GUI. Open TubeClamp.lua, either by using File→Load model or drag&drop. Follow the first prompt to enable “Allow IO + OS”. This is needed to enable the script to output the STL file at the end. Check the checkbox, which will cause the model parameters to appear, and cause the default model instance to render: This clamp is intended to go around a 2" (50.8 mm) tube. Notice the clamp depth (its length along the tube), is set to the minimum width needed to provide adequate support for the bolt holes. You may either use the slider or type a value to increase this value to support very heavy loads. Notice the values shown in the console window, particularly those after each [lua] line header. Most of these are general information, but the Bolt centers value is especially important: If you intend to stack clamps to hold tubes having different sizes in parallel. then this value must match for each clamp if one pair of bolts is to hold both clamps. For most situations, you may simply set the Virtual pipe diameter to the diameter of the larger tube, then check to ensure the Bolt centers match. Once the clamp parameters have been adjusted to meet your needs, check Done adjusting values?. You will next be allowed to adjust the Mesh Resolution parameter, which should be avoided except for special circumstances. Check Ready to convert. You will next be allowed to modify the file name. The name provided is guaranteed to be unique and should not need to be changed. Check Ready to save?. You will next be prompted to check the Console window values. Unfortunately, checking Done! does nothing: You will need to manually to close the GUI window to exit the program. Repeat the above steps if you wish to make a set of clamps for a different sized tube. For my initial use, I made half-clamps for a 2" tube and a 1" rod (which also had a 2" Virtual pipe diameter to gain some distance between the clamps). Printing the clamp(s):Load each clamp you created above into your slicer of choice. I generally recommend Cura or PrusaSlicer, with IceSL-slicer itself reserved for the truly adventurous.Replicate it/them (or load it twice) for the other half. Make 4 copies of each for matching pairs of clamps. For my initial use (see photos), I made 4 copies of the 2" clamp-half, and 4 copies of the 1" clamp-half, for a total of 8 parts on the bed.Arrange them on the bed.Select the material: PLA is recommended, as it was used to test this model.Select the walls: At least 3 walls should be used, more for larger pipes or heavier loads.Select the infill: Use a strong omnidirectional infill, such as Gyroid or Octet. 5% infill should be OK for light loads.Slice and print them! Assemble the clamp. Don't over-tighten the clamp bolts! It's just thermoplastic.If the clamp breaks, increase wall count and infill percentage.I have found that using tie-wraps works just fine for light and moderate loads. Instructions for the OLD OpenSCAD file (still included): (Tested only on Windows 10.) Install OpenSCAD. Download TubeClamp.scad (and any other files you desire). Also download and unzip TubeClamp.json.zip if you want the OpenSCAD Customizer file. Double-click TubeClamp.scad to start OpenSCAD. Or launch OpenSCAD, then use File→Open to select TubeClamp.scad. The Customizer panel should appear automatically at the right of the OpenSCAD window. If not, select Window→Customizer. If the Parameters aren't shown, click on the 'Parameters' blue bar. Set the pipe diameter and bolt diameter values as desired, and (for now) set virtual pipe diameter to match pipe diameter. All values are in millimeters. A few presets have been provided as examples (50.8 mm = 2", and 6.35 mm = ¼"). Tab or click out of the settings and ensure the model view is updated. You should see something like this: Notice that the Console panel contains some key clamp dimensions. These are useful when creating orthogonal stacking clamps.If the Console panel gets full, right-click and select Clear. Select Design→Render, or press F6. You should see something like this: If the clamp looks correct:Select File→Export→3MF (or STL).Give your clamp 3D file a descriptive name.Save your parameter values as a preset for future use.The following steps automatically update TubeClamp.json to add your new preset.In the Customizer panel: Click the ‘+’ button to add a new preset.Give your preset a descriptive name (e.g., same used for Export).Click the ‘save preset’ button. Load the clamp you created into your slicer of choice. Replicate it (or load it twice) for the other half, arrange them on the bed, then slice and print them.PLA is recommended, as it was used to test this model.At least 3 walls should be used, more for larger pipes or heavier loads.Use a strong omnidirectional infill, such as Gyroid or Octet. 5% infill should be OK for light loads. Due to OpenSCAD limitations (compared to IceSL), the resulting model will have no rounding on the edges. A work-around is to load your clamp 3MF/STL into FreeCAD (or your CAD program of choice), add the chamfers, then export the result. Alternatively, take a pass over the edges using a deburring tool, a fingernail file, or sandpaper. Assemble the clamp. Don't over-tighten the clamp bolts! It's just thermoplastic.If the clamp breaks, increase wall count and infill percentage. Notes: To learn more about the IceSL Lua script, load it into IceSL-forge. For serious script development I recommend using VSCode (Visual Studio Code). VSCode also works well with OpenSCAD files, though you will want to add an OpenSCAD Support plugin. Example clamps are included as OpenSCAD presets. In the Customizer panel, click the ‘v’ after ‘design default values’ to see the list. For IceSL, open TubeClamp.json in the editor of your choice and manually copy the parameter values over to IceSL. See the included photos for examples of using the clamps in sets. The (ugly!) code used to render them is included at the end of TubeClamp.scad. Rather than trying to find bolts of the needed length, I recommend getting a length of all-thread and a bag of nuts, then cut to the needed length. Search online to learn how to cut and prepare all-thread. You may want to use fancy nuts, such as nylocks or cap nuts or wing nuts. Add washers if the clamp is disassembled/reassembled fairly often. You may want to print your own nuts and bolts! These would be mainly decorative, suitable only for light loads. I'd recommend going with nothing smaller than an M10 (10 mm) diameter, going larger to get a chunky look. Rather than printing a bolt and a nut as a pair, for maximum strength print a threaded rod with two nuts. Be sure to print the threaded rod horizontally (laying on the bed) so the layers go along the length, which is needed for FDM parts under tension. The nuts may be printed facing up on the bed, as they will be under compression. Tie-wraps also work fine! Really! They are surprisingly strong, perfect for light or medium loads. Use up to 3 through each bolt hole for added strength. Way faster and easier than using threaded rods and nuts. Snug them up gradually, adjusting the clamps as you go, doing the final tightening only after everything looks right. Just in case, be sure to have some spare tie-wraps. Anything can be attached to the clamp using the mounting bolts or tie-wraps, such as shelves or lab equipment (see comments). The clamp is intended to be a close (but not tight) fit to maximize contact area with the tube in order to avoid any need for rubbery inserts. If the clamp doesn't easily slip into place or is way too loose, your printer may need to be calibrated. I can't seem to make up my mind if these clamps are for pipes or tubes. Sigh. Maybe they're for rods.
Tags: pipe, customizable, tube, clamp, resin print, nz made, made to order
Design credit: Original design by BobCc - licensed under CC-BY.
View original model + STL files on Printables ↗
View original model + STL files on Printables ↗
Frequently asked
How long does shipping take?
Customizable Stackable Tube/Pipe Clamp (UPDATED!) is printed to order. Lead time is typically 1-3 business days plus 1-4 days NZ shipping. Standard NZ shipping is $10, free over $75.
What material is this printed in?
By default this is printed in High-Detail Resin (8K) at 0.025 mm layer height on an MSLA resin printer. Custom material and colour swaps are available, just leave a note at checkout.
Can I get this in a different colour?
Yes. Every product can be printed in any of the resin colours we stock, or hand-painted on request. Leave a note at checkout or email [email protected].
Do you ship outside of New Zealand?
Currently New Zealand only. Australian shipping is coming.
Who designed this?
Designed by an independent sculptor and licensed for commercial printing. The original is linked on this page.