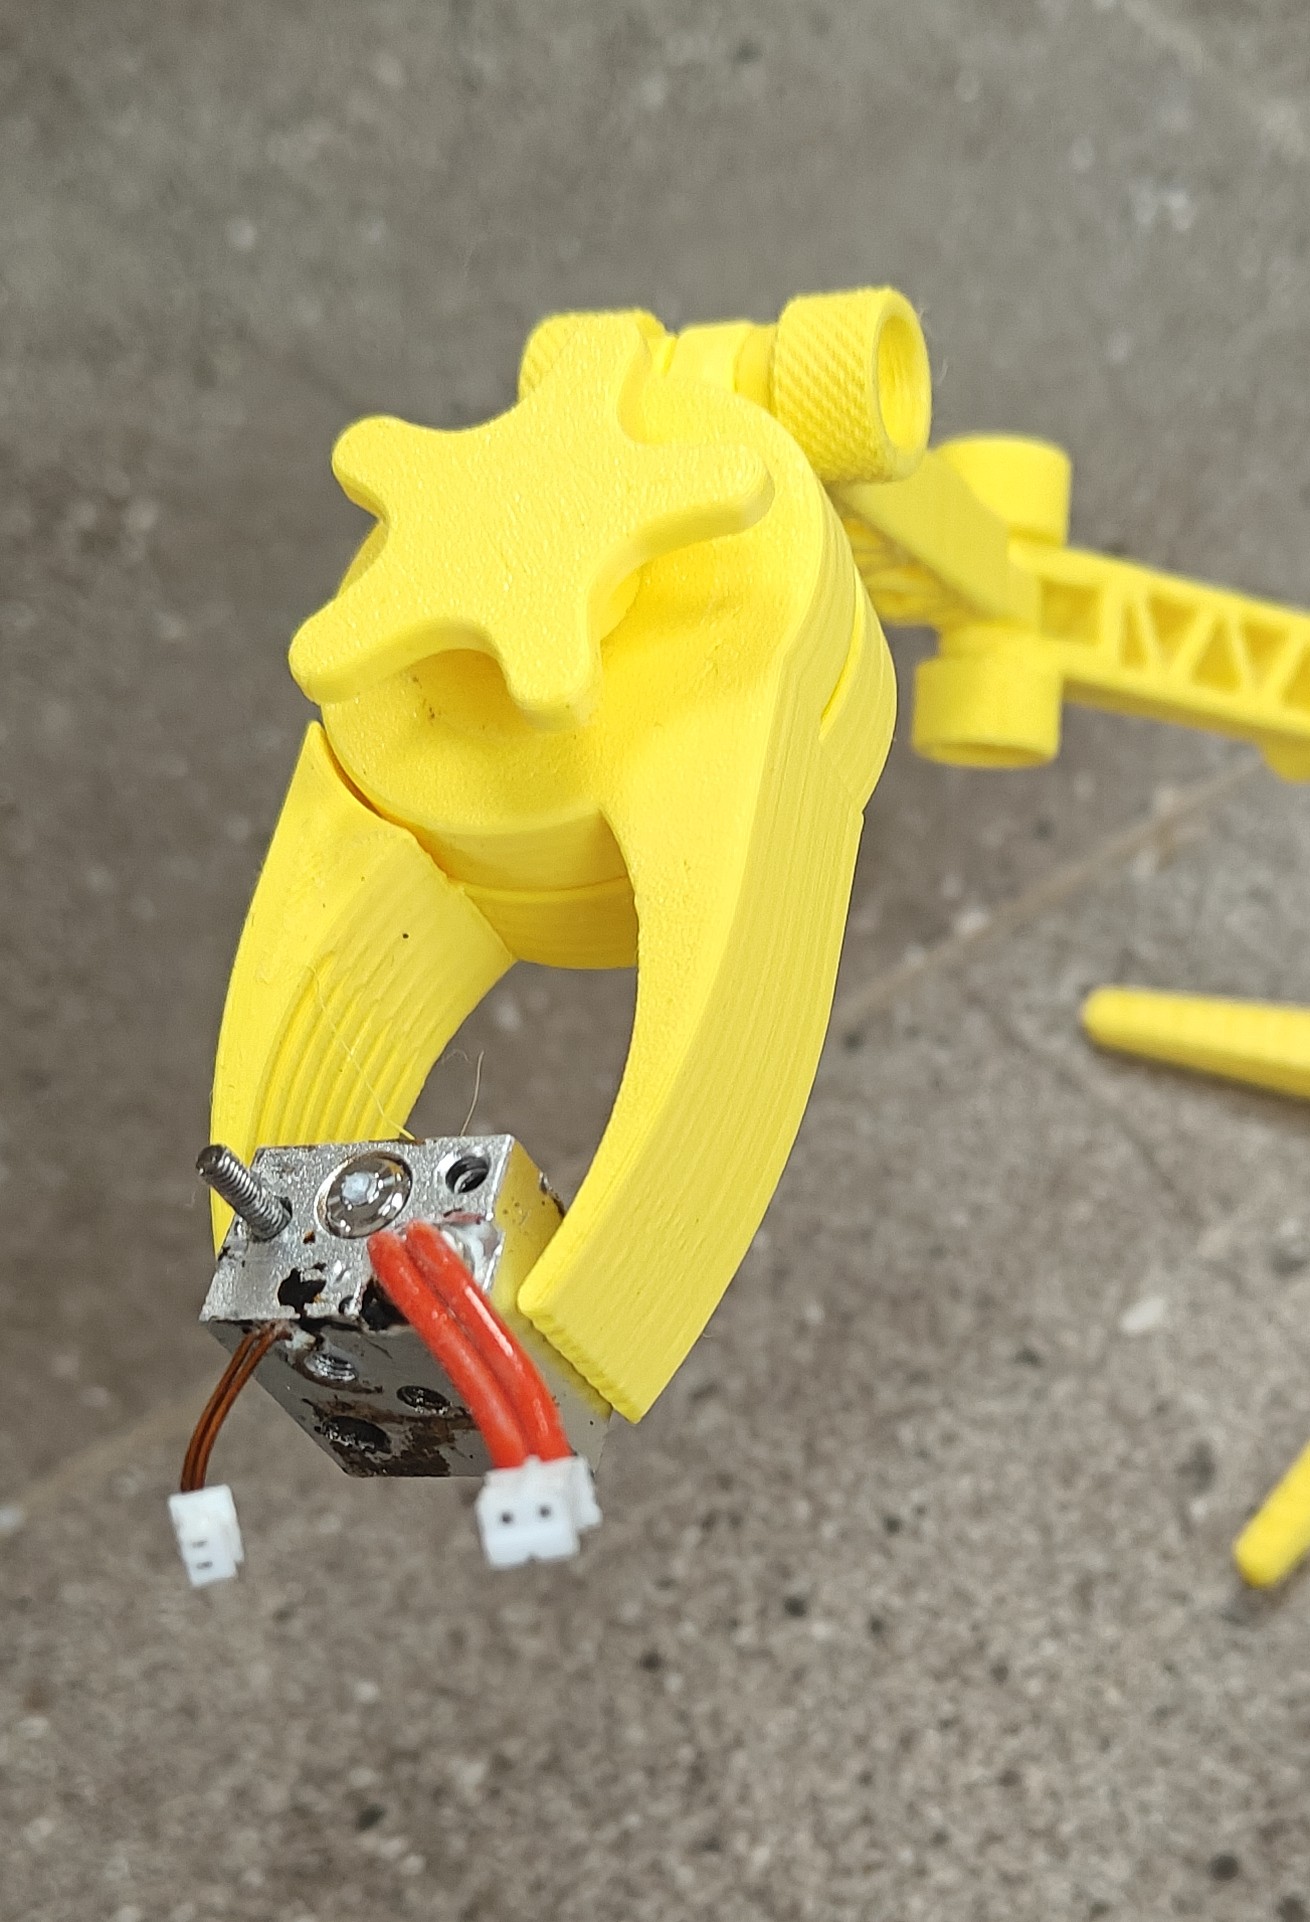
Hypocycloidal Clamp and Adjustable Arm
- Arrives in 2 to 7 business days Printed in Auckland. $10 shipping, free over $75
- 14-day faulty refund If it arrives broken or misprinted, we reprint or refund it
- Secure checkout Card payments handled by Stripe
- Material
- High-Detail Resin (8K)
- Colour
- Grey
- Weight
- ~31 g
- Print time
- ~1.7 h
- Express shipping
- $20
More information
I saw the idea of the hypocycloidal clamp on Robert Murray-Smith YouTube channel, who has now sadly passed away, he was such an inspiration.
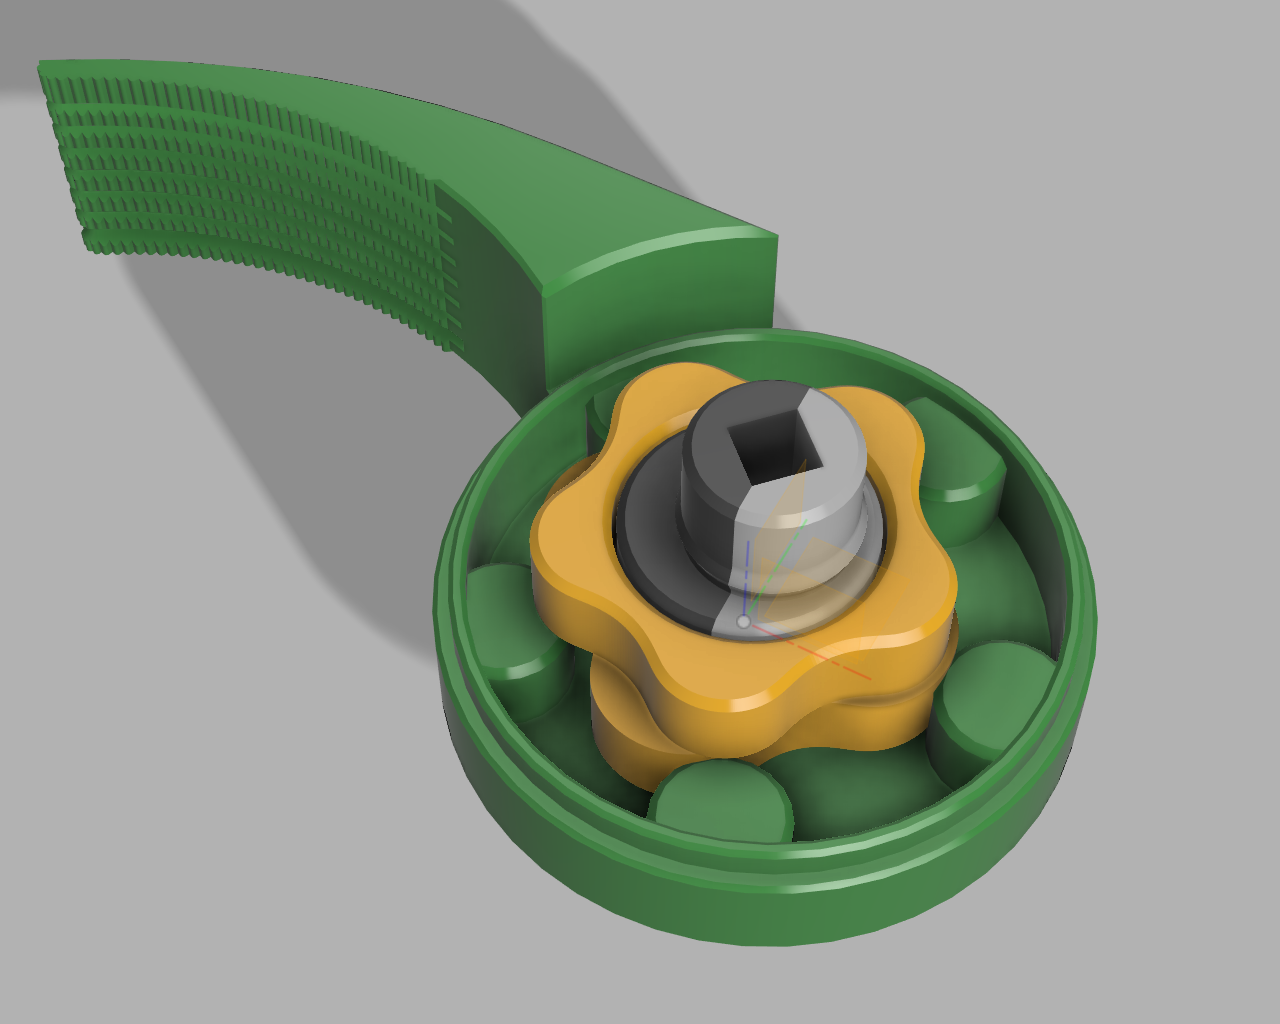
The hypocycloidal gears Make great reduces, in this case 20/1, in my first version I had 72 to one, a little too much.
I recommend assembling it all first without glue (in fact you don't need to glue), ensure it all fits and rotates, it may need a bit of easing in and working in.
When assembling make sure you put the four leaf side of the central cog with the five pin case cover, the five leaf side should be with the six pin case cover. There should be enough tolerance to allow the cog to rotate as it oscillate. I used silicon gel to lubricate it.
• Place the two axle haves together, make sure you align them the right way around, one end is slightly shorter than the other.
• Place the central cog over the axle, use lubricant between the two, it should easily turn around the axle
• Push the Axel through the appropriate case side, remember four leaves go with five pins, it should click in place, again lubricate around the central cog.
• As you turn the axle you should see the four leaf cog slowly turn as the leaves interact with the pins.
• Clip the 6 pin case side on, again in showing the axle is free to turn. ensure you align it correctly, the xle should be free to turn and the outter case should turn as well, When happy click the case inplace. You may need you a little force to click the two sides of the case onto the axle, I used adjustable pipe grips to apply pressure, you should hear it click into place.
• Finally fit the knob and cap and on to the axle ends, the knob goes on the slightly longer side.
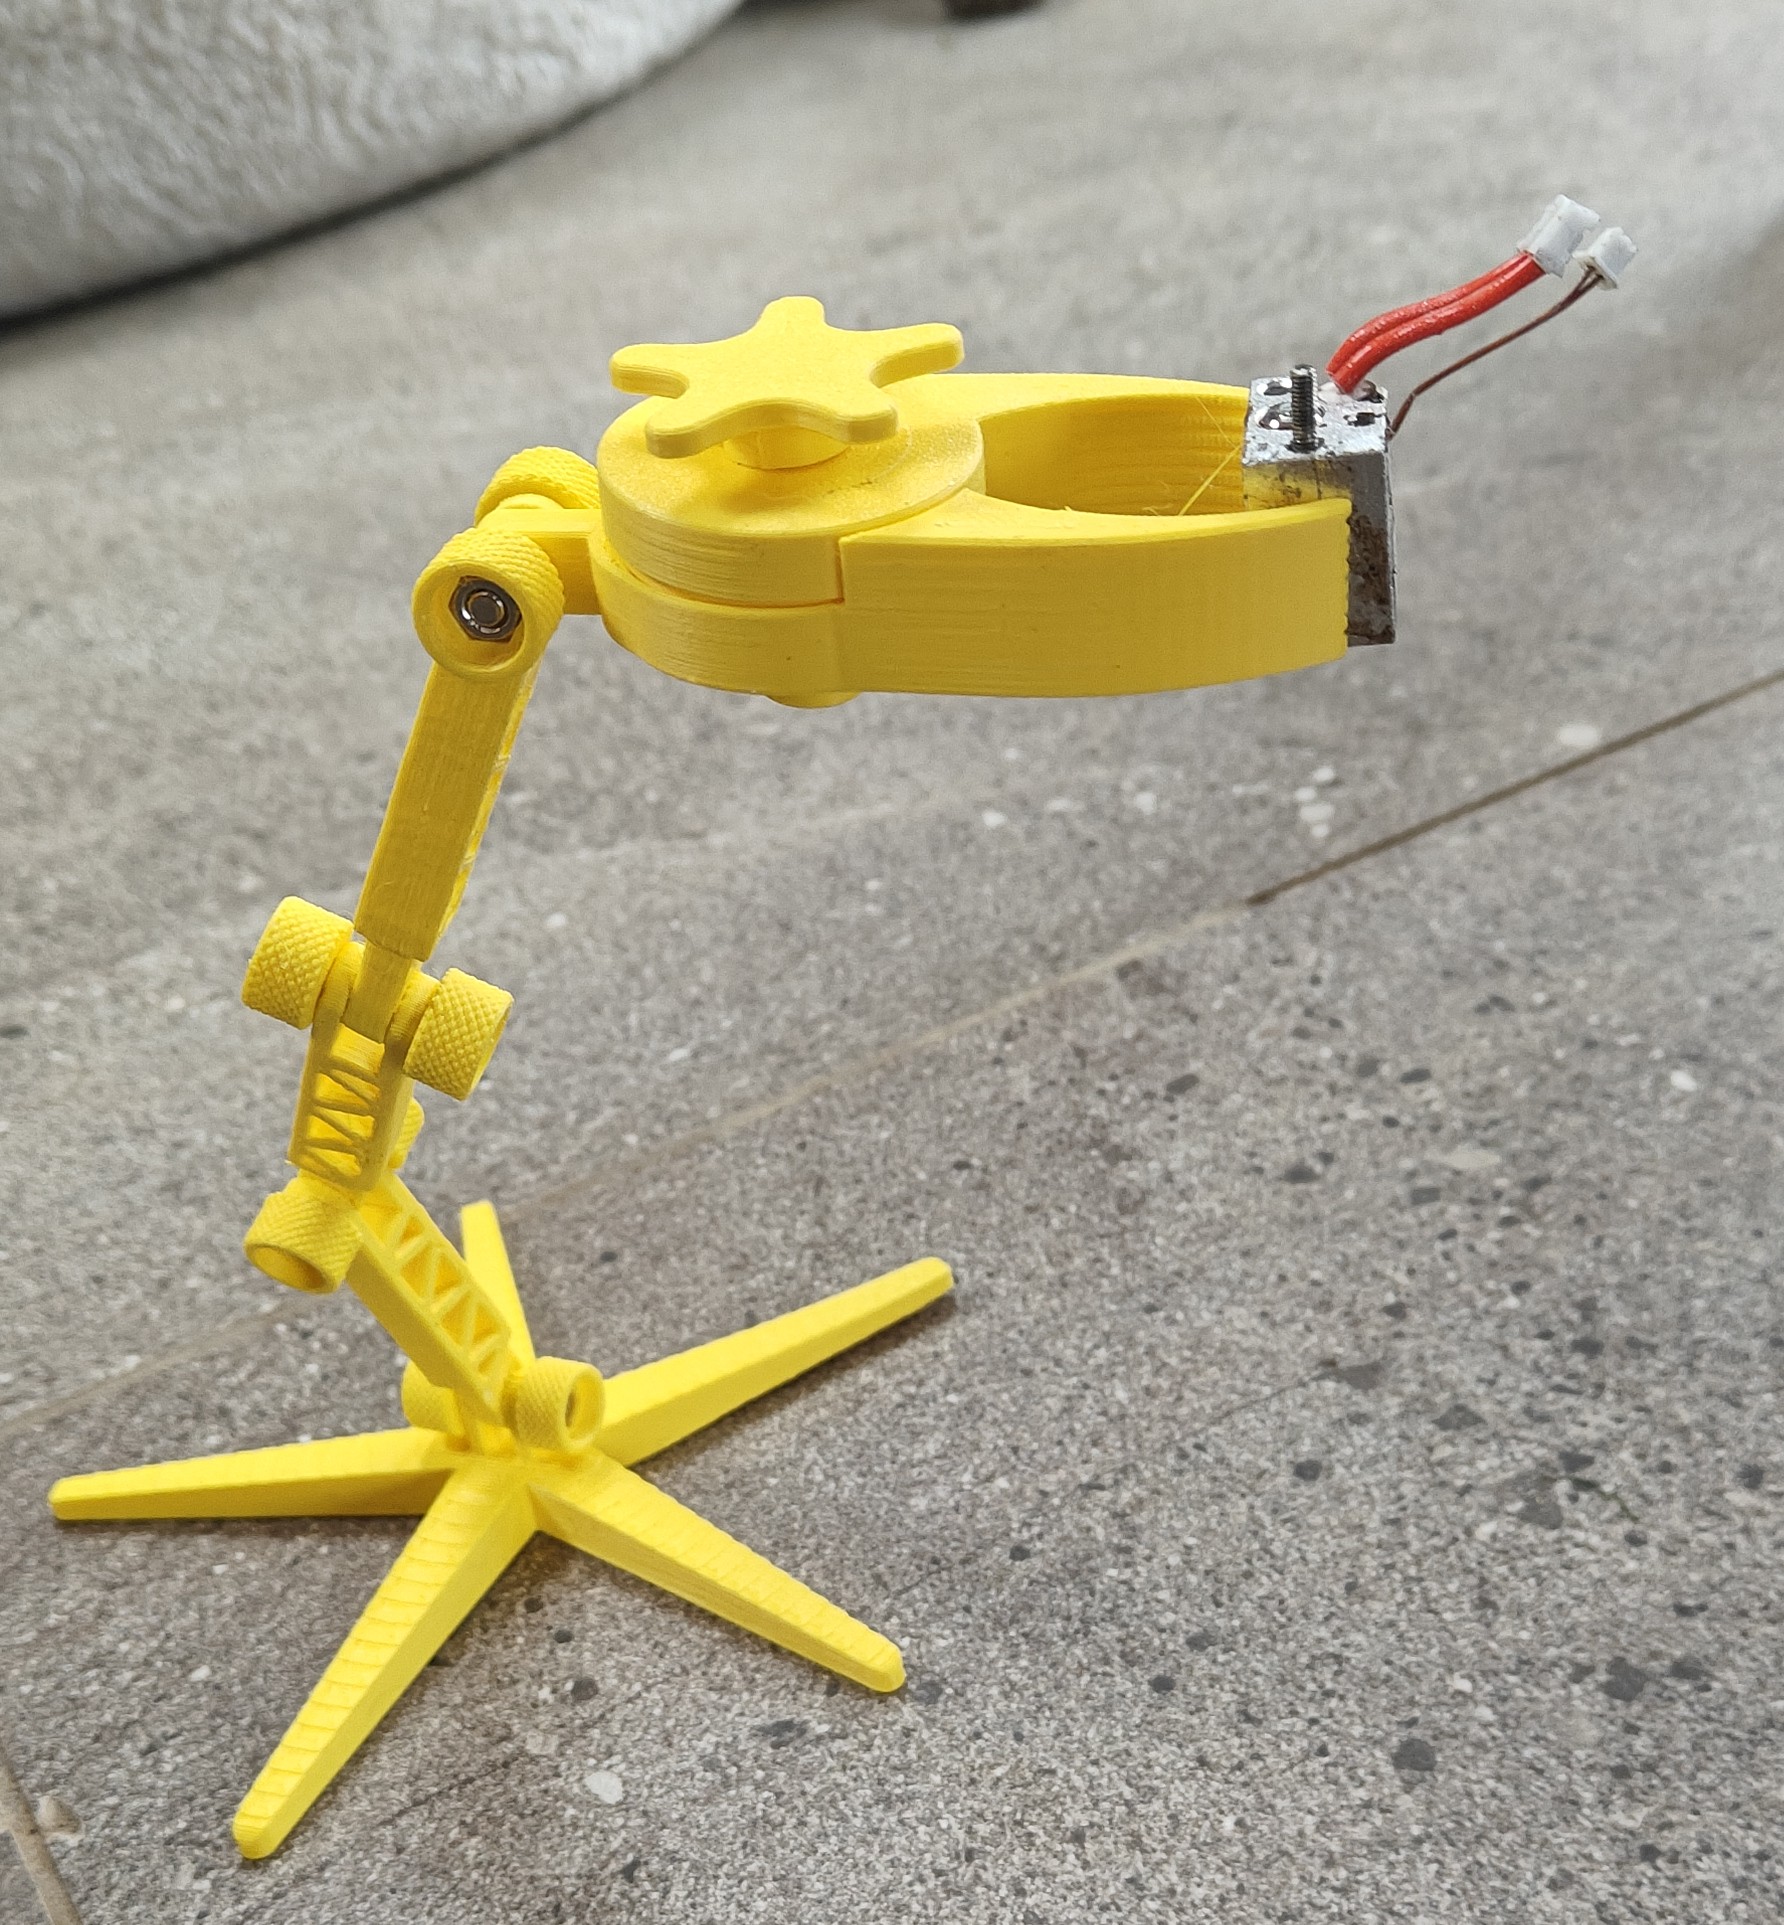
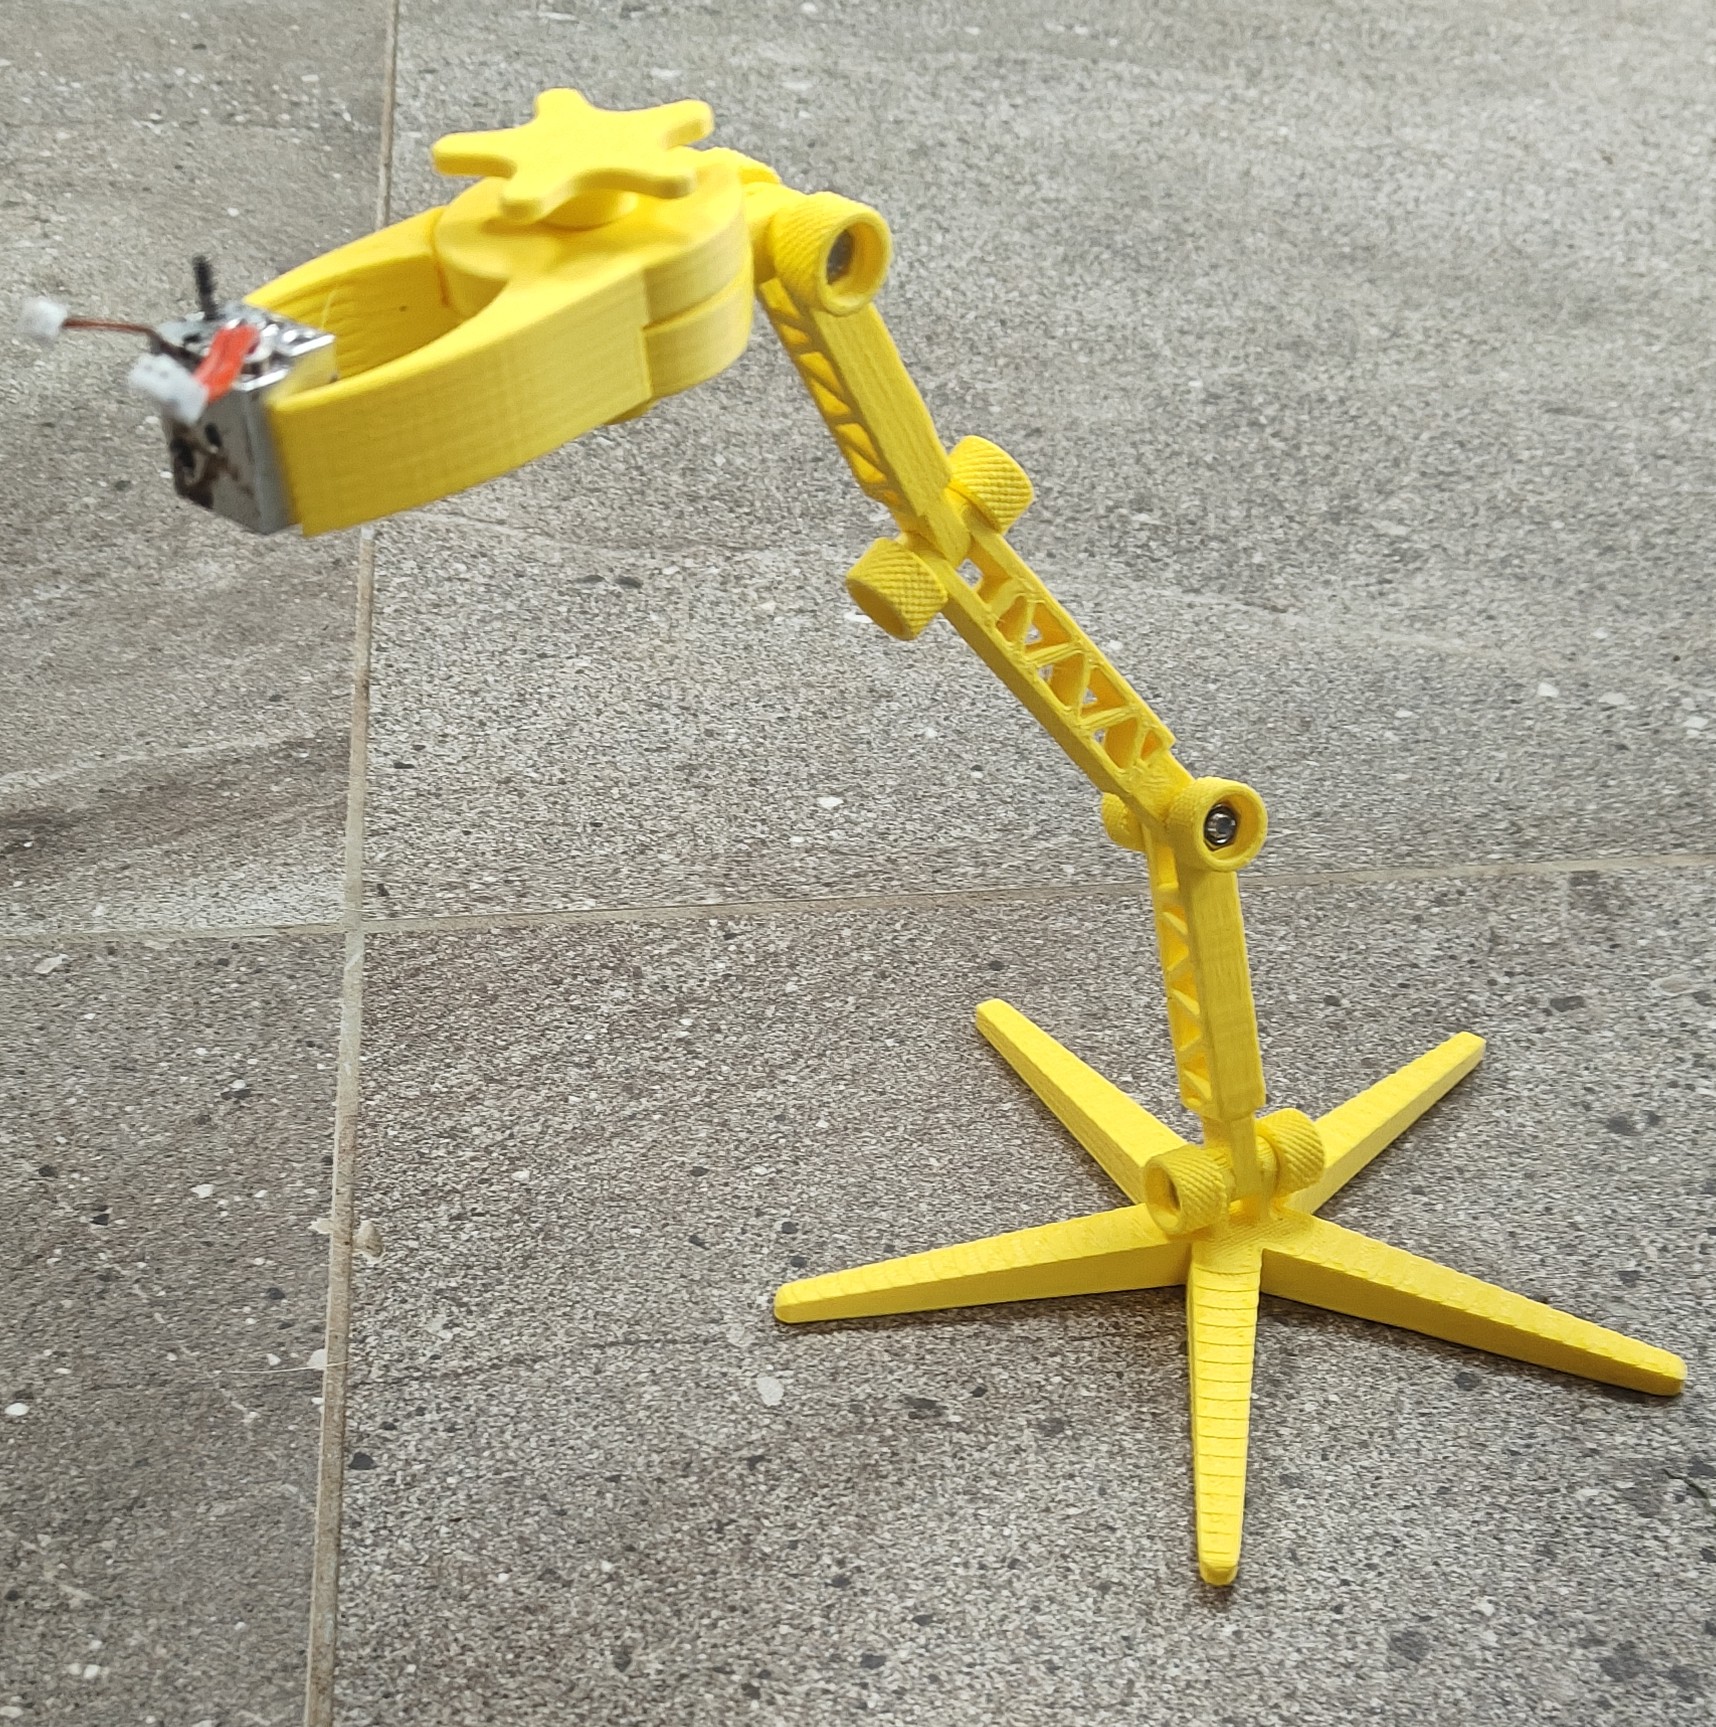
For the base and arm print as many linkages and knobs as required.
I used M4 x 20mm nuts and bolts. the heads and nuts will fit nicely into the knobs.
I used Sunlu PLA 2+ for the print.
0.2mm layers
6 wall loops
6 base and top layers
40% infill.
Good luck
Design and description by GaryMo , licensed CC-BY.
Frequently asked
How long does shipping take?
Hypocycloidal Clamp and Adjustable Arm is printed to order. Lead time is typically 1-3 business days plus 1-4 days NZ shipping. Standard NZ shipping is $10, free over $75.
What material is this printed in?
By default this is printed in High-Detail Resin (8K) at 0.025 mm layer height on an MSLA resin printer. Custom material and colour swaps are available, just leave a note at checkout.
Can I get this in a different colour?
Yes. Every product can be printed in any of the resin colours we stock, or hand-painted on request. Leave a note at checkout or email [email protected].
Do you ship outside of New Zealand?
Currently New Zealand only. Australian shipping is coming.
Who designed this?
Designed by an independent sculptor and licensed for commercial printing. The original is linked on this page.