Articulated & Flexi
Latching Box, Parametric Print in Place
SKU 3DPW-pr-782128
$58.00NZD
In stock · Made-to-order resin · Ships from Auckland · Free shipping over $75
- Material
- High-Detail Resin (8K)
- Colour
- Grey
- Weight
- ~40 g
- Print time
- ~4.5 h
- Shipping
- $10 std · $20 express
- Lead time
- 1-3 d print + 1-4 d ship
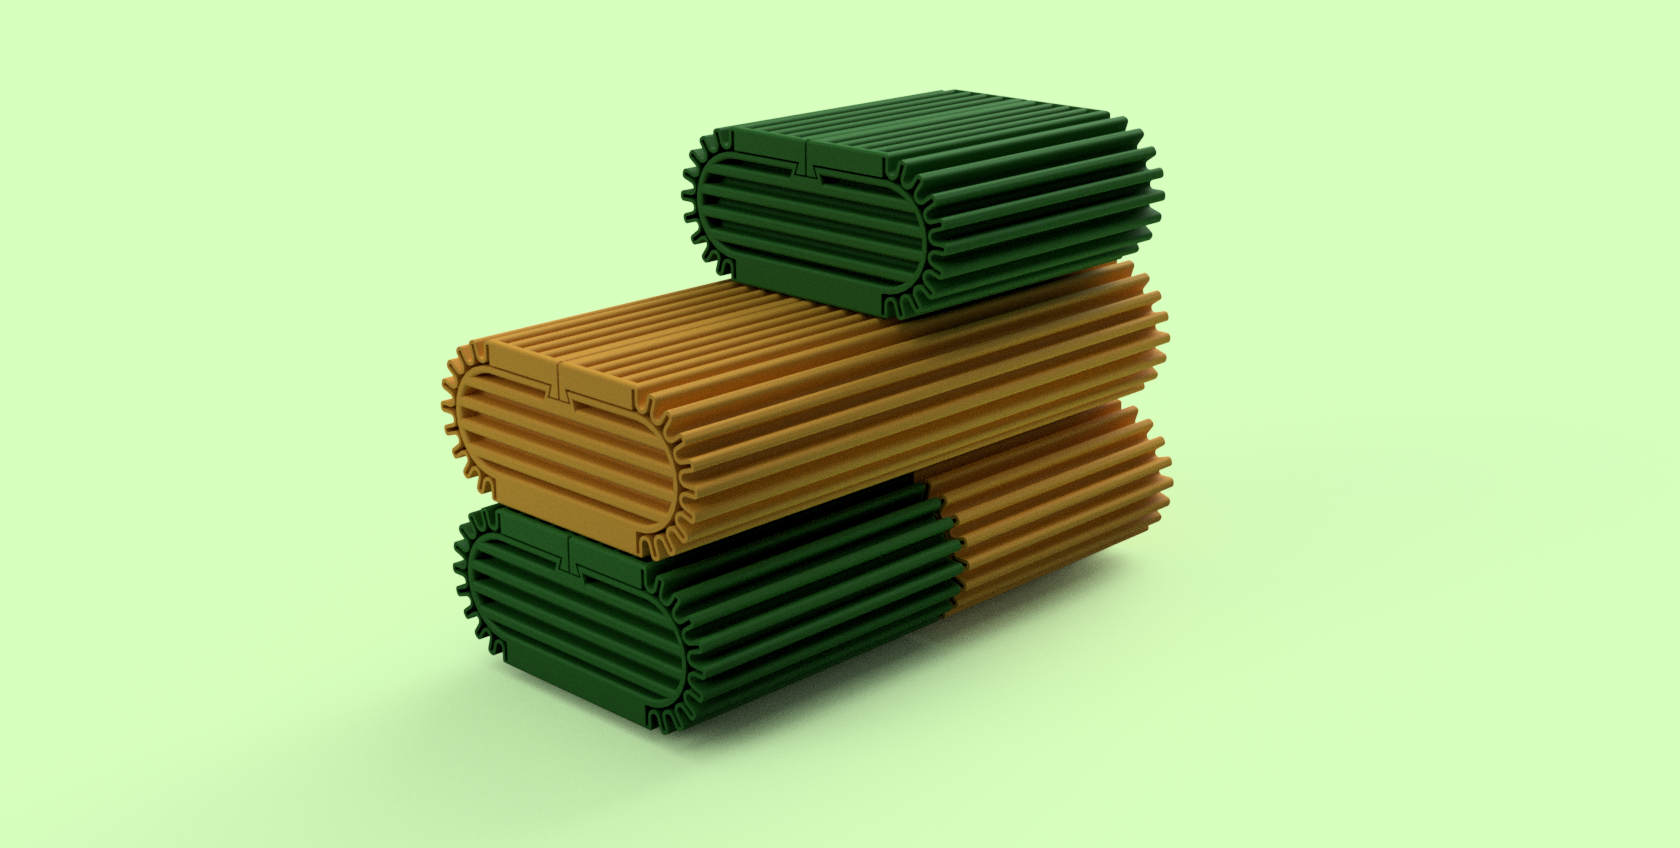
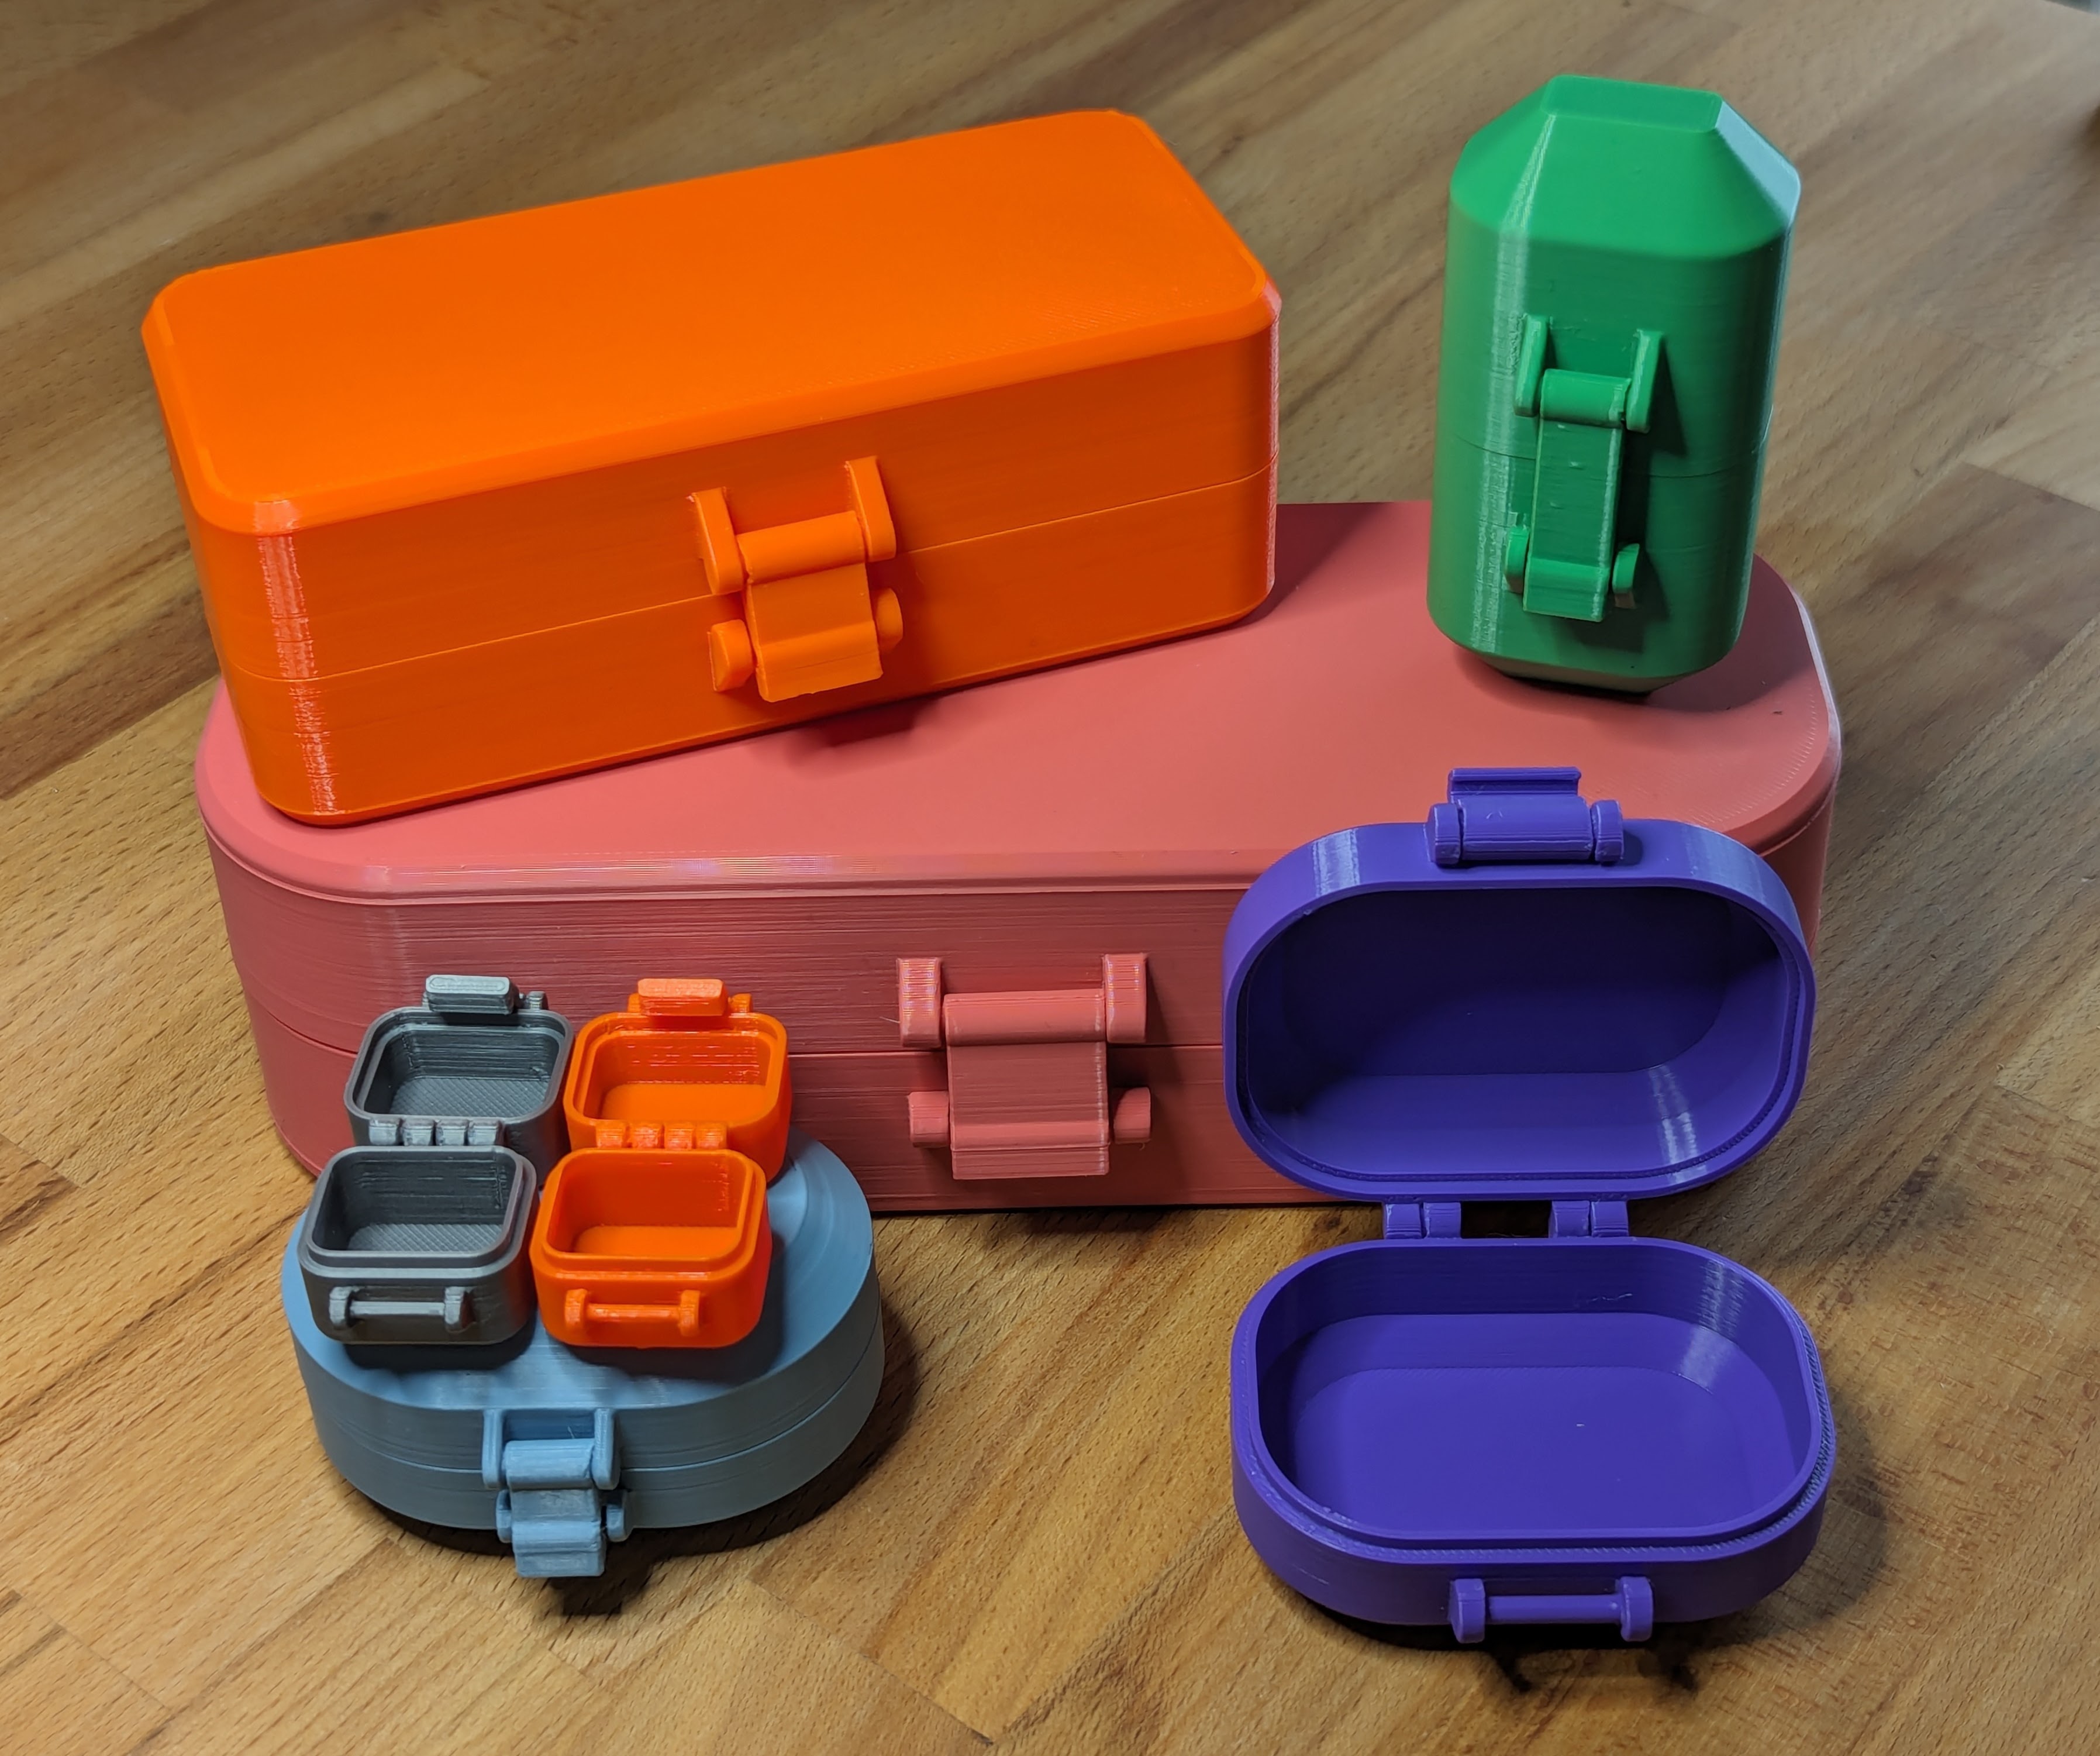
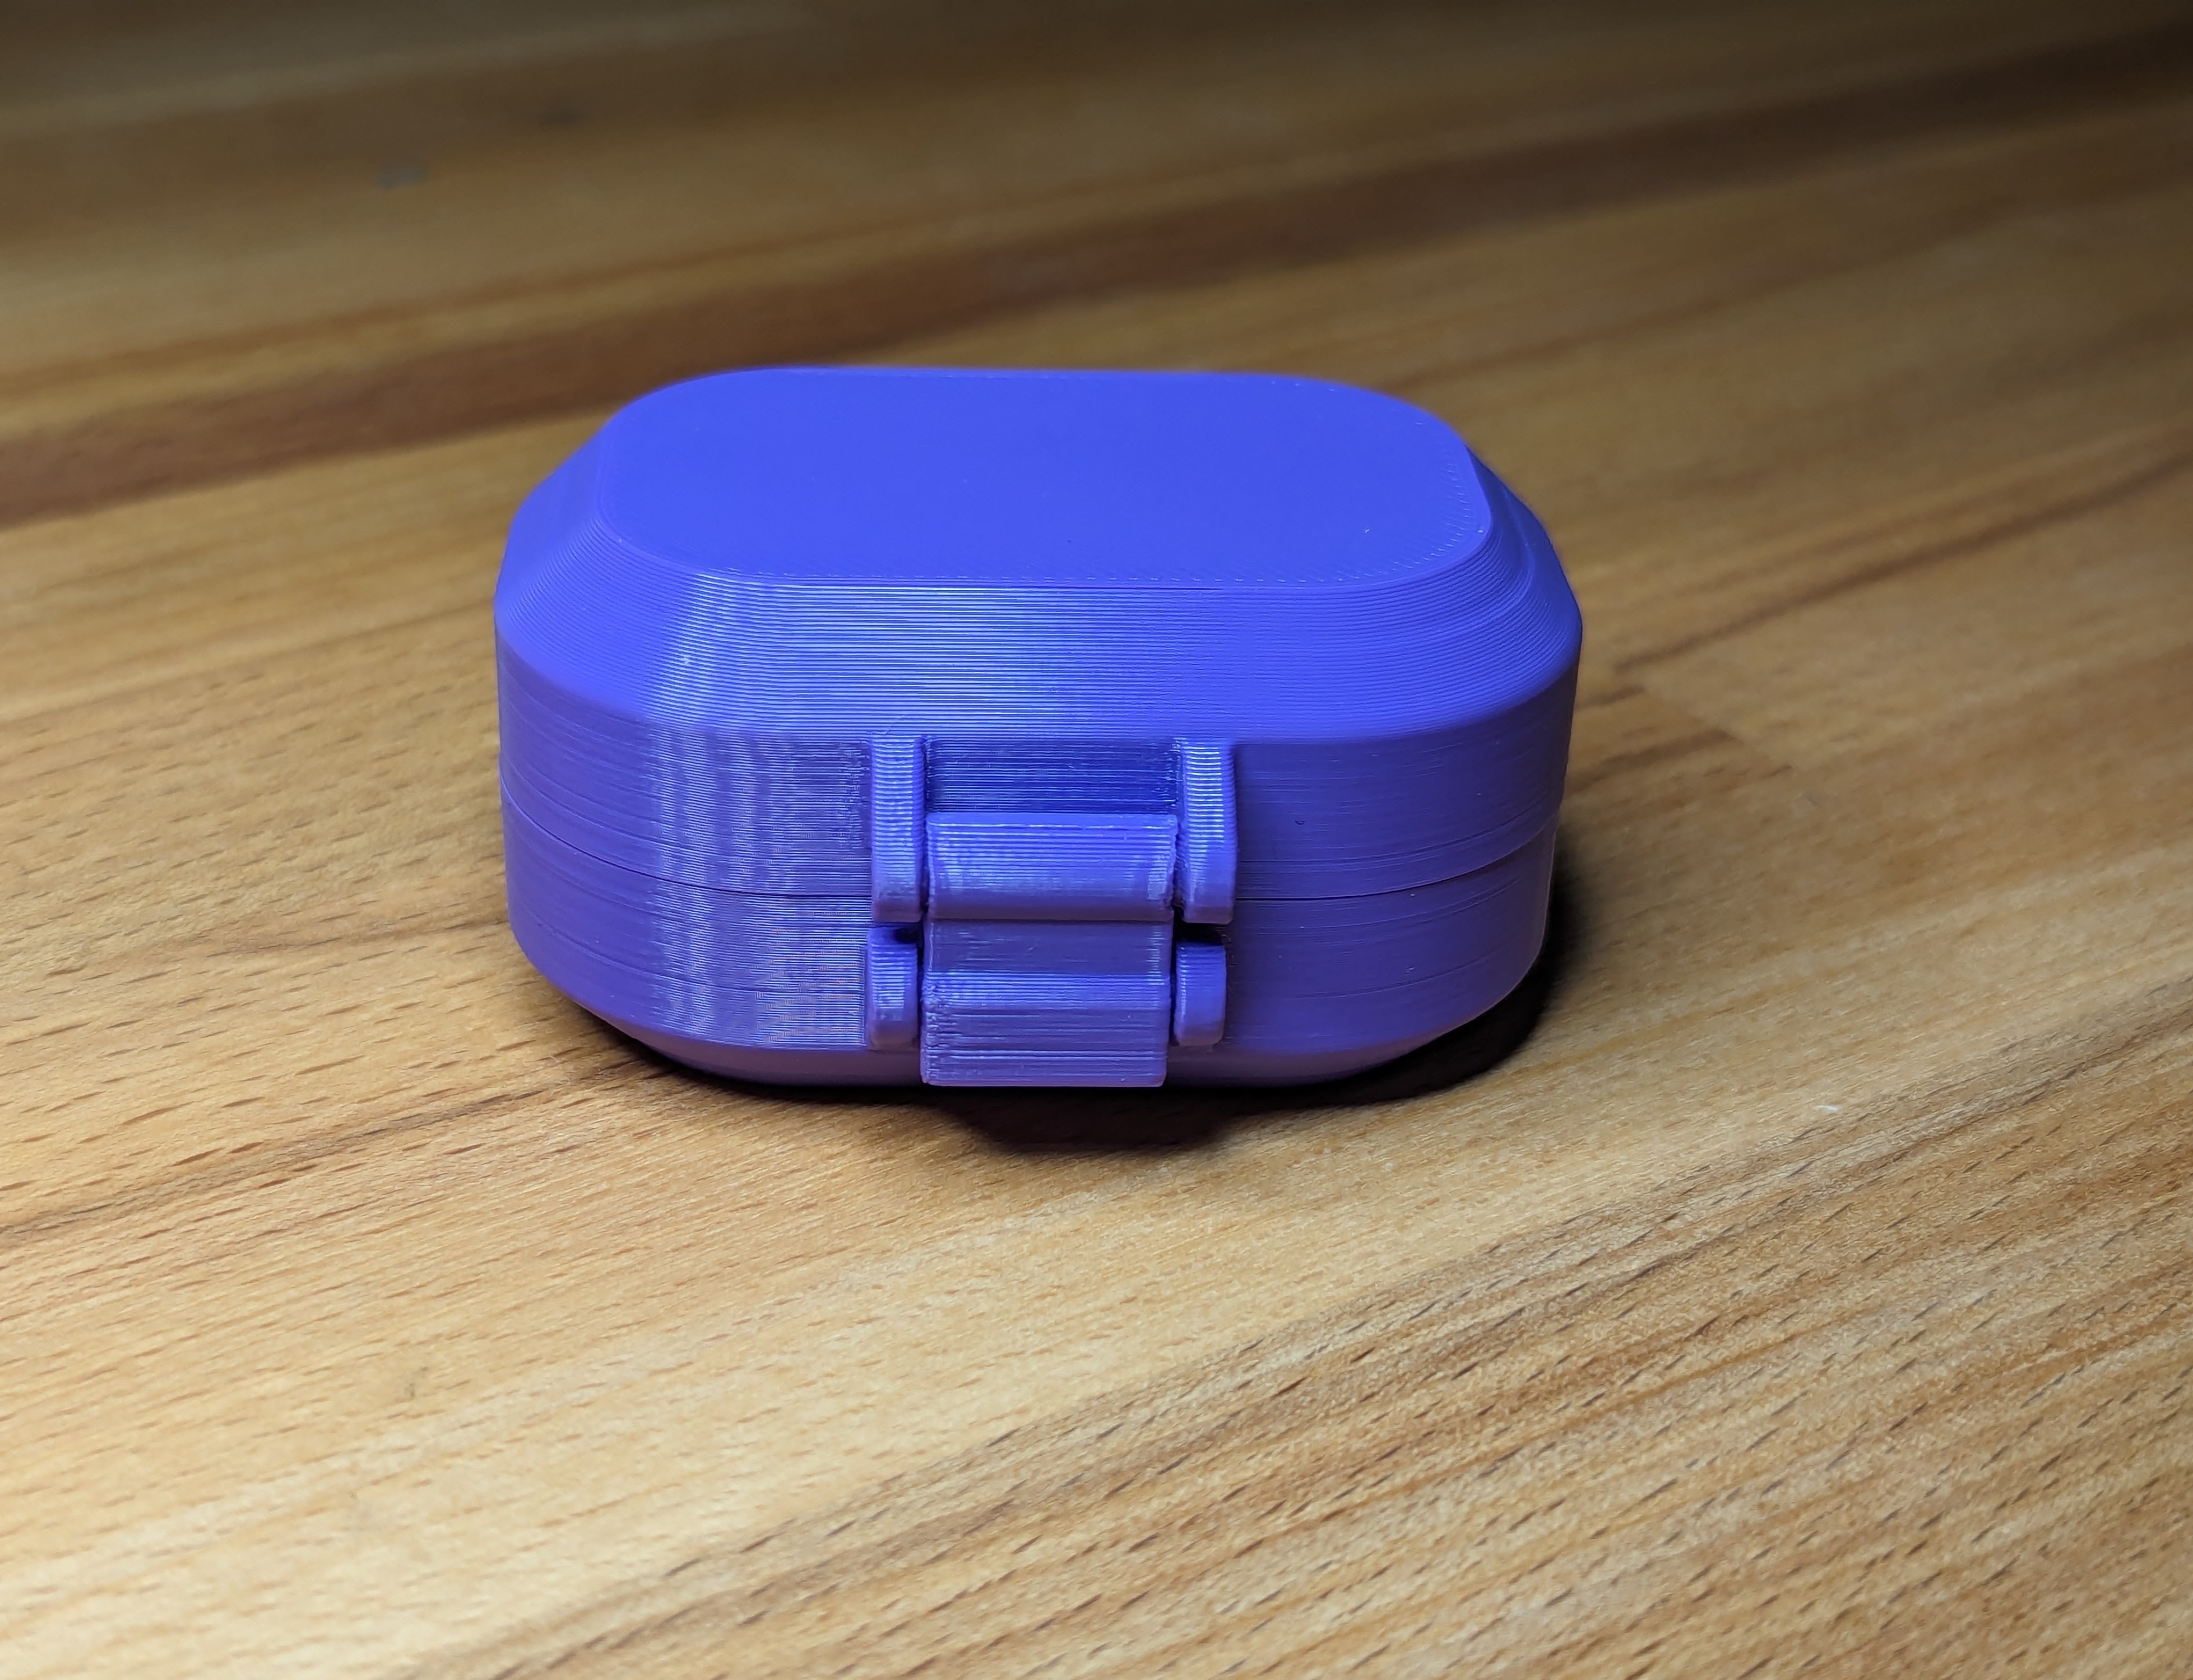
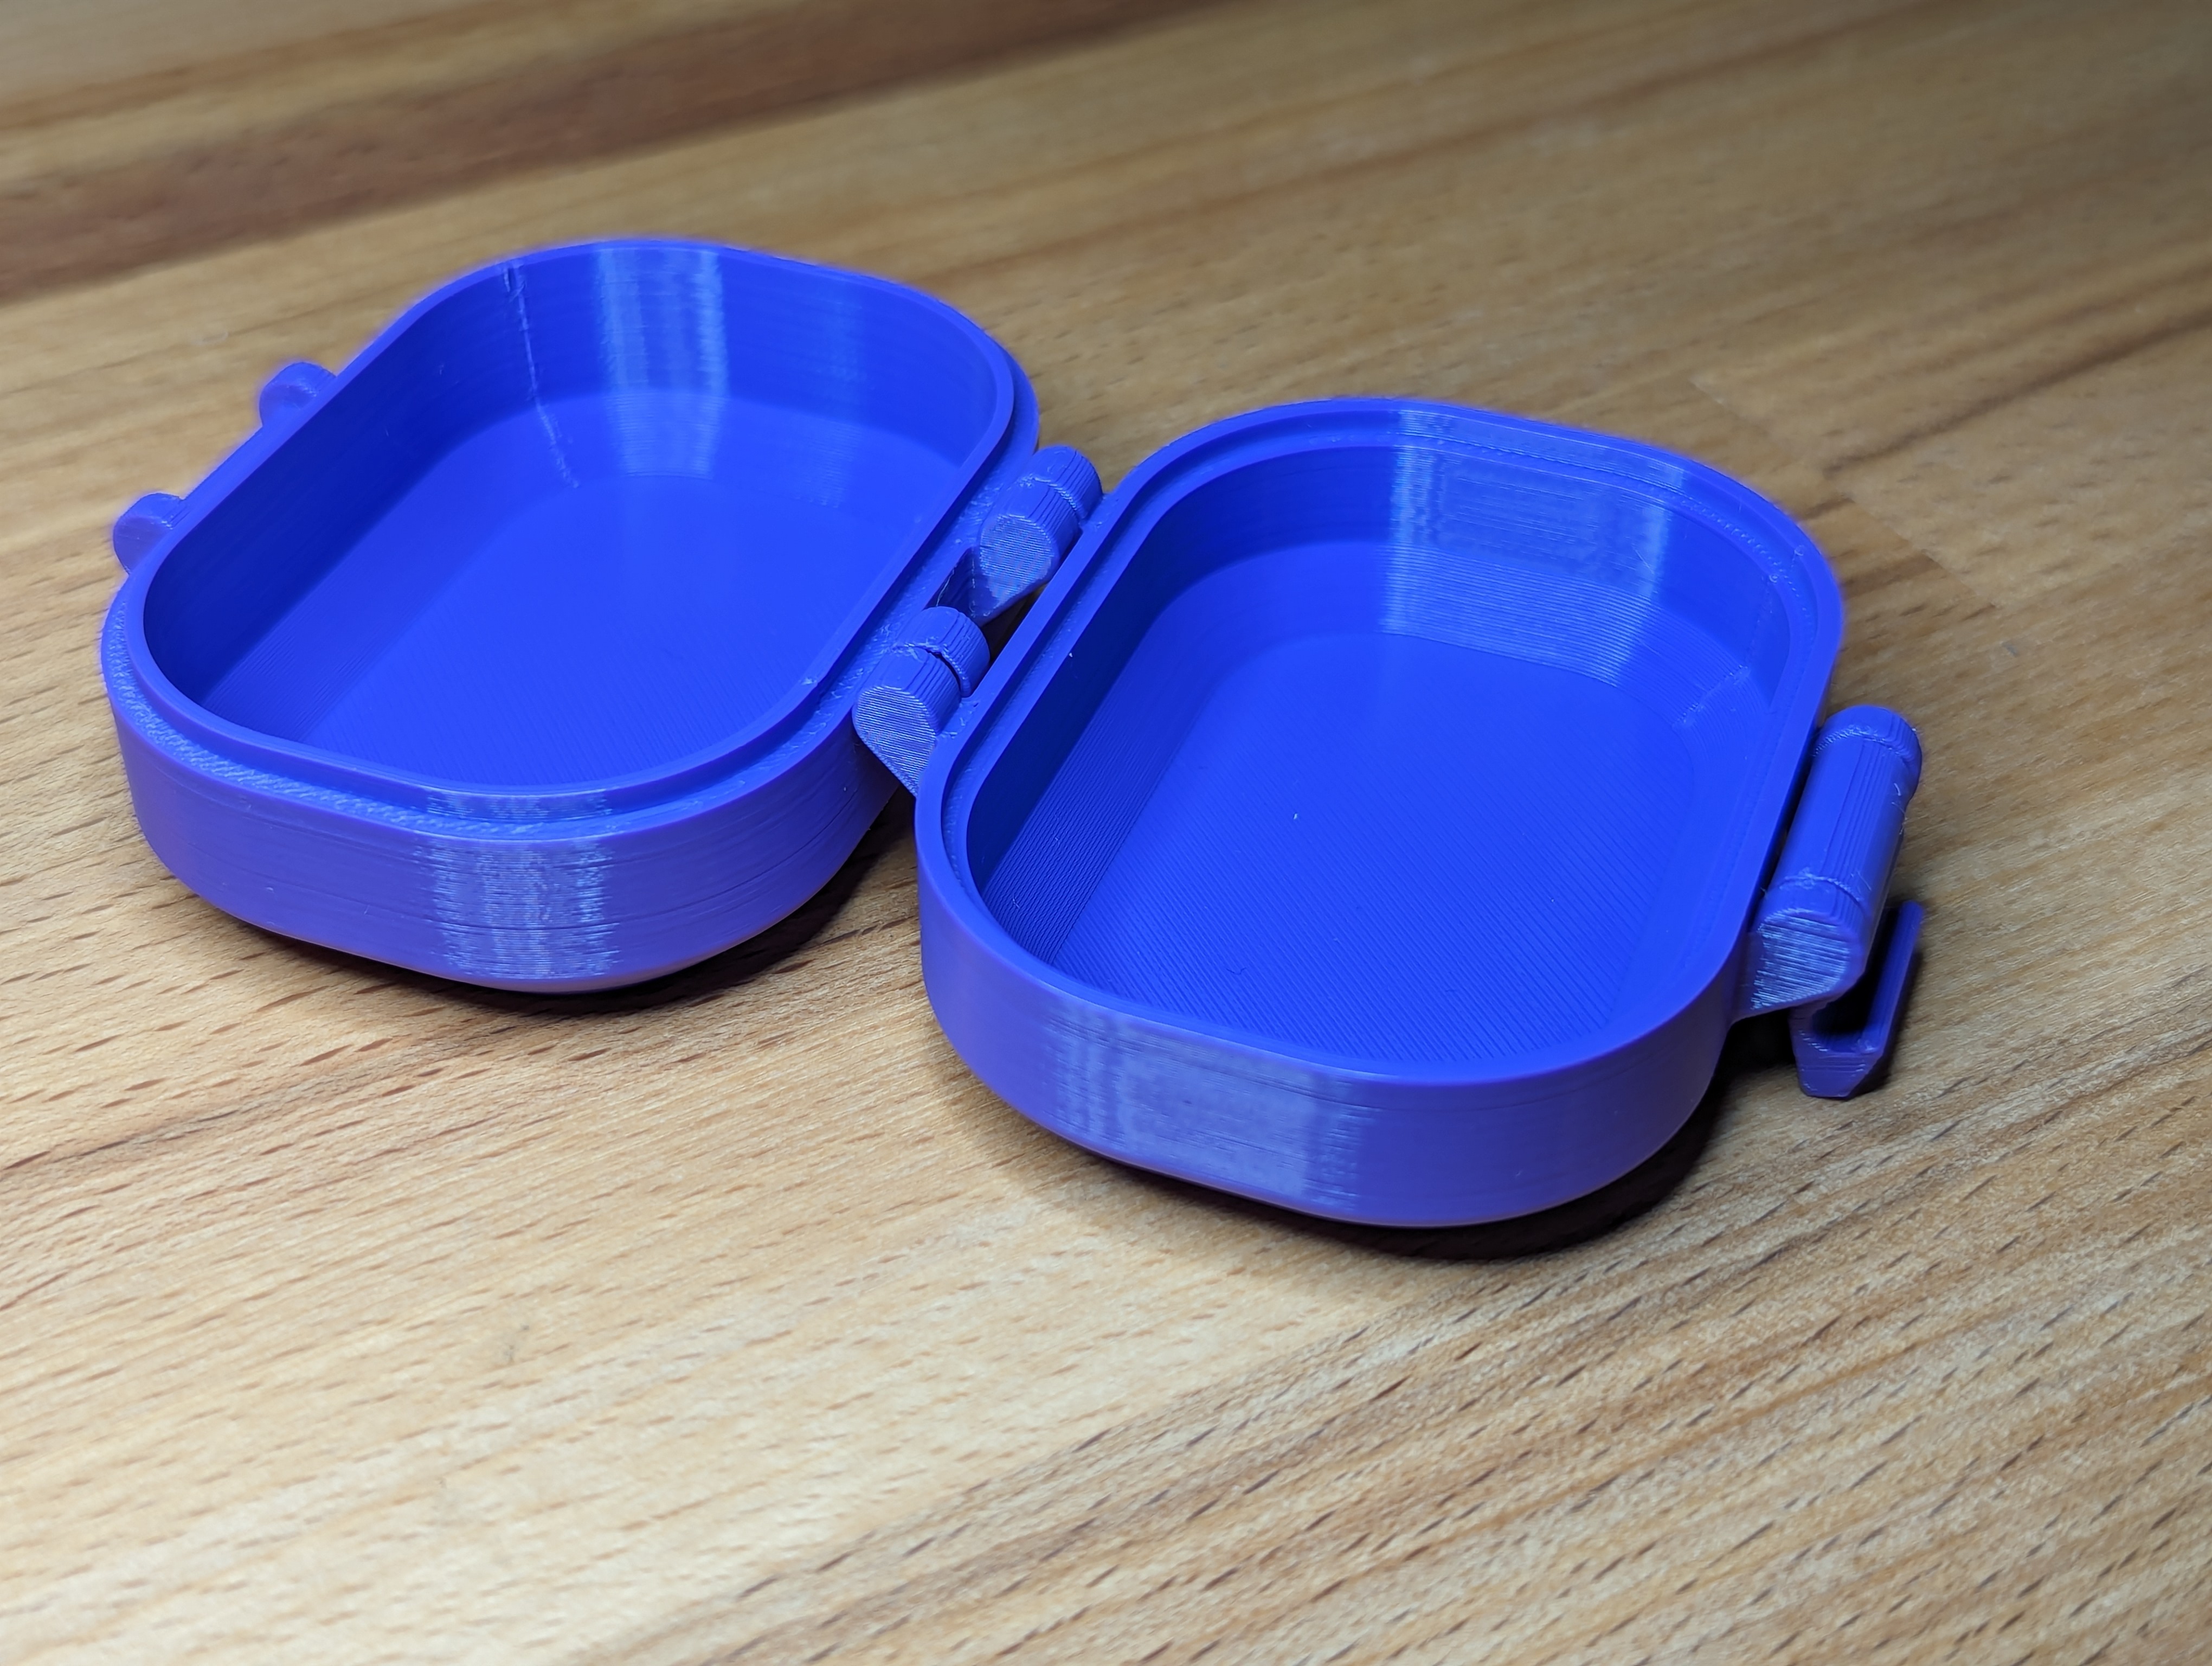
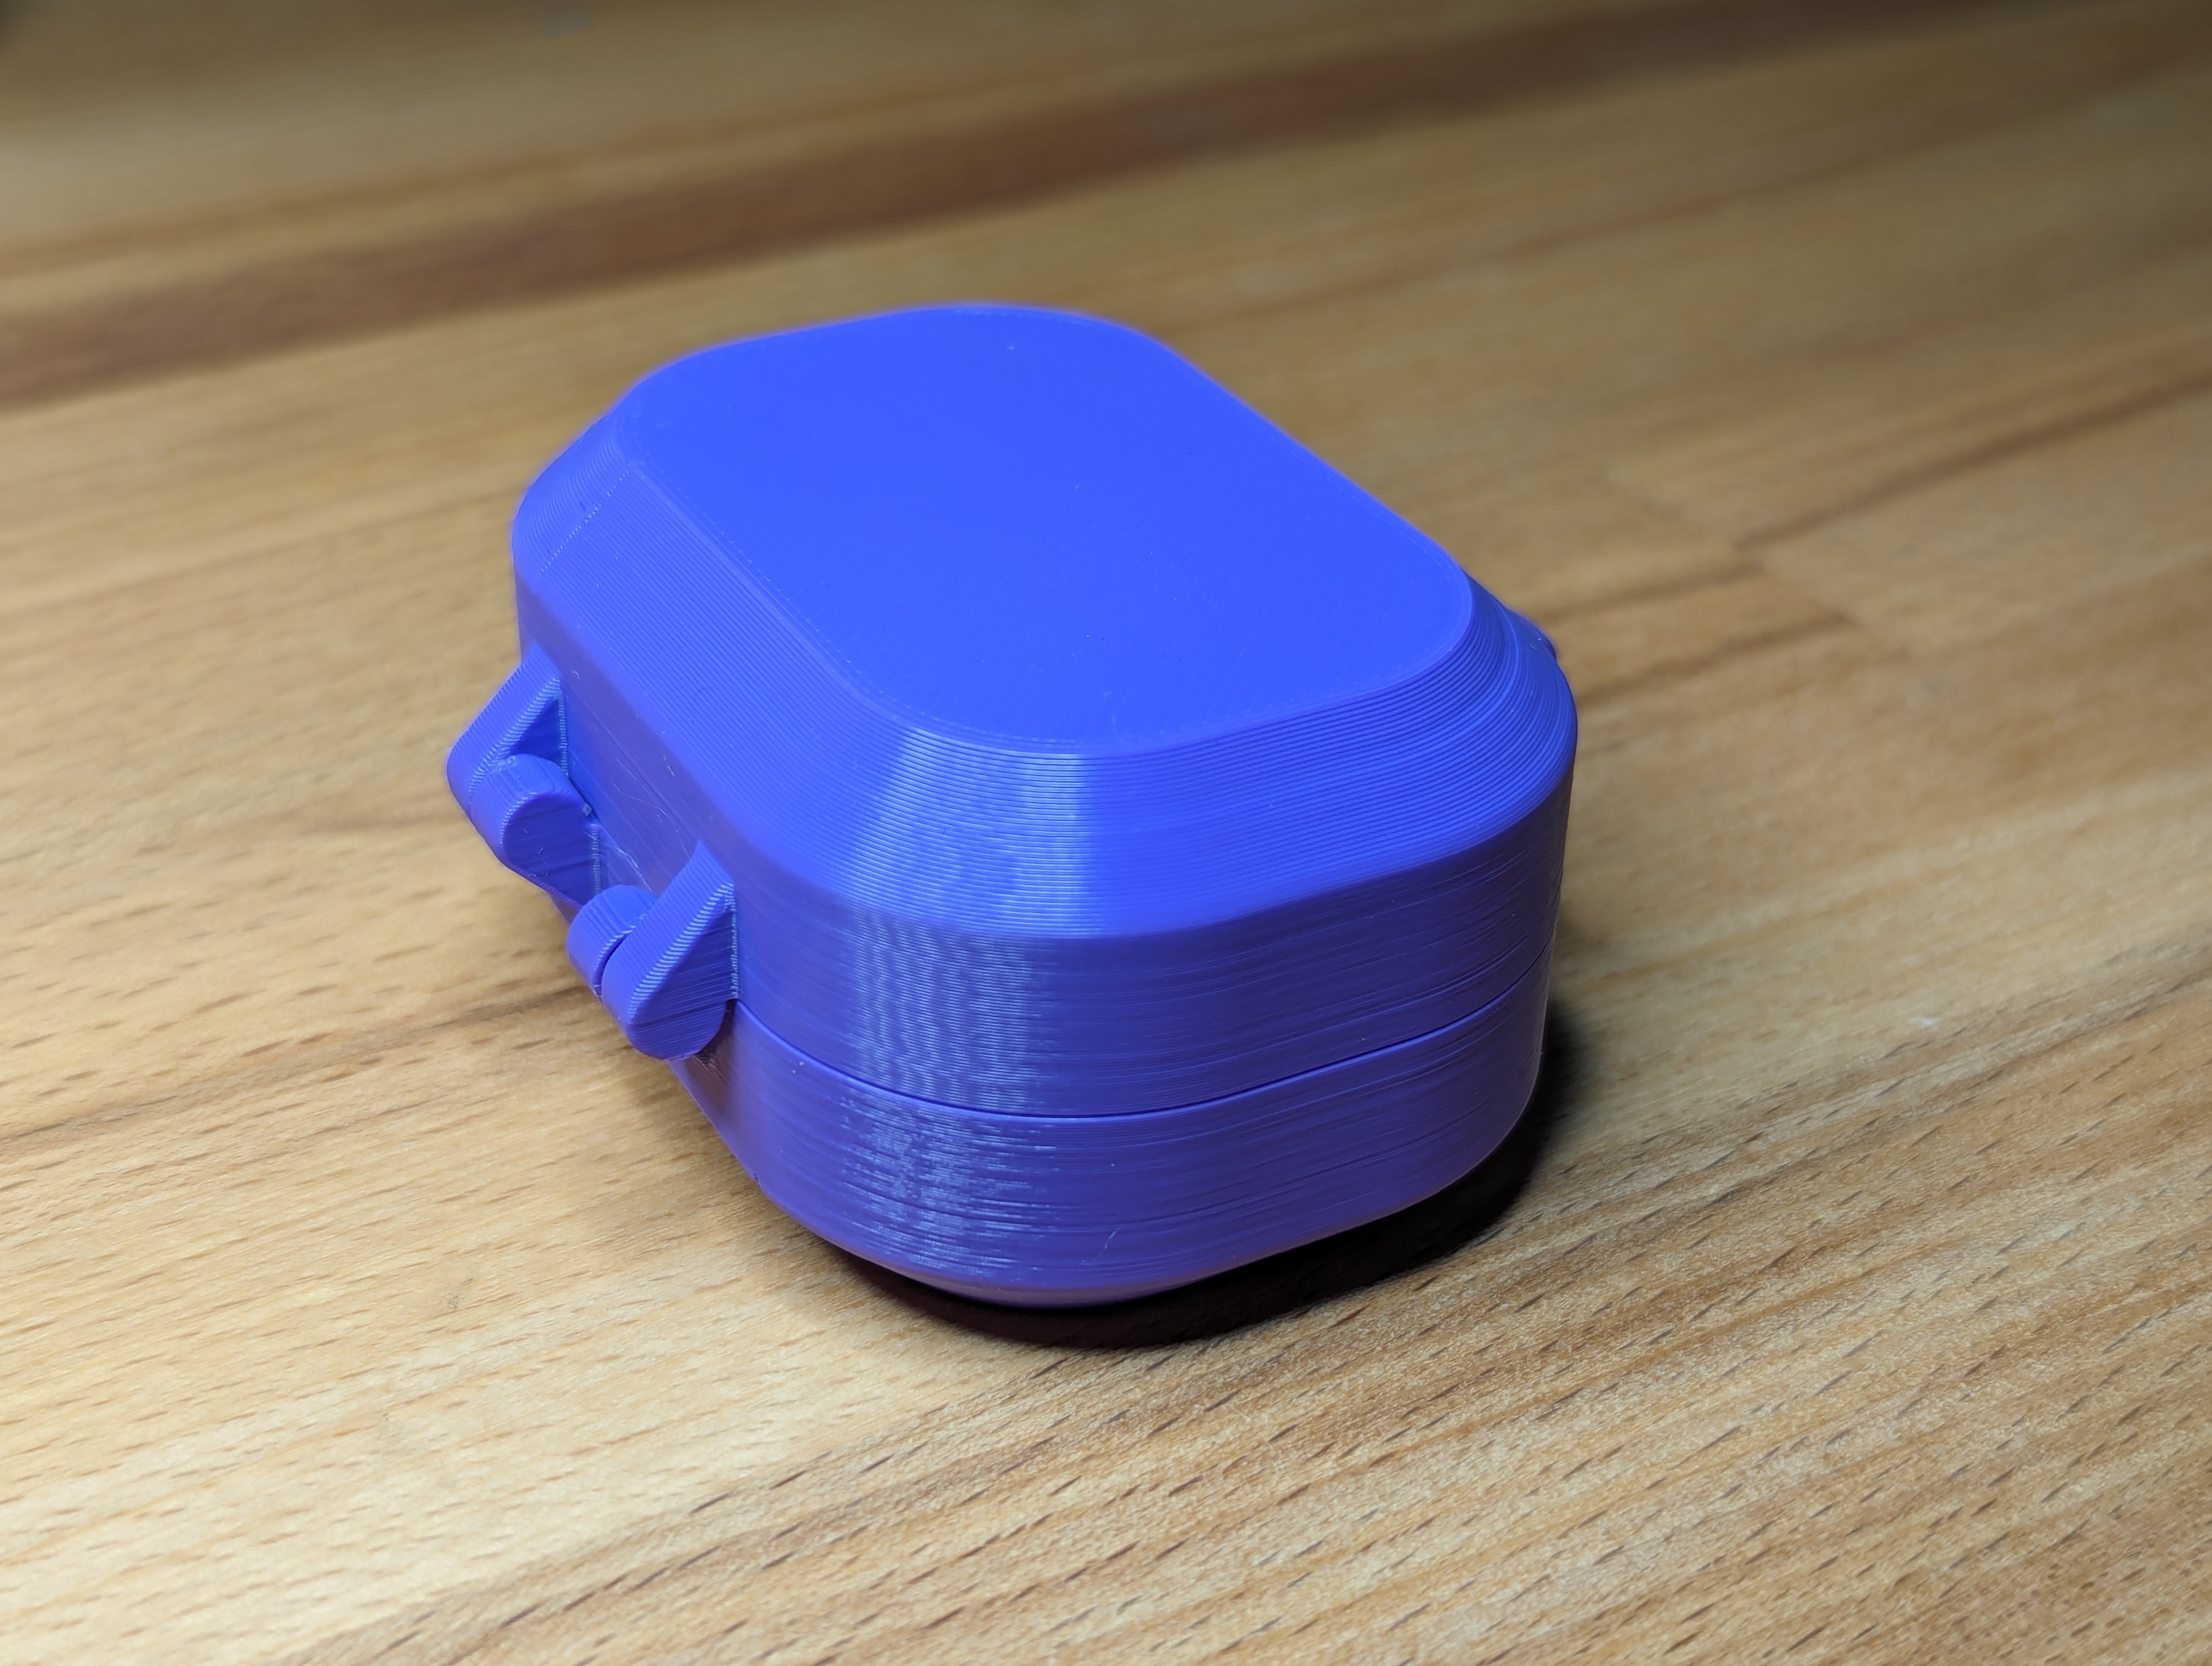
I made this just as a personal project as I'm learning Fusion 360. I wanted to challenge myself to design a parametric box that would securely latch and print in place with zero assembly, this is the result. Note: Before printing you may want to test your printer's tolerance for print in place hinges. To do that, you can use my Print in Place Tolerance Test model. By default, the latching boxes have 0.3mm of tolerance between separate parts. You can adjust the spacing by customizing the parameters in the Fusion file. See the description of the Tolerance parameter in the Available Parameters section for more information. Customizing:I am definitely still a Fusion beginner, so expect some rough spots. I've tried to add some basic parameter limits to reduce errors, but there are a few places that can trip you up: The LatchCutoutAngle can be tricky. Depending on your filament type, layer height, and latch size, you might run into some issues with the latch here. Try a few small test prints to dial this in before printing anything large.The CaseExteriorHeight must be tall enough so that the flat surface is large enough for the latch and hinges. You can adjust latch diameter to compensate for smaller boxes. I would keep latch diameter above 5mm.The CaseExteriorWidth must be large enough so that the flat surface is wide enough for the latch and hinges. You can adjust latch width and latch frame thickness to compensate for smaller boxes.In general, you should always double check the geometry in fusion and then again after slicing to make sure everything looks sane. Available ParametersCaseCornerRadius Controls the radius of the case's corners, set to 0 for the smallest supported radius CaseEdgeChamfer Controls the size of the chamfer on the bottom and top of the case. This is enforced to be smaller than the corner radius to preserve geometry. CaseExteriorHeight Exterior height of each half the case. Overall height when closed is 2x this number. You may need to adjust your other parameters for very small heights CaseExteriorLength The exterior length (Y-axis) of the main case. CaseExteriorWidth The exterior width (X-axis) of the main case CaseOverlap Controls the "lip" on the bottom half of the case. Make sure your other parameters allow enough clearance for the overlap. CaseThickness The wall thickness, 2mm is about the minimum for small cases. You'll want to go higher for larger/sturdier projects. HingeDiameter Controls the diameter of the hinge's ball/socket. 5mm is a pretty safe minimum depending on your printer's tuning. HingeThickness Controls the thickness of each hinge, enforced to be thick enough to account for HingeDiameter. LatchCutoutAngle Controls the tightness of the clasp mechanism. This one can be tricky based on your material and print settings. Lower numbers will be tighter and higher will be looser. Adjust as necessary. LatchDiameter Controls the diameter of the latch's ball/socket. About 6mm is usually okay, down to 5mm is possible but will be weaker. Large diameters will be stronger but more bulky. LatchFrameOverhang Controls the overhang of the latch mechanism. 45deg is a safe overhang for most printers. Can go shallower to allow shorter case heights if your printer is well-tuned or if you don't mind using supports. LatchFrameThickness Controls the thickness of each side of the latch frame. LatchWidth Controls the width of the latch itself, account for LatchFrameThickness and tolerance to determine total width of the overall latching mechanism. Tolerance Controls spacing between various separate objects. 0.3mm works well on my printer, but this should be adjusted based on your printer's tuning. InstructionsDownload and install Fusion 360 - it's free for personal use.Open the latching_box.f3d fileOpen the “Modify” menu and select “Change Parameters”From the menu, review the parameters and the comments explaining eachModify the parameters to suit your needsReview the model in Fusion 360 to ensure there are no issues or warningsRight click the root component in the browser and select “Save as Mesh”Save as your preferred formatSlice, inspect, and print!Note: If you have any issues please feel free to reach out, I'm happy to help debug. This is my first Fusion project of any decent size so I expect some rough edges. Colors in example photo: Prusament PETG: Prusa OrangeOverture PLA: Green, Space Grey, Orange, Blue Grey, Purple, Jeans Red
Tags: parametric, box, organizer, case, lid, hinge, resin print, nz made, made to order
Design credit: Original design by Windrose - licensed under CC-BY.
View original model + STL files on Printables ↗
View original model + STL files on Printables ↗
Frequently asked
How long does shipping take?
Latching Box, Parametric Print in Place is printed to order. Lead time is typically 1-3 business days plus 1-4 days NZ shipping. Standard NZ shipping is $10, free over $75.
What material is this printed in?
By default this is printed in High-Detail Resin (8K) at 0.025 mm layer height on an MSLA resin printer. Custom material and colour swaps are available, just leave a note at checkout.
Can I get this in a different colour?
Yes. Every product can be printed in any of the resin colours we stock, or hand-painted on request. Leave a note at checkout or email [email protected].
Do you ship outside of New Zealand?
Currently New Zealand only. Australian shipping is coming.
Who designed this?
Designed by an independent sculptor and licensed for commercial printing. The original is linked on this page.