
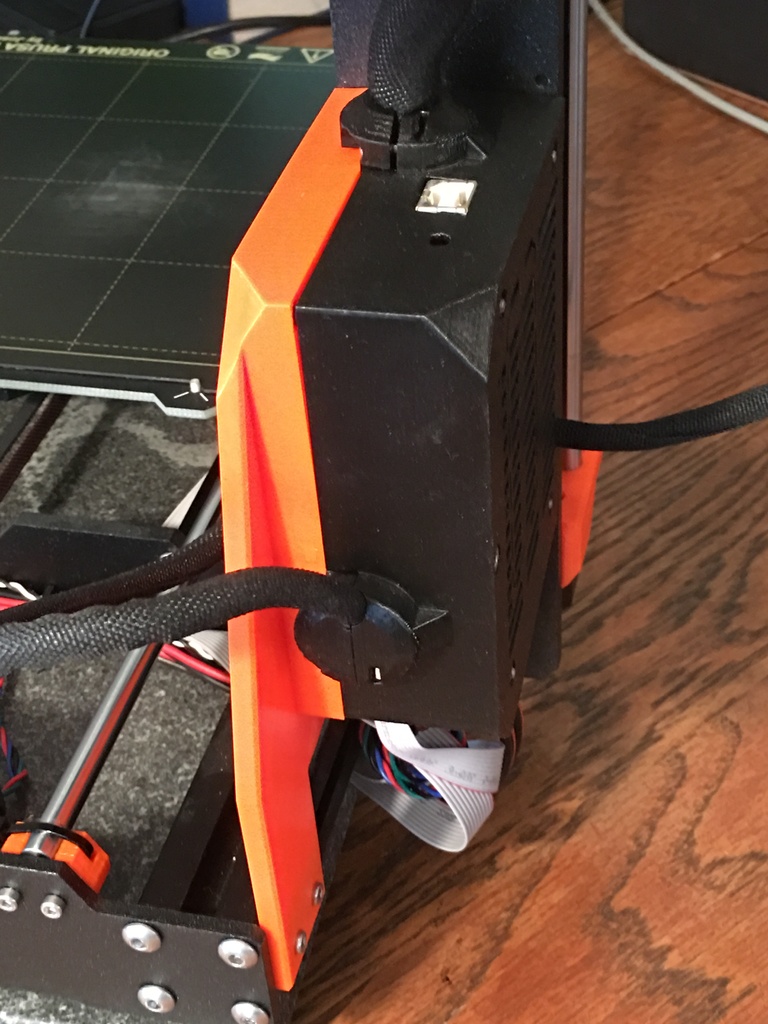
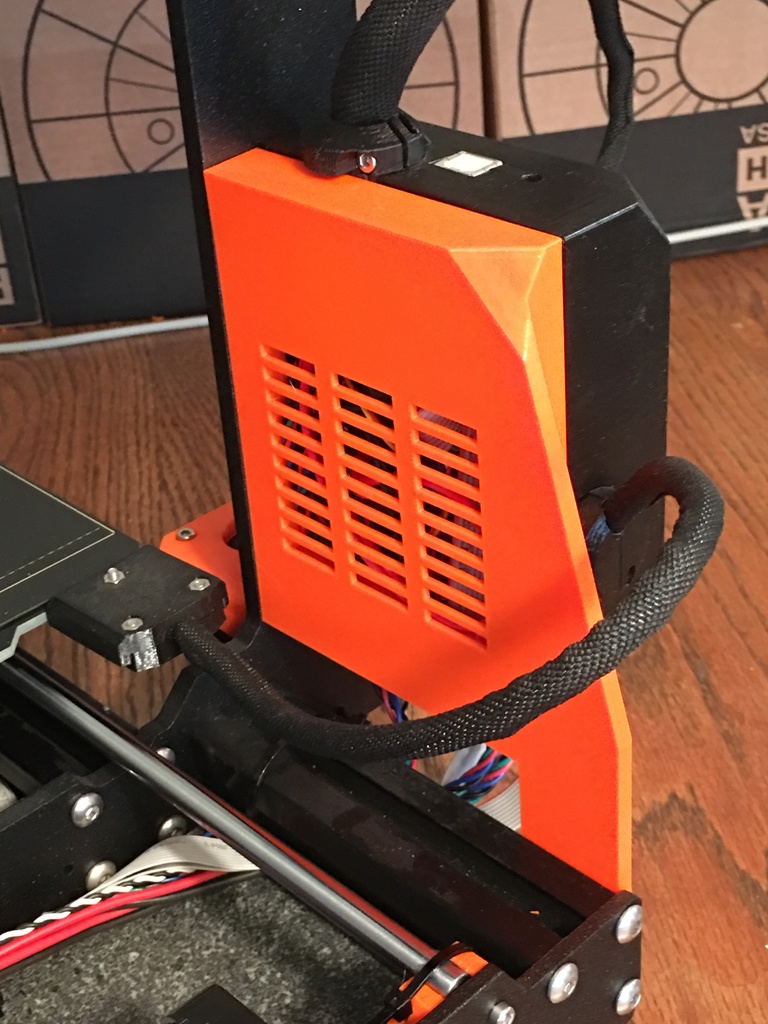
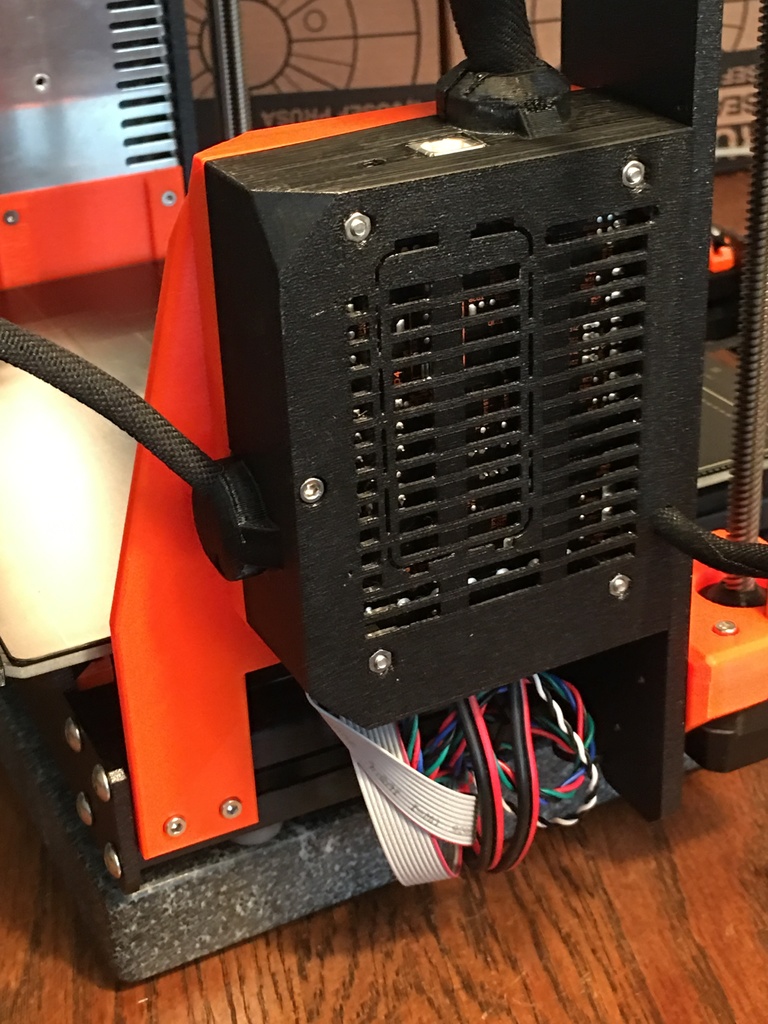
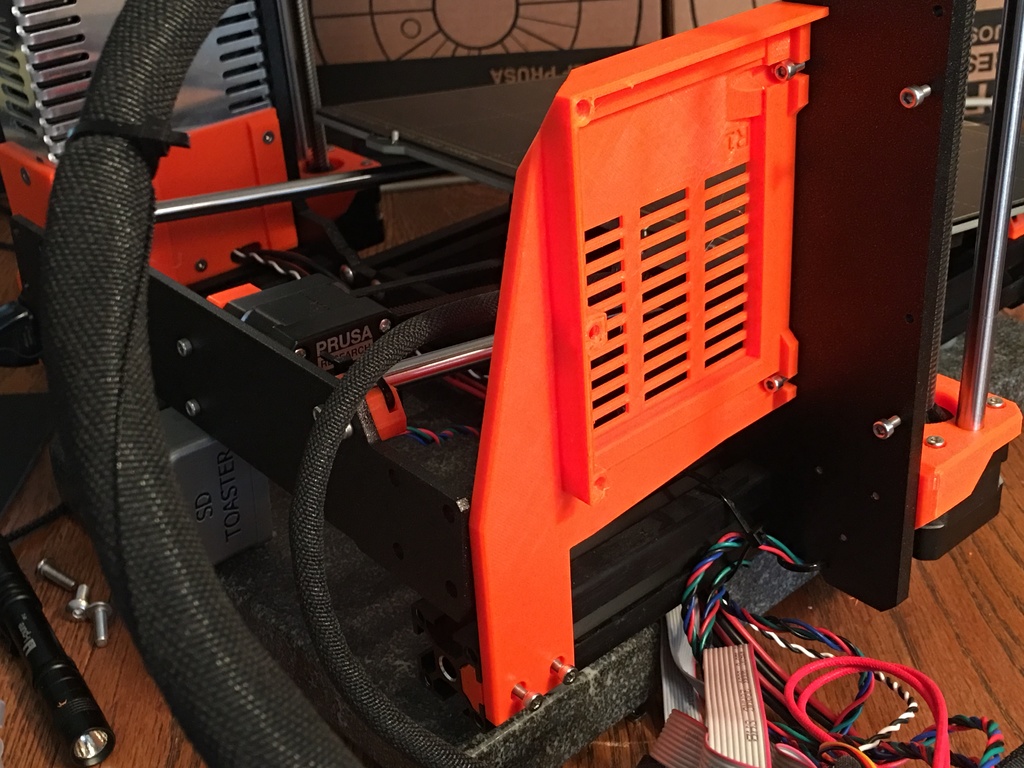
Prusa MK3S+ Frame Brace - Replaces Einsy Door
- Arrives in 2 to 7 business days Printed in Auckland. $10 shipping, free over $75
- 14-day faulty refund If it arrives broken or misprinted, we reprint or refund it
- Secure checkout Card payments handled by Stripe
- Material
- High-Detail Resin (8K)
- Colour
- Grey
- Weight
- ~43 g
- Print time
- ~2.4 h
- Express shipping
- $20
More information
This is a reinforced and braced Einsy door mod to brace the Z axis to the Y axis. Just use your stock Einsy base with this. This prevents the Z axis from wiggling and should improve your prints. I tried to keep this as simple as possible and instructions are below. It takes only a few hours to print. It works just as I intended and it really stiffens the wobble a lot! It is my favorite mod I have done because I consider it a requirement because it affects print quality, and not a just a nice to have.
There is an alternate part, doorbracket_MMU, with the cutout for the MMU cable.
The door is modified to be stronger and thicker around the perimeter, the hinges are removed and it now attaches directly to the Z and Y frames, with the help of a small frame insert. You don't need to disconnect any cables from your Einsy case!
You will need:
• two m3 12mm screws • You can print the frame insert piece or get these which drop in without frame assembly - https://www.amazon.com/Sutemribor-Hammer-Fastener-Aluminum-Profile/dp/B07FPLZXTF
two m3 hex nuts Also check out my side mounted MK3 LCD mod https://www.thingiverse.com/thing:3483560
Now you can mount a Logitech or any camera with a screw mount securely to the front frame, as well as place you Pi there for Octolapse: https://www.thingiverse.com/thing:3518161
My cable clip keeps your LCD cables tidy: https://www.thingiverse.com/thing:3485143
My feet mod for reducing all vibration and noise by 95%, possible improving prints: https://www.thingiverse.com/thing:3496474
Fusion 360 File included for remixing.
Print Settings
• No support • .2 layer height • 100% infill preferred or 50% at least • PETG Filament
Notes
232/247 temp, no speed above 45, DoorBracket .2 layer height, FrameSlider .15 layer height
Custom Section
Assembly Instructions
Before starting use the long press on the dial to raise the Z axis up and out of the way.
Prepare the FrameSlider part:
• Sand the FrameSlider part to ensure it will go in smoothly and can later be slide in the frame slot.
Insert two m3 hex nuts and push them into the part firmly. Remove the stock Einsy Base and stock Einsy Door:
Slightly loosen the two m3 hidden screwsthat secure the Einsy Base to the frame so the it can be easily slide off.
• Fully remove the long m3 bolt that attaches the base to the door. • Slide off the Einsy base but keep the m3 frame bolts attached. Keep all the wires attached. • Fully remove the Einsy door and hinges. You won't need the hinges anymore. • Screw in the two door m3 10 screws from the Einsy door hinges back into the frame.
Remove the single small square lock hex nut in the stock Einsy door door and place it aside for now. Remove the Rear Frame:
Remove the eight large screws on the rear 3030 metal frame: first loosen all the bolts very slightly, then once are all loose, fully remove them.
• Gently lift it up the rear frame so you have enough room, and slide in the Frameslider part into the frame.
Don't re-attach the frame screws just yet. Attach the new Door Brace:
Attach the DoorBracket to the Z axis frame first and screw in the two m3 10mm screws into the frame.
• Then screw the bottom of the DoorBrace into the FrameSlider. You need two m3 12mm screws to attach it to the nut3030hex. I think m3 0mm might also work.
Insert the small square hex nut into the DoorBracket slot for the long bolt to connect to later. Re-Attach the Rear Frame:
Put the rear frame back on and lightly screw in all 8 large screws.
Once they are all in tighten them. Re-attach the Einsy Base:
Place all the wires neatly in to the Einsy base.
• Guide the X motor wire into the slot on the side of the base. • Guide the base onto the bottom m3 10mm frame bolt, and gently shift it onto the top m3 frame bolt, while keeping all the wires inside. • Screw the long bolt back into the Einsy base and tighten it. Make sure it pulls the hex nut we placed earlier into the door. • Tighten the two frame bolts.
Category: 3D Printer Parts
Design and description by Cherry Hill Tech , licensed CC-BY.
Frequently asked
How long does shipping take?
Prusa MK3S+ Frame Brace - Replaces Einsy Door is printed to order. Lead time is typically 1-3 business days plus 1-4 days NZ shipping. Standard NZ shipping is $10, free over $75.
What material is this printed in?
By default this is printed in High-Detail Resin (8K) at 0.025 mm layer height on an MSLA resin printer. Custom material and colour swaps are available, just leave a note at checkout.
Can I get this in a different colour?
Yes. Every product can be printed in any of the resin colours we stock, or hand-painted on request. Leave a note at checkout or email [email protected].
Do you ship outside of New Zealand?
Currently New Zealand only. Australian shipping is coming.
Who designed this?
Designed by an independent sculptor and licensed for commercial printing. The original is linked on this page.