Everything Else
PSone LCD Screen Top Hinge Screw Hole Repair
SKU 3DPW-pr-560177
$150.00NZD
In stock · Made-to-order resin · Ships from Auckland · Free shipping over $75
- Material
- High-Detail Resin (8K)
- Colour
- Grey
- Weight
- ~40 g
- Print time
- ~4.5 h
- Shipping
- $10 std · $20 express
- Lead time
- 1-3 d print + 1-4 d ship
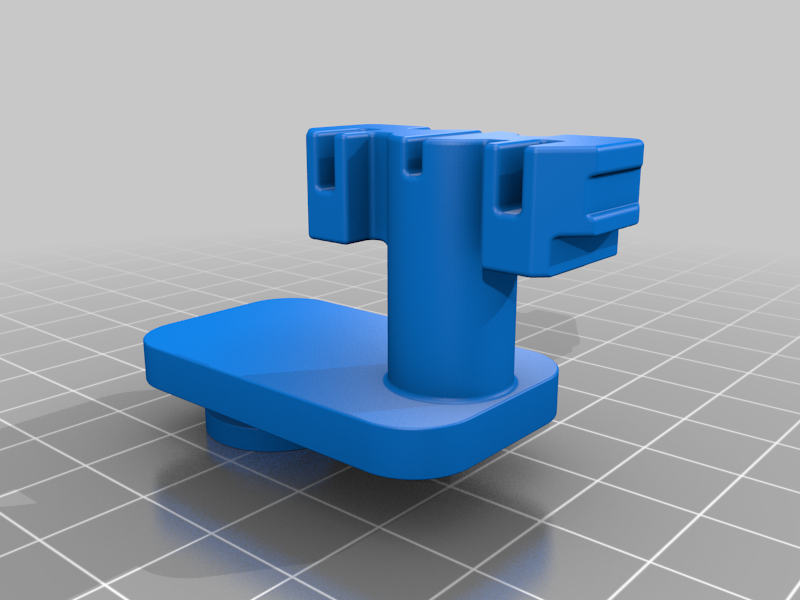
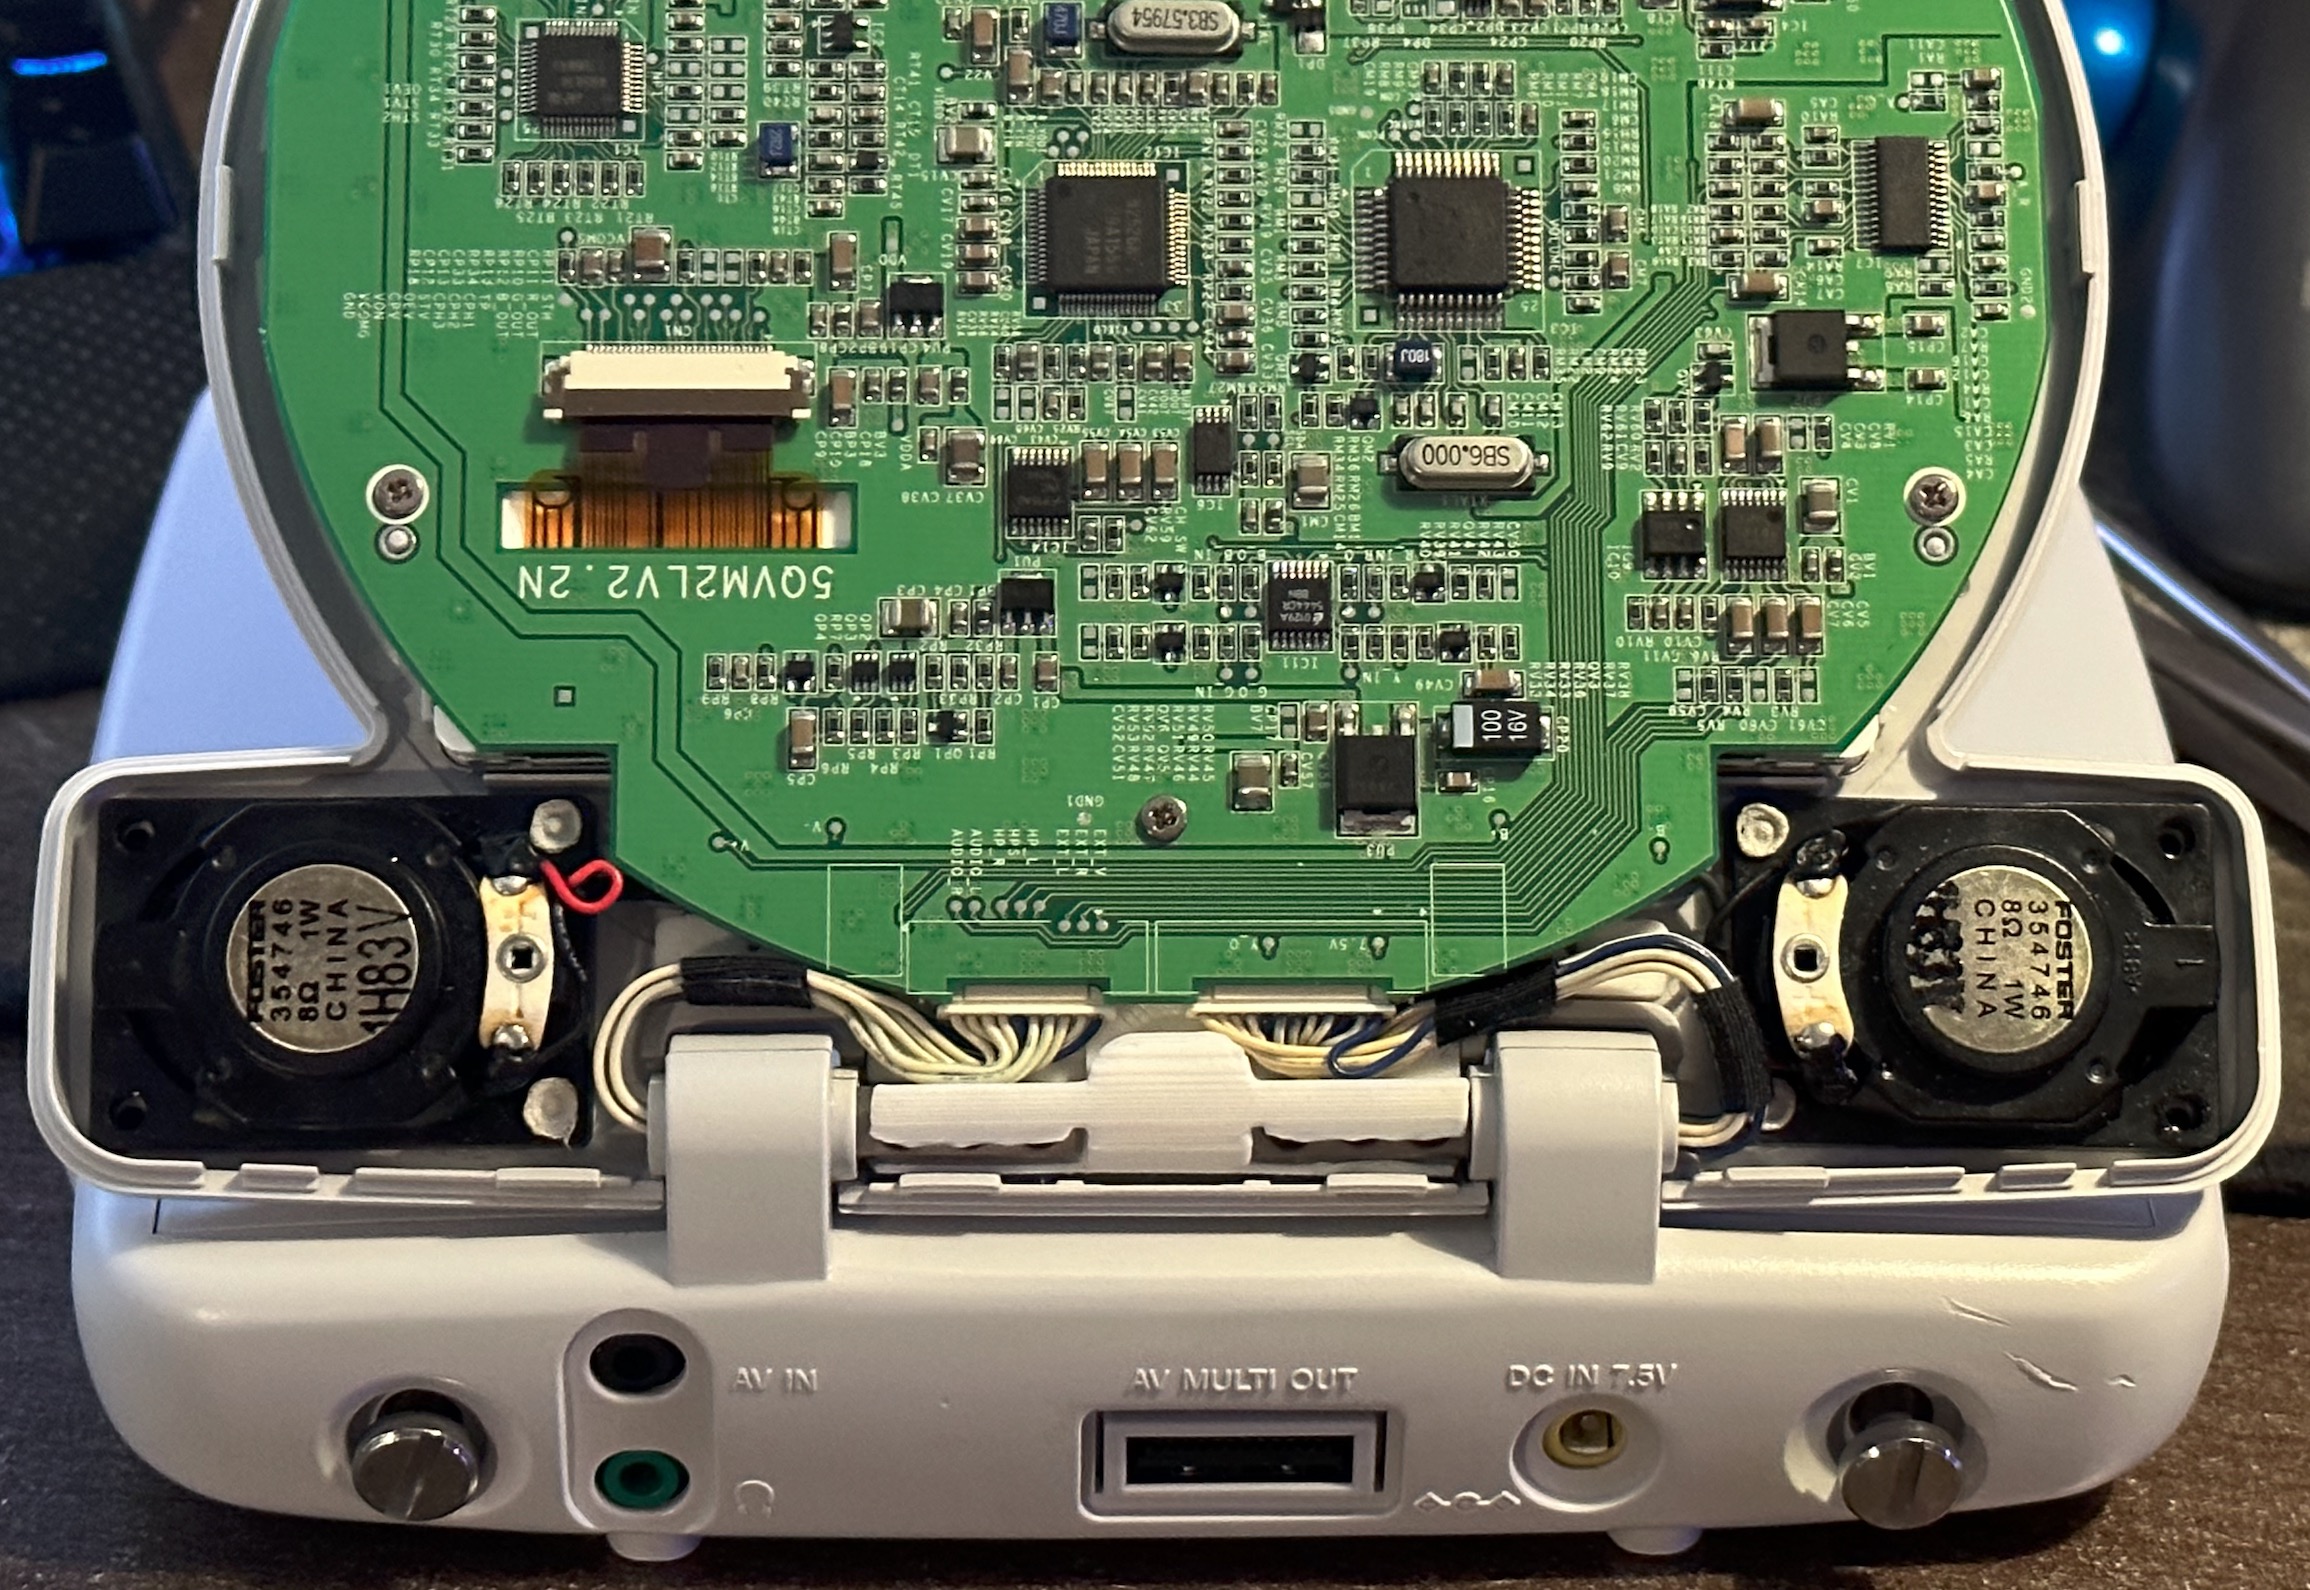
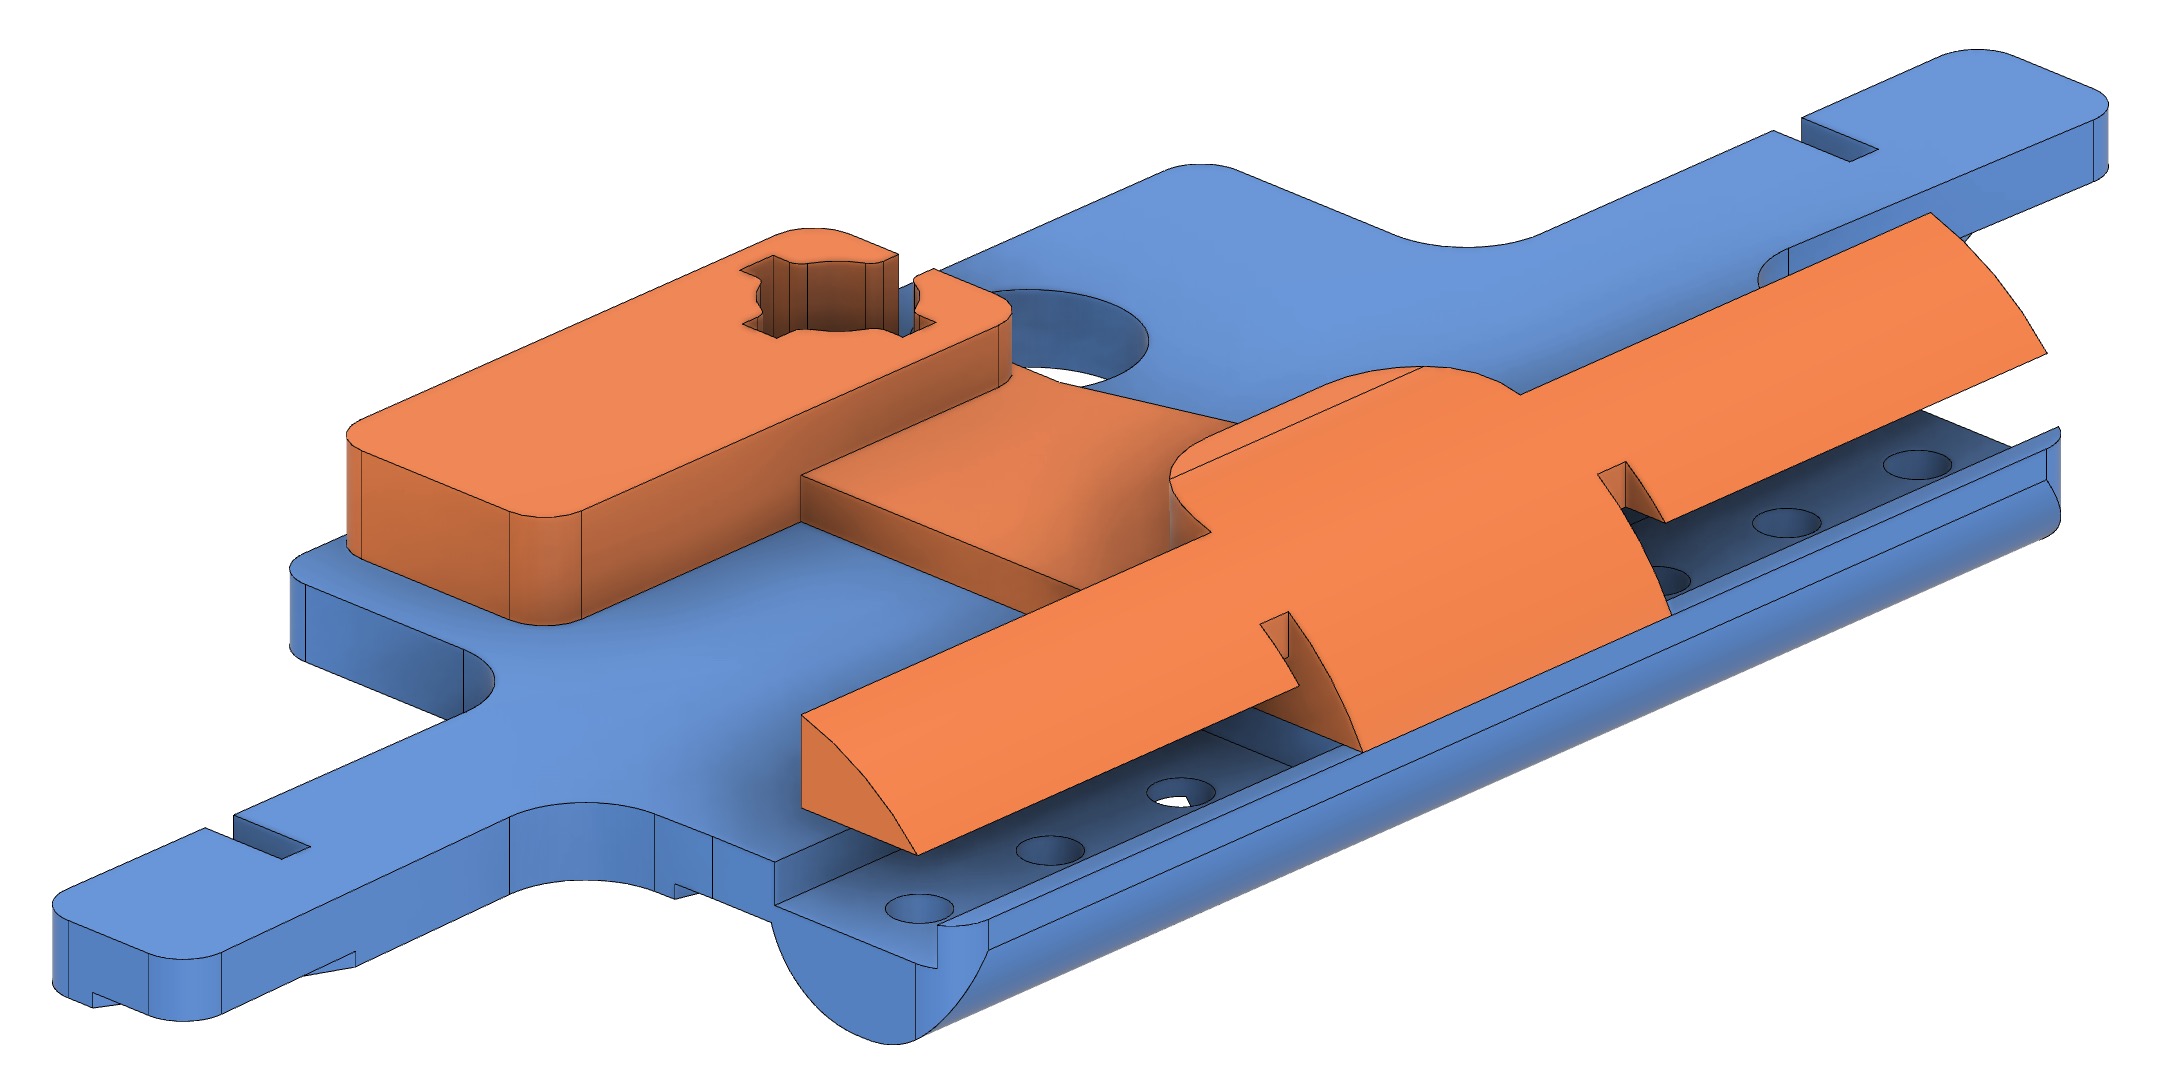
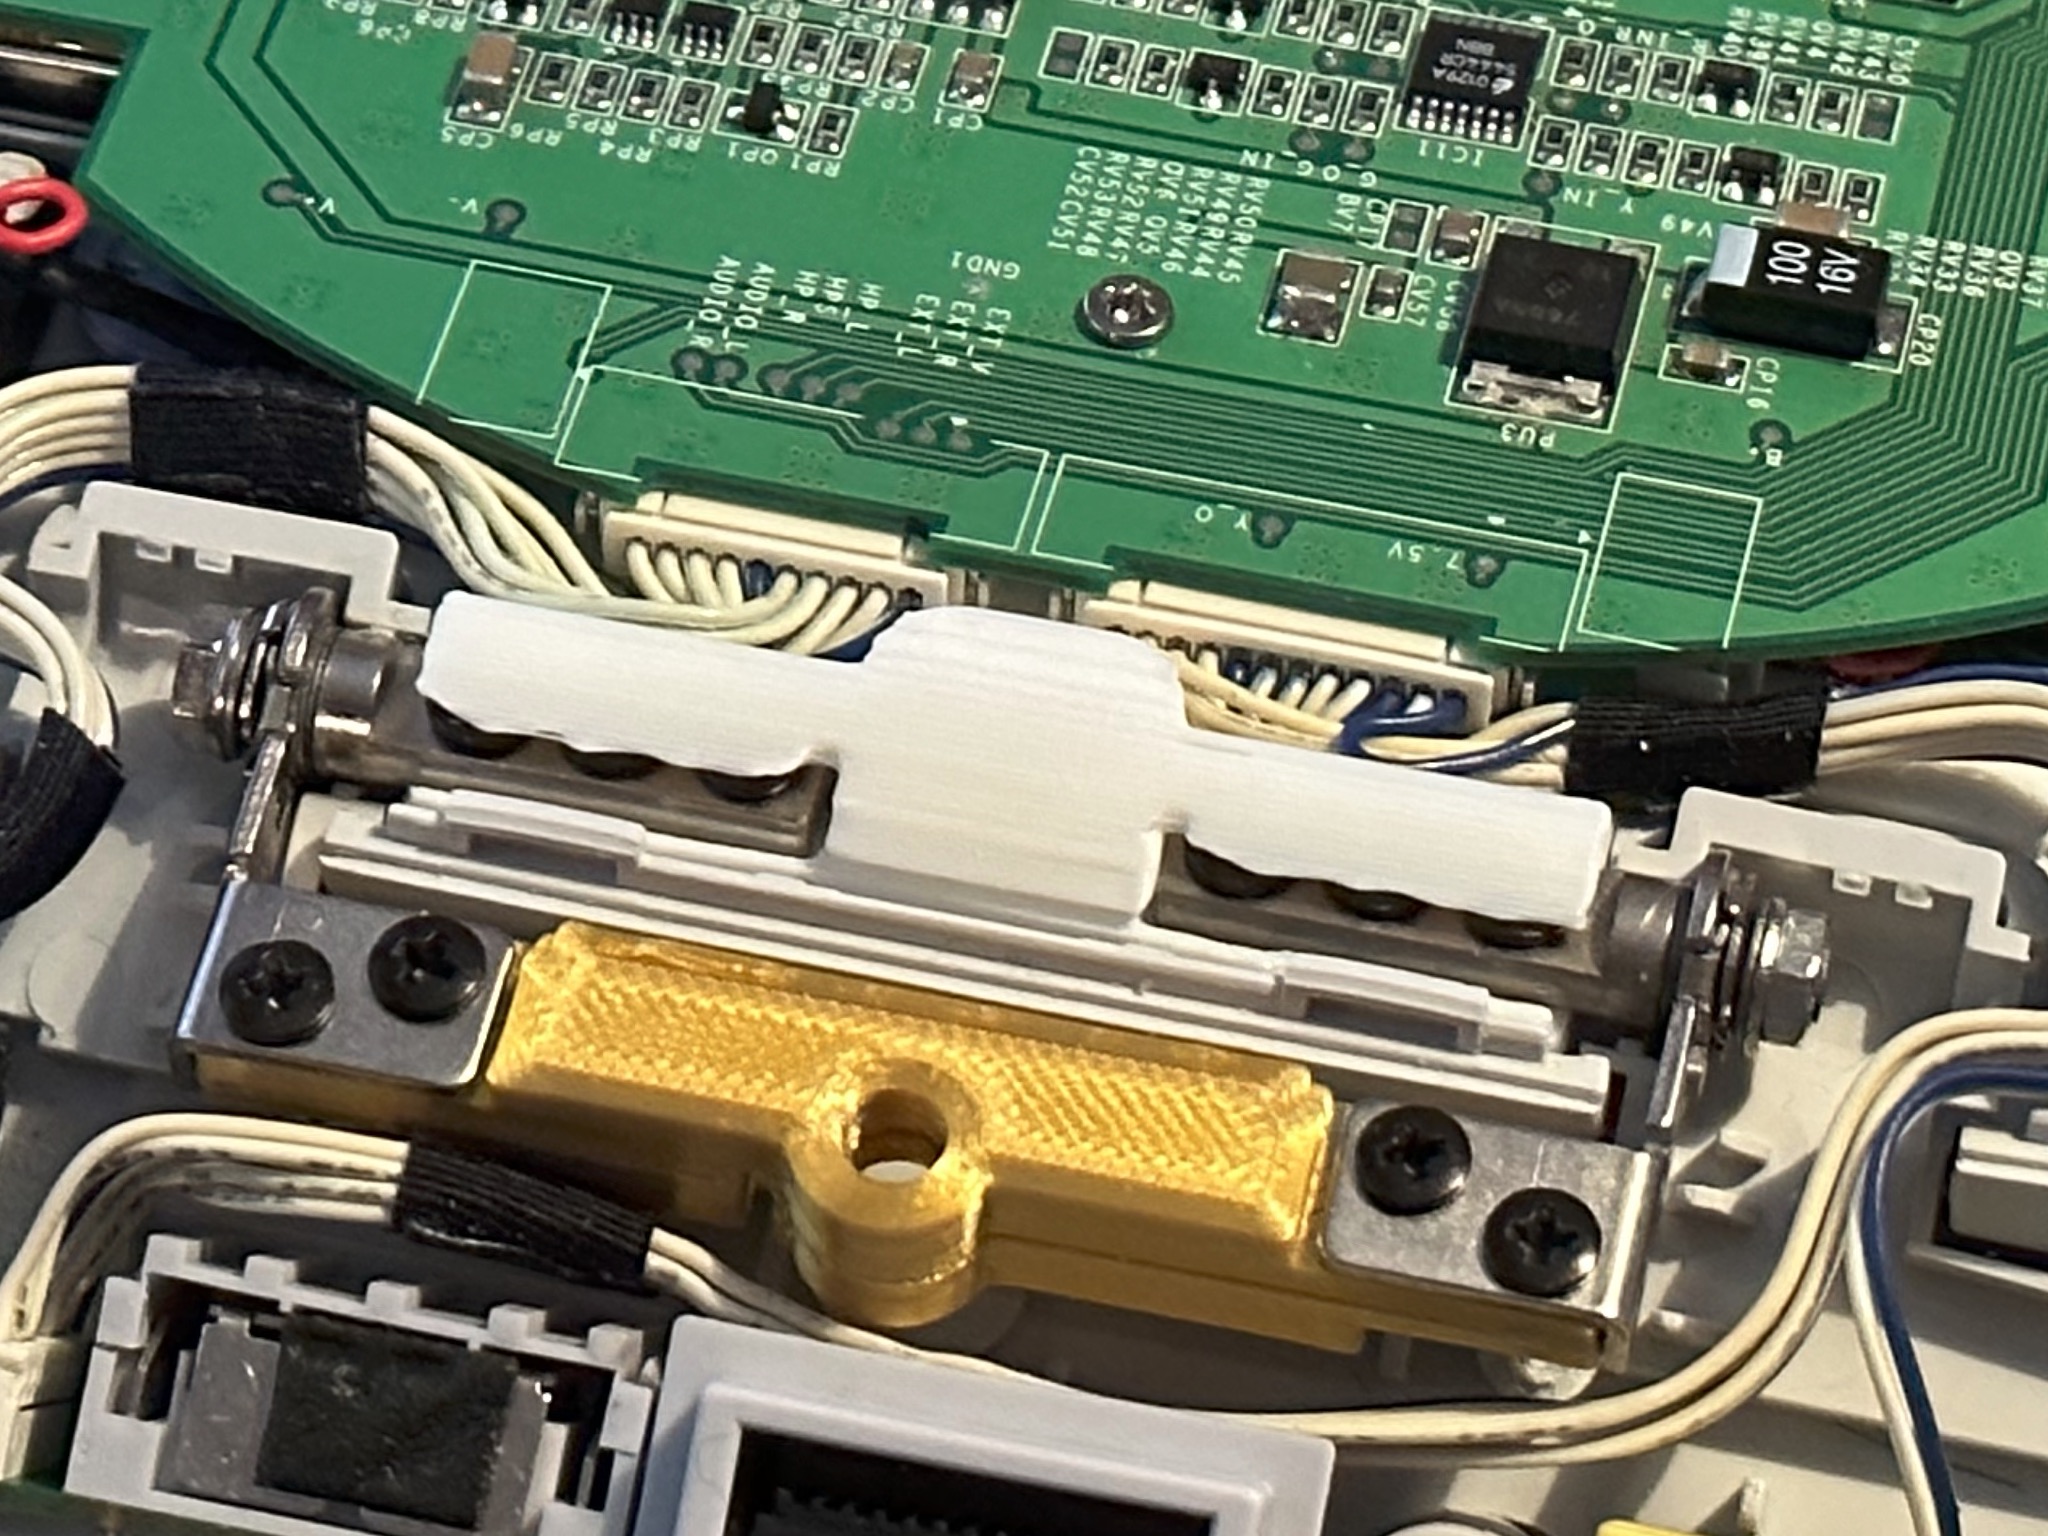
------------ !!!! BEFORE ATTEMPTING DISASSEMBLY !!!! Detailed disassembly guide: https://github.com/jeffqchen/PSone_LCD_Screen_Info/wiki/1.-Disassmbly ------------ Related:PSone LCD Screen Bottom Hinge Screw Hole Repair------------ The plastic screw posts inside the PSone LCD screen are turning into chalk. The hinge would become loose and not holding anymore. Sometimes the metal pieces of the hinge even crack make the shell plastic when forcibly rotated. My solution is to provide new material for the self-tapping screws to bite into, then spread the mechanical stress to a bigger area of the shell, as well as a screw post. The design is consisted of two pieces. Both are drop-in and there is no need for gluing. However a thorough clean-up on the original shell is needed. I can't vouch for the durability of this design, as I am the only test subject at the moment. Please send in your feedback and let all of us know. ------------ PrintingPrint pieces with the biggest flat surface facing down, with support. Support must be thoroughly cleaned up (especially the bottom piece), or you will have difficulty during installation. ------------ InstallationRemove whatever traces that's left of the original screw posts with a knife or dremel. Make sure the surface is as close as possible to the surrounding surface. Drop in the bottom piece, with the hole in the center top going through the plastic screw post. You will notice it's flopping like a seesaw. Heat up the piece with a moderate heat and press it against the screen shell, so the piece conforms to the curve of the shell. There should be no big gap between the piece and the shell. Put the hinge over the bottom piece, line up the holes on the metal arms with the holes on the bottom plastic piece. Screw in the original self-tapping screws until snug and STOP. Over-tightening will damage the piece. The metal arms should sit at the bottom of the grooves. Note the gap in the following picture. Make sure the gap is present after the screws are tightened. Otherwise the top and bottom shell will catch. Drop in the top piece. Then proceed to reassemble the screen. Final view before attempting to close the top shell. Make sure the wires are routed properly without being pinched .
Tags: replacement, hinge, repair, screen, top, lcd, resin print, nz made, made to order
Design credit: Original design by Jeff Chen - licensed under CC-BY-SA.
View original model + STL files on Printables ↗
View original model + STL files on Printables ↗
Frequently asked
How long does shipping take?
PSone LCD Screen Top Hinge Screw Hole Repair is printed to order. Lead time is typically 1-3 business days plus 1-4 days NZ shipping. Standard NZ shipping is $10, free over $75.
What material is this printed in?
By default this is printed in High-Detail Resin (8K) at 0.025 mm layer height on an MSLA resin printer. Custom material and colour swaps are available, just leave a note at checkout.
Can I get this in a different colour?
Yes. Every product can be printed in any of the resin colours we stock, or hand-painted on request. Leave a note at checkout or email [email protected].
Do you ship outside of New Zealand?
Currently New Zealand only. Australian shipping is coming.
Who designed this?
Designed by an independent sculptor and licensed for commercial printing. The original is linked on this page.