Storage & Boxes
Rails for Bosch / Sortimo i-Boxx Organizer Box
SKU 3DPW-pr-270038
$49.00NZD
In stock · Made-to-order resin · Ships from Auckland · Free shipping over $75
- Material
- High-Detail Resin (8K)
- Colour
- Grey
- Weight
- ~40 g
- Print time
- ~4.5 h
- Shipping
- $10 std · $20 express
- Lead time
- 1-3 d print + 1-4 d ship
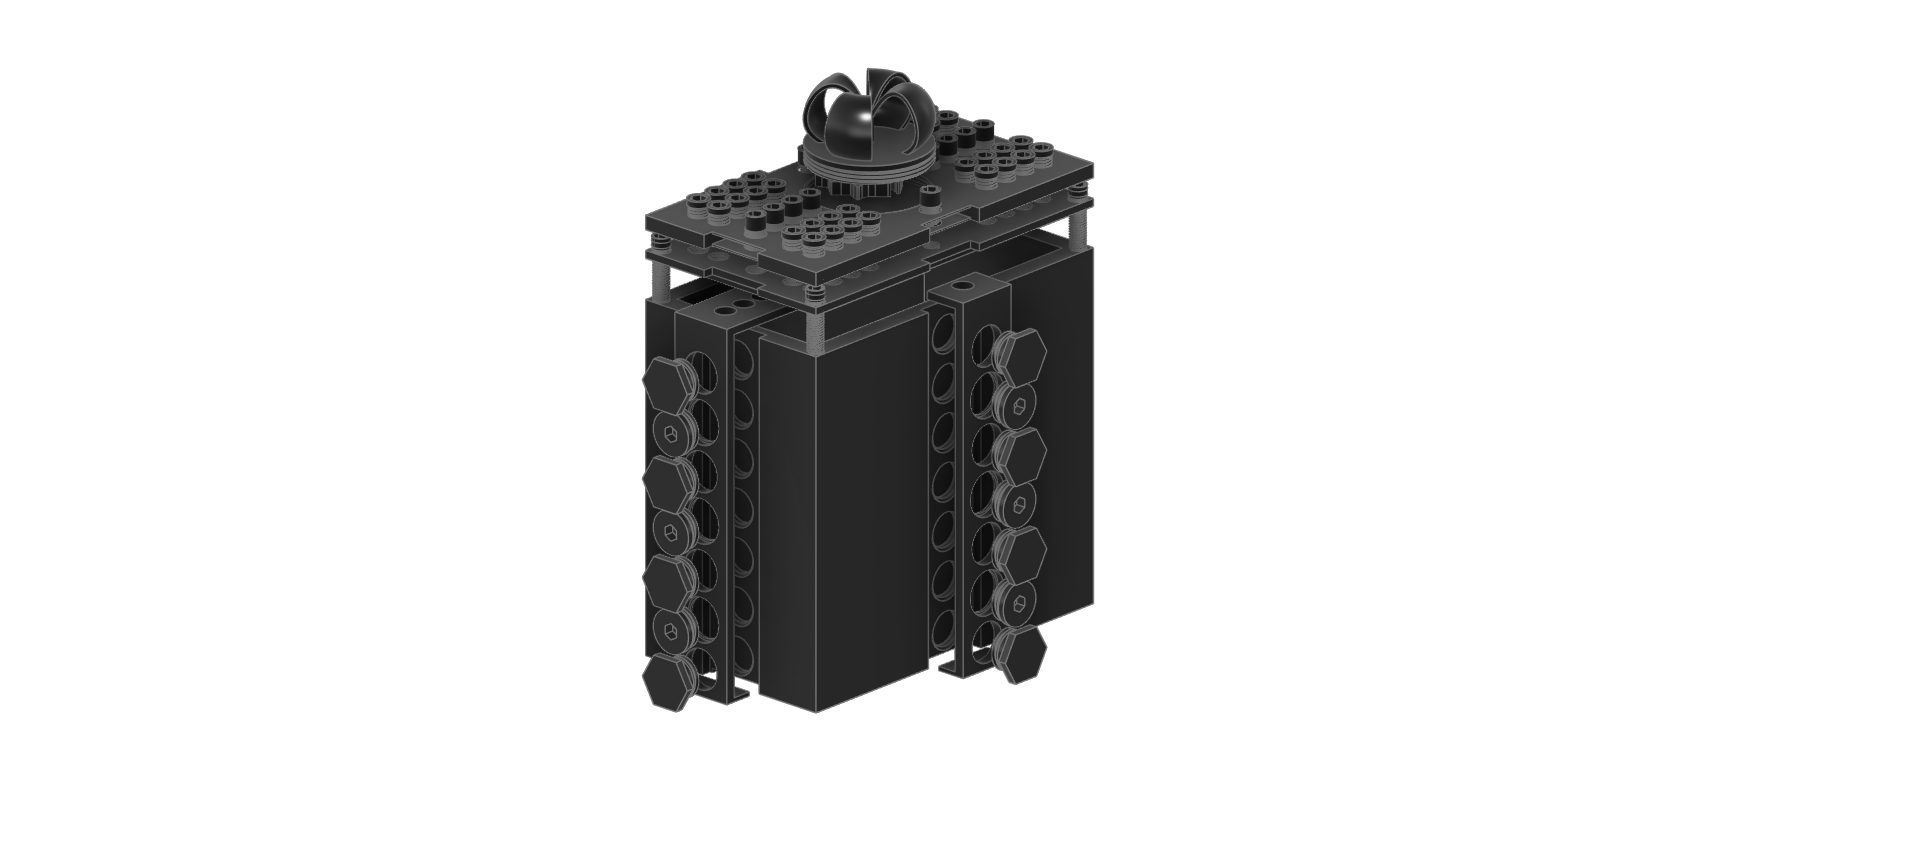
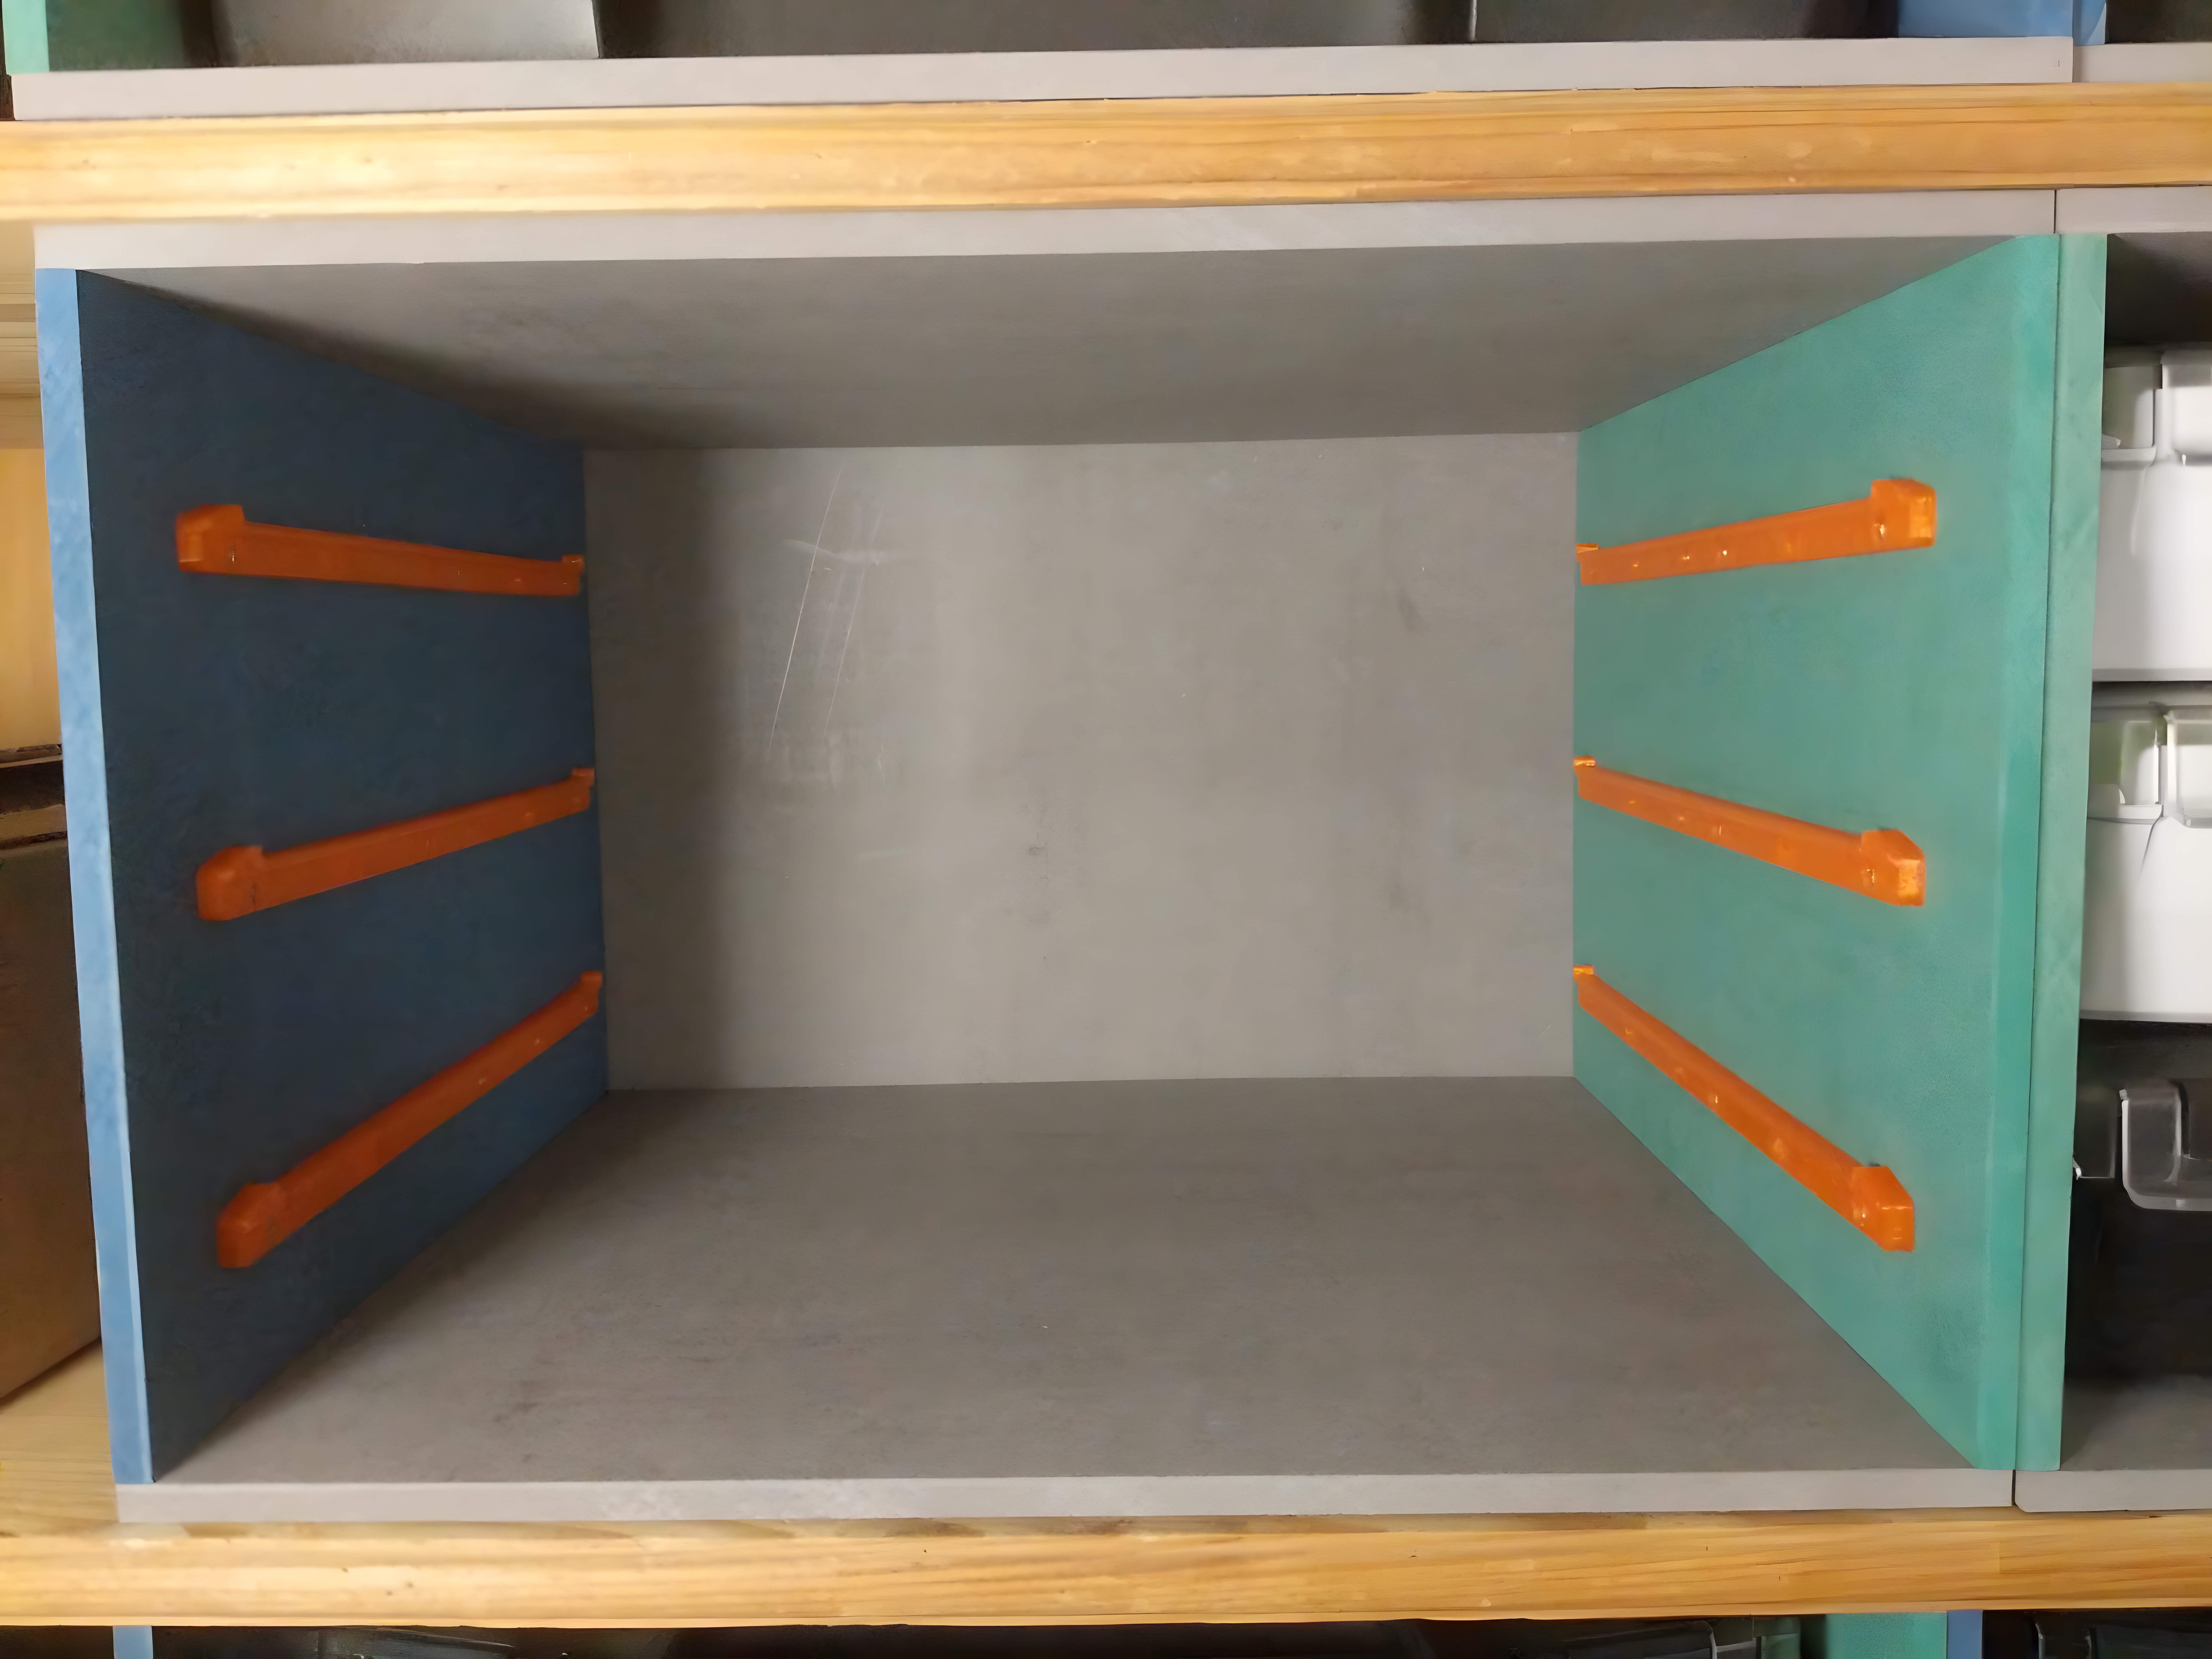
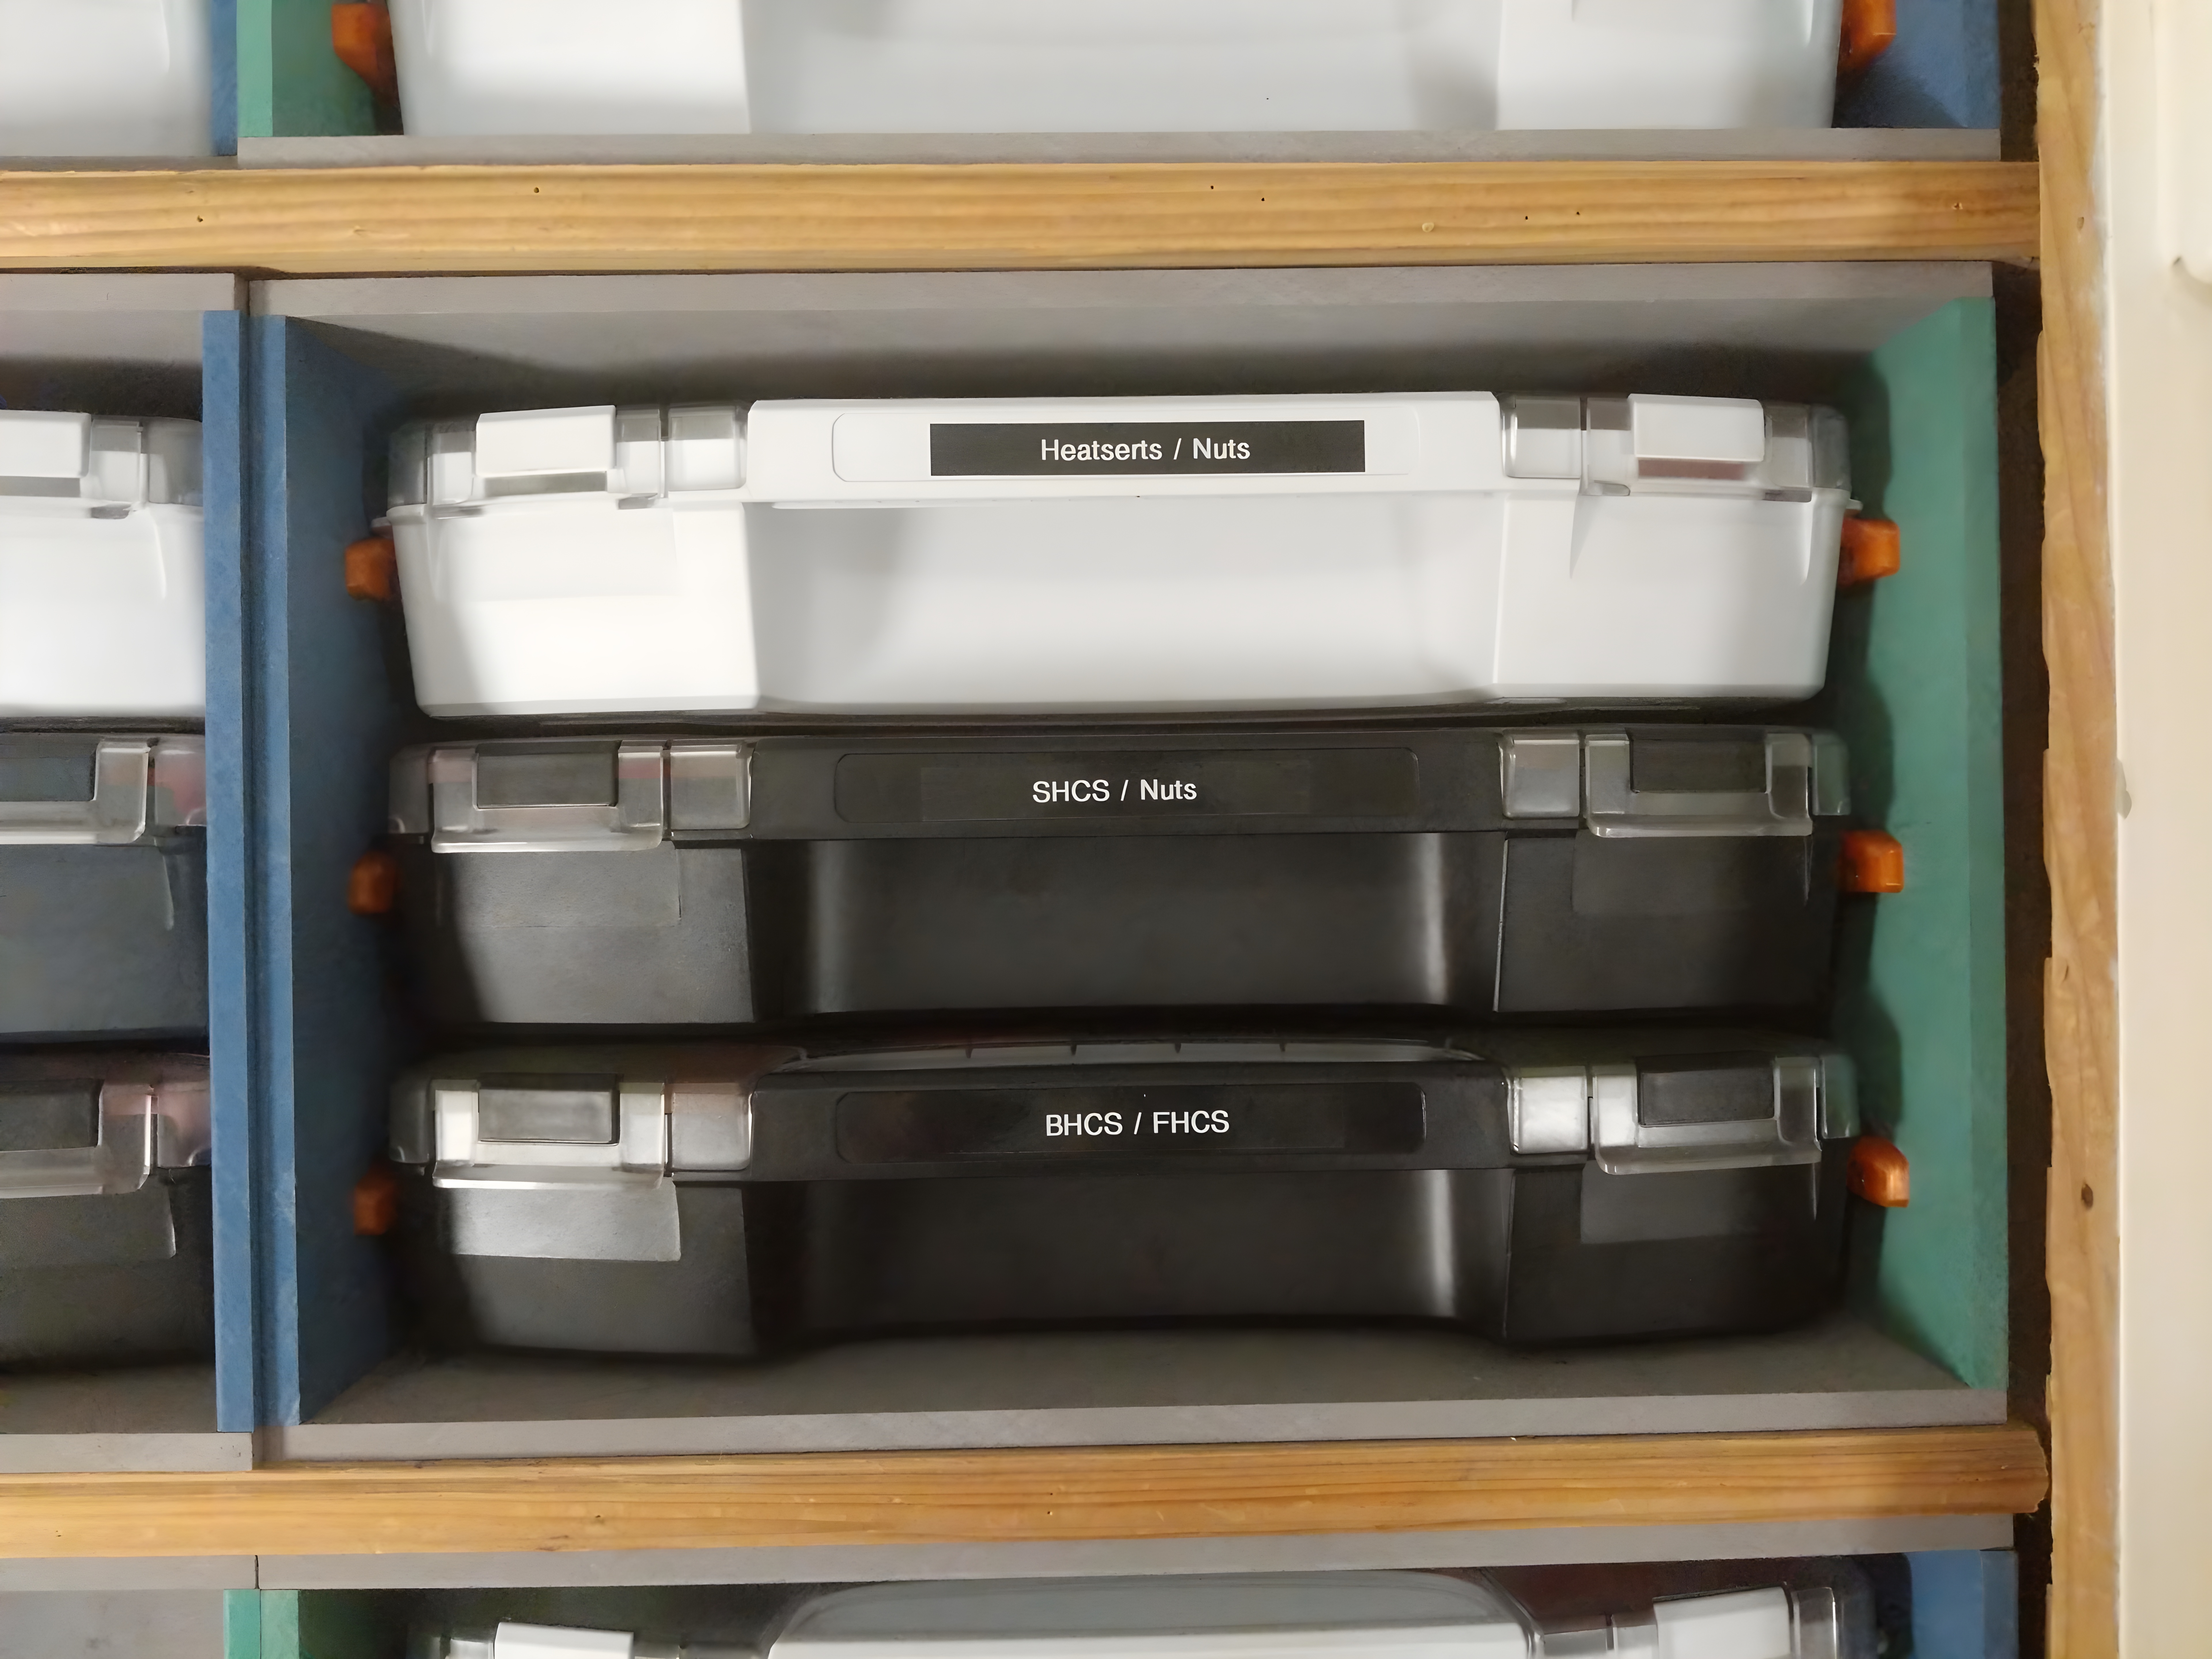
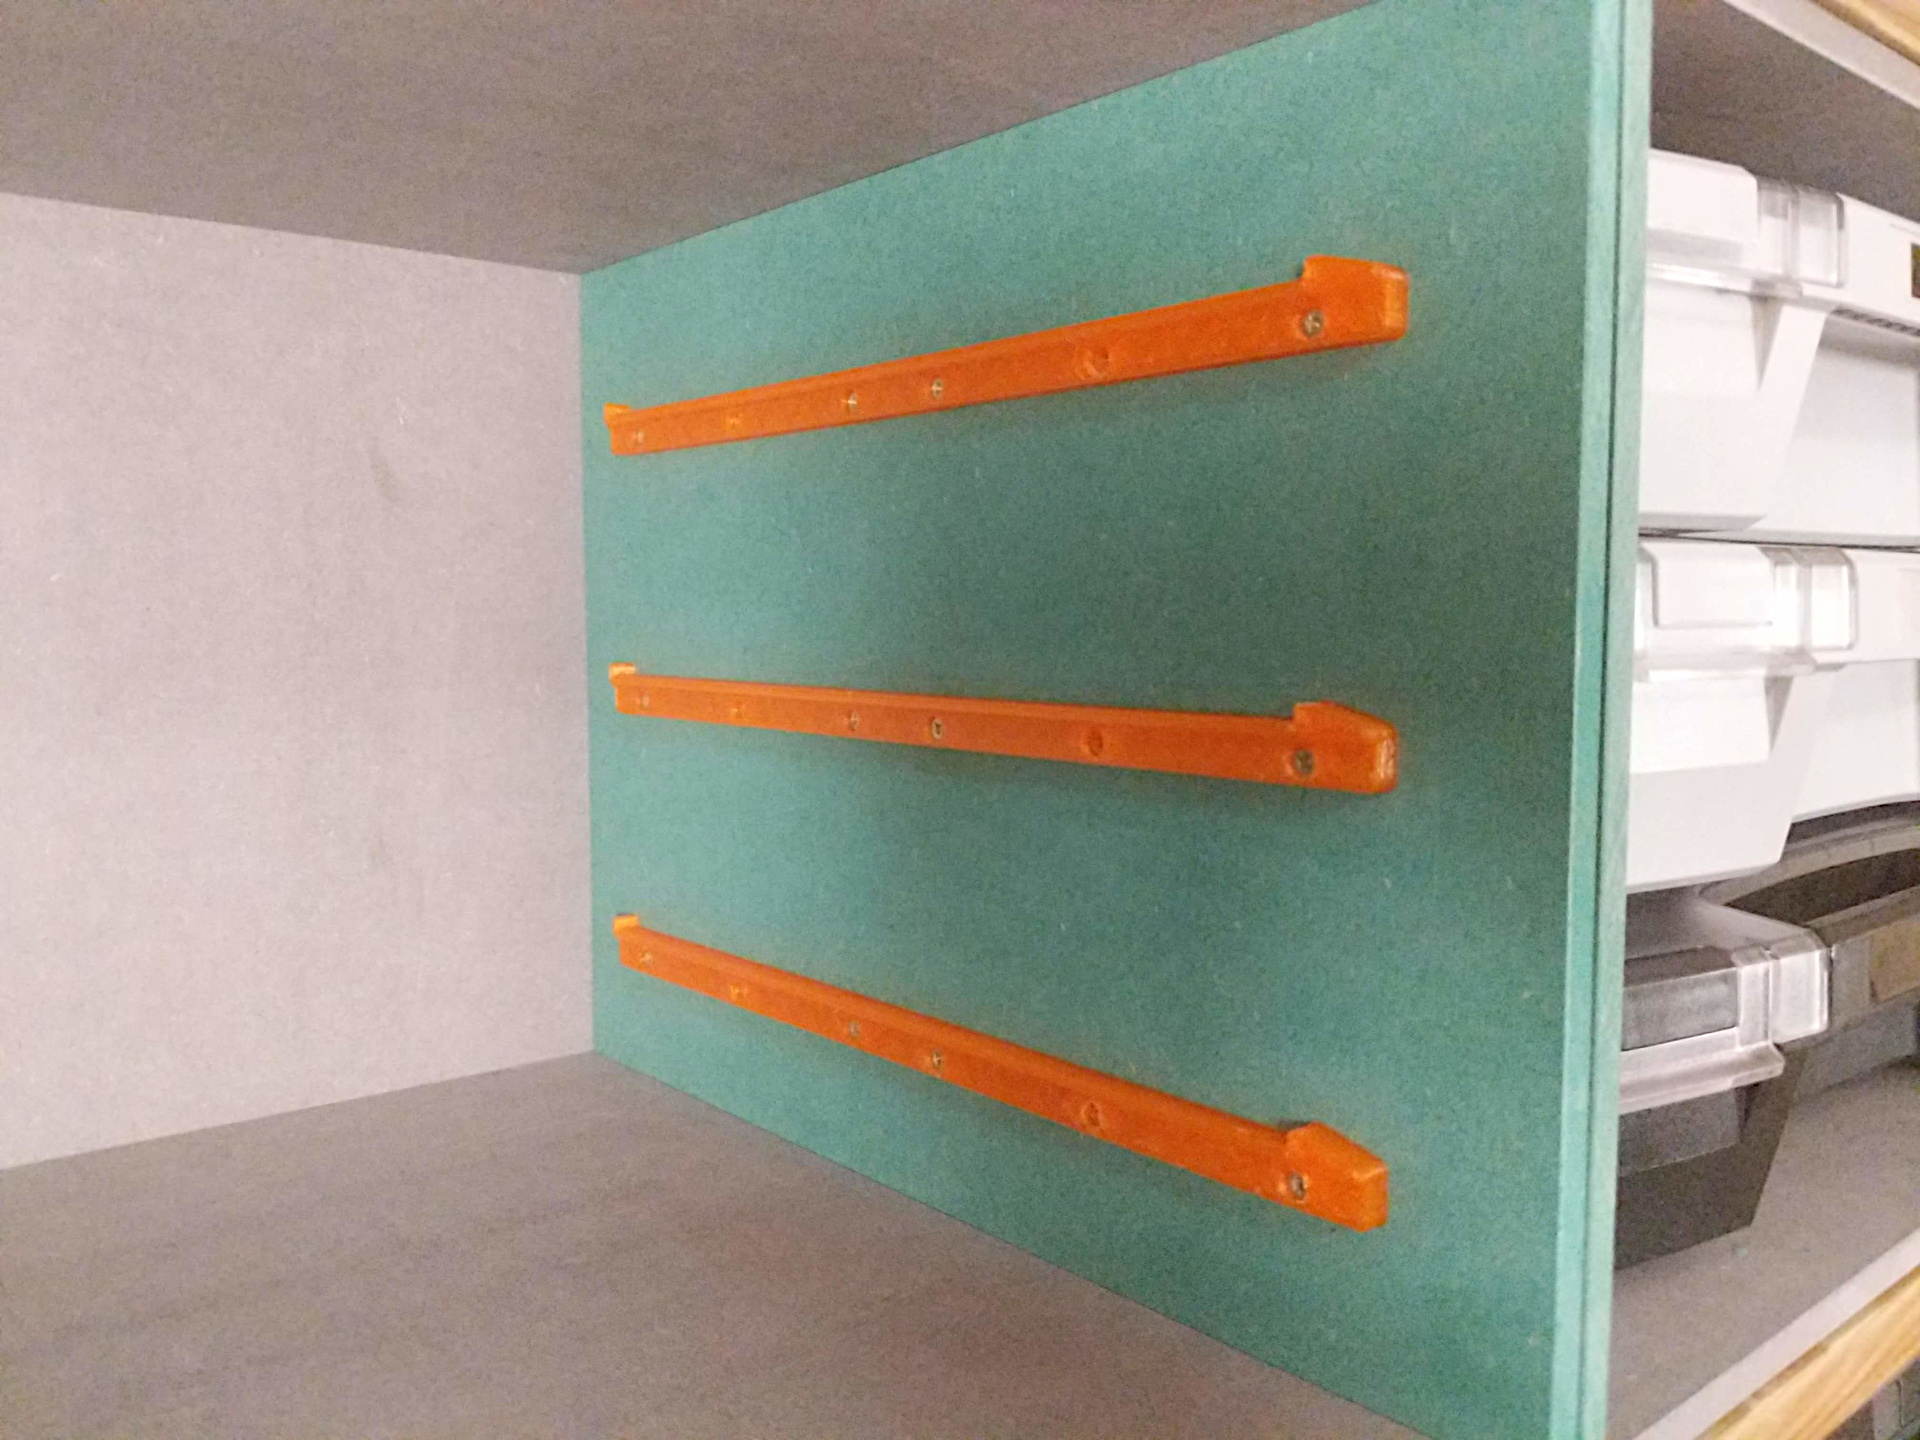
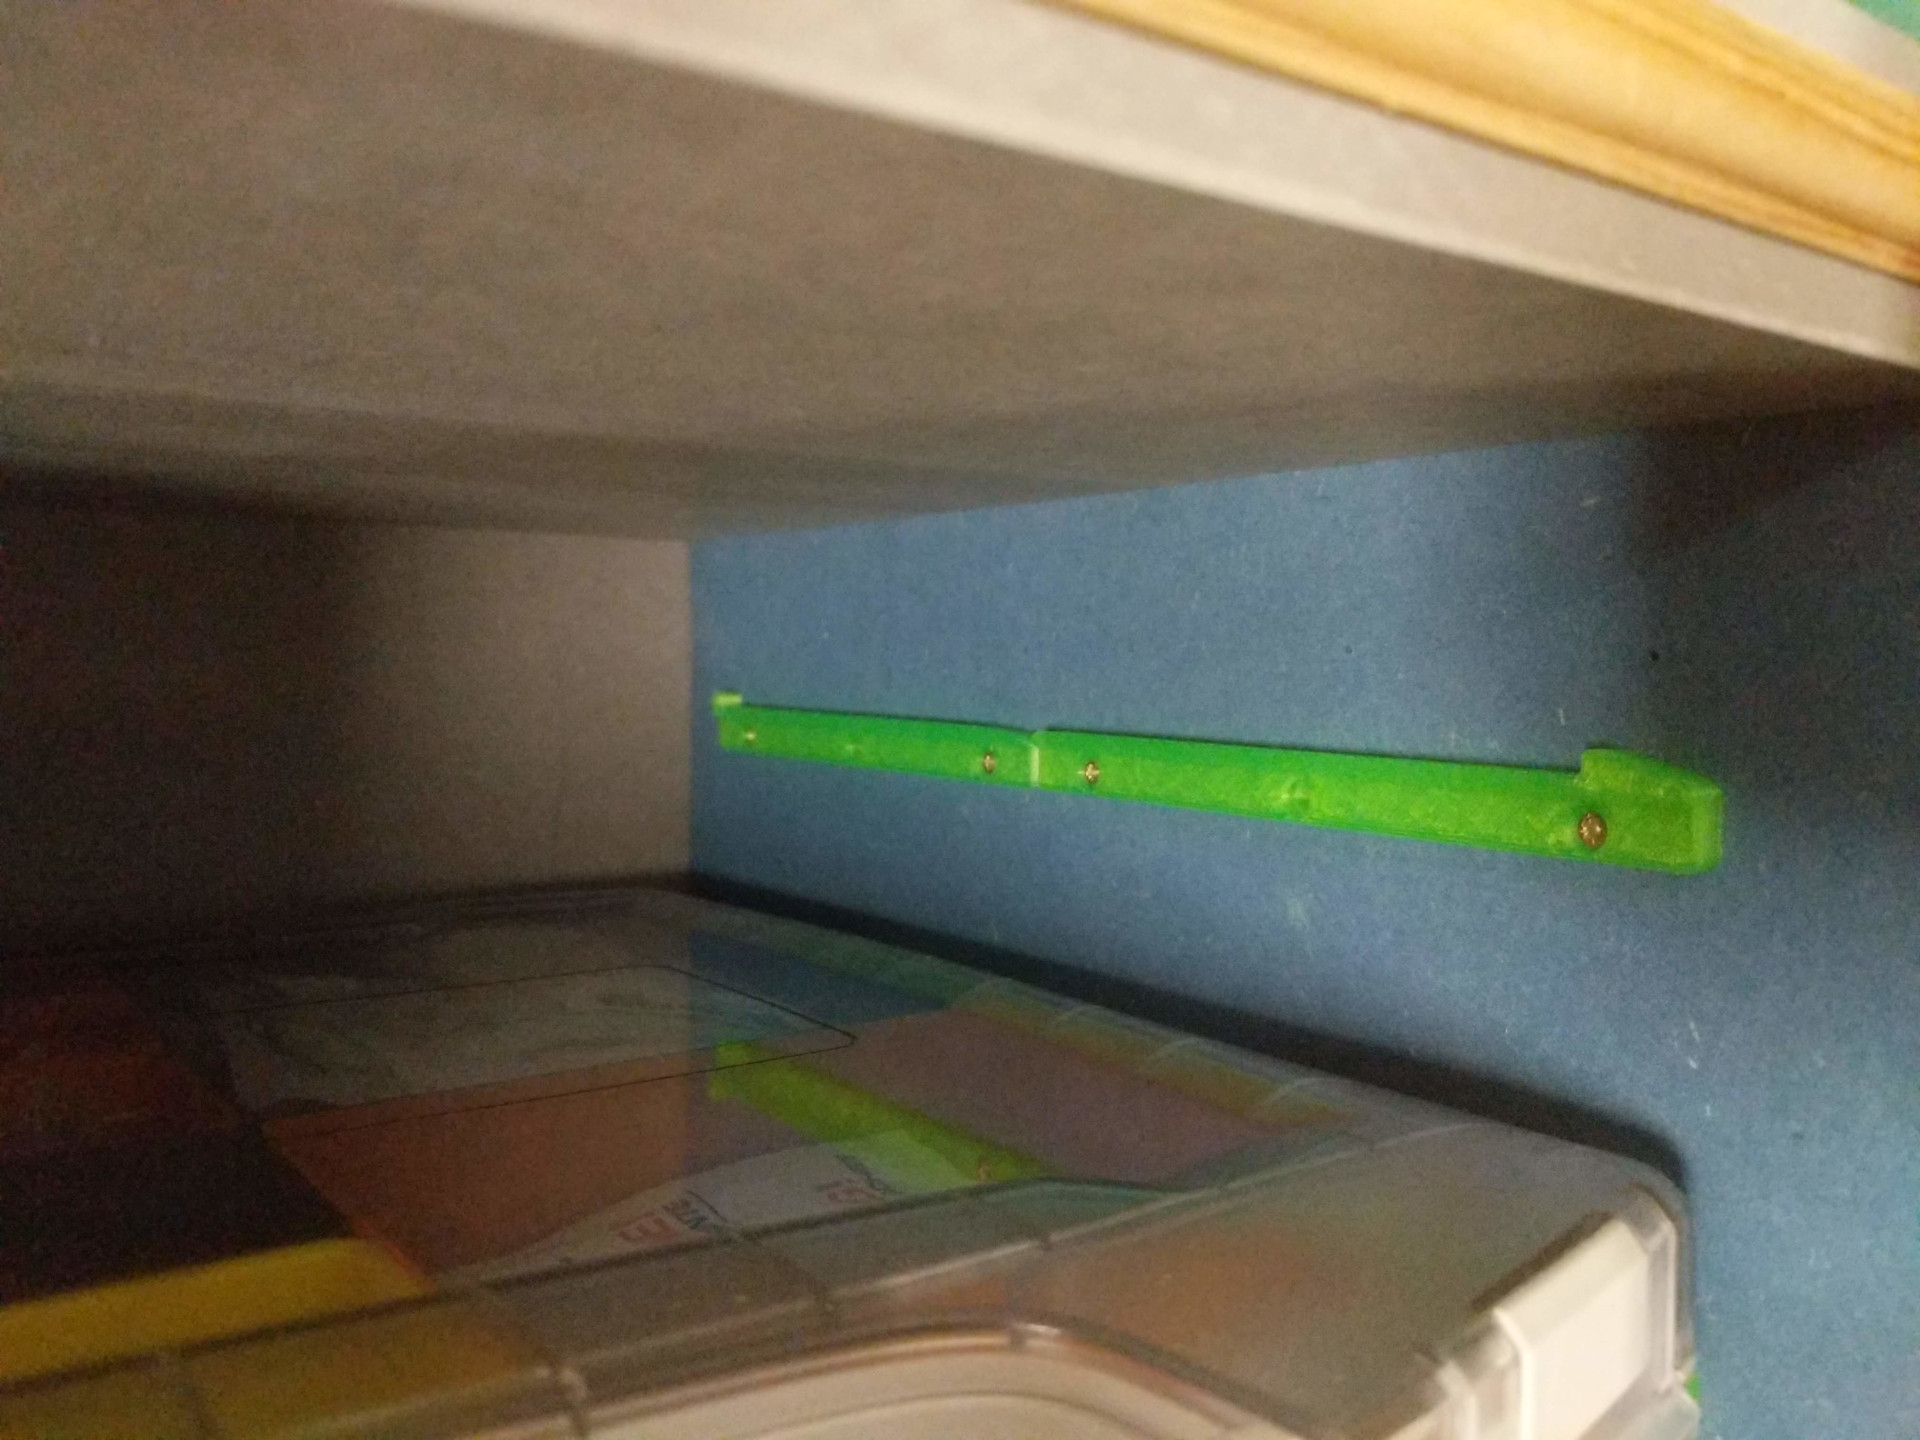
These are rails for the i-Boxx organizer boxes that can be used to build custom storage cabinets. The boxes are available from Bosch, Sortimo, BS Systems, and potentially other manufacturers. The rails work with the i-Boxx 72, i-Boxx 53, and LS-Tray 72 a.k.a LS-Drawer 72. The documentation below contains all the information you need to build a complete storage cabinet for your boxes. STEP files are available for easy remixing and for use in your CAD assemblies. Required HardwareEach rail requires 6 to 3 (12-6 per pair) screws. The full length version requires at least 3 screws and the split version requires at least 4 screws. You can add the remaining screws for additional strength but they're optional. The screws should be 2.5mm or 3mm in diameter with a head diameter up to 5.8mm. Button head are preferred but countersink screws work as well. I used Spax Universal Z1 2.5x10mm screws for 8mm thick MDF panels. The length is determined by the thickness of the material you want to use for your storage cabinet. Read more about it in the “Assembly” section below. Full Length Version or Split VersionIt's all about the build volume. The rails are available in two different versions to support smaller printers. The full length version measures 268mm and requires roughly a 300mm bed. If you have a smaller printer you can use the split version instead, which measures 133mm and can be printed on most small printers. The split version has no functional disadvantages. You can also mix and match as you like. PrintingPrint the parts in the original orientation. All STL files are pre-rotated. If you print the full length version you might want to use some adhesion helpers, such as adhesion sprays or a brim, as the part is very long and skinny and has a higher tendency to warp - especially if your printer's bed isn't heated very evenly. Material: Doesn't matter, anything solidPerimeters: 3 or moreInfill: 15%Supports: no AssemblyThis covers the basic dimensions for a storage cabinet. Using these dimensions, the box will slide in easily and it'll make the most efficient use of the vertical space and leave only a small vertical gap between the organizer boxes. Thee will be about a 5mm gap between the organizes boxes and the front face of the storage cabinet. Important: When assembling the storage cabinet it's recommended to mount all the rails onto the side walls before assembling the rest of the cabinet. This allows you to use the assembly jigs which require exposed edges of the wood panels. It also makes it easier to access the screws.Inner DimensionsThe left and right inner walls of your storage cabinet should 371mm apart for easy insertion of the organizer boxes. A little smaller, 370mm or 369mm, would work as well but there'd be less wiggle room. The inner height is determined by the type of organizer box and the number of boxes you want to store. Inner width: 371mmInner depth: 326mmInner height: see formula belowCalculating Inner HeightReplace NUMBER_OF_BOXES with the number of organizer boxes in your cabinet in the formulae below. i-Boxx 72: 7mm + (NUMBER_OF_BOXES * 77mm)i-Boxx 53: 7mm + (NUMBER_OF_BOXES * 58mm)Screw Hole PatternThe following drawings show the hole pattern of the inner side of the left wall of the cabinet. For the right wall the screw hole pattern is mirrored. Screw LengthThe maximum screw length is determined by the thickness of your side walls. The screw hole on the rail is 3mm deep. The maximum screw length is the wall thickness + 3mm rounded down to the nearest standard screw size. With an 8mm thick panel the ideal screw length is around 10mm. Assembly JigsIf you prefer to use jigs and install the rails as you go instead of marking all the screw holes in advance, please refer to the image below to see how to use the assembly jigs. The jigs with a number are only for i-Boxx 72 or i-Boxx 53 respectively. The jigs that end in “S” are only needed for the split version of the rails. F: Distance to front of the cabinetB: Distance to the bottom edgeV: Vertical spacing between railsS: Ensure 2mm gap between front and rear of split rails72: For i-Boxx 7253: For i-Boxx 53Note: Instead of jigs BxxS and VxxS you can also just use jig S that just maintains the gap between the front and rear split rails without the vertical spacing. It can be printed flat and prints quicker.
Tags: box, organizer, organiser, bosch, drawers, rail, resin print, nz made, made to order
Design credit: Original design by 6d6178 - licensed under CC-BY-SA.
View original model + STL files on Printables ↗
View original model + STL files on Printables ↗
Frequently asked
How long does shipping take?
Rails for Bosch / Sortimo i-Boxx Organizer Box is printed to order. Lead time is typically 1-3 business days plus 1-4 days NZ shipping. Standard NZ shipping is $10, free over $75.
What material is this printed in?
By default this is printed in High-Detail Resin (8K) at 0.025 mm layer height on an MSLA resin printer. Custom material and colour swaps are available, just leave a note at checkout.
Can I get this in a different colour?
Yes. Every product can be printed in any of the resin colours we stock, or hand-painted on request. Leave a note at checkout or email [email protected].
Do you ship outside of New Zealand?
Currently New Zealand only. Australian shipping is coming.
Who designed this?
Designed by an independent sculptor and licensed for commercial printing. The original is linked on this page.