
Todd's Filament Clip
- Arrives in 2 to 7 business days Printed in Auckland. $10 shipping, free over $75
- 14-day faulty refund If it arrives broken or misprinted, we reprint or refund it
- Secure checkout Card payments handled by Stripe
- Material
- High-Detail Resin (8K)
- Colour
- Grey
- Weight
- ~19 g
- Print time
- ~1 h
- Express shipping
- $20
More information
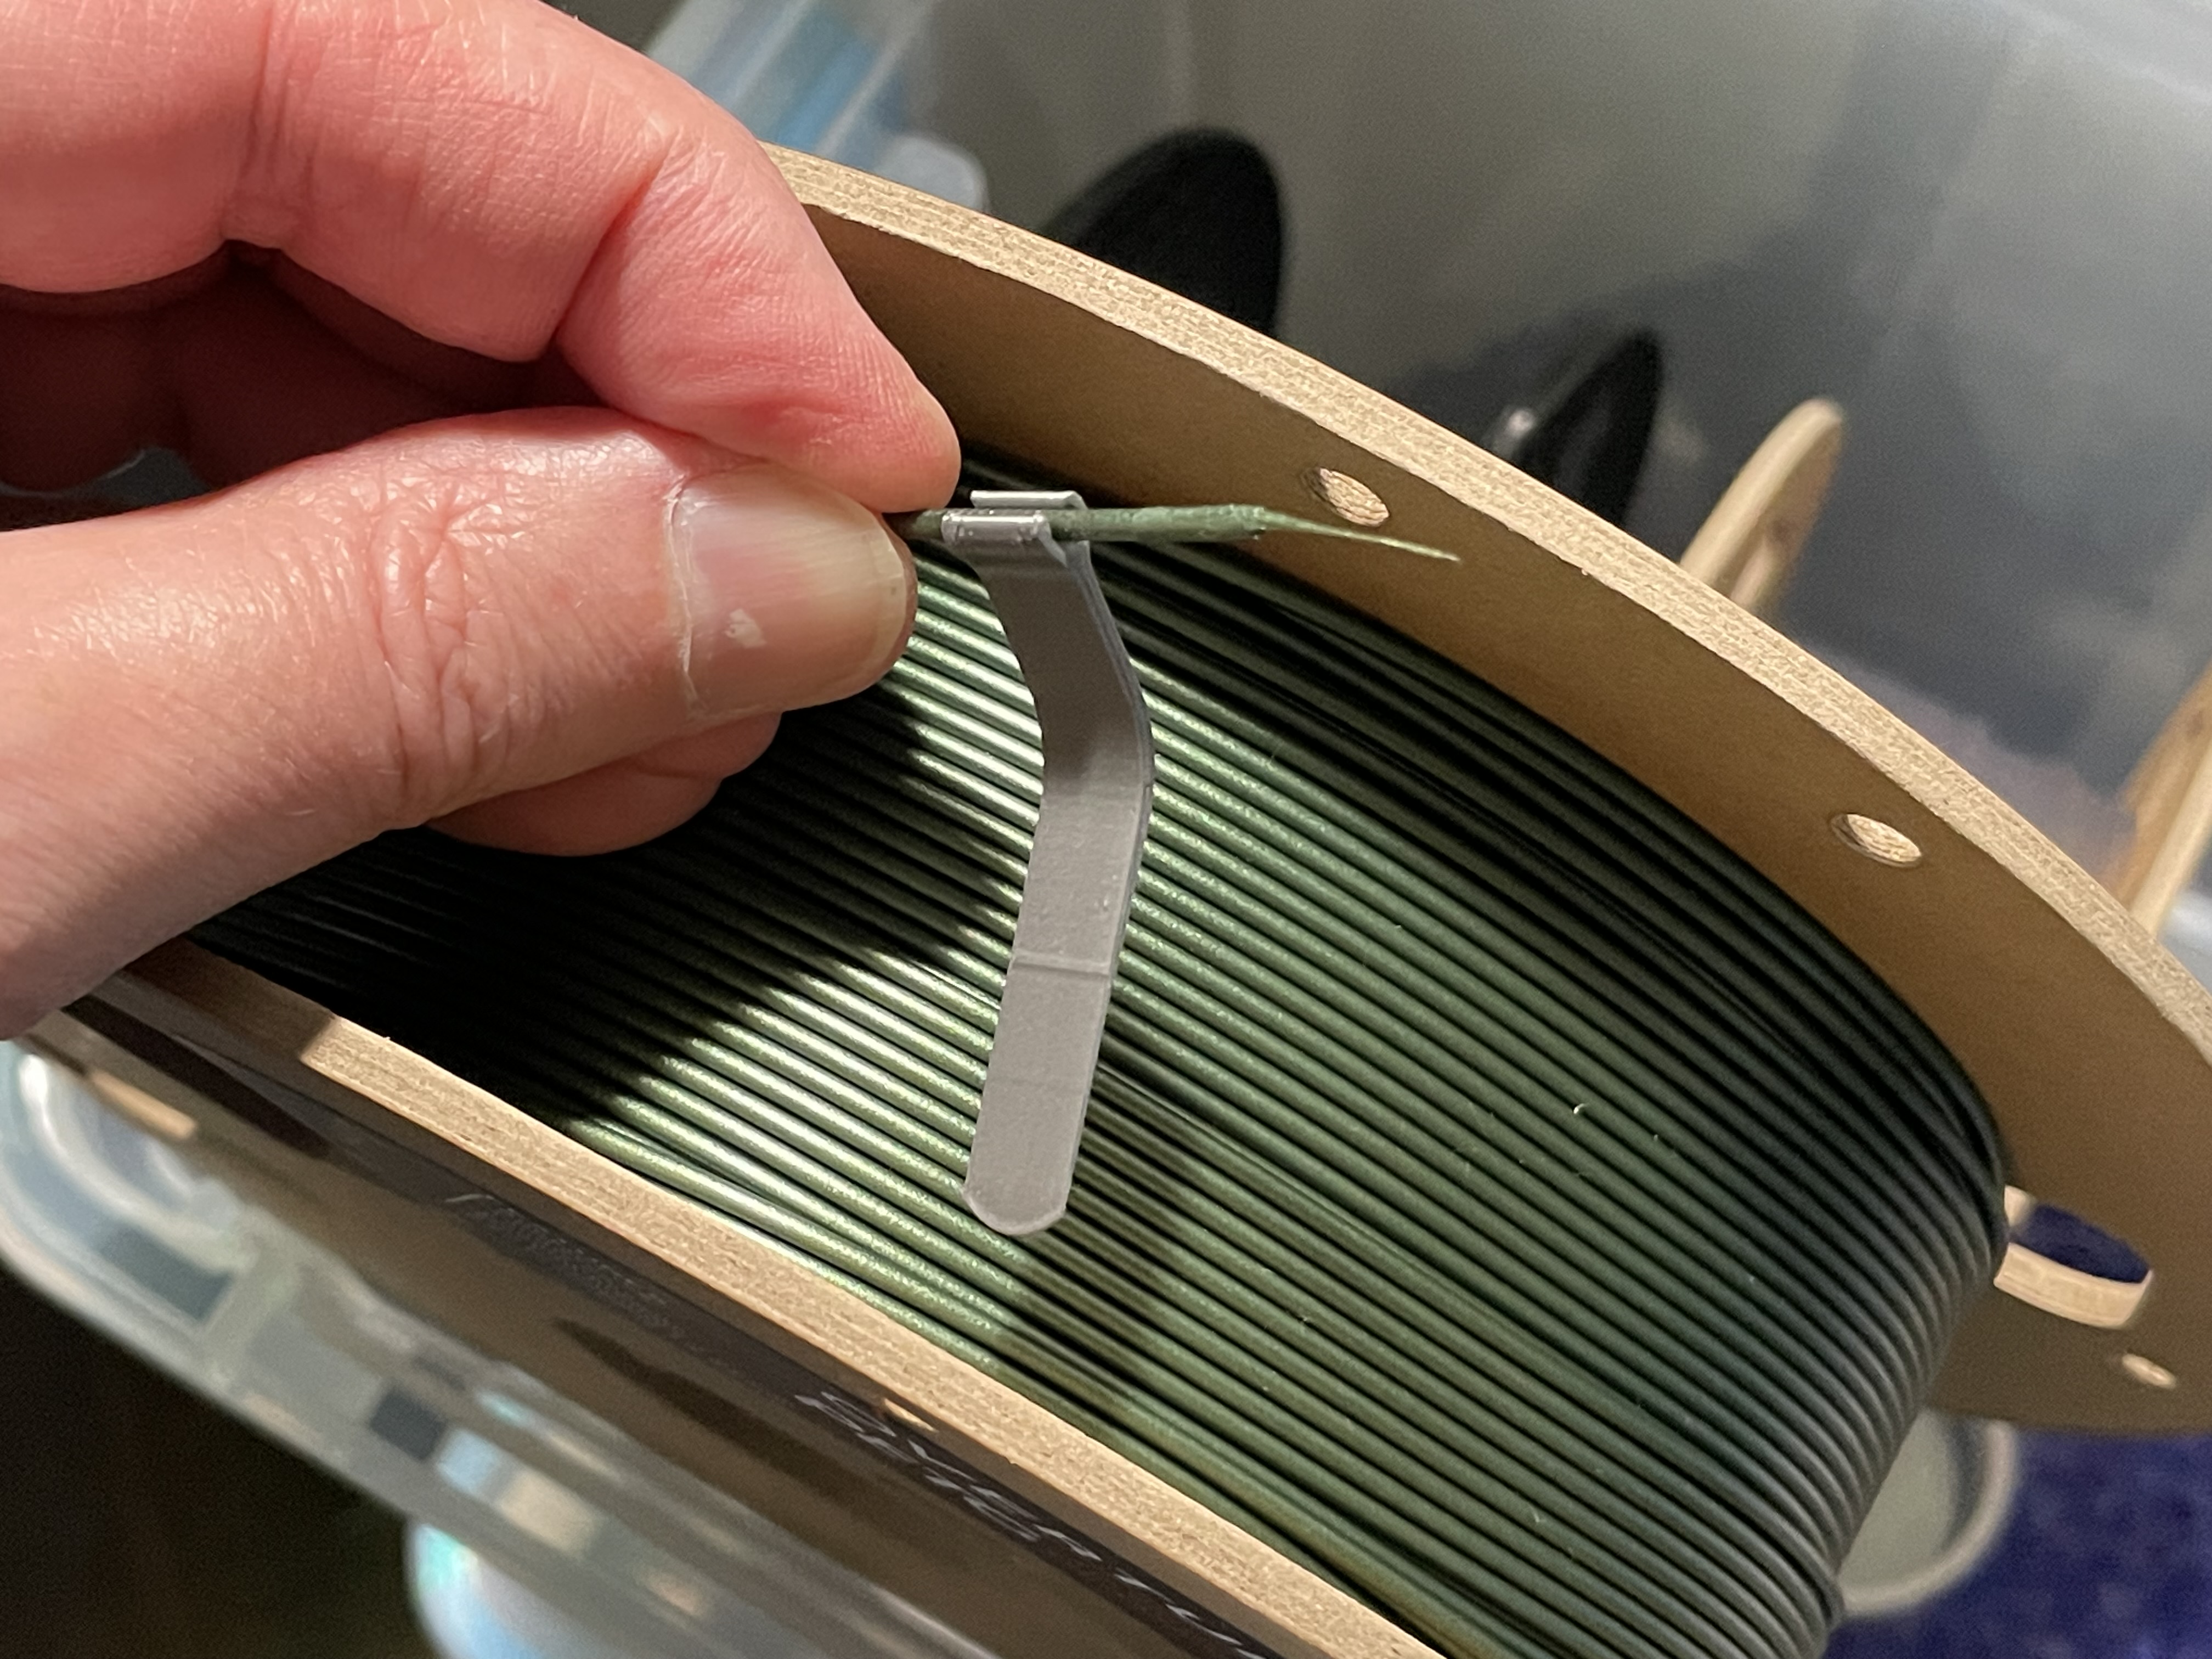
I've tried quite a few filament clips, but fundamentally don't like the key concepts most of them use. They either clip onto the edge of a roll or you are expected to snap it onto two strands of filament and hope they don't both start unravelling together. I thought, why can't we just use friction on the side so I went looking for an existing one. The remix here is the only one I found, and while it did work as I was expecting, there were a few things I wanted to change.
• The filament can be hard to grab onto when it's wedged right up against the side of the roll. • I found it slightly harder to slide under other strands horizontally due to the size.
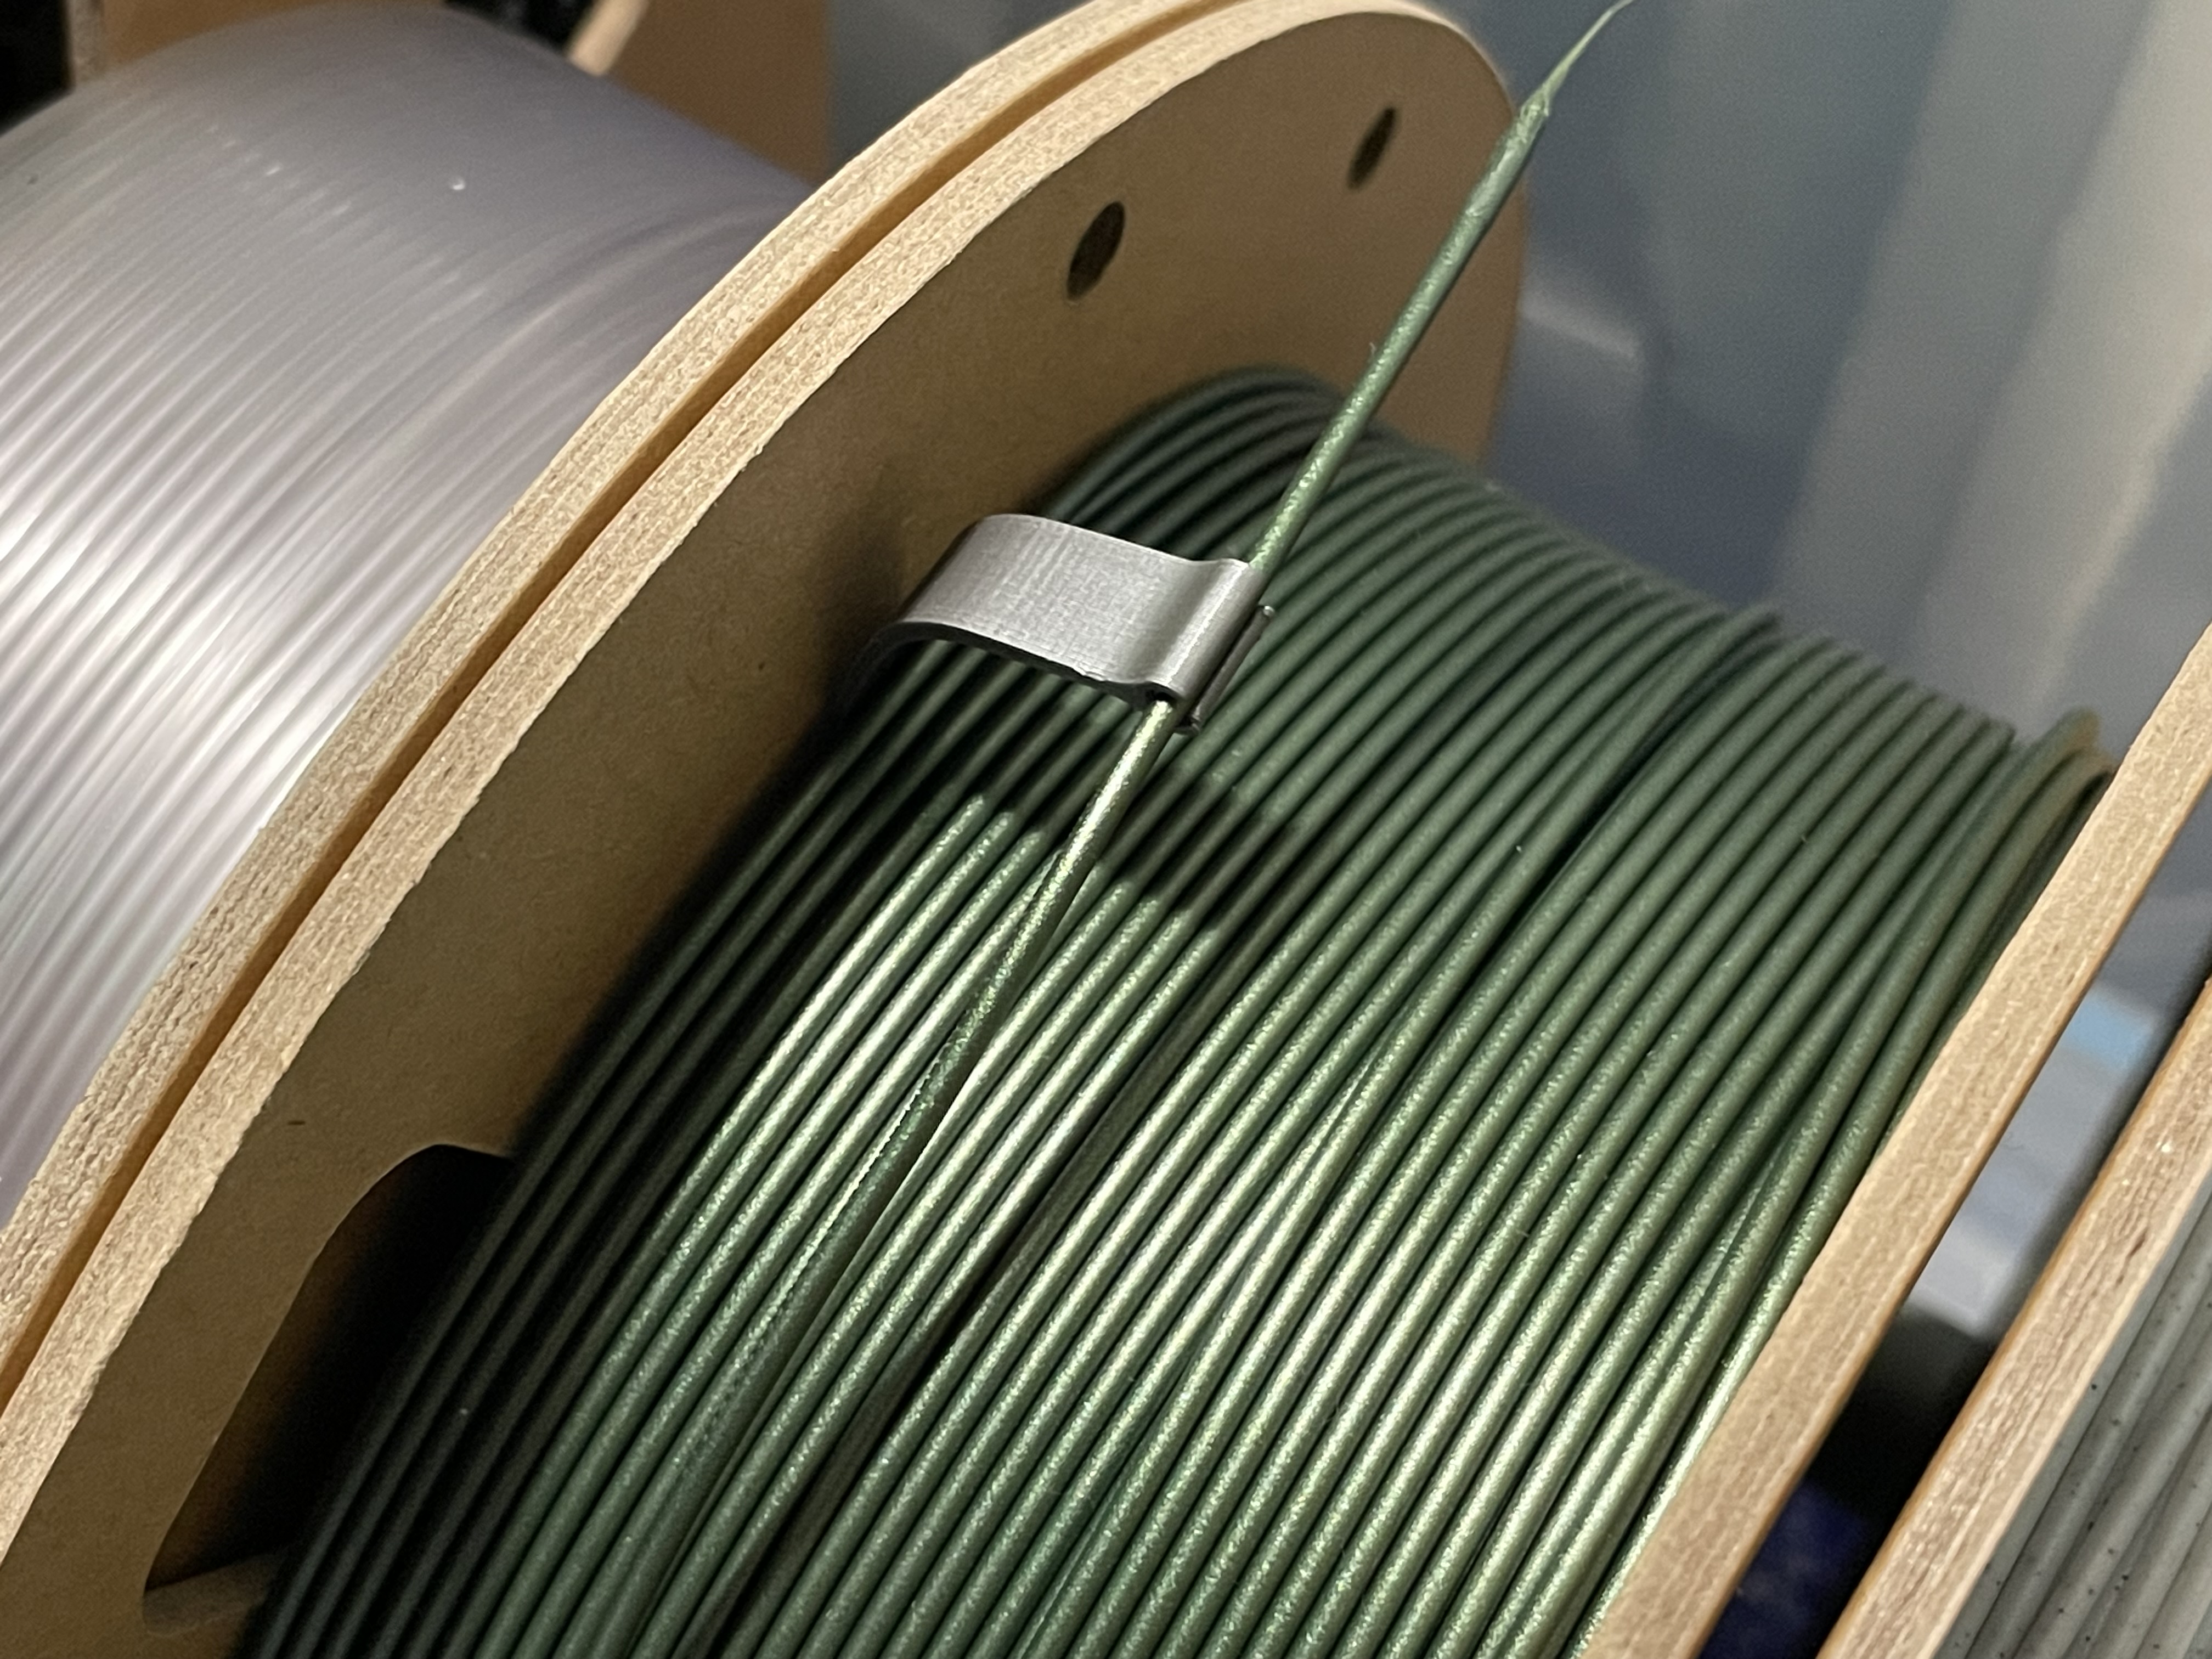
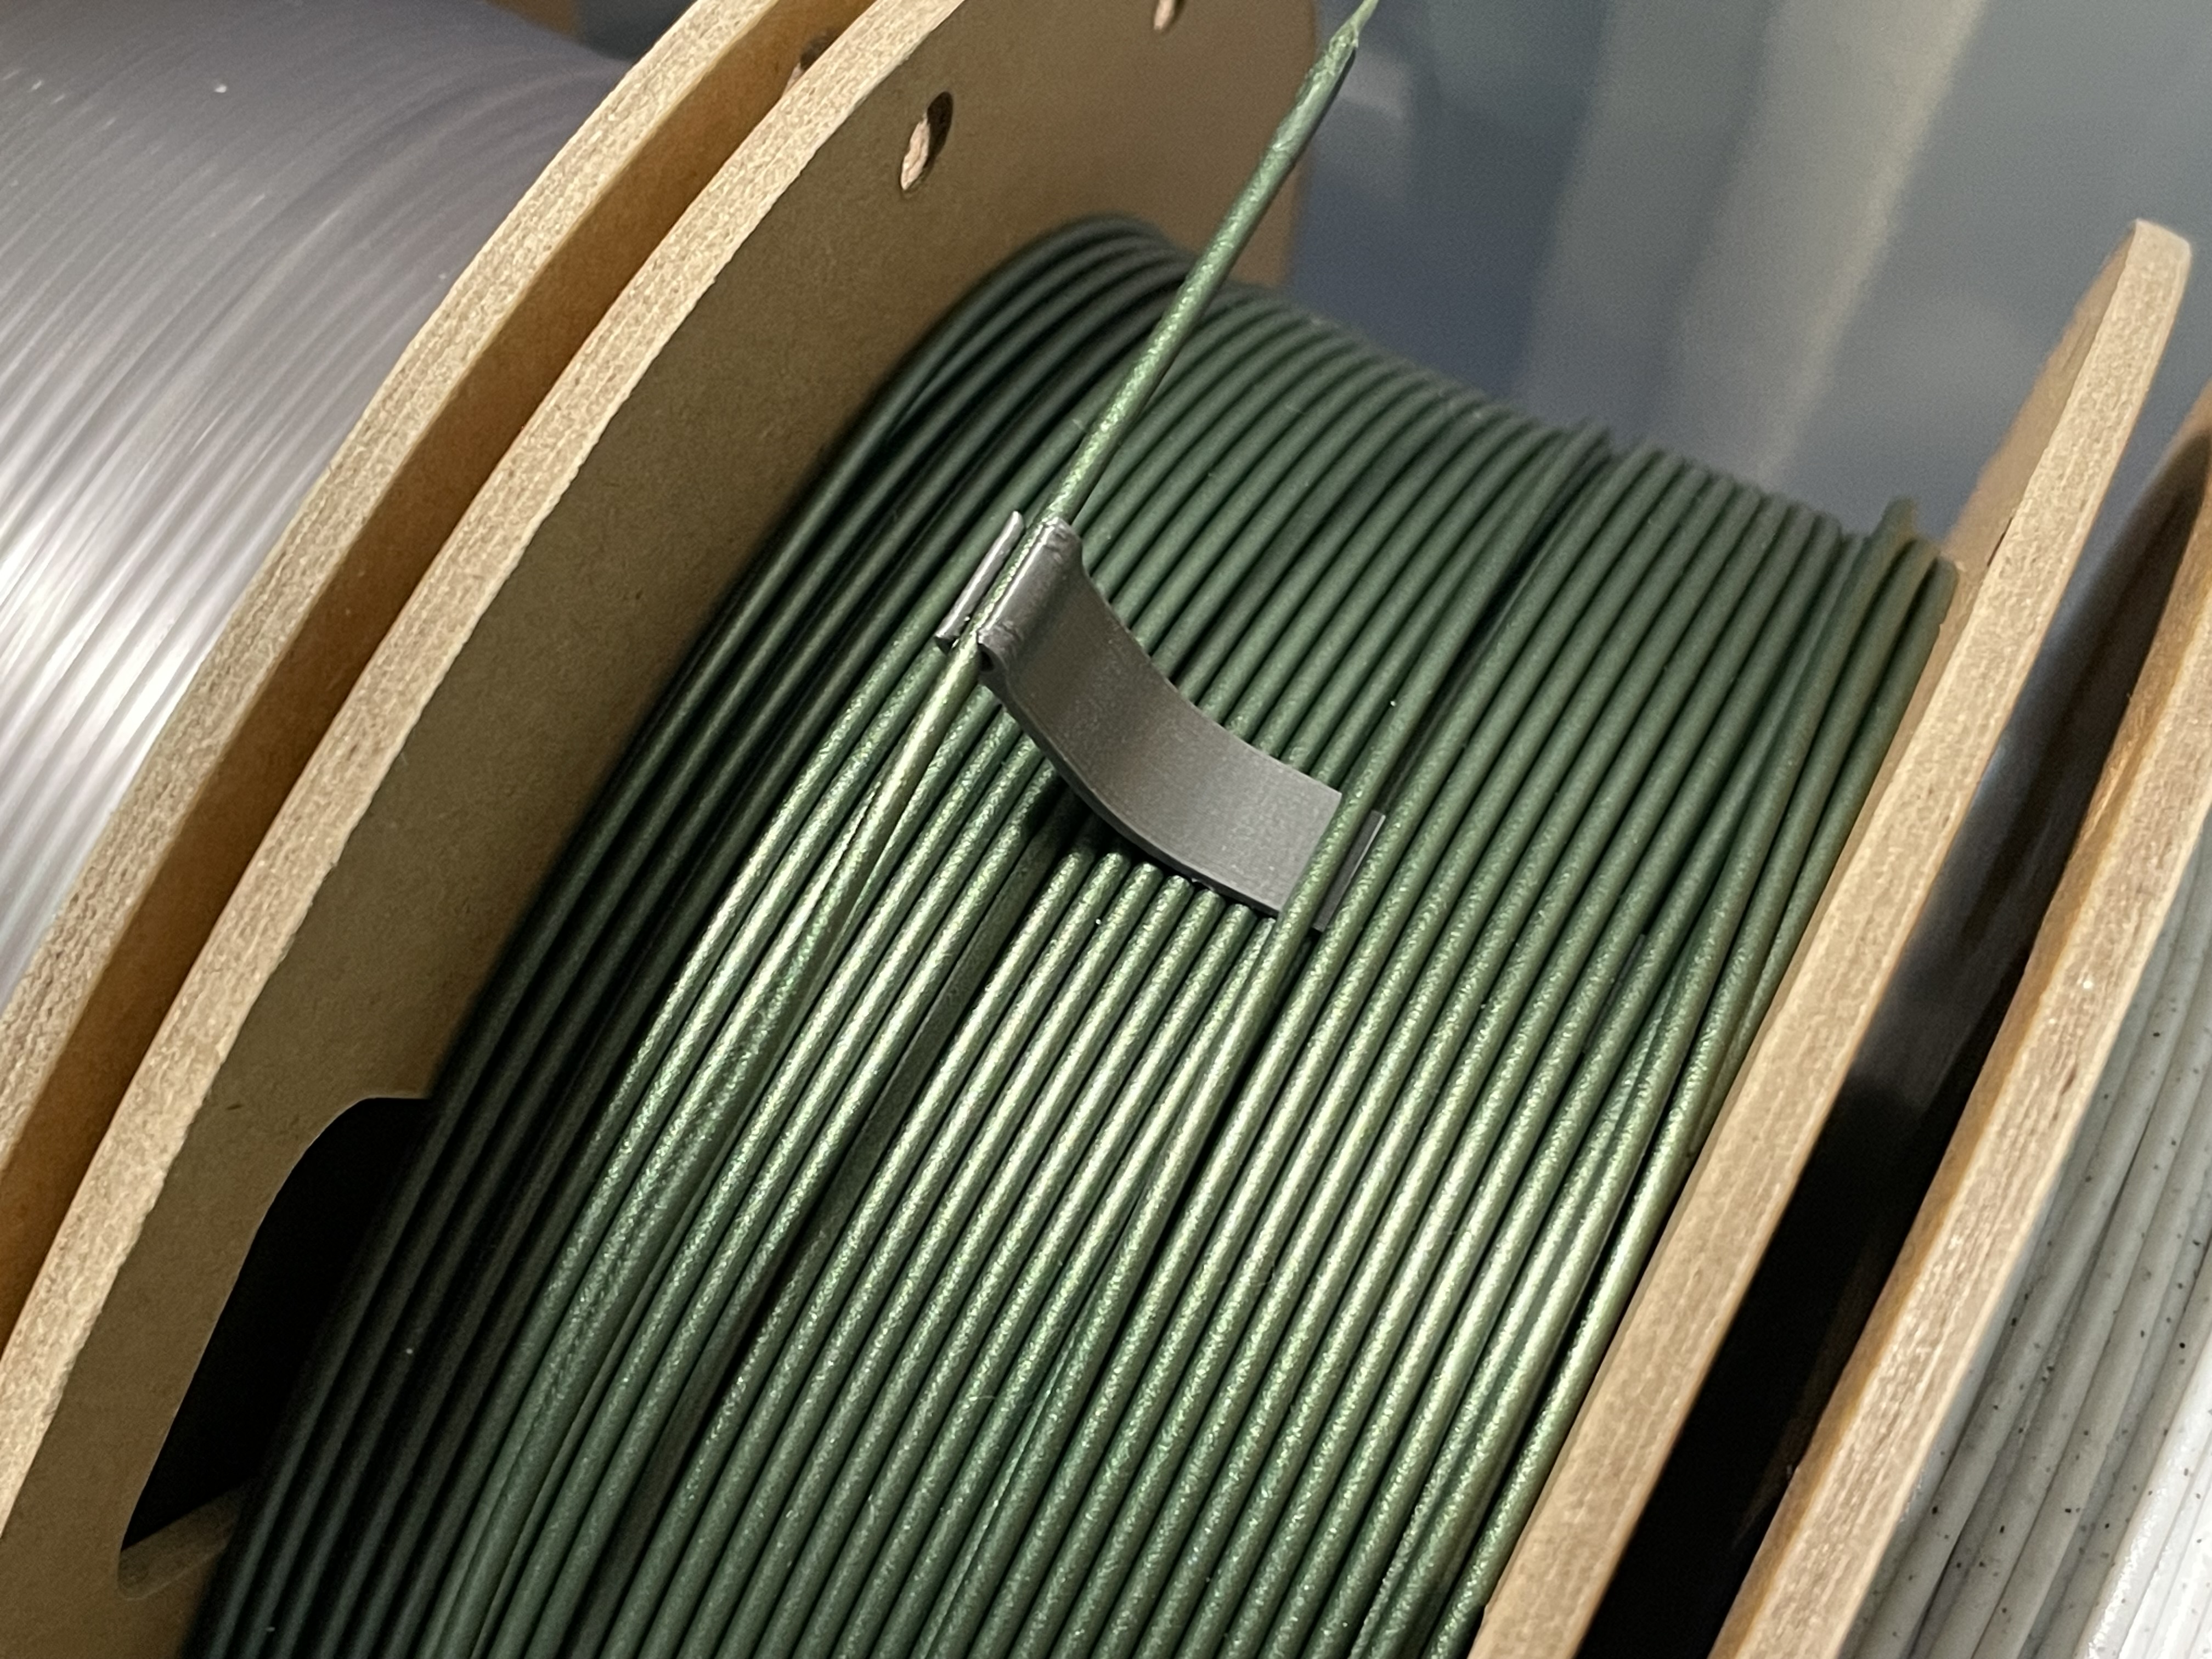
As such, I went out to create my own version. It's easy to use … you simply snap it onto the end of your 1.75mm filament and then wedge it into place by either sliding it down the side of the filament roll vertically or sliding it under the last 4-5 strands of filament horizontally. Friction should take care of holding it in place. Because of the offset, the filament is always about 10mm in the air so it's easy to grab to reposition or to unhook it.
Printing
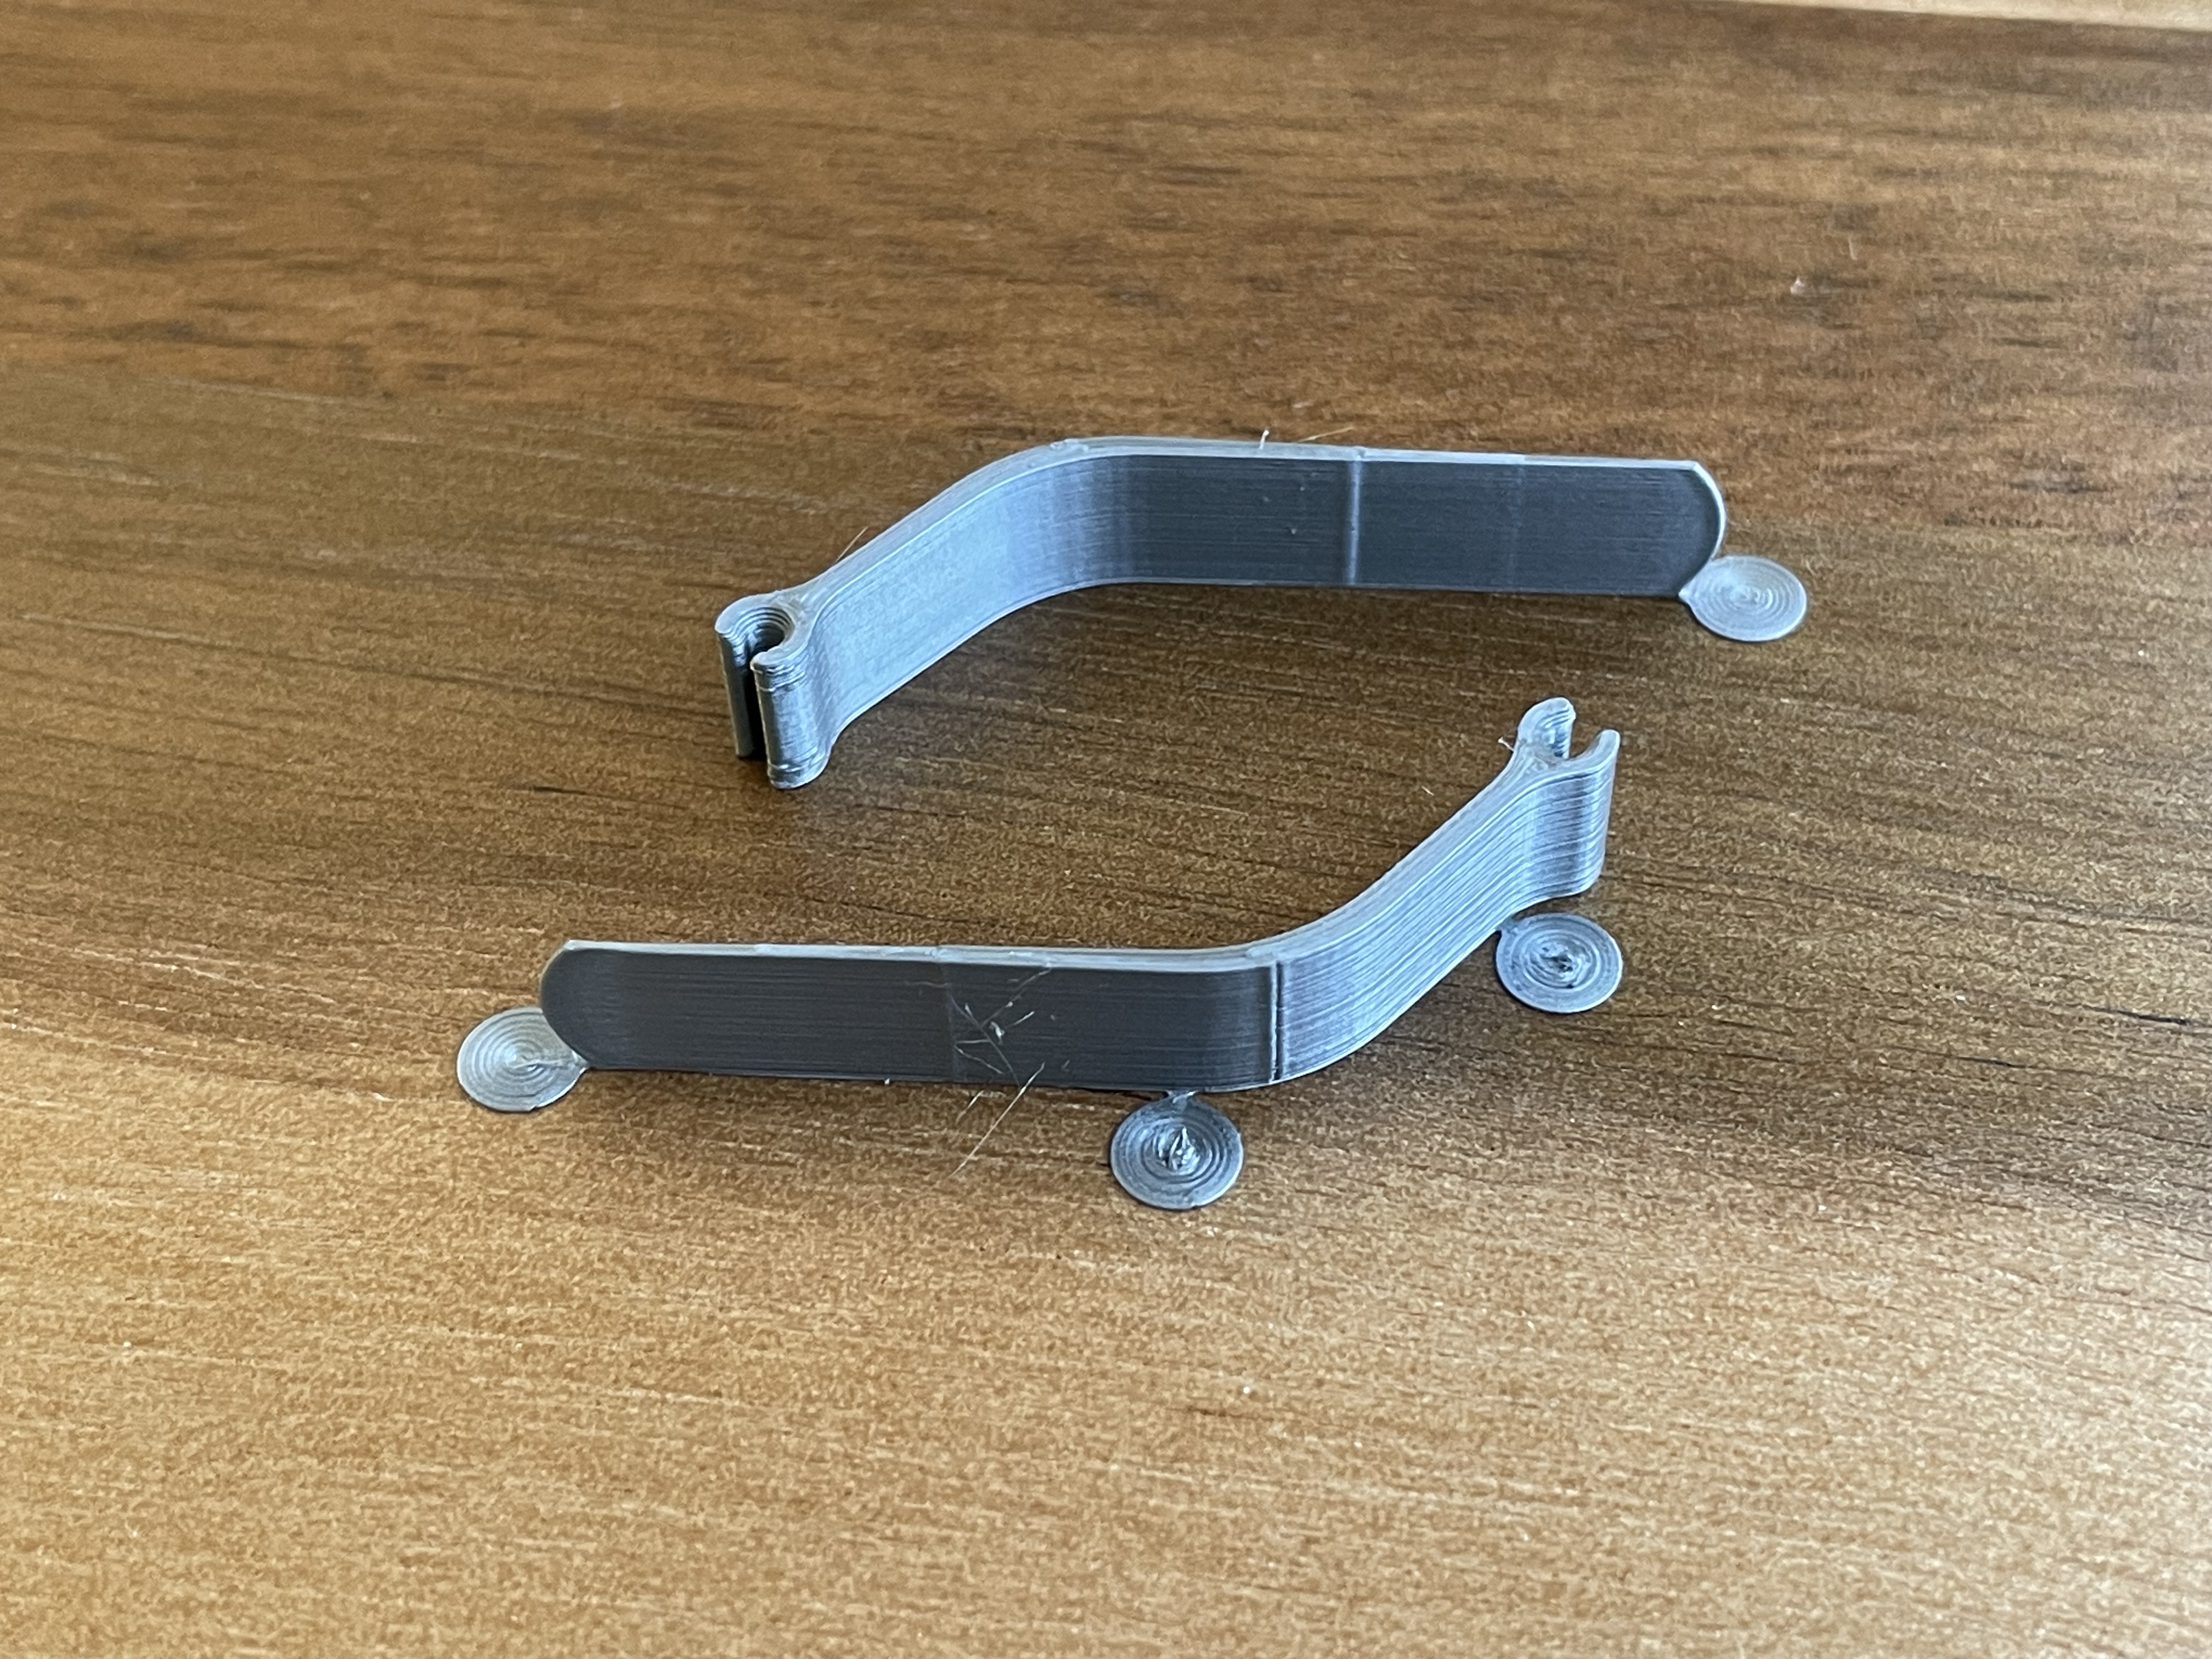
• Each clip uses about 0.5g of filament. • Print each clip on it's side so it is stronger. • There is a version with tabs that can be printed without a brim. The tabs help hold things in place and can be easily removed after. • If you prefer, there's also a version without tabs.
• PrusaSlicer settings I use for a 0.4mm nozzle (included in the .3mf): • 0.2mm SPEED print settings (anything should work fine) • default top (5)/bottom (4) layers • 1 perimeter • 0% infill. The empty inside helps it to “snap” onto the filament easier. • “Concentric” top/bottom fill patterns • “Rear” seam position (just so it doesn't put a seam inside where the filament clips) • “Classic” perimeter generator (NOT Arachne)
• PrusaSlicer settings I use for a 0.25mm nozzle (included in the .3mf): • 0.15mm SPEED print settings (anything should work fine) • default top (6)/bottom (7) layers • 2 perimeters • 0% infill. The empty inside helps it to “snap” onto the filament easier. • “Concentric” top/bottom fill patterns • “Rear” seam position (just so it doesn't put a seam inside where the filament clips) • “Classic” perimeter generator (NOT Arachne)
• Note on Arachne: due to the point converging to a single line width, Arachne ends up generating a point where it converts from two lines to one and creates a crease that is extremely weak and much of the end of the clip will break off.
Updated Feb 24, 2024
I've done a lot more testing and simplified things to a single version for each nozzle size. They're nearly identical but are optimized for the specific nozzle sizes. The 0.25mm one gets thinner to slide a little easier between filament or down the sides.
I've also now included versions with print tabs attached. These allow them to be printed without a brim and then you can just rip the tabs off after the print is done. The attachment point is about 0.5mm wide so they pull off very easily.
Updated March 16, 2024
After using my clip for a while, one thing that started to bug me was how I couldn't easily pull the filament off the clip while it was still tucked into the roll. So I decided I wanted a version where the filament clips directly onto the end so after I mount my roll to use, I can just pull on the filament to unclip it and leave the clip tucked into the side of the roll. I took the opportunity to also have less of a sharp angle to help keep it from bending. In the new V2 version, both models are identical from the clip to the bend. The 0.25mm version just gets thinner at the tip to let it slide in the gaps better.
Support
If you like my models and want to make my day, you can buy me a ☕!
Design and description by Todd Stansell , licensed CC-BY.
Frequently asked
How long does shipping take?
Todd's Filament Clip is printed to order. Lead time is typically 1-3 business days plus 1-4 days NZ shipping. Standard NZ shipping is $10, free over $75.
What material is this printed in?
By default this is printed in High-Detail Resin (8K) at 0.025 mm layer height on an MSLA resin printer. Custom material and colour swaps are available, just leave a note at checkout.
Can I get this in a different colour?
Yes. Every product can be printed in any of the resin colours we stock, or hand-painted on request. Leave a note at checkout or email [email protected].
Do you ship outside of New Zealand?
Currently New Zealand only. Australian shipping is coming.
Who designed this?
Designed by an independent sculptor and licensed for commercial printing. The original is linked on this page.