
Toy Car organizer modular System
- Arrives in 2 to 7 business days Printed in Auckland. $10 shipping, free over $75
- 14-day faulty refund If it arrives broken or misprinted, we reprint or refund it
- Secure checkout Card payments handled by Stripe
- Material
- High-Detail Resin (8K)
- Colour
- Grey
- Weight
- ~131 g
- Express shipping
- $20
More information
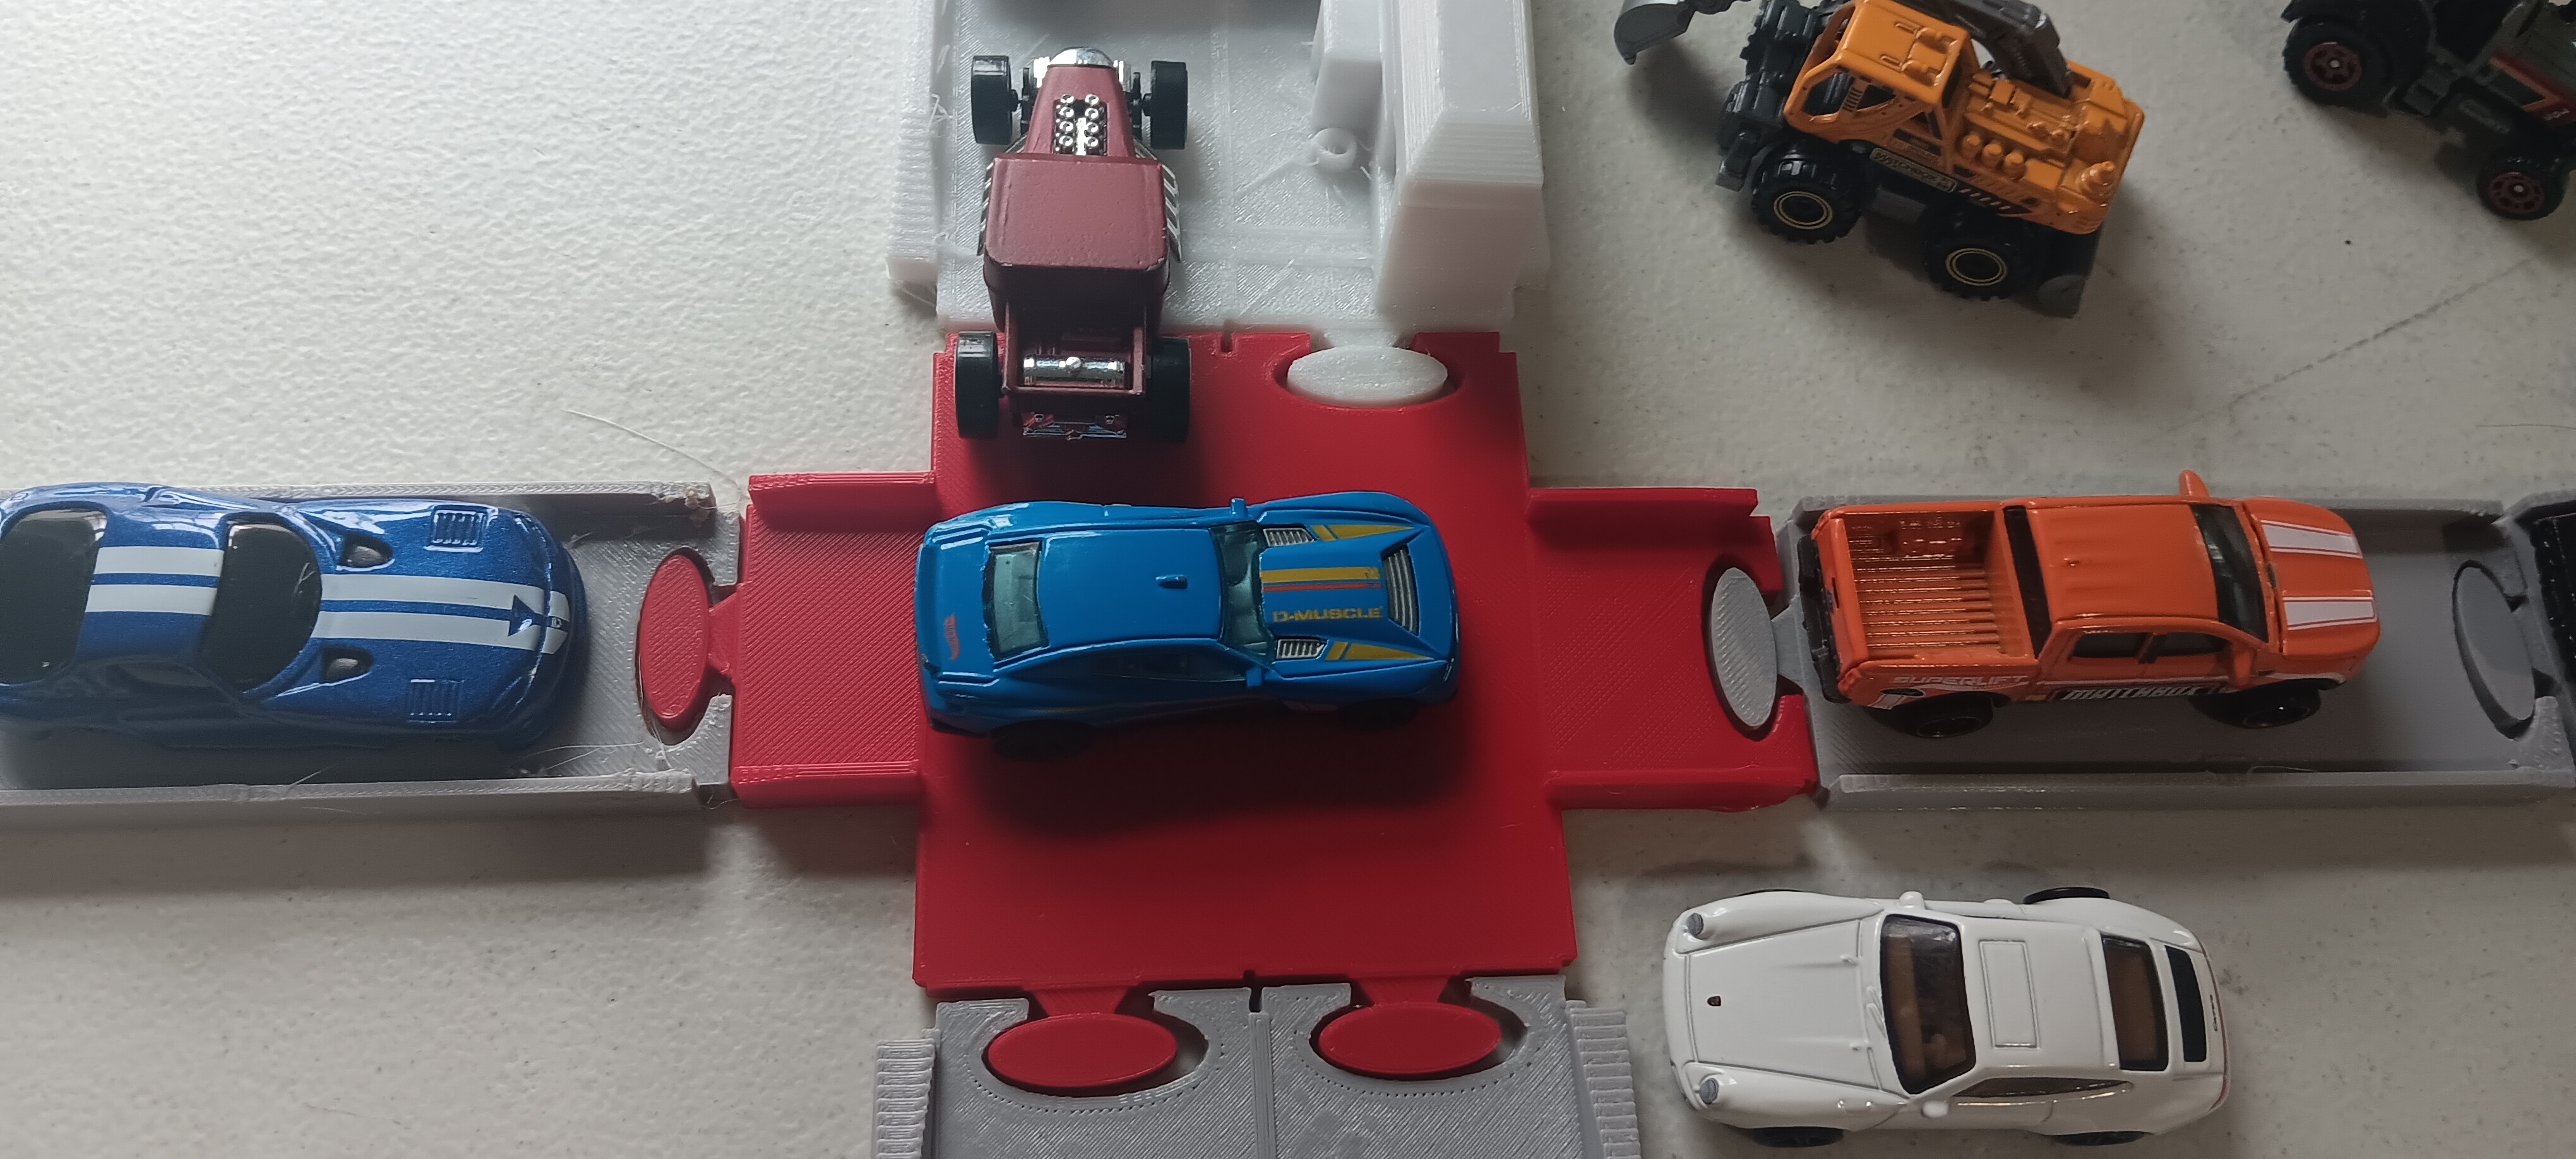
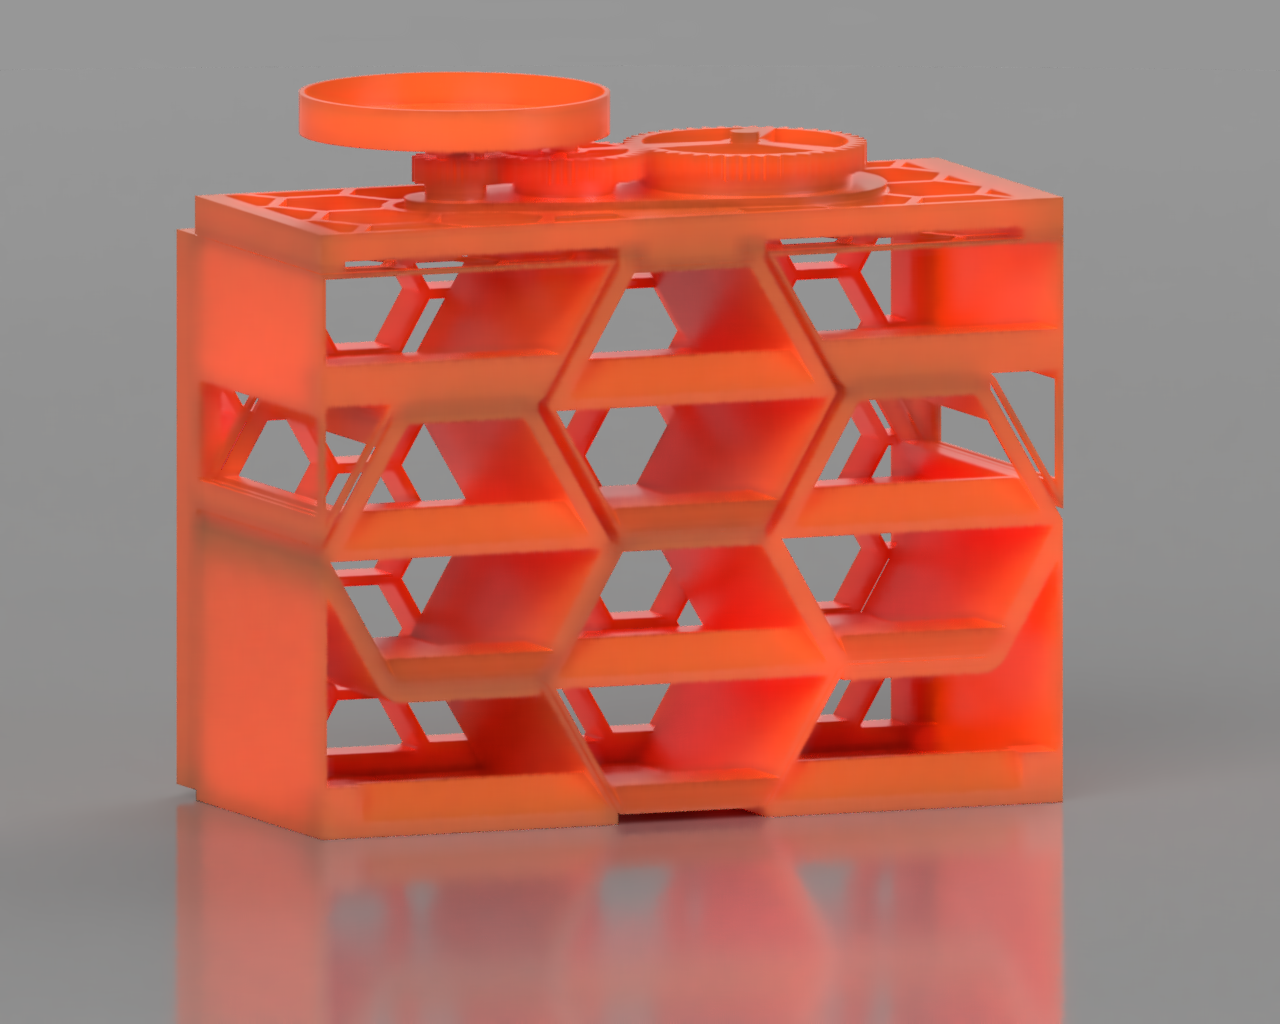
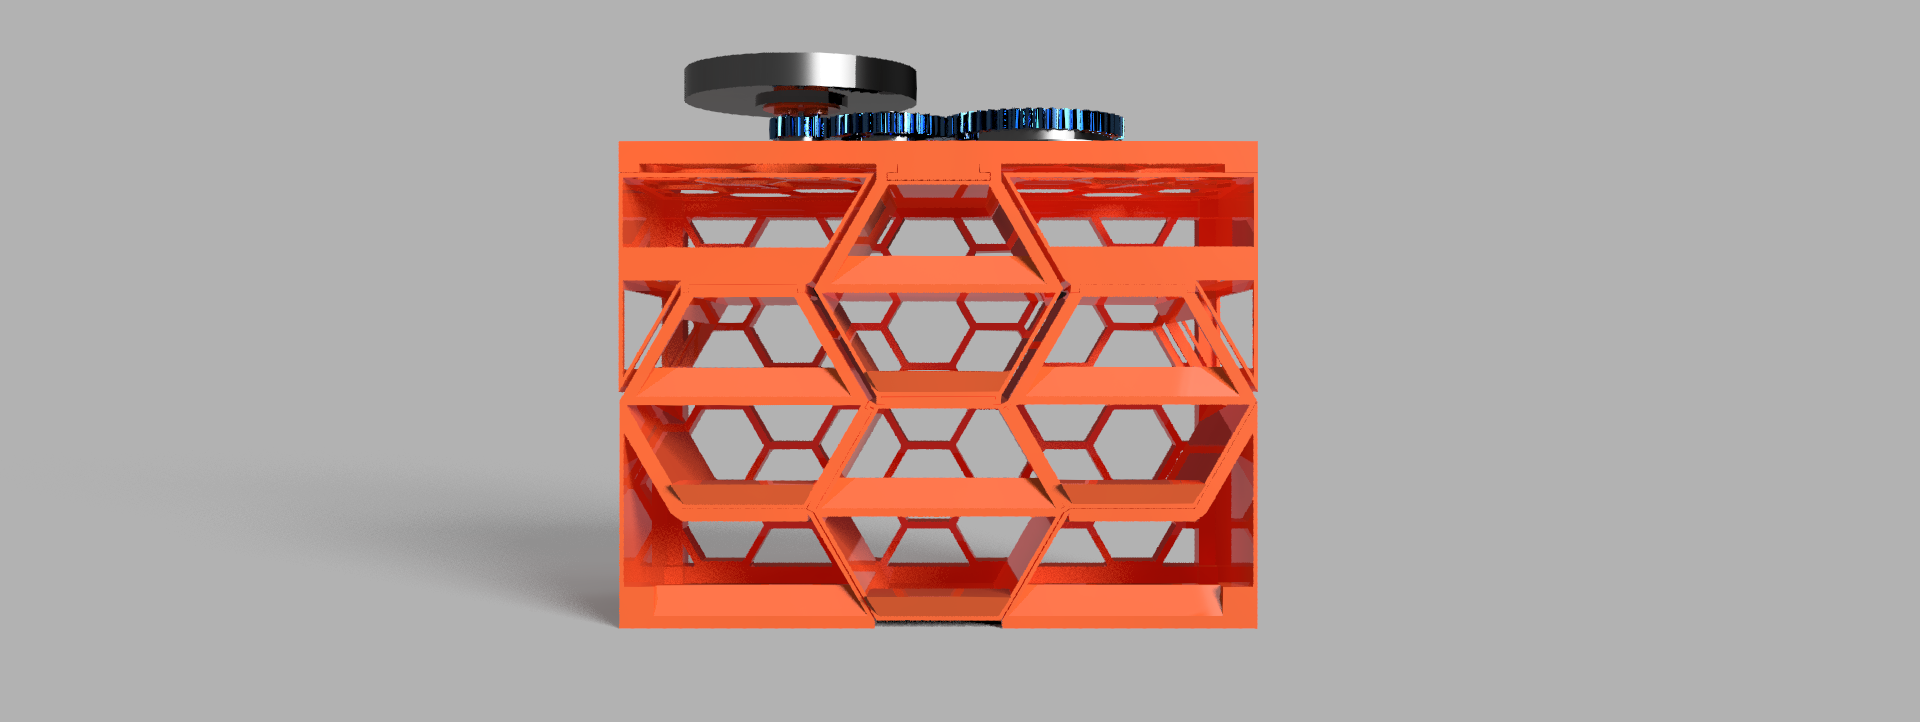
This is a simple yet effective way of organizing your toy cars (I'll be using HotWheels), in a honeycomb-inspired structure, In this proyect i'll learn sliding joints and efficient use of space it includes a budget style to save filament, also it has a three gear system to display your favorite car!
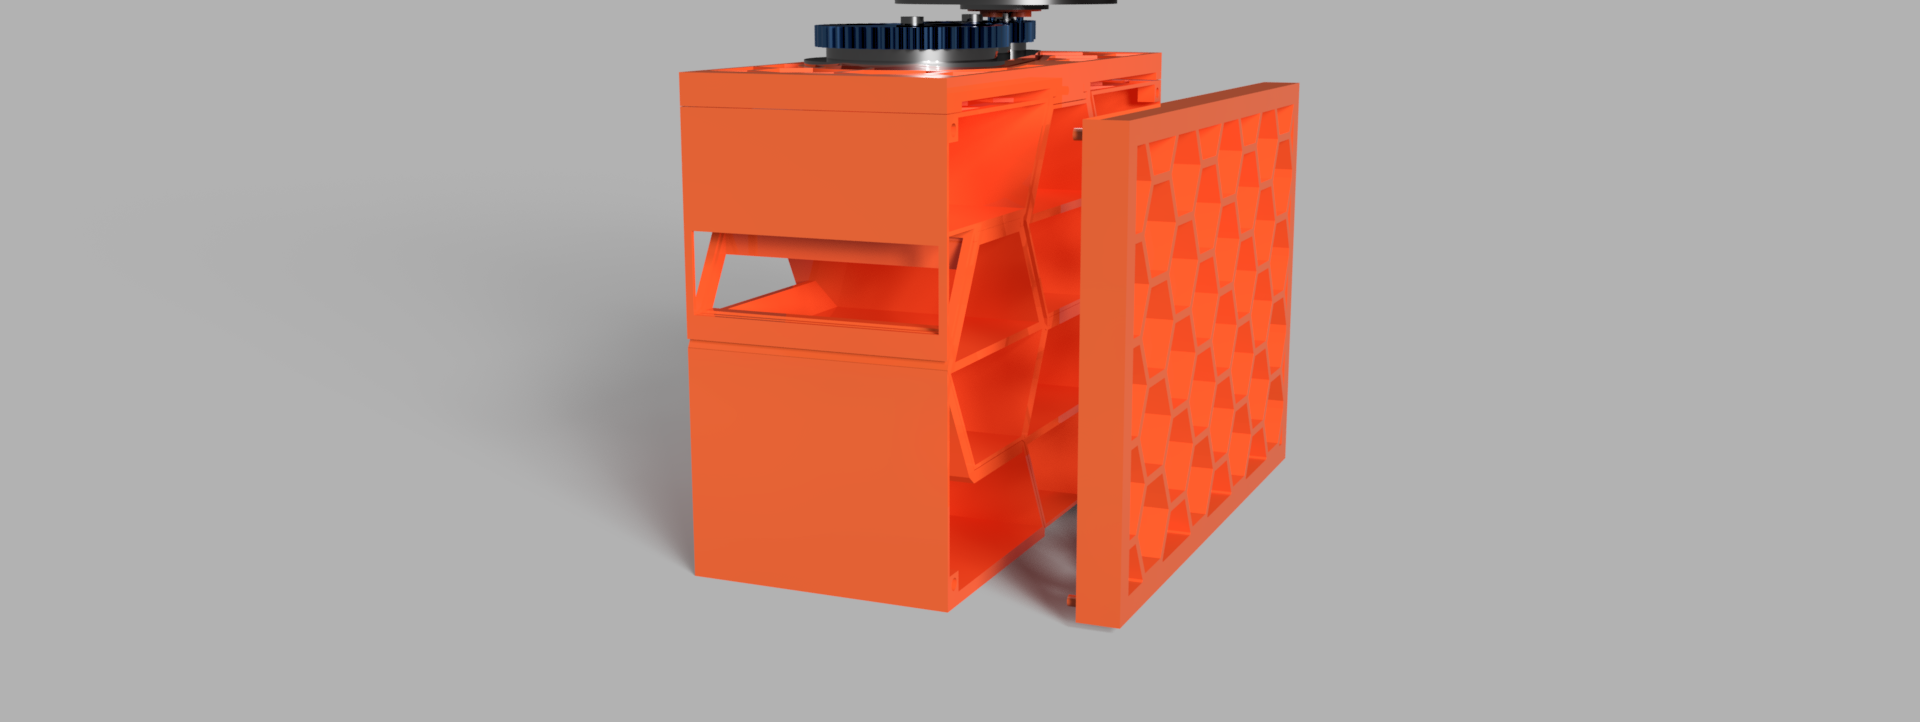
ASSEMBLY INSTRUCTIONS: To ensure a successful build and smooth gear operation, please follow these steps:
• Core Structure: Start by laying the Central Rear Piece flat on your workspace. This part acts as the structural spine for the entire Honeycomb grid.
• Corner Alignment: Identify the corner modules. The pieces with the window-like cutouts must be positioned at the top, while the larger solid modules form the bottom base.
• Frame Interlocking: Connect each corner piece to the Central Rear Piece. The joints are designed to snap together, forming the signature "Beehive" hexagonal pattern.
• Top Reinforcement: Once the main grid is assembled, slide the Upper Support Structure into the top slots to lock the entire frame in place.
• Rotational Mechanism: Finally, attach the Gear Set to the Rotating Base. Ensure the gear teeth are properly meshed with the internal tracks before securing the final axis.
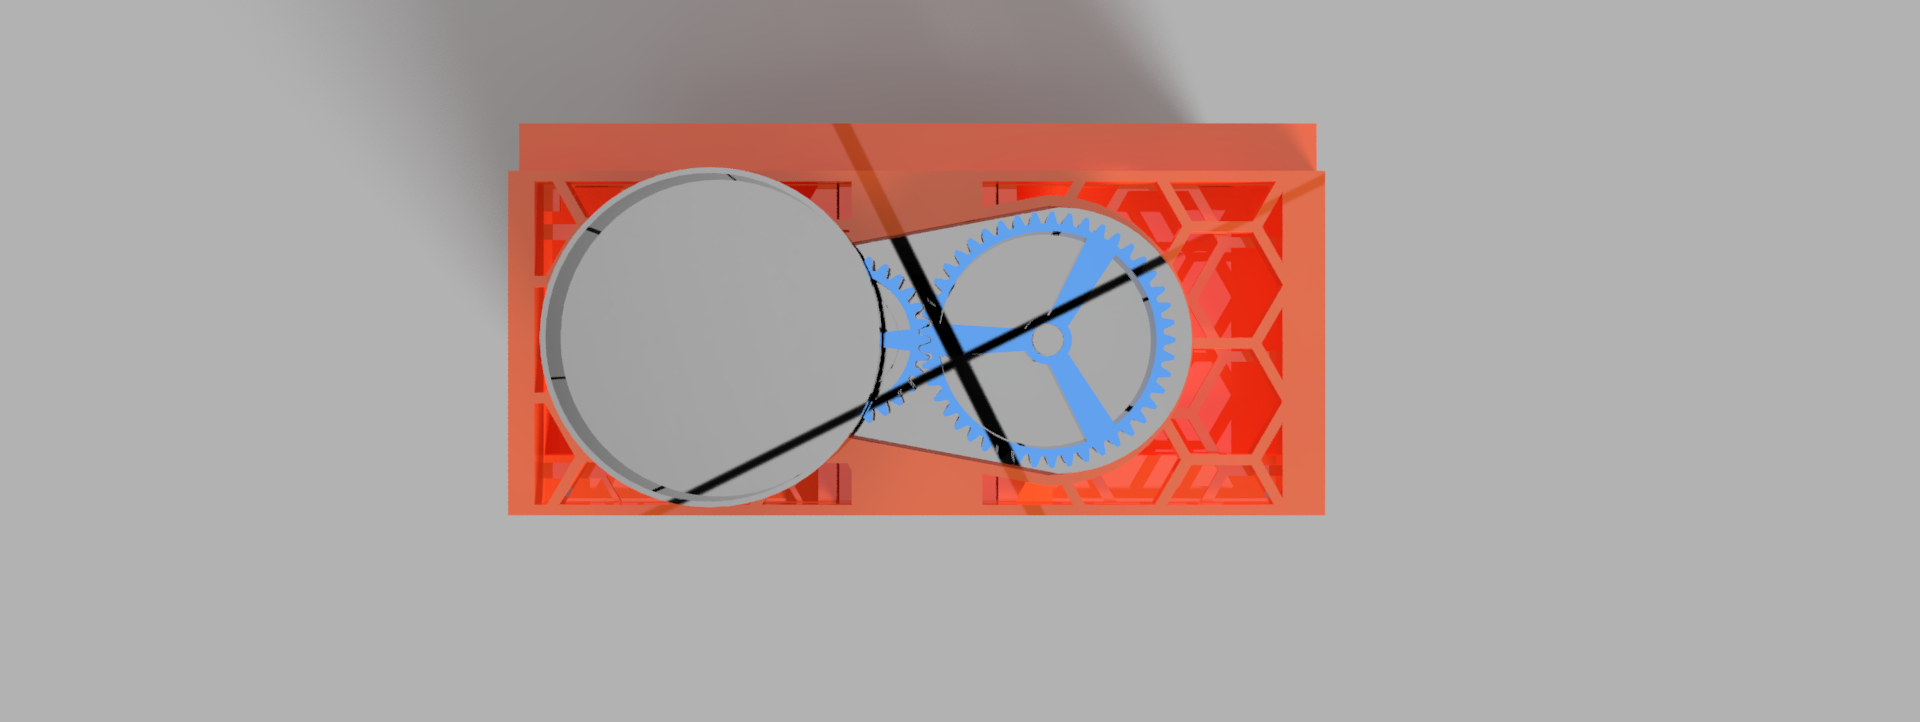
Gear Train Assembly Guide: To ensure the rotating display works correctly, follow these steps to assemble the mechanical core:
• Axle Preparation: Locate the three vertical axles on the Lower Display Base. These are designed with a 0.2mm clearance to allow smooth rotation.
• The Drive Gear (Large): Slide the largest blue gear onto the first axle. This gear will be the manual input for the user.
• The Idler Gear (Medium): Place the medium-sized gear on the central axle. Ensure the teeth mesh perfectly with the large drive gear.
• The Display Gear (Small): Position the smallest gear on the final axle. This gear is the high-speed output that drives the platform.
• Platform Integration: Align the hexagonal or keyed socket under the Orange Rotating Platform with the top of the small gear. Press down until it is flush.
• Gear Cover (Optional): If your version includes the top retaining plate, snap it over the axles to prevent the gears from lifting during high-speed rotation.
Design and description by cocotrilo , licensed CC-BY.
Frequently asked
How long does shipping take?
Toy Car organizer modular System is printed to order. Lead time is typically 1-3 business days plus 1-4 days NZ shipping. Standard NZ shipping is $10, free over $75.
What material is this printed in?
By default this is printed in High-Detail Resin (8K) at 0.025 mm layer height on an MSLA resin printer. Custom material and colour swaps are available, just leave a note at checkout.
Can I get this in a different colour?
Yes. Every product can be printed in any of the resin colours we stock, or hand-painted on request. Leave a note at checkout or email [email protected].
Do you ship outside of New Zealand?
Currently New Zealand only. Australian shipping is coming.
Who designed this?
Designed by an independent sculptor and licensed for commercial printing. The original is linked on this page.