Brackets & Mounts
Wall Mount Solution for MMU2S
SKU 3DPW-pr-3044
$17.50NZD
In stock · Made-to-order resin · Ships from Auckland · Free shipping over $75
- Material
- High-Detail Resin (8K)
- Colour
- Grey
- Weight
- ~40 g
- Print time
- ~4.5 h
- Shipping
- $10 std · $20 express
- Lead time
- 1-3 d print + 1-4 d ship
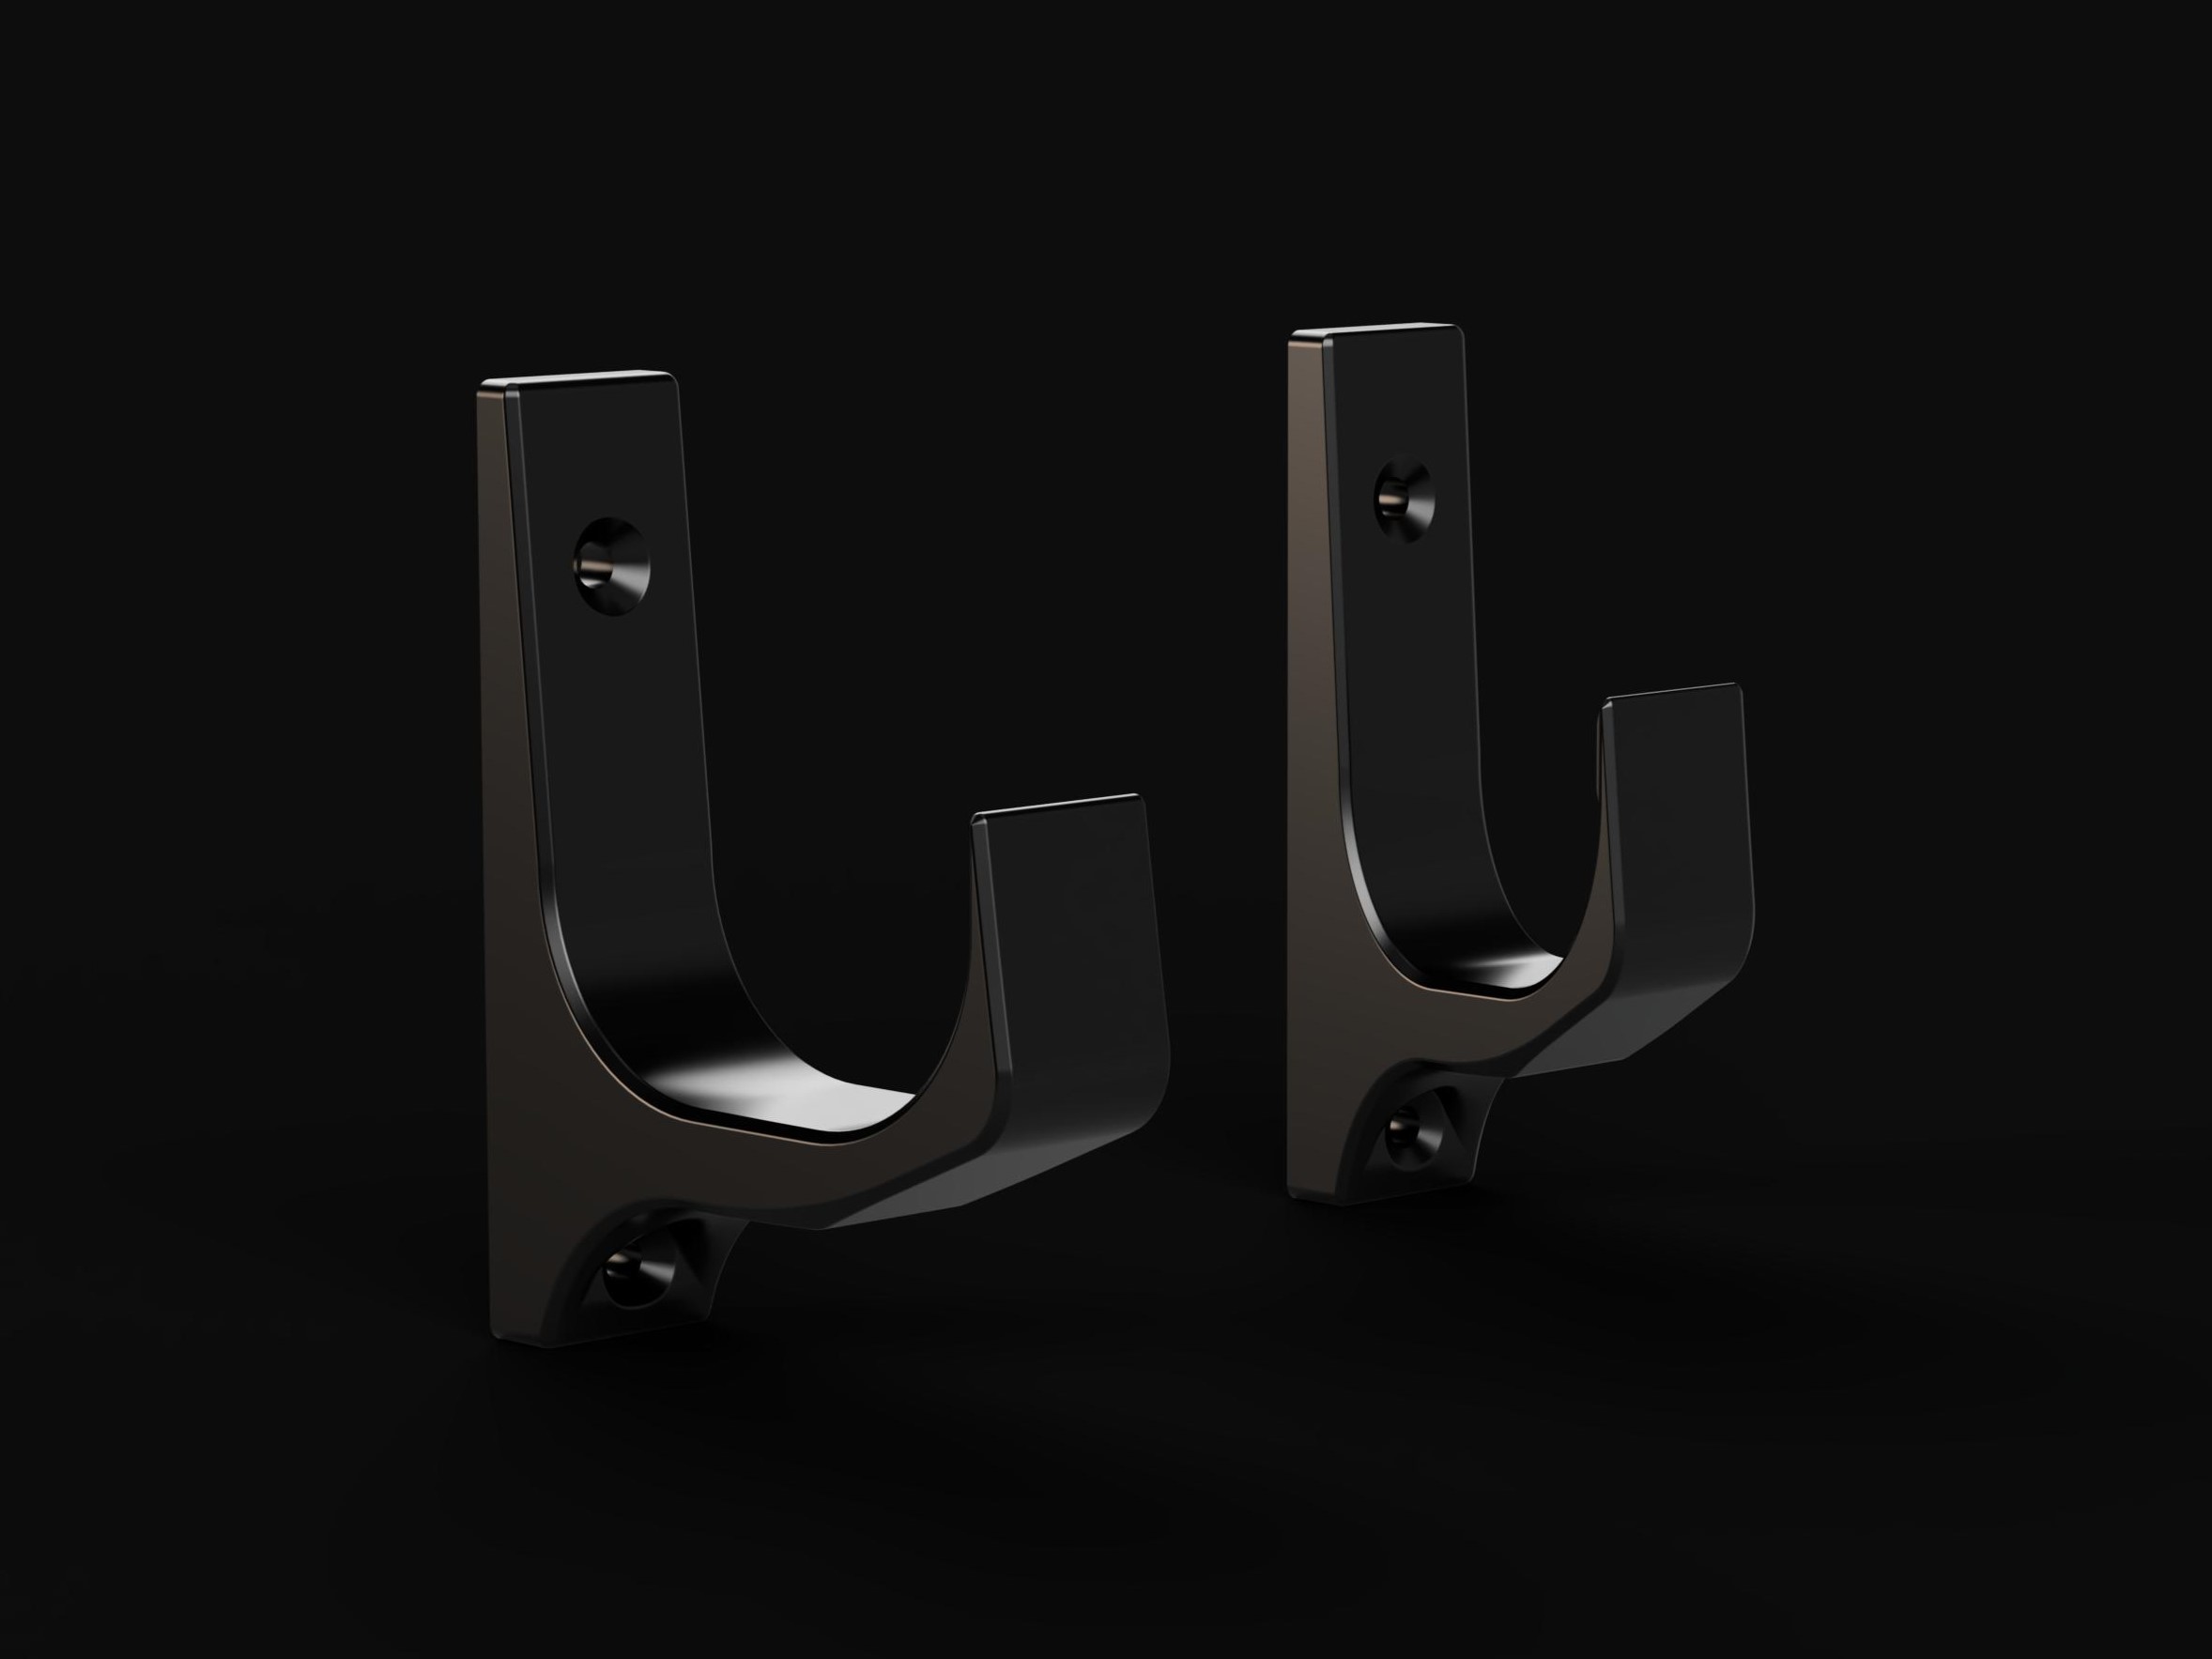
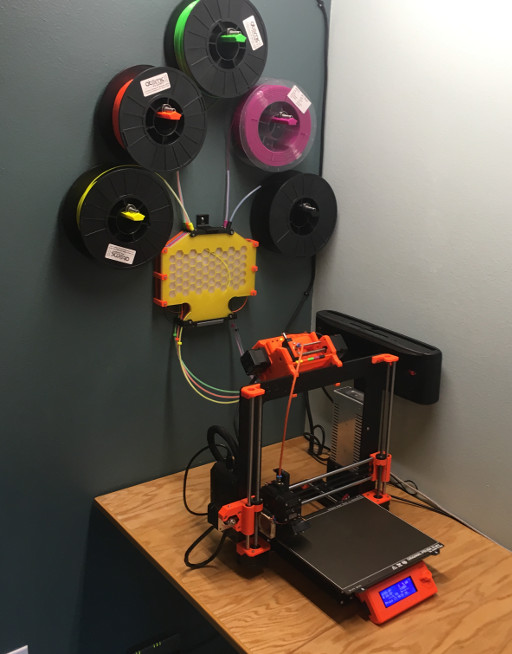
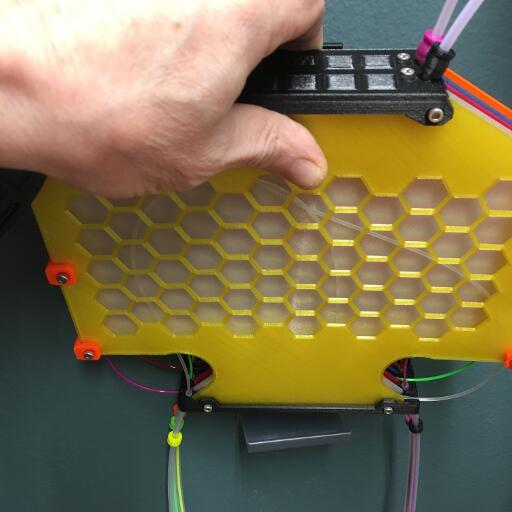
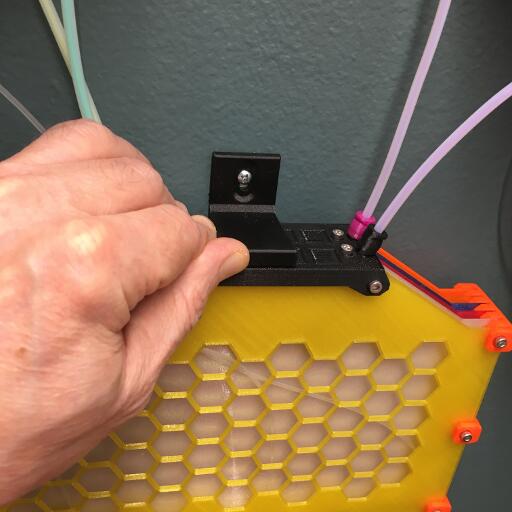
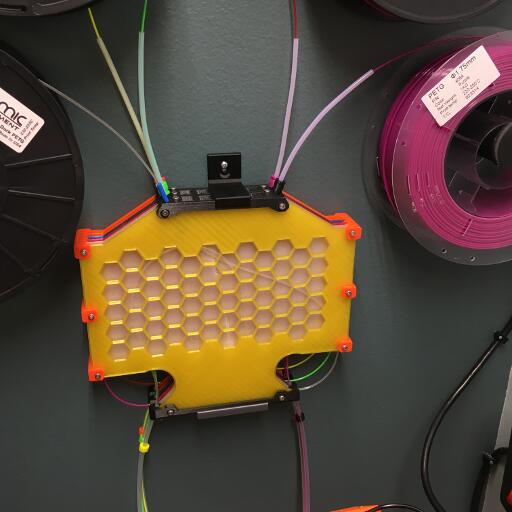
An alternative to trays on the desk this wall mount solution for the Prusa MMU2S Filament Buffer reclaims desk space and makes filament management easier. There are also printable buffer barriers that have more fingering room making it much easier to load filaments. Print instructionsHanging the spools flat against the wall all five fit in the space above the filament buffer and the printer sits much closer to the wall. This reclaims desk space and makes changing filament easier. The PrinterSide mount is a ledge for the buffer to sit on. The SpoolSide is a Latch for holding the unit to the wall. Print one each. Pay attention to how high you mount the buffer as the feeder tubes might touch a tall print. I shortened the tubes to the MMU to 40cm (16 inches) and mounted the buffer about the 40cm above the table. With the printer 20-25cm (8 to 10 inches) from the wall it looks like it will clear whatever I print. I kept breaking filaments when I was pushing them through to the MMU so I created dividers with more fingering room. They are smaller than the stock barriers so you must print six to use them (about 24 hours of printing). I found it made loading filaments much easier so I felt it was worth while. The honeycomb barrier lets you see how the filament coils but only works on the outside layer. Printer Settings -> Original Prusa MK3S Print Settings -> 0.20mm - Speed MK3 Perimeters: 3 Solid layers - Top: 5 Bottom 4 Fill density: 15% Fill pattern: Gyroid Top/bottom fill pattern: Octogram Spiral Rafts: No Supports: No Filament Type -> Generic PET First Layer: 235 Other Layers: 240 I created a wall mounted peg that using bearings. Five are needed. Peg and Top Mount Placement My spool configuration is in a tight space and was created by placing spools and marking the mount. Measuring my setup and based on a standard spool (200mm diameter (See image) I came up with diagram. The Top Mount for the filament buffer is about 60 cm above the table top the printer sitting on. If the center of the Top Mount for the filament buffer is the origin @ (0,0) then pegs are at: The first set of pegs is 50mm above the Filament Buffer, separated by 460 mm. The next set of pegs are 180mm plus 50mm (230mm) above the Filament Buffer separated by 230mm. The final peg is 180mm plus 180mm plus 50mm (410mm) directly above the Filament Buffer center.
Tags: wall, mount, mmu2s, filamentbuffer, vertical, barrier, resin print, nz made, made to order
Design credit: Original design by FloatingCam - licensed under CC-BY.
View original model + STL files on Printables ↗
View original model + STL files on Printables ↗
Frequently asked
How long does shipping take?
Wall Mount Solution for MMU2S is printed to order. Lead time is typically 1-3 business days plus 1-4 days NZ shipping. Standard NZ shipping is $10, free over $75.
What material is this printed in?
By default this is printed in High-Detail Resin (8K) at 0.025 mm layer height on an MSLA resin printer. Custom material and colour swaps are available, just leave a note at checkout.
Can I get this in a different colour?
Yes. Every product can be printed in any of the resin colours we stock, or hand-painted on request. Leave a note at checkout or email [email protected].
Do you ship outside of New Zealand?
Currently New Zealand only. Australian shipping is coming.
Who designed this?
Designed by an independent sculptor and licensed for commercial printing. The original is linked on this page.