Zippy Bag Clip (print-in-place-ish)
- Arrives in 2 to 7 business days Printed in Auckland. $10 shipping, free over $75
- 14-day faulty refund If it arrives broken or misprinted, we reprint or refund it
- Secure checkout Card payments handled by Stripe
- Material
- High-Detail Resin (8K)
- Colour
- Grey
- Weight
- ~47 g
- Print time
- ~2.6 h
- Express shipping
- $20
More information
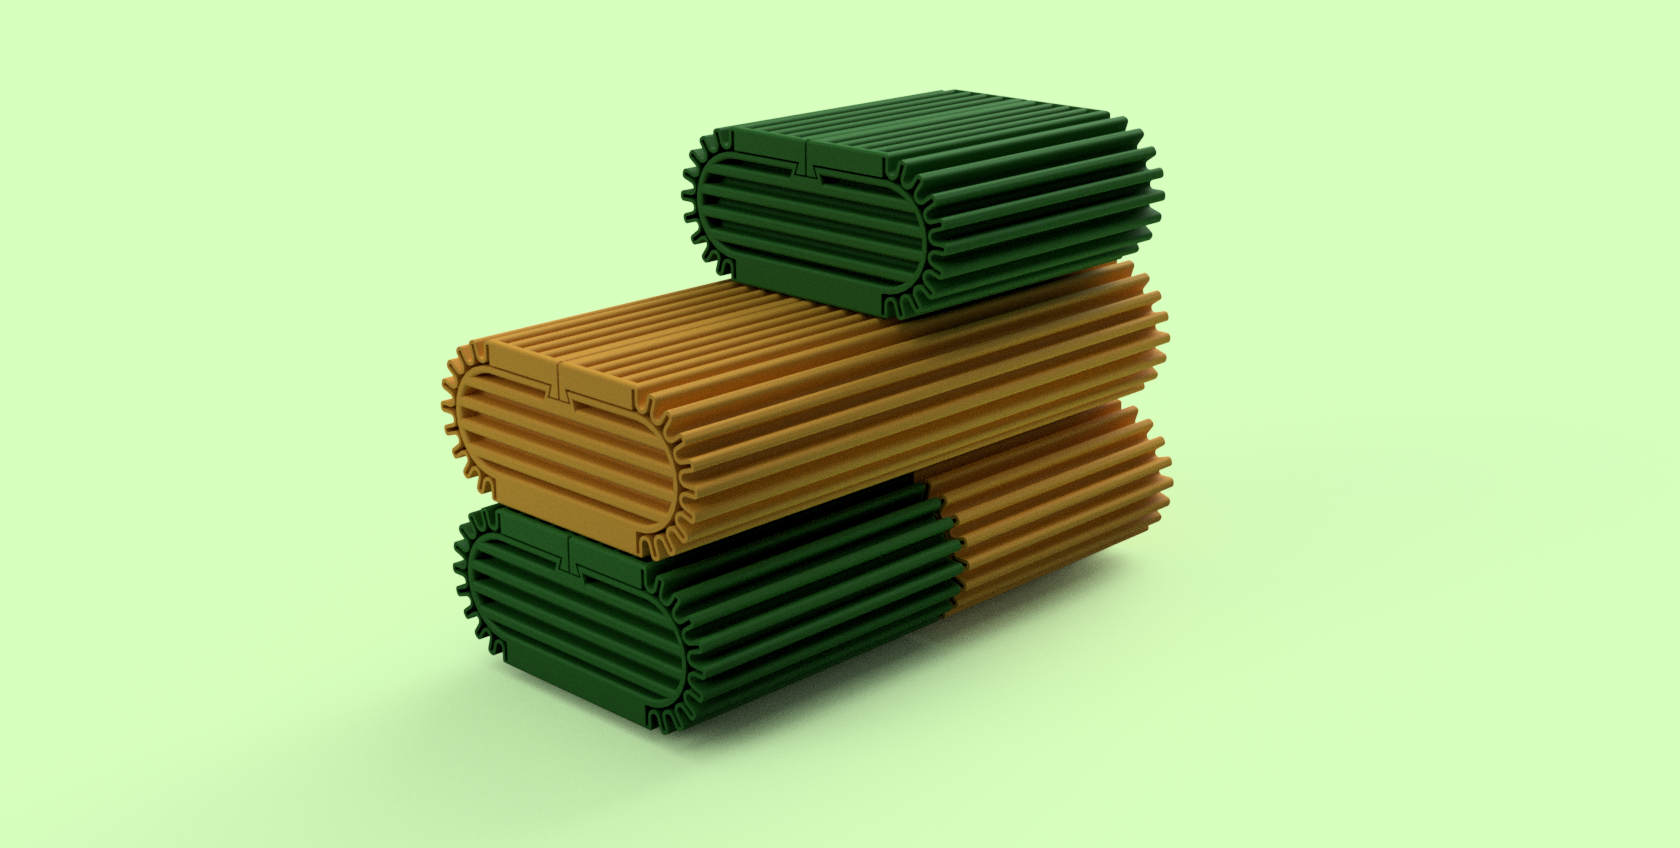
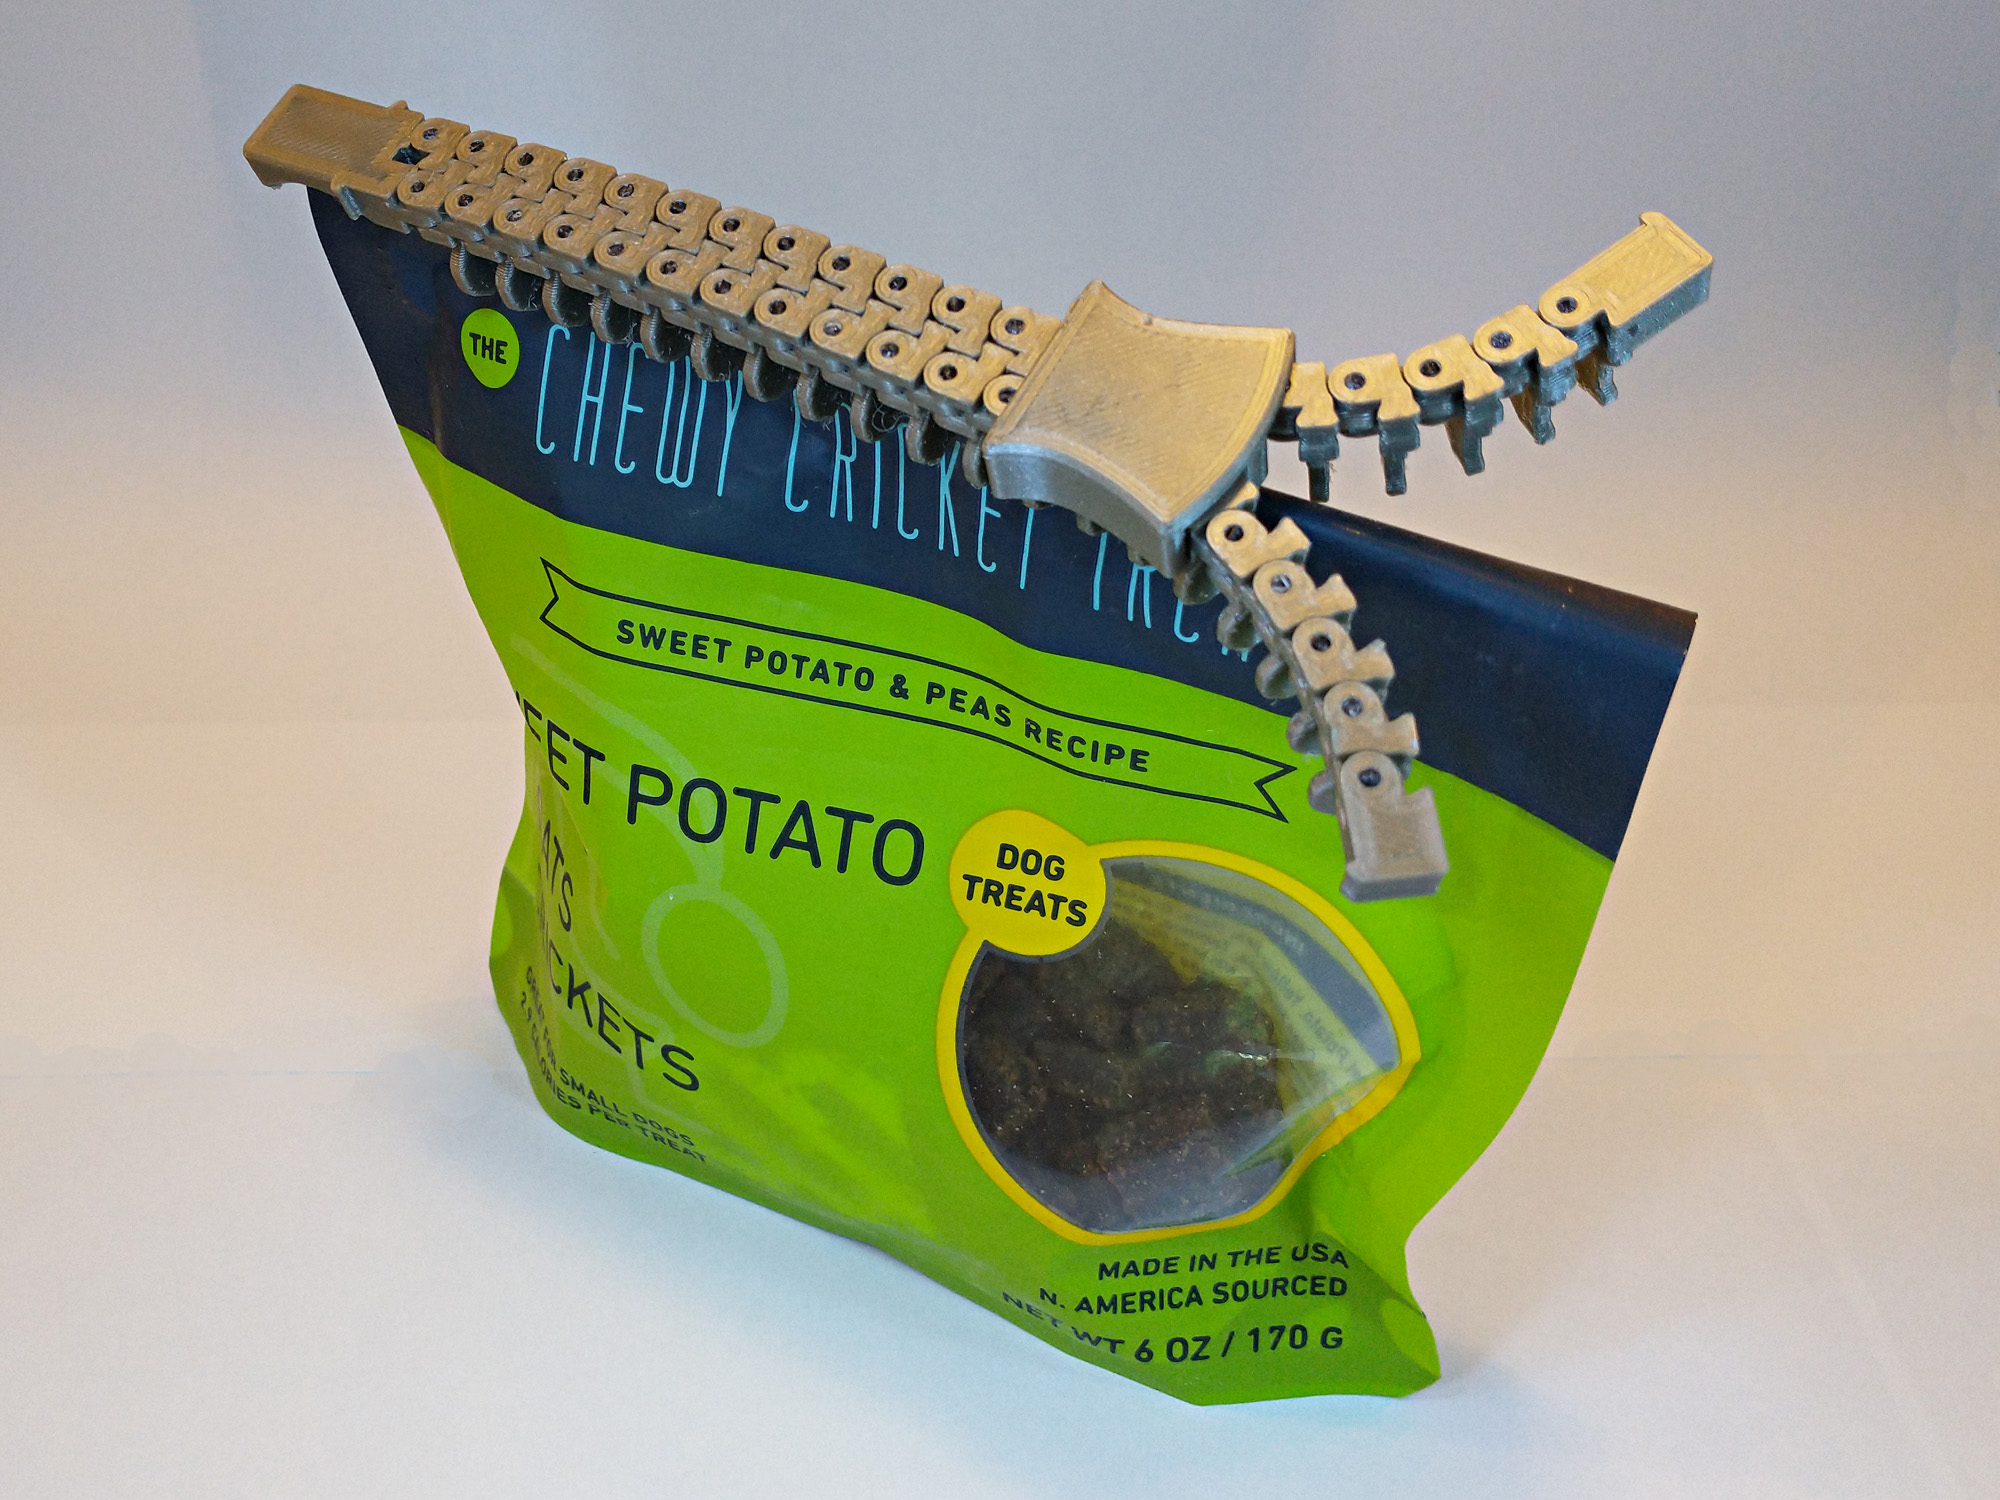
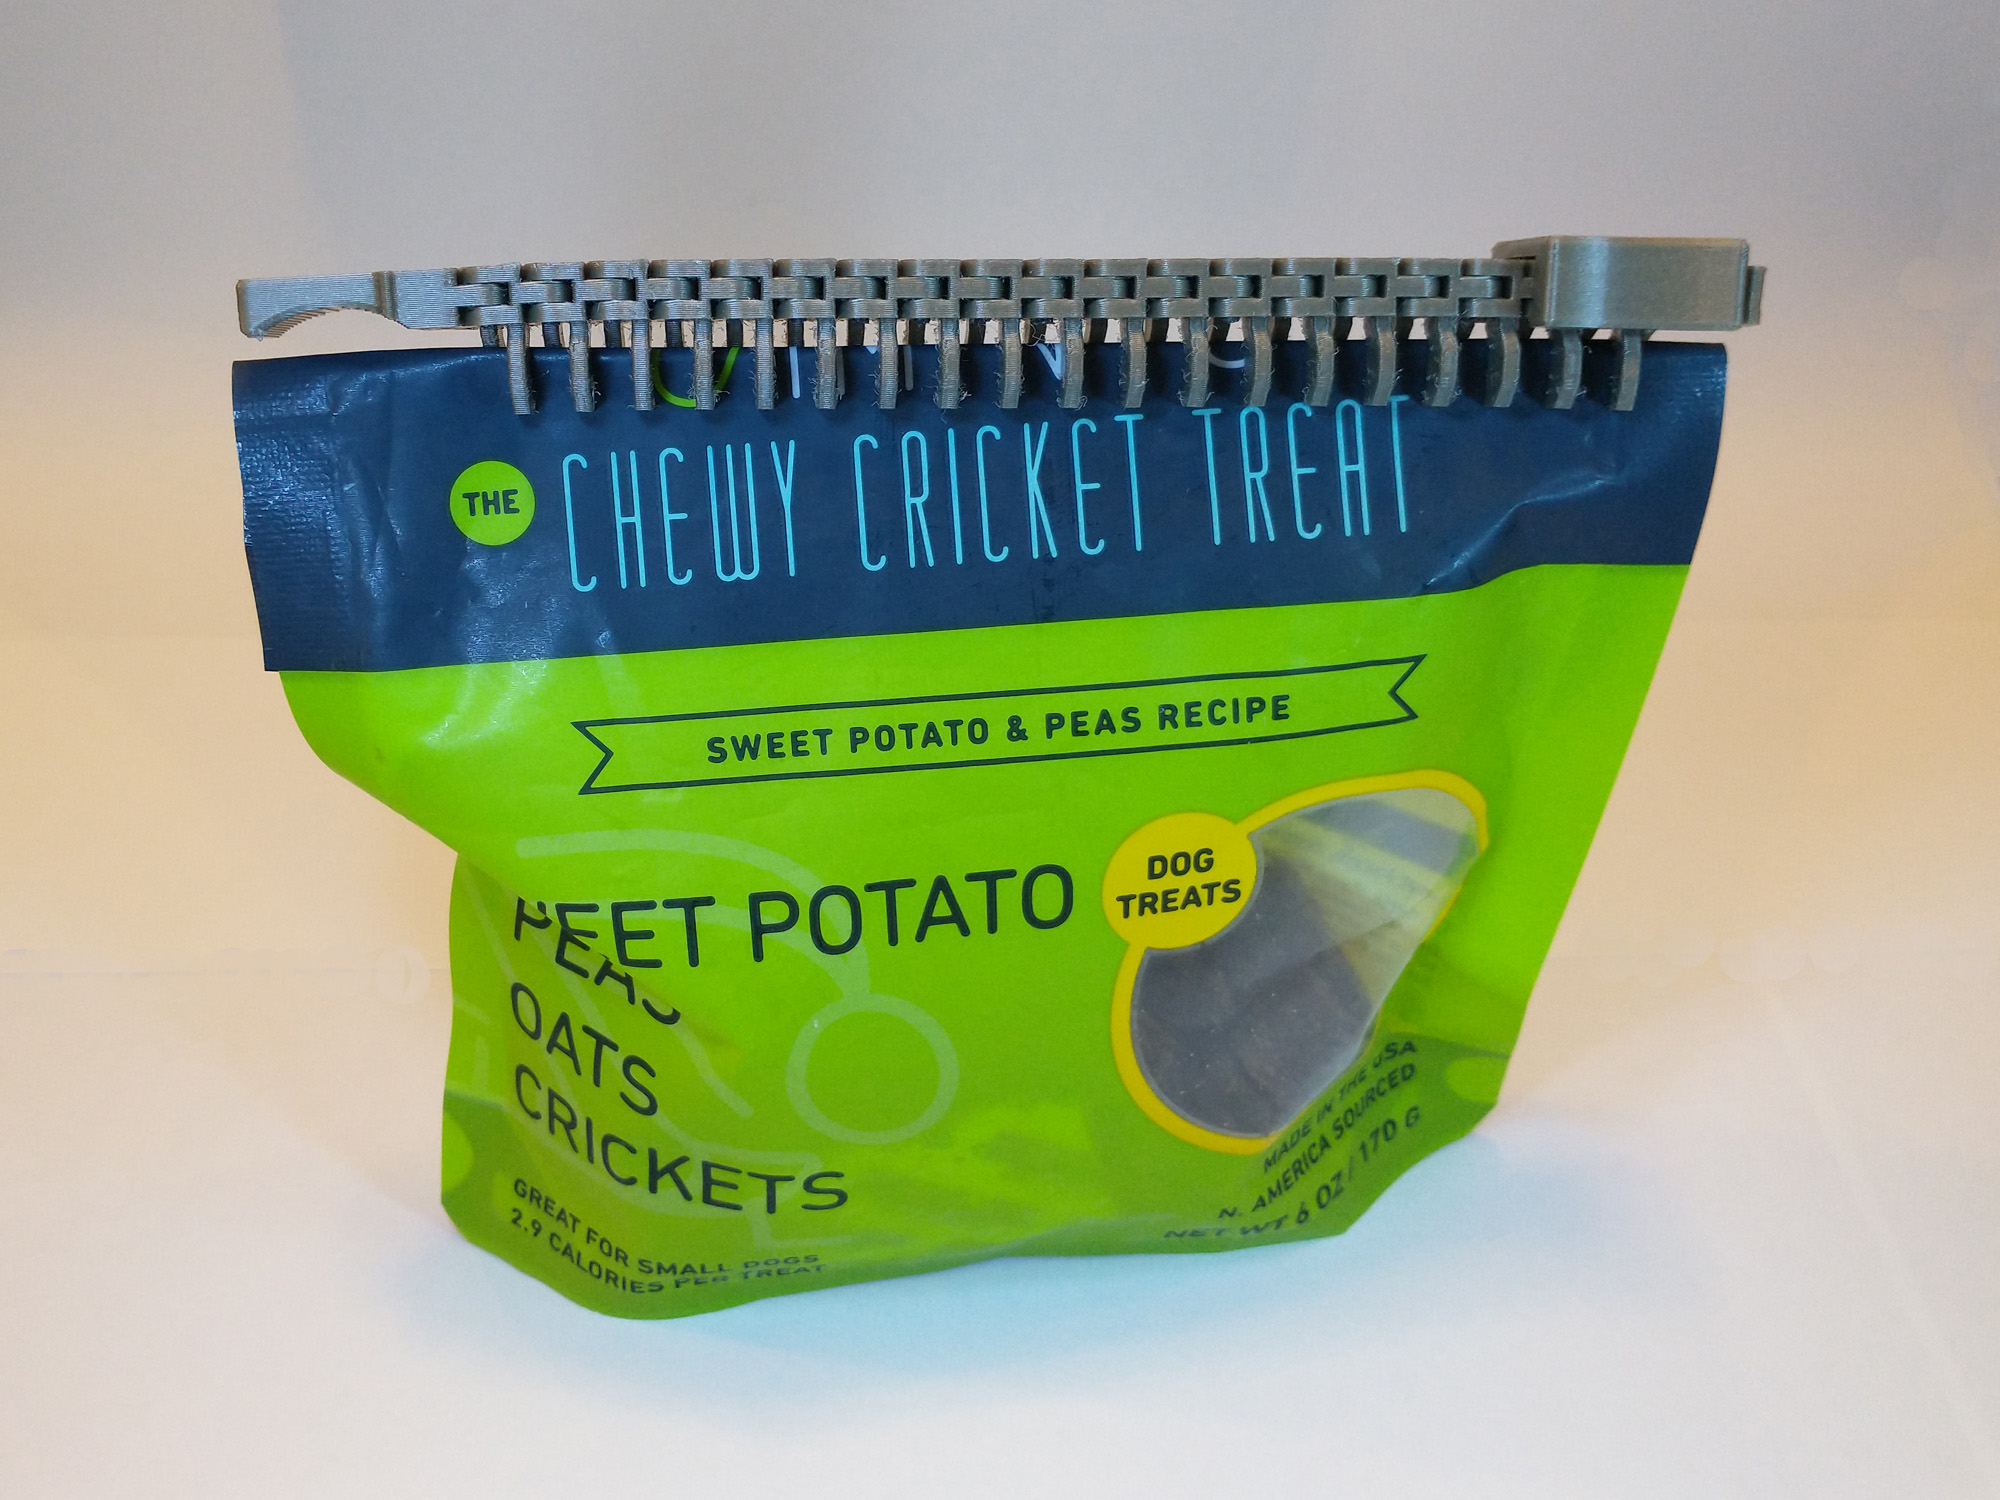
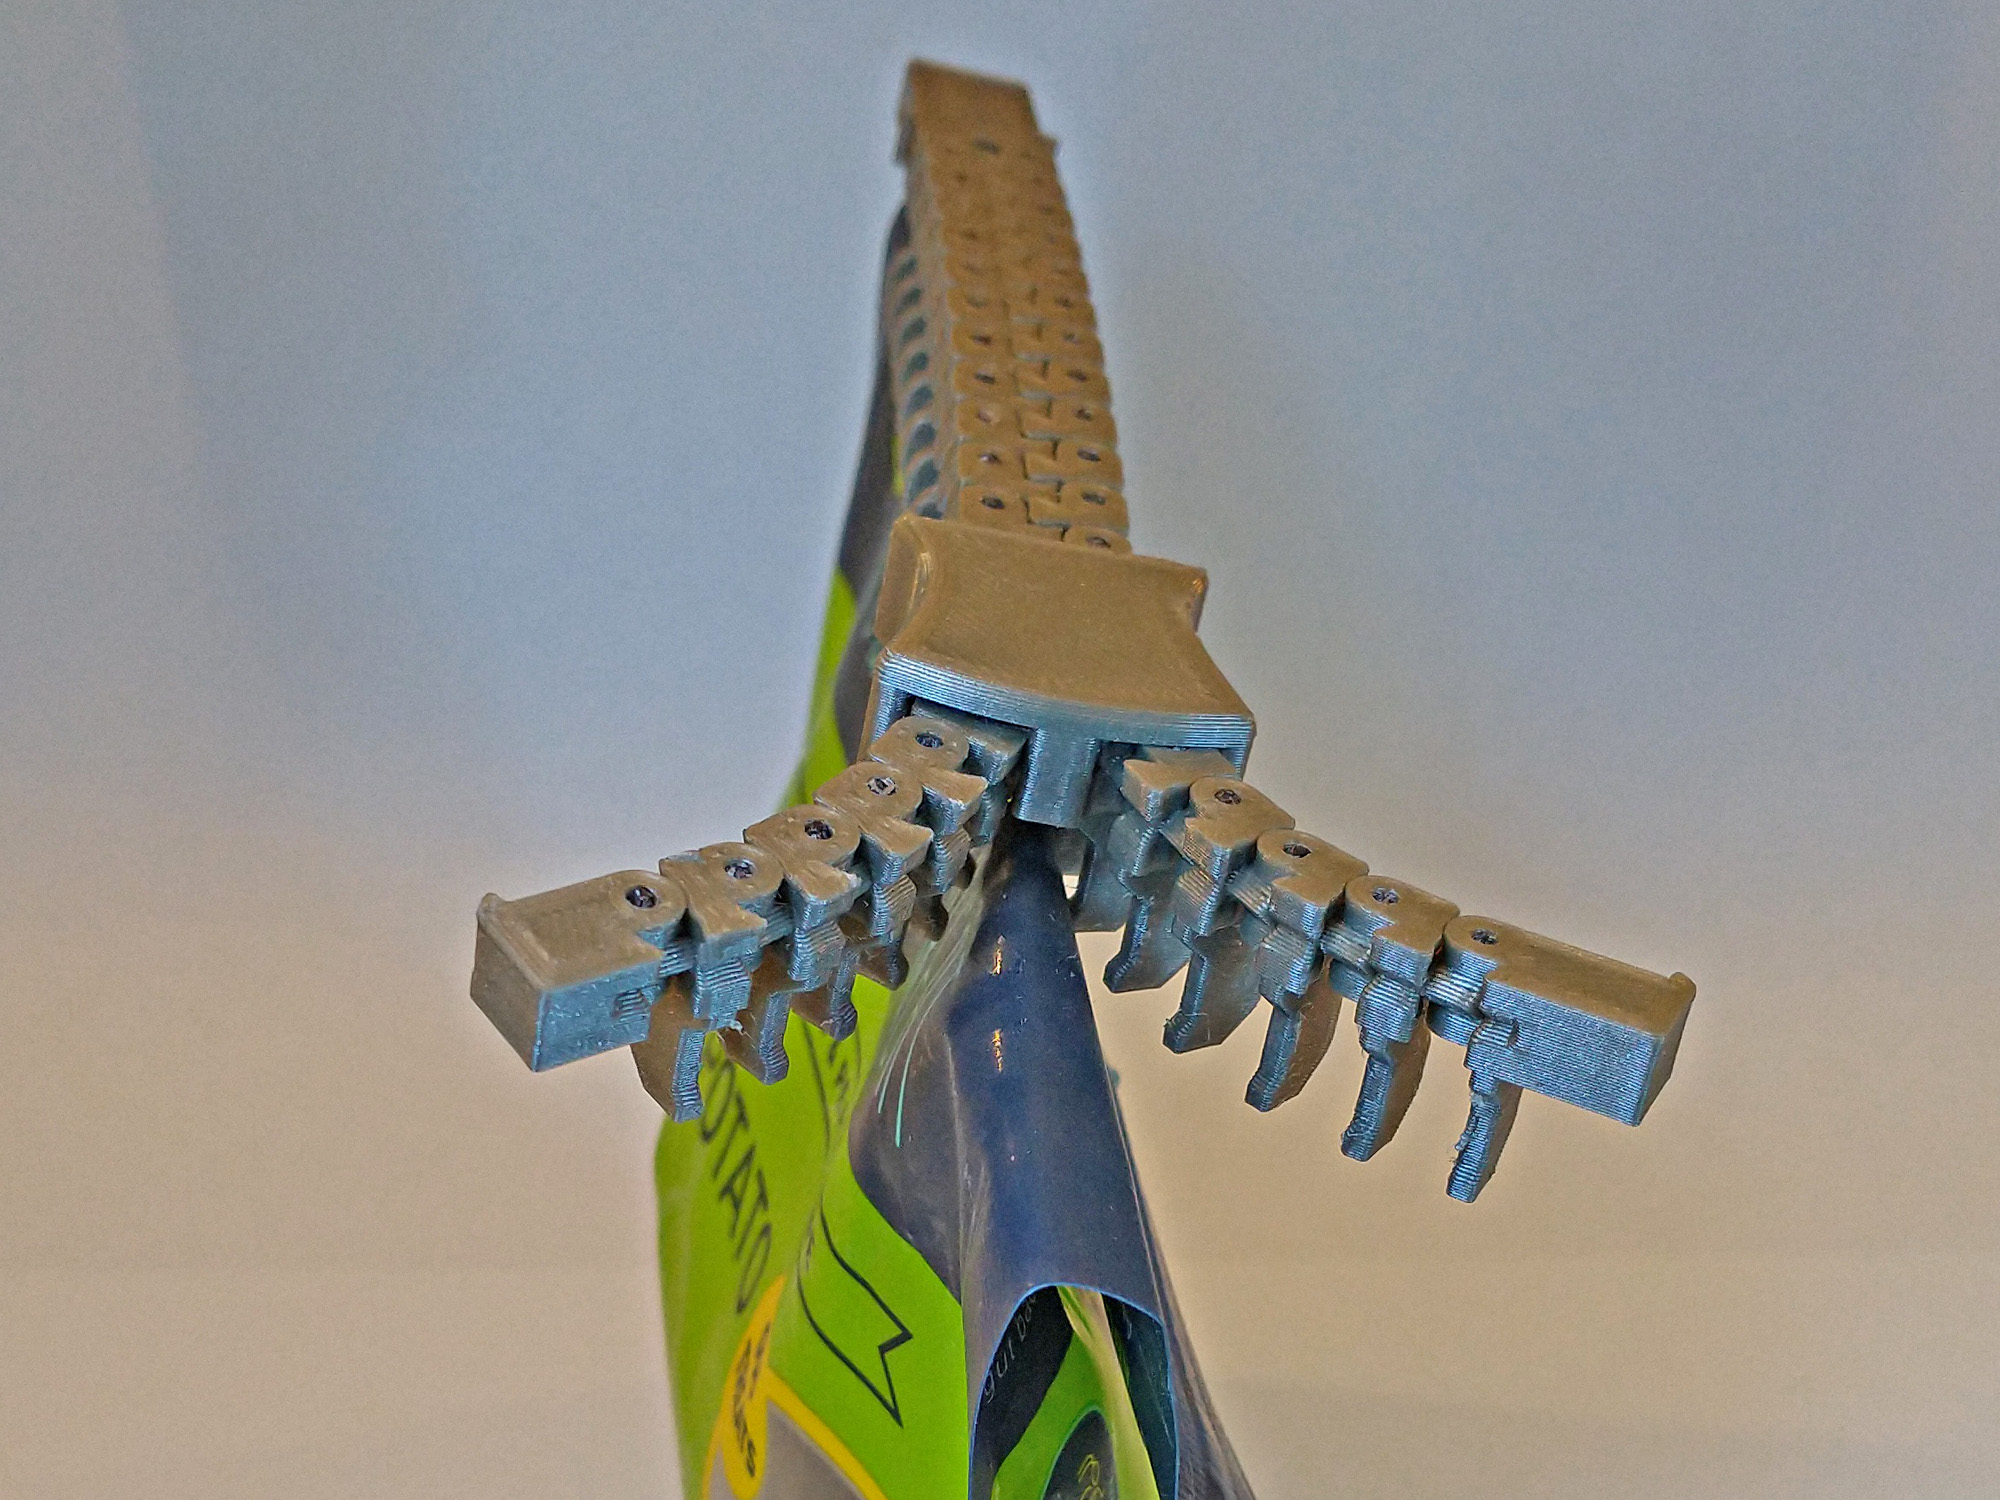
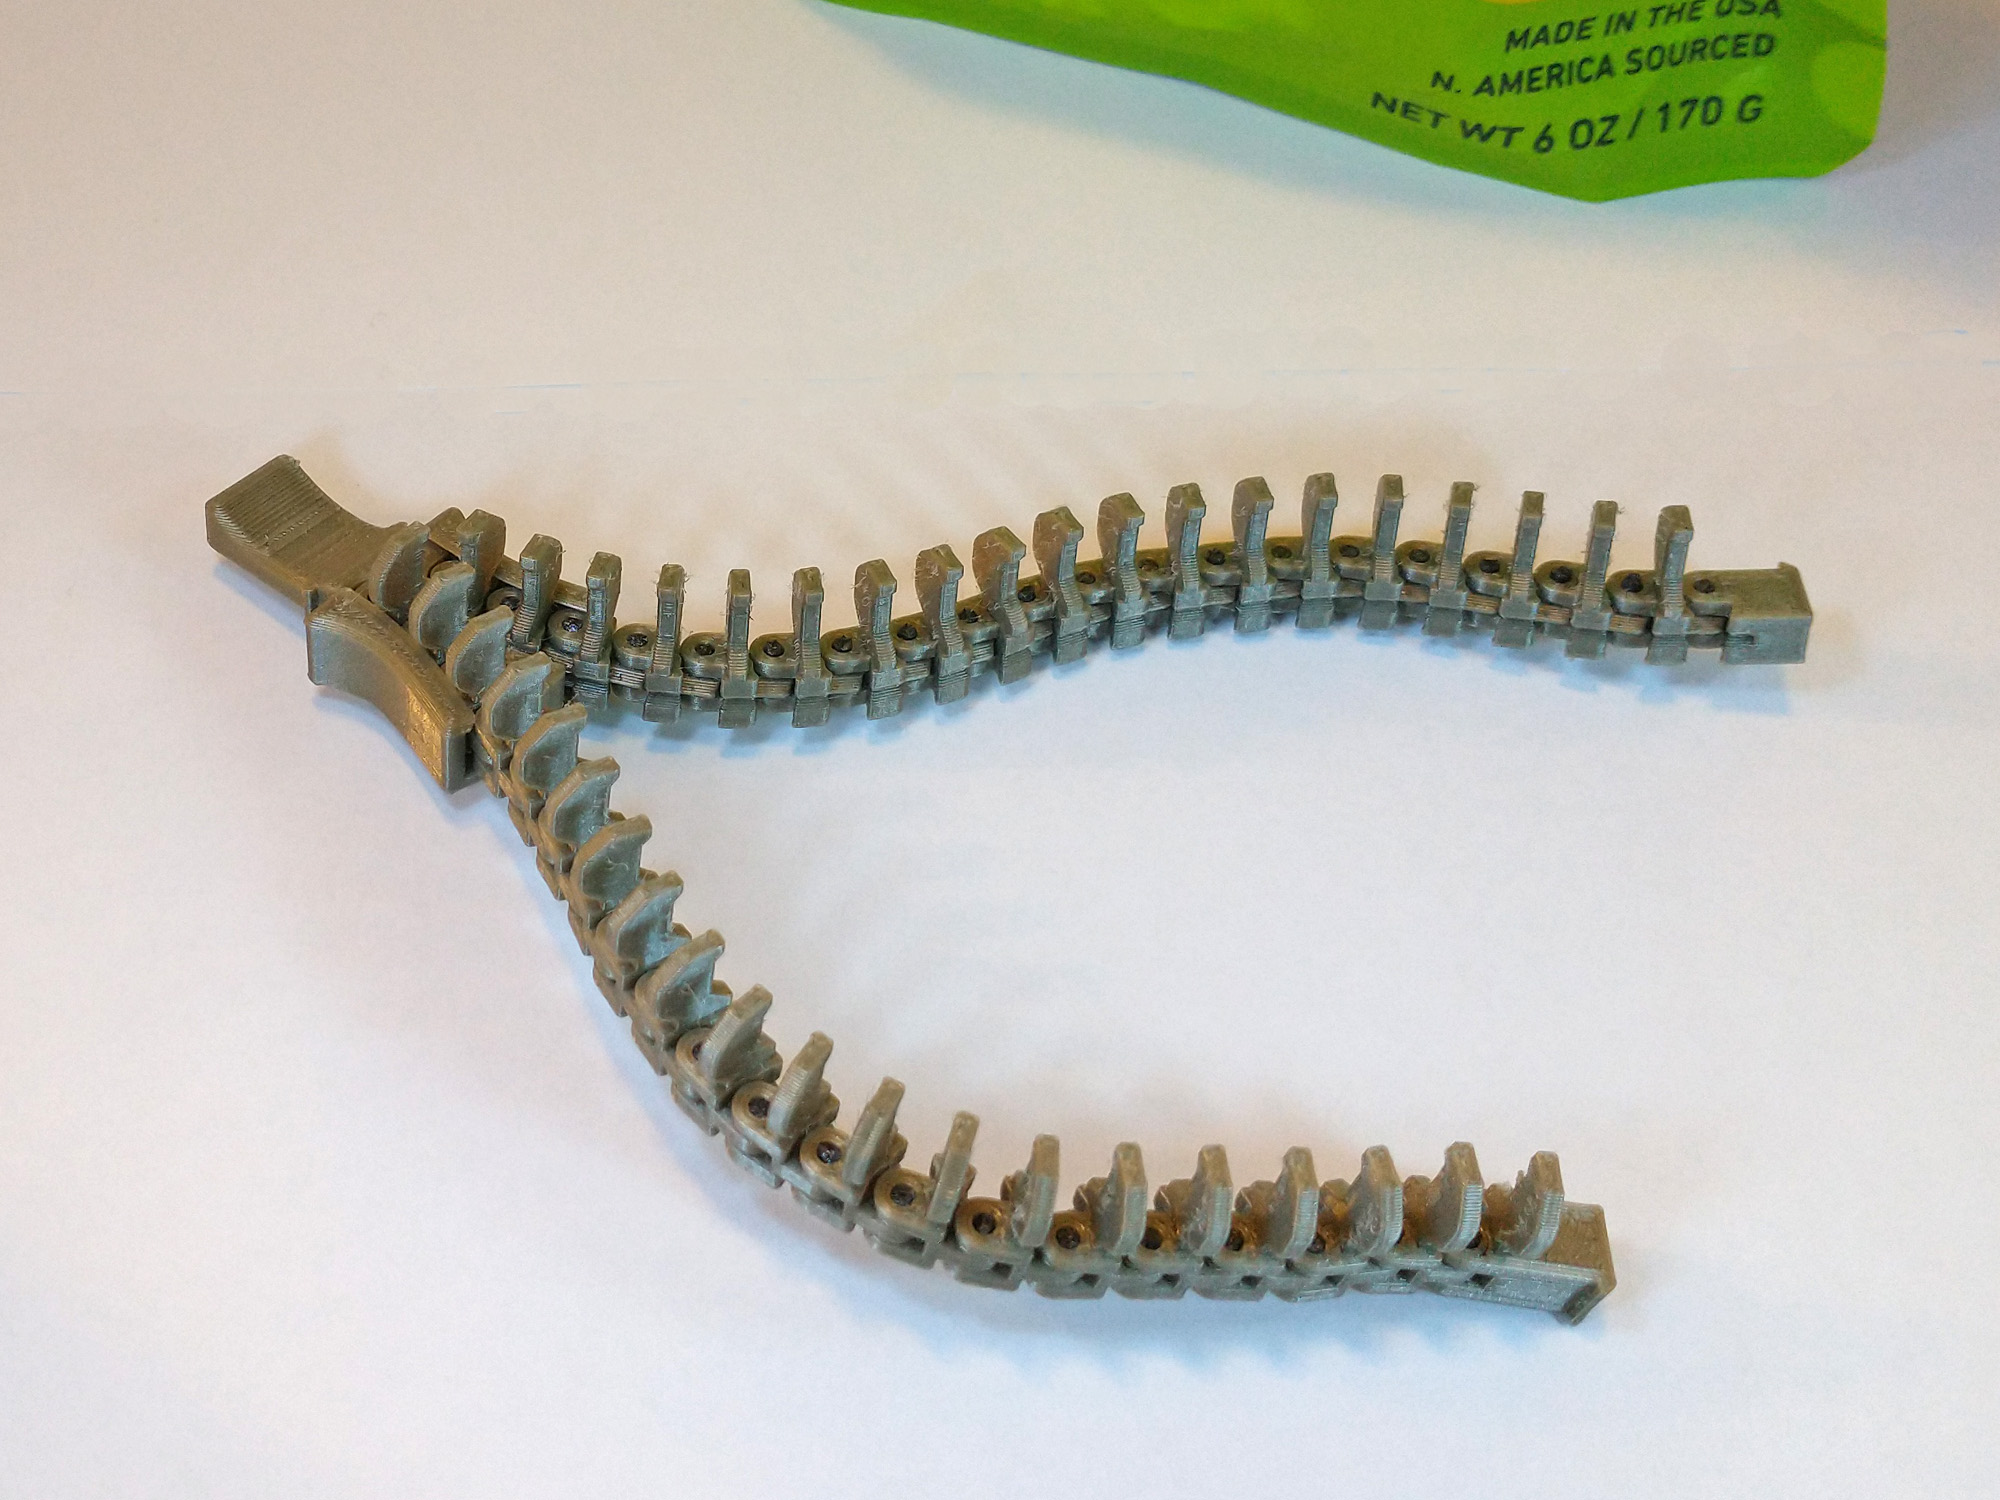
This clip is actually a working zipper with rows of little fingers to cinch your bag shut. It does require some assembly. OK, the work required for this bag clip is way more than any bag clip should require, but once assembled, you'll have a thing of beauty. You see, each tooth pivots on its neighbor, using a 6mm length of filament as a hinge pin. That's 40 pivot joints overall, and 40 hinge pins. (Trying to print the hinge pins in place would introduce way too much slop in the joints.)
Printing
The Zipper piece consists of a base and two rows of pivoting teeth, which all print in place. It is designed for a 0.2mm vertical gap between mating surfaces, so use a 0.2mm layer thickness. Also, use 0.4mm perimeter lines for efficient printing. The Slider piece should be printed with the same settings. (Note: if you want to make the zipper longer, you can break the parts up in your slicer and then print extra lengths of links.)
Assembly
After printing the Zipper part, leave all of the parts interconnected except for the very last link on the end of each side. Break these two links free and set aside, but leave all of the other links interconnected as printed. Now, cut off 40 lengths of 1.75mm dia filament, each 6mm long. (The two links you've set aside are 6mm thick and can be used as a cutting guide.)
Using needle nose pliers, start to insert each link into the top hole of each joint. The pins slide freely into the top half of the yoke, but press into the center portion of the joint. I used a 3mm diameter rod and a tap hammer to set each pin in place. Place the zipper on a hard, flat surface and tap each pin in until it is flush with the bottom. (It's OK if the pin sticks out the top by a little bit.)
With all the pins in place, you can now break each joint free. There's a not a lot to grab onto, so you'll need to carefully grab each tooth with needle nose pliers and give it a little twist. With all the joints broken free, you can now manually mesh the two halves of the zipper together all the way to the end. Now slide the Slider piece over the end and force the two sides of the zipper back apart.
Finally, re-assemble the last two end-links that you set aside using two more hinge pins. These end pieces have a tiny stop built-in to keep the slider from running off the end of the zipper.
Use Fold your bag over to form a straight edge. Open the zipper all the way and feed the edge of the bag into the fingers towards the base. Close the zipper so that the fingers grip the edge of the bag. Repeat several times because it is so darned fun.
--- For anyone who likes the zipper but doesn't need a bag clip, here is a remix with just the zipper. And here is a video of the assembly process:
Design and description by LoboCNC , licensed CC-BY-SA.
Frequently asked
How long does shipping take?
Zippy Bag Clip (print-in-place-ish) is printed to order. Lead time is typically 1-3 business days plus 1-4 days NZ shipping. Standard NZ shipping is $10, free over $75.
What material is this printed in?
By default this is printed in High-Detail Resin (8K) at 0.025 mm layer height on an MSLA resin printer. Custom material and colour swaps are available, just leave a note at checkout.
Can I get this in a different colour?
Yes. Every product can be printed in any of the resin colours we stock, or hand-painted on request. Leave a note at checkout or email [email protected].
Do you ship outside of New Zealand?
Currently New Zealand only. Australian shipping is coming.
Who designed this?
Designed by an independent sculptor and licensed for commercial printing. The original is linked on this page.