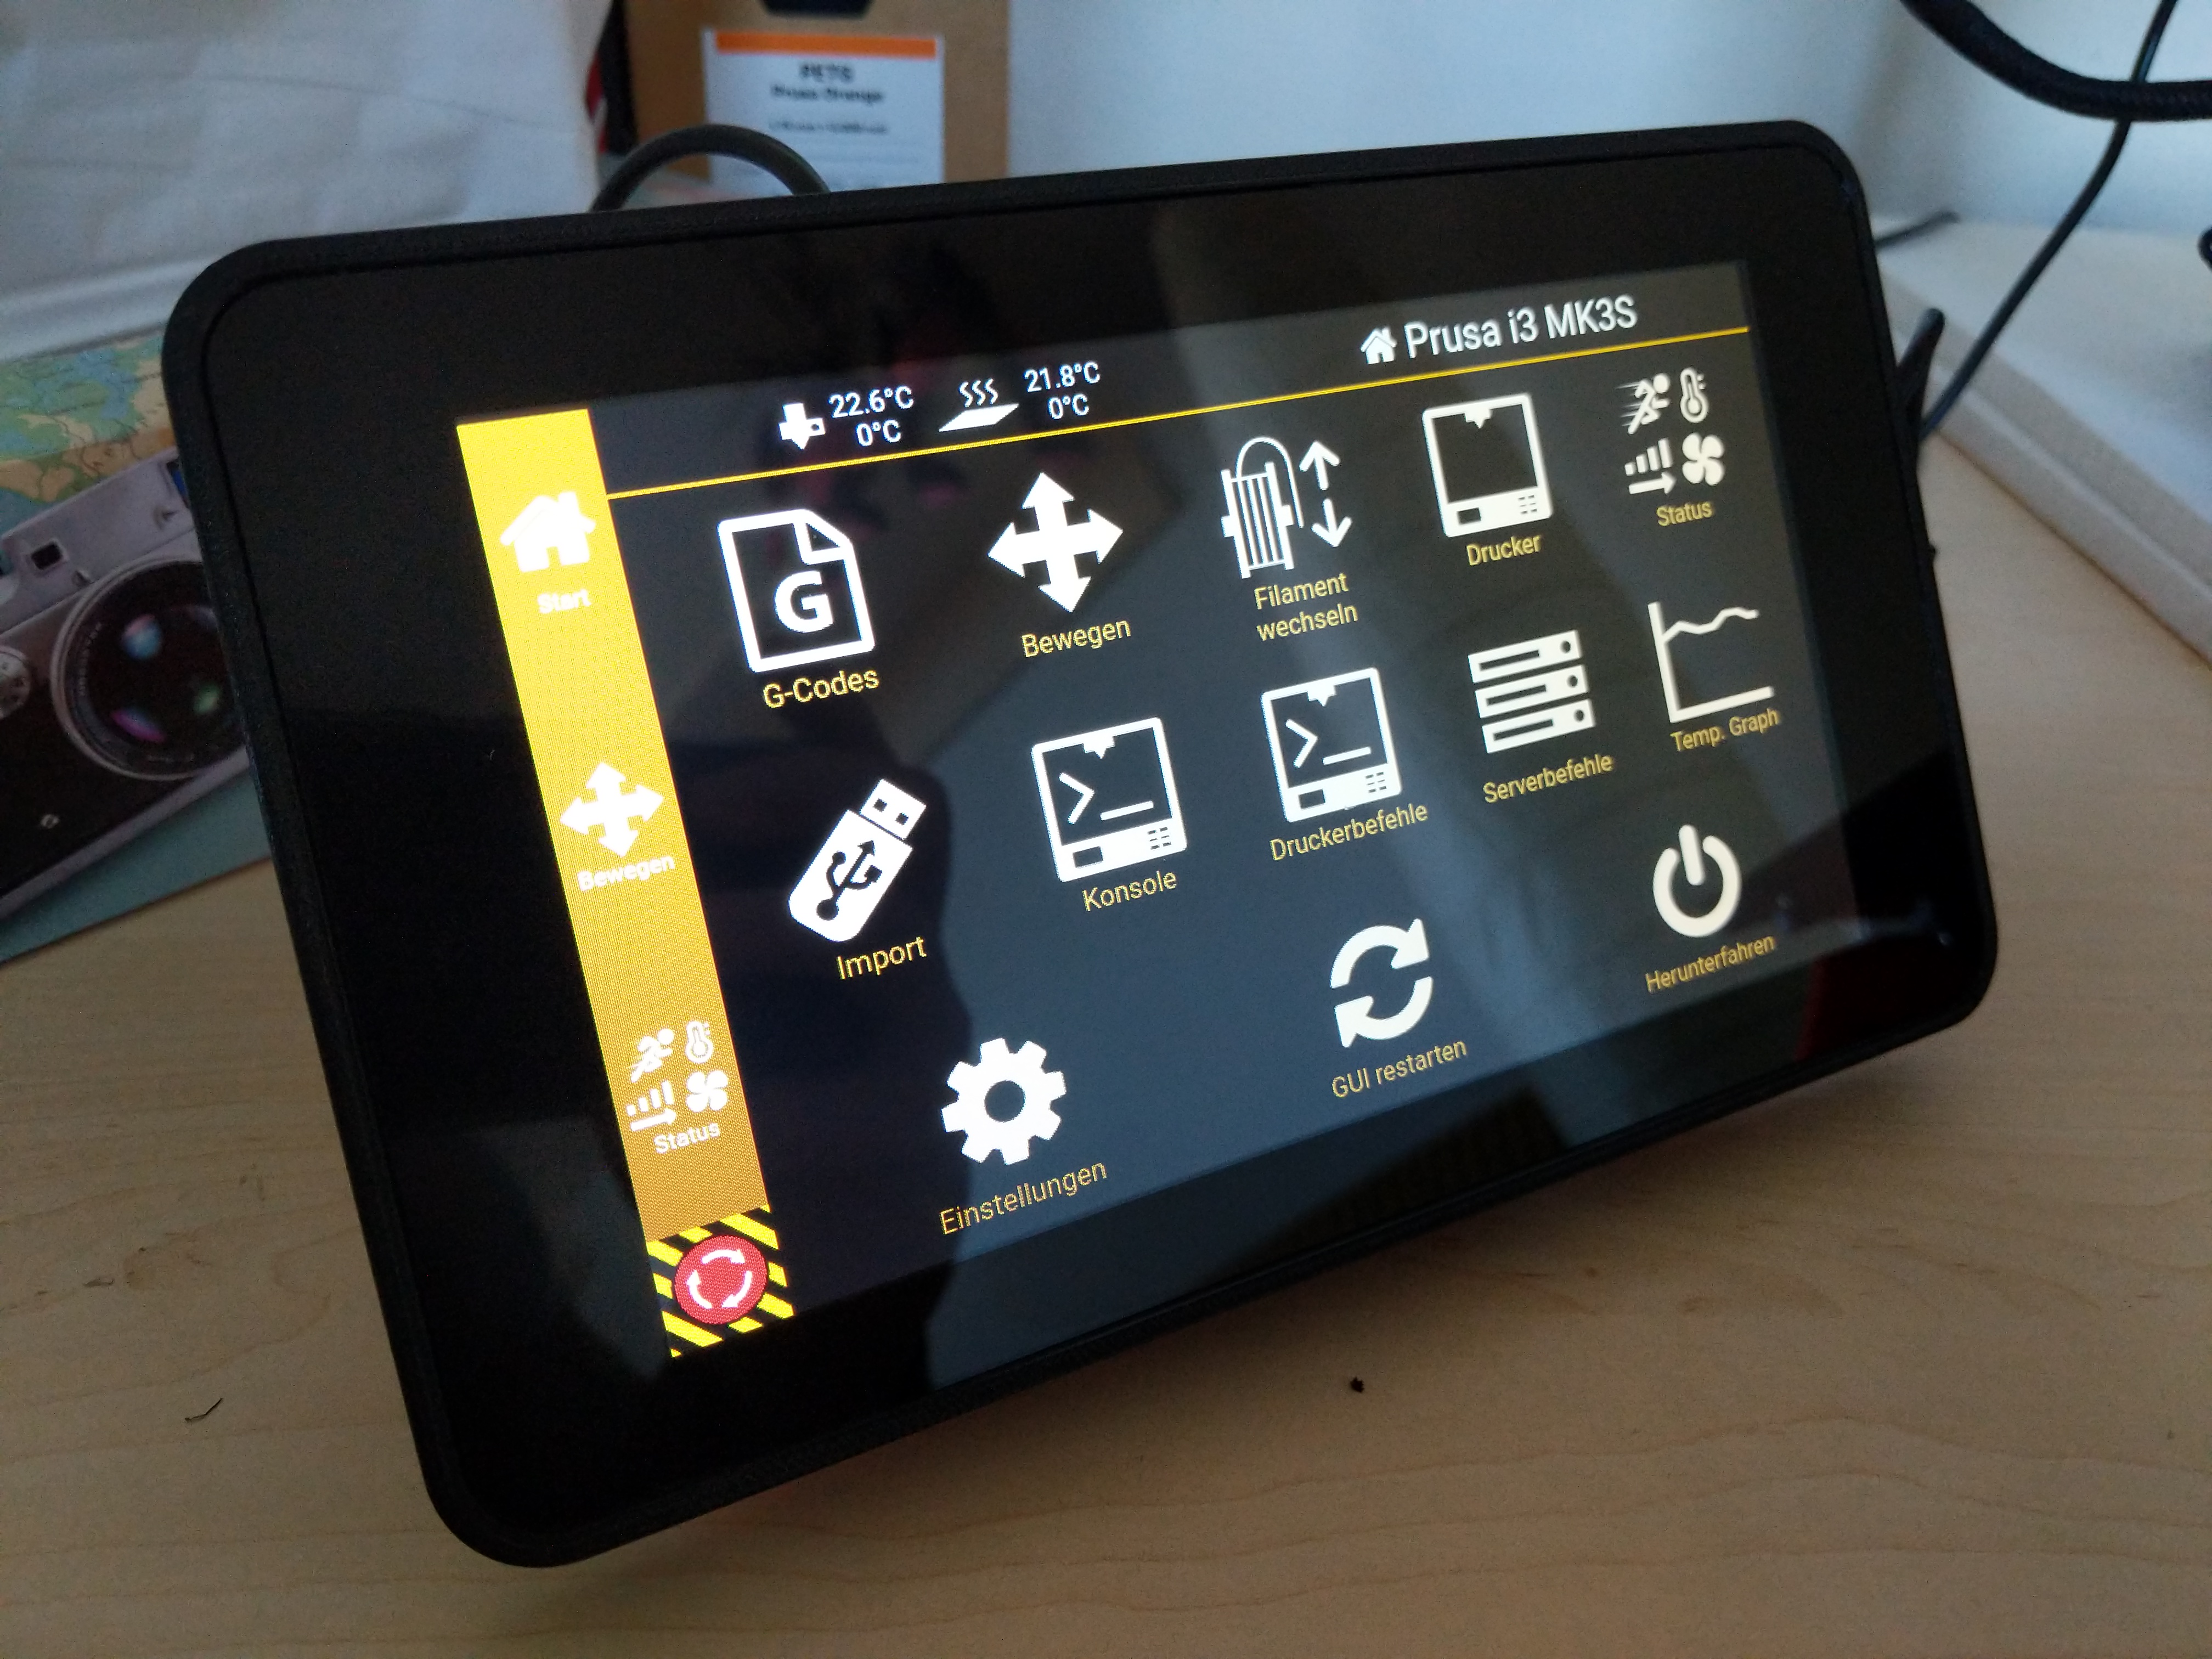
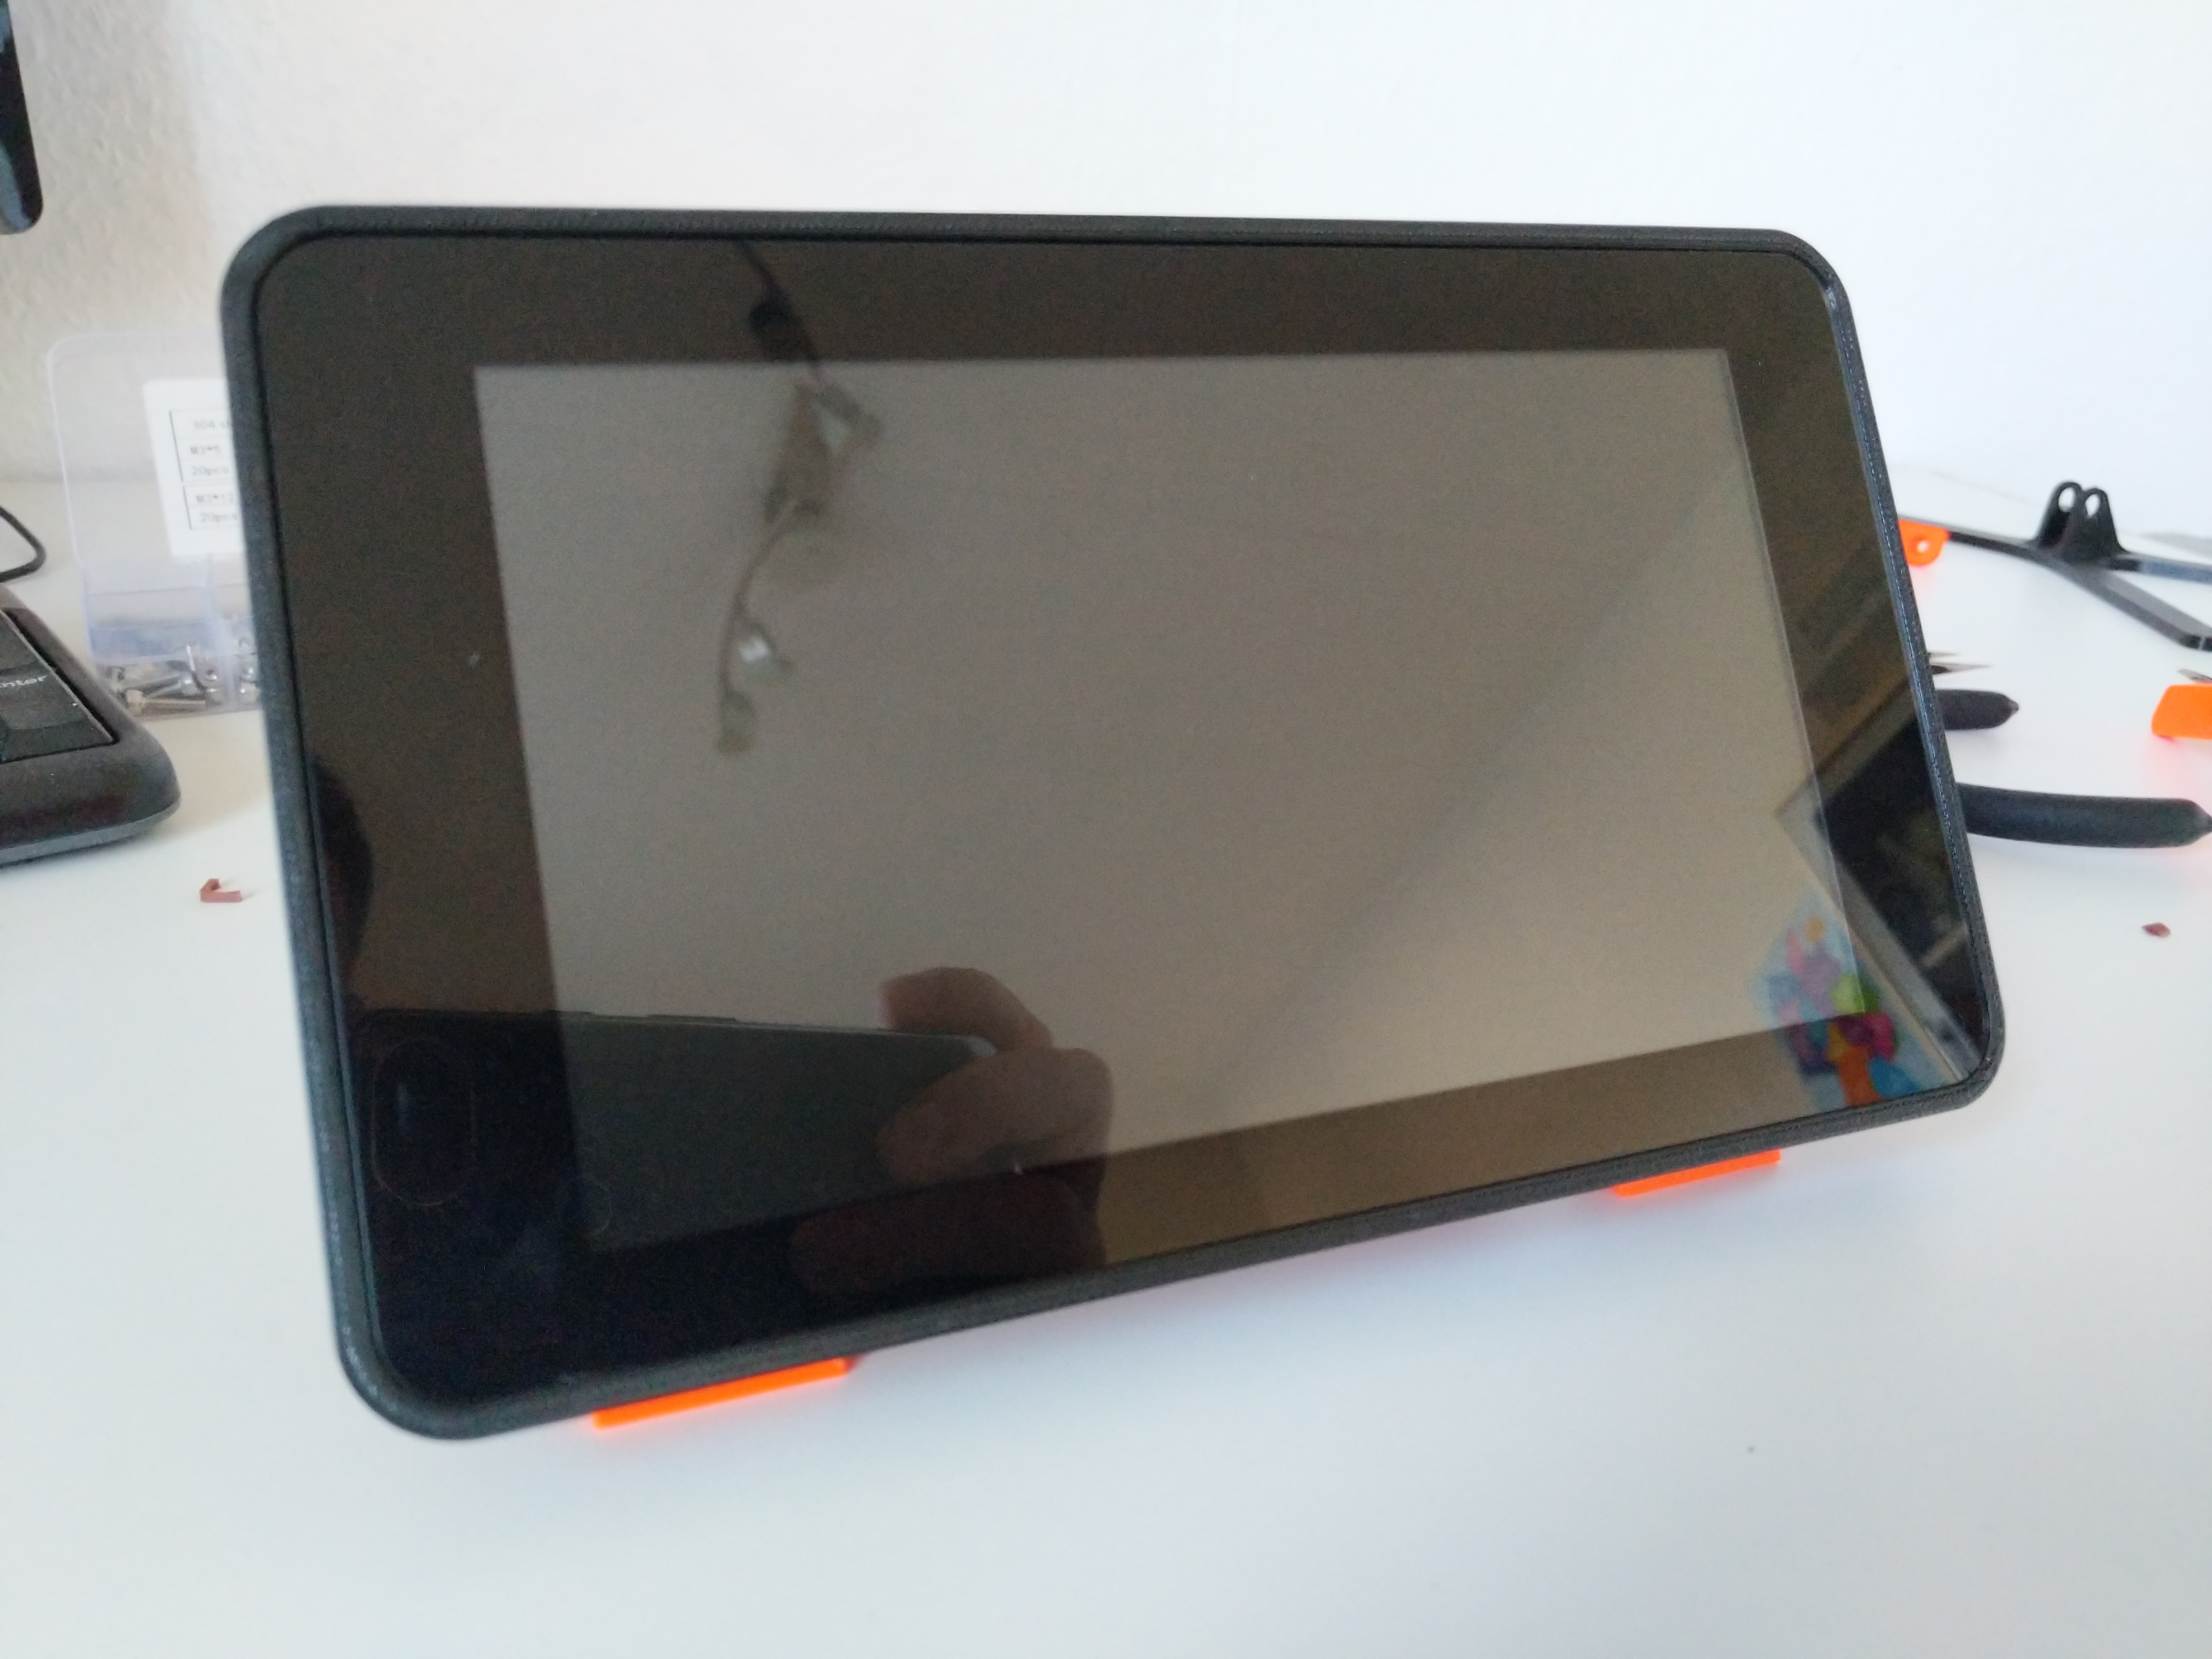
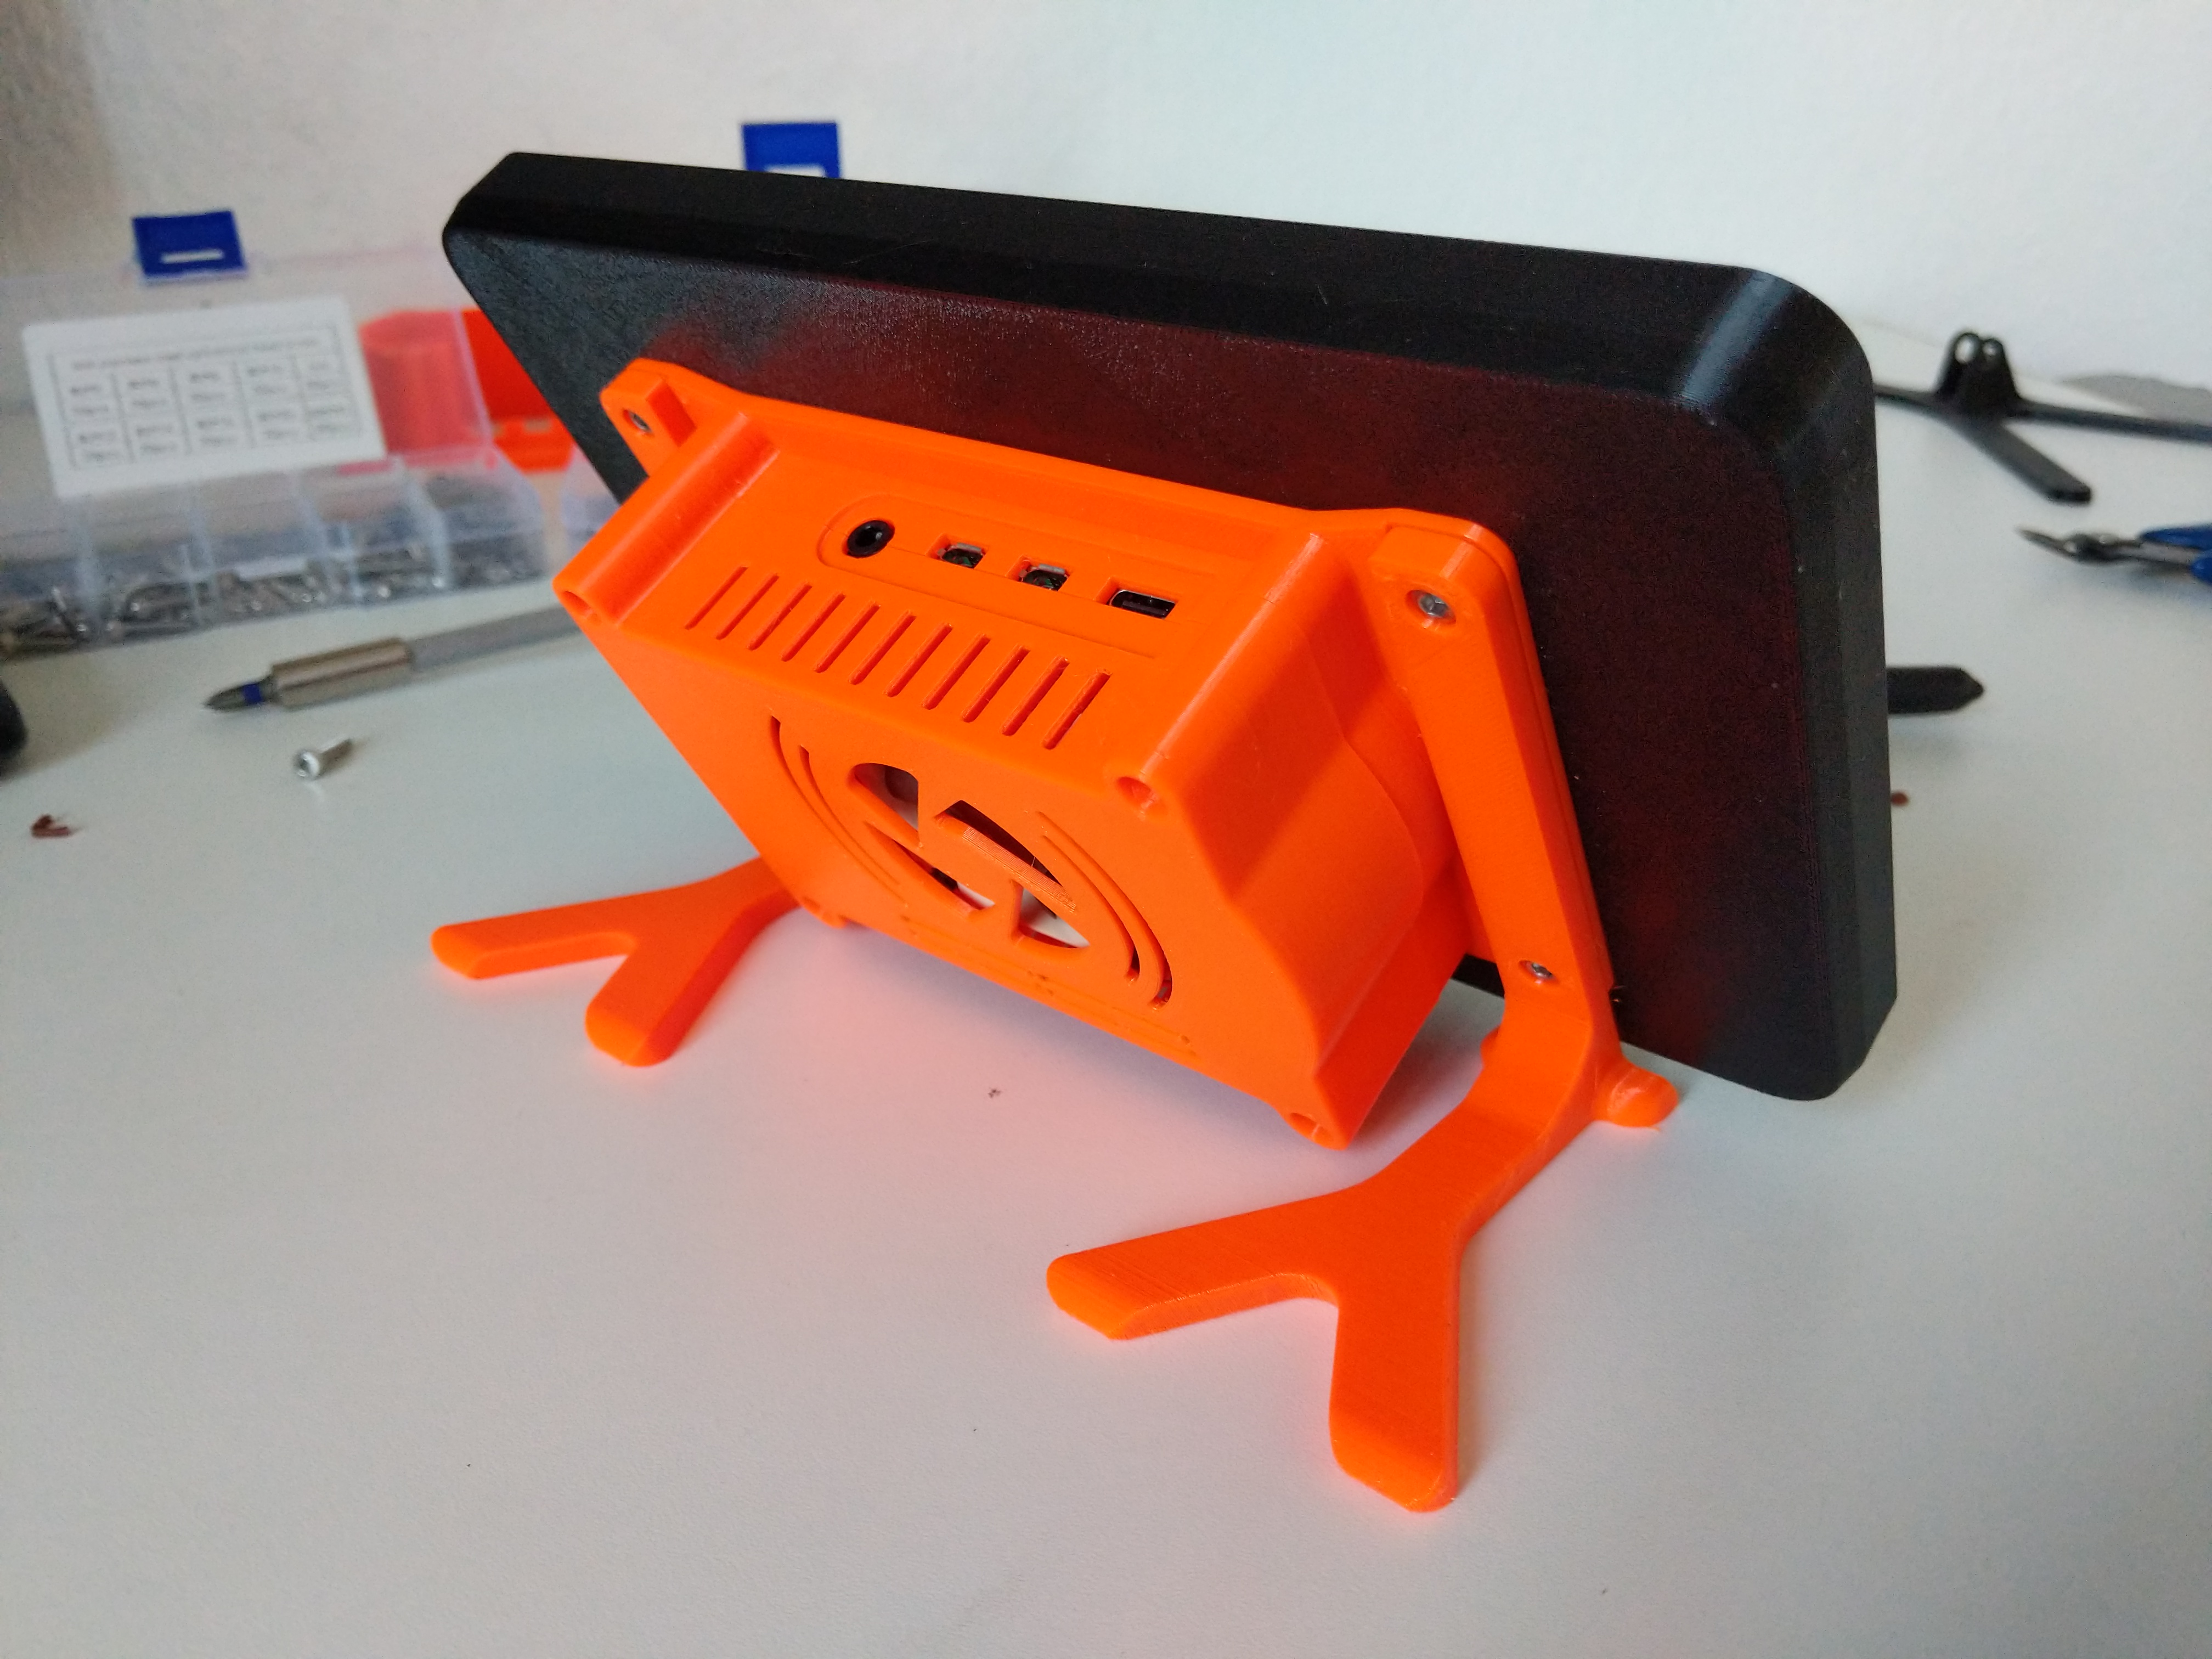
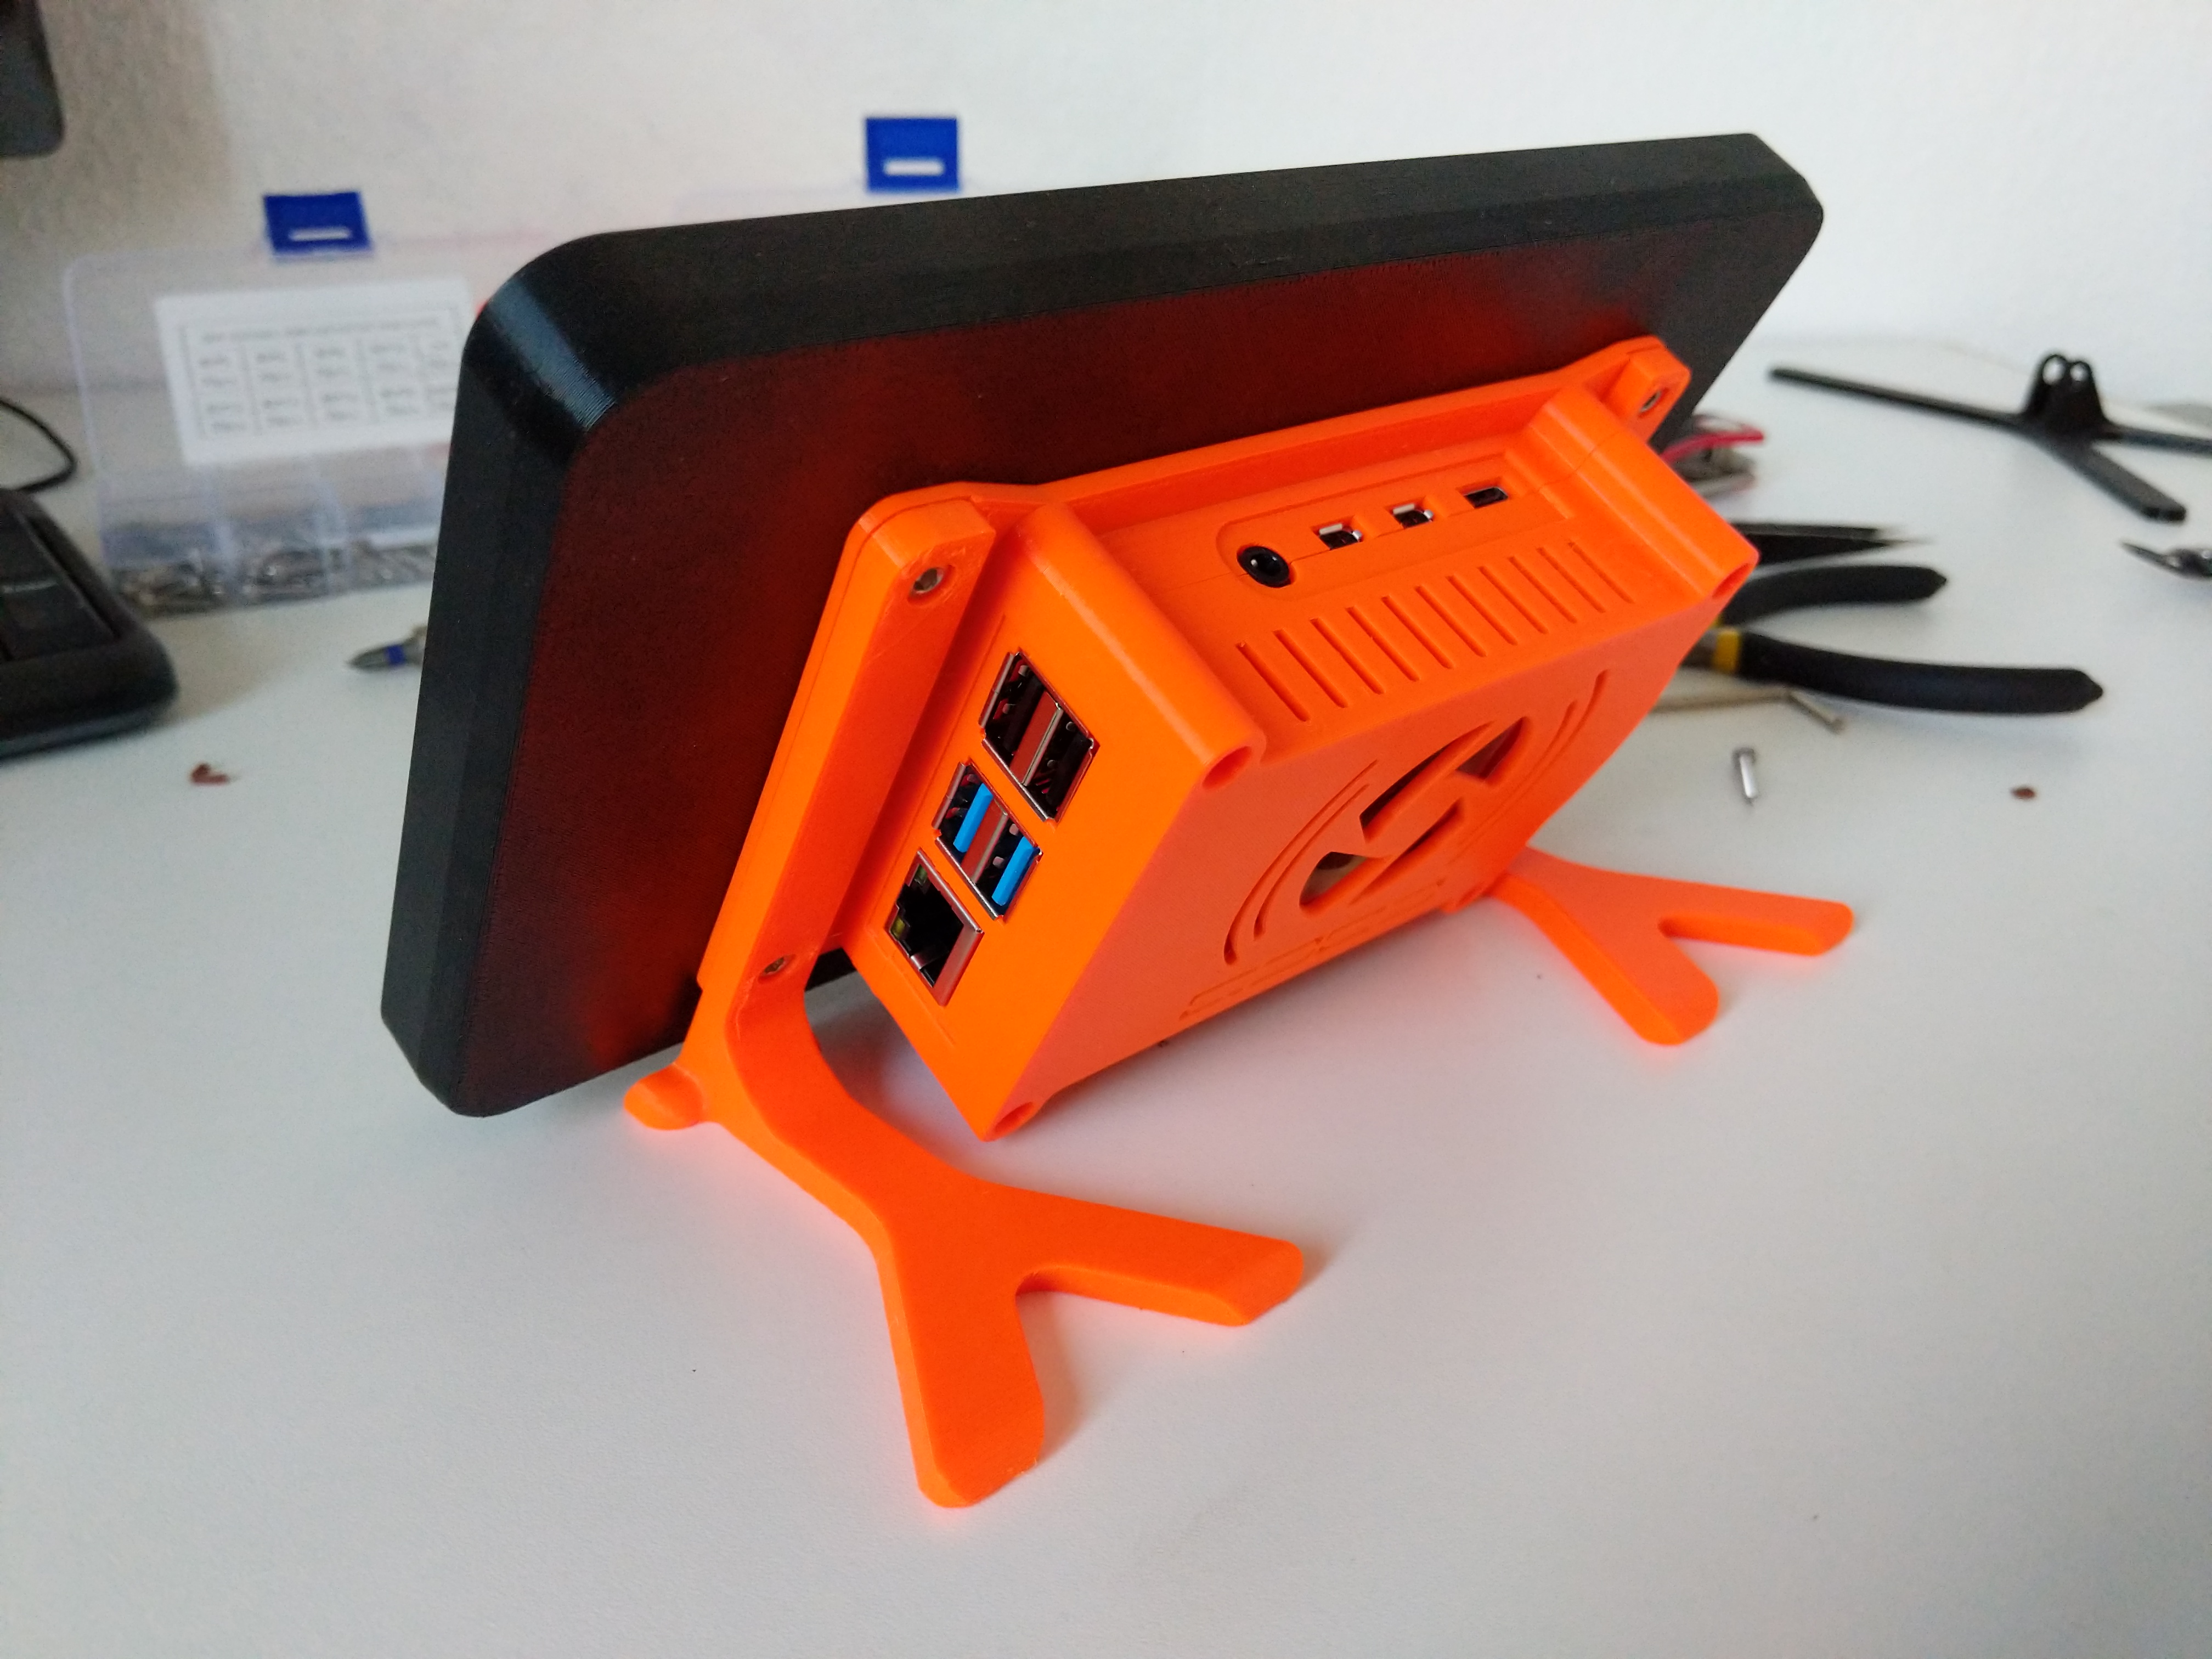
7" Touchscreen case for Raspberry Pi 4 + internal fan
- Arrives in 2 to 7 business days Printed in Auckland. $10 shipping, free over $75
- 14-day faulty refund If it arrives broken or misprinted, we reprint or refund it
- Secure checkout Card payments handled by Stripe
- Material
- High-Detail Resin (8K)
- Colour
- Grey
- Weight
- ~66 g
- Express shipping
- $20
More information
Case for Raspberry Pi 7" Touchscreen and Raspberry Pi 4
*** New case for Raspberry Pi Touch Display 2 ***
Updates
• Alternative top case part with additional slot for camera ribbon cable, see subfolder "case top v2".
Features
• Internal fan mount (40mm x 40mm x10) • Thread inserts (pi case)
Alternative mounting brackets:
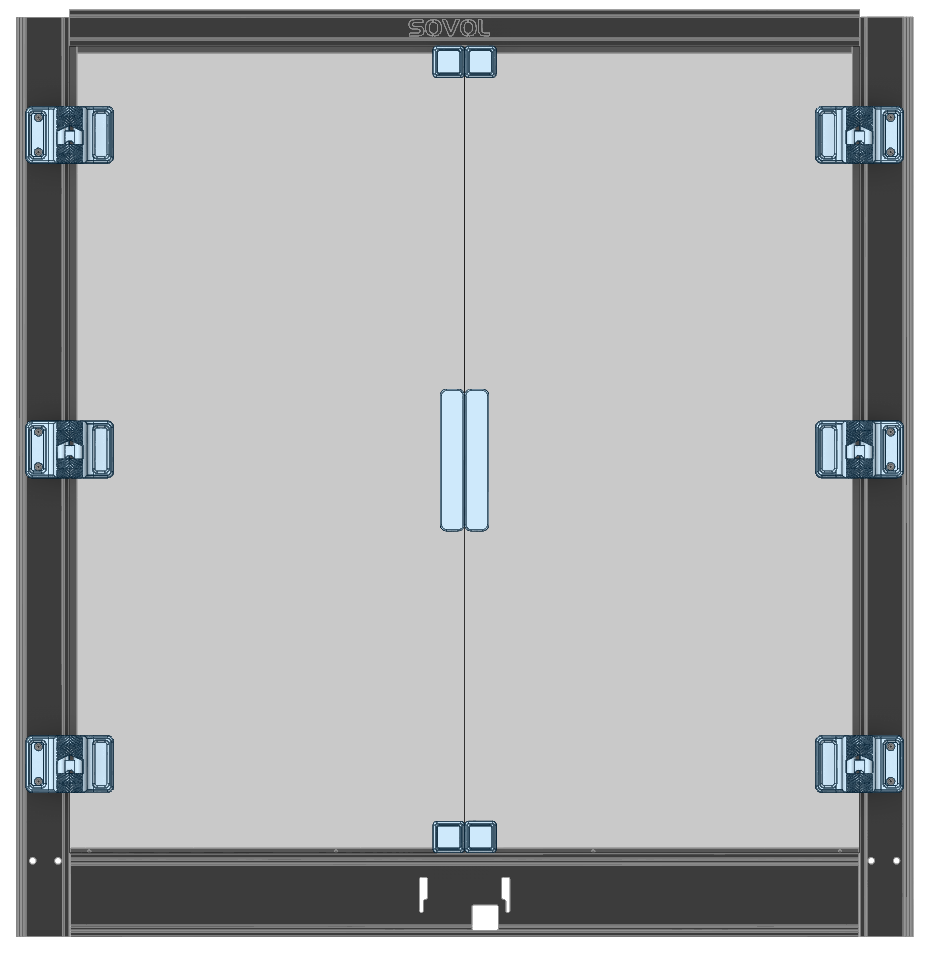
• Plate mounting bracket for 7" touchscreen case • V-Slot profile 2020 mounting bracket for 7" touchscreen case
Required parts
• Raspberry Pi 4B • Raspberry Pi 7-Inch Touch Screen Display • Fan 40x40x10, 5V → Noctua NF-A4x10 5V incl. anti-vibration mounts • 4x Anti-vibration mounts (See fan) • 2x 1P Single Dupont connectors (For fan)
Mount Raspberry Pi case (top / botton parts)
• 4x M3 thread inserts → Ruthex RX-M3x5.7 • 4x Cylindrical head screw M3 x 12mm
Mount Raspberry Pi case (display / stands / botton parts)
• 4x Cylindrical head screw M3 x 12mm
Mount Raspberry Pi / fan
• 4x Cylindrical head screw M2.5 x 16mm
Print instructions
Supports: No
Pi image configuration
In the config.txt the screen orientation must be rotated. lcd_rotate=2
Building instruction
• Install the threaded inserts in the bottom part of the case.
• Install the data cable (ribbon cable) and power (red/black wires) with the touch screen controller card. See Raspberry Pi - Documentation -> Physical Installation • Assemble the touch screen, display case, bottom case and strands with M3x12mm screws. Attention do not tighten the screws yet! • Place the Raspberry in the case. Do not forget the SD card with image! • Connect the Raspberry with the touch screen.
• Data cable • Red wire (+): 5V power pin e.g. GPIO 2 • Black wire (-): Ground pin e.g. GPIO 9
• Install the fan on the fanmount with 4 anti-vibration mounts. • Install the fanmount on the Raspberry with M2.5 x 16mm screws. Tighten the screws.
• Tighten the loose M3 x 12mm screws. (See Point 3) • Connect the fan with the Raspberry.
• Red wire (+): 100% fan speed -> 5V power pin e.g. GPIO 4 or reduced fan speed -> 3V3 power pin e.g. GPIO 17 • Black wire (-): Ground pin e.g. GPIO 6
• Install the top part onto the bottom part using M3 x 12mm screws.
Design and description by RonnyS , licensed CC-BY.
Frequently asked
How long does shipping take?
7" Touchscreen case for Raspberry Pi 4 + internal fan is printed to order. Lead time is typically 1-3 business days plus 1-4 days NZ shipping. Standard NZ shipping is $10, free over $75.
What material is this printed in?
By default this is printed in High-Detail Resin (8K) at 0.025 mm layer height on an MSLA resin printer. Custom material and colour swaps are available, just leave a note at checkout.
Can I get this in a different colour?
Yes. Every product can be printed in any of the resin colours we stock, or hand-painted on request. Leave a note at checkout or email [email protected].
Do you ship outside of New Zealand?
Currently New Zealand only. Australian shipping is coming.
Who designed this?
Designed by an independent sculptor and licensed for commercial printing. The original is linked on this page.