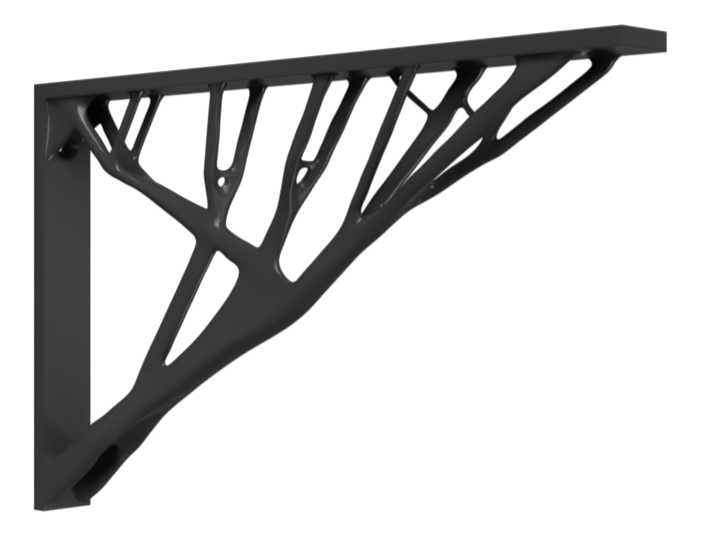
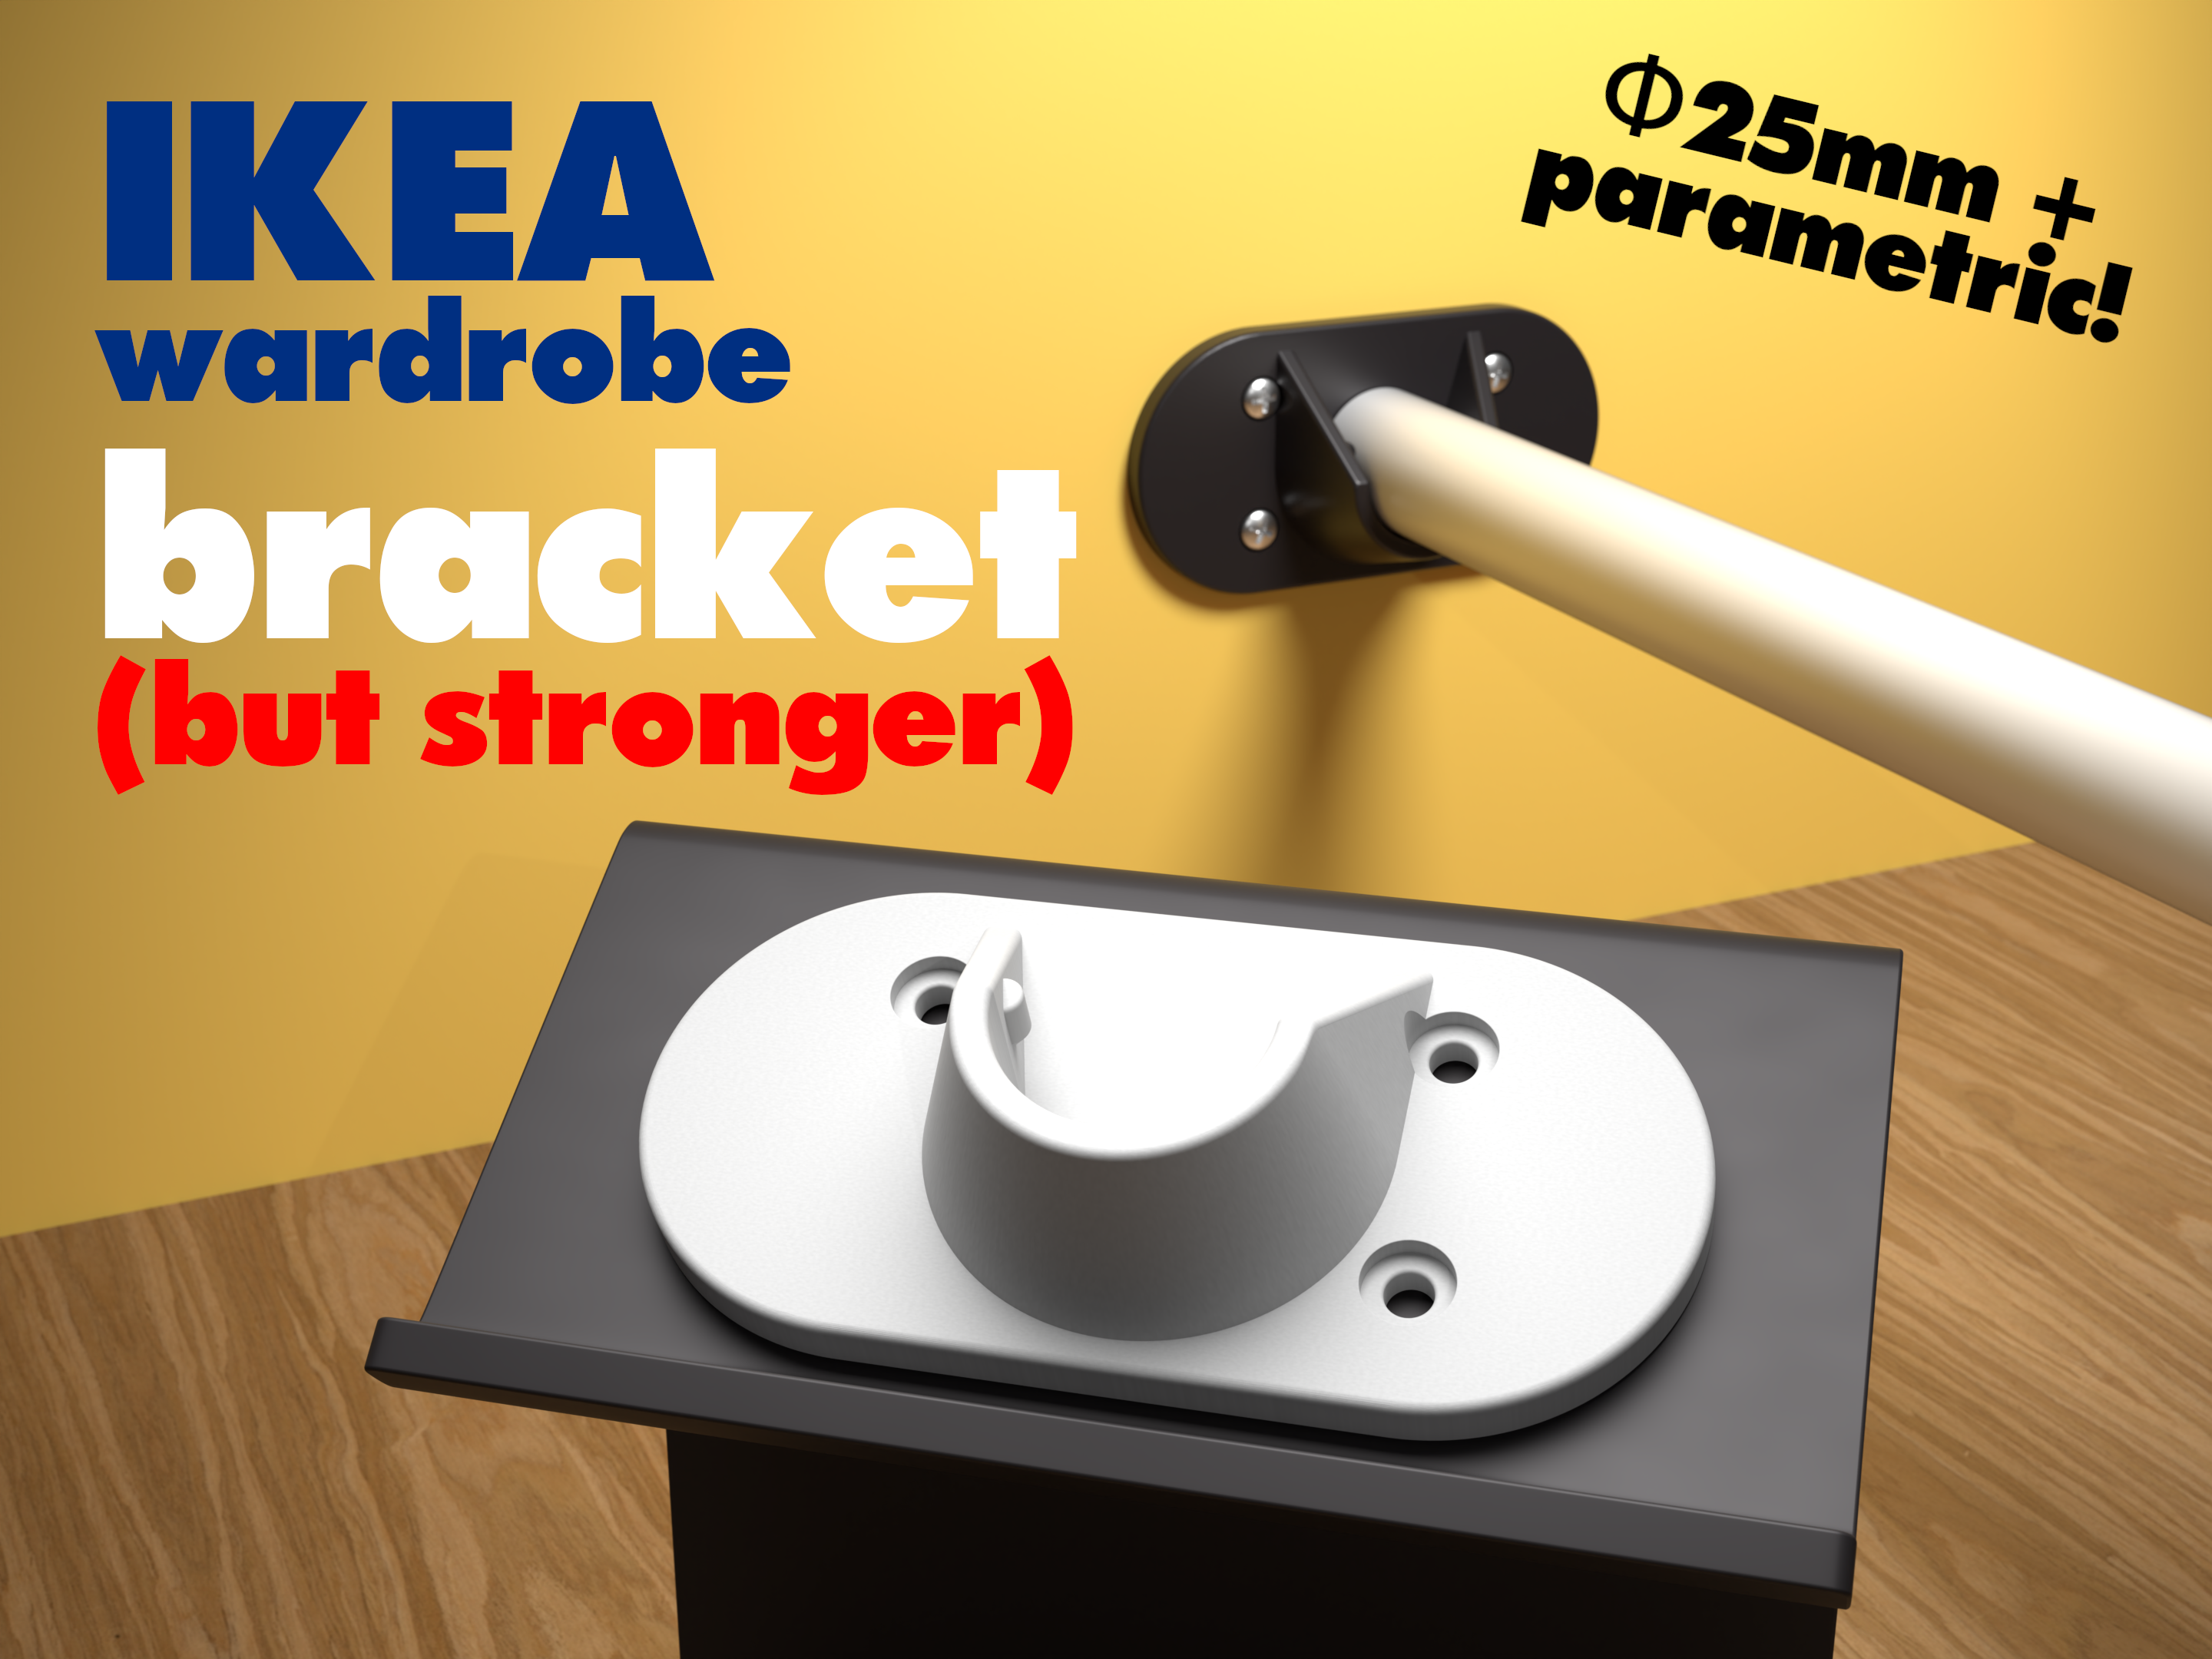
A fully parametric strong wardrobe rail bracket for a cylindrical rail (fits Ikea Hjalpa)
- Arrives in 2 to 7 business days Printed in Auckland. $10 shipping, free over $75
- 14-day faulty refund If it arrives broken or misprinted, we reprint or refund it
- Secure checkout Card payments handled by Stripe
- Material
- High-Detail Resin (8K)
- Colour
- Grey
- Weight
- ~27 g
- Express shipping
- $20
More information
edit: now the parametric file is included! read instructions at the bottom to learn how to use it
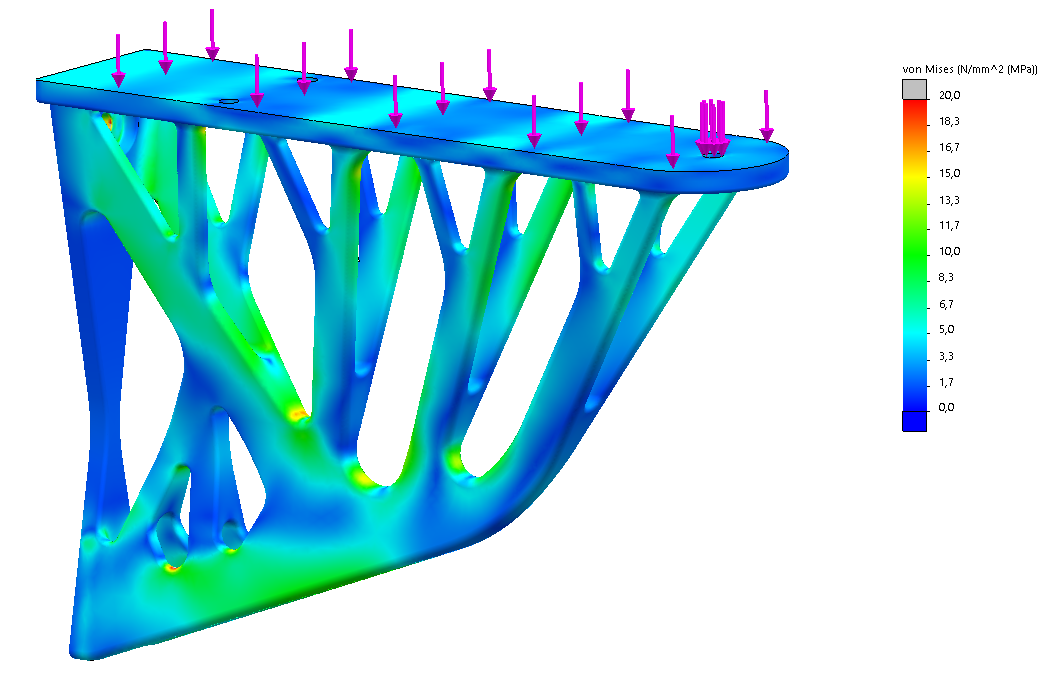
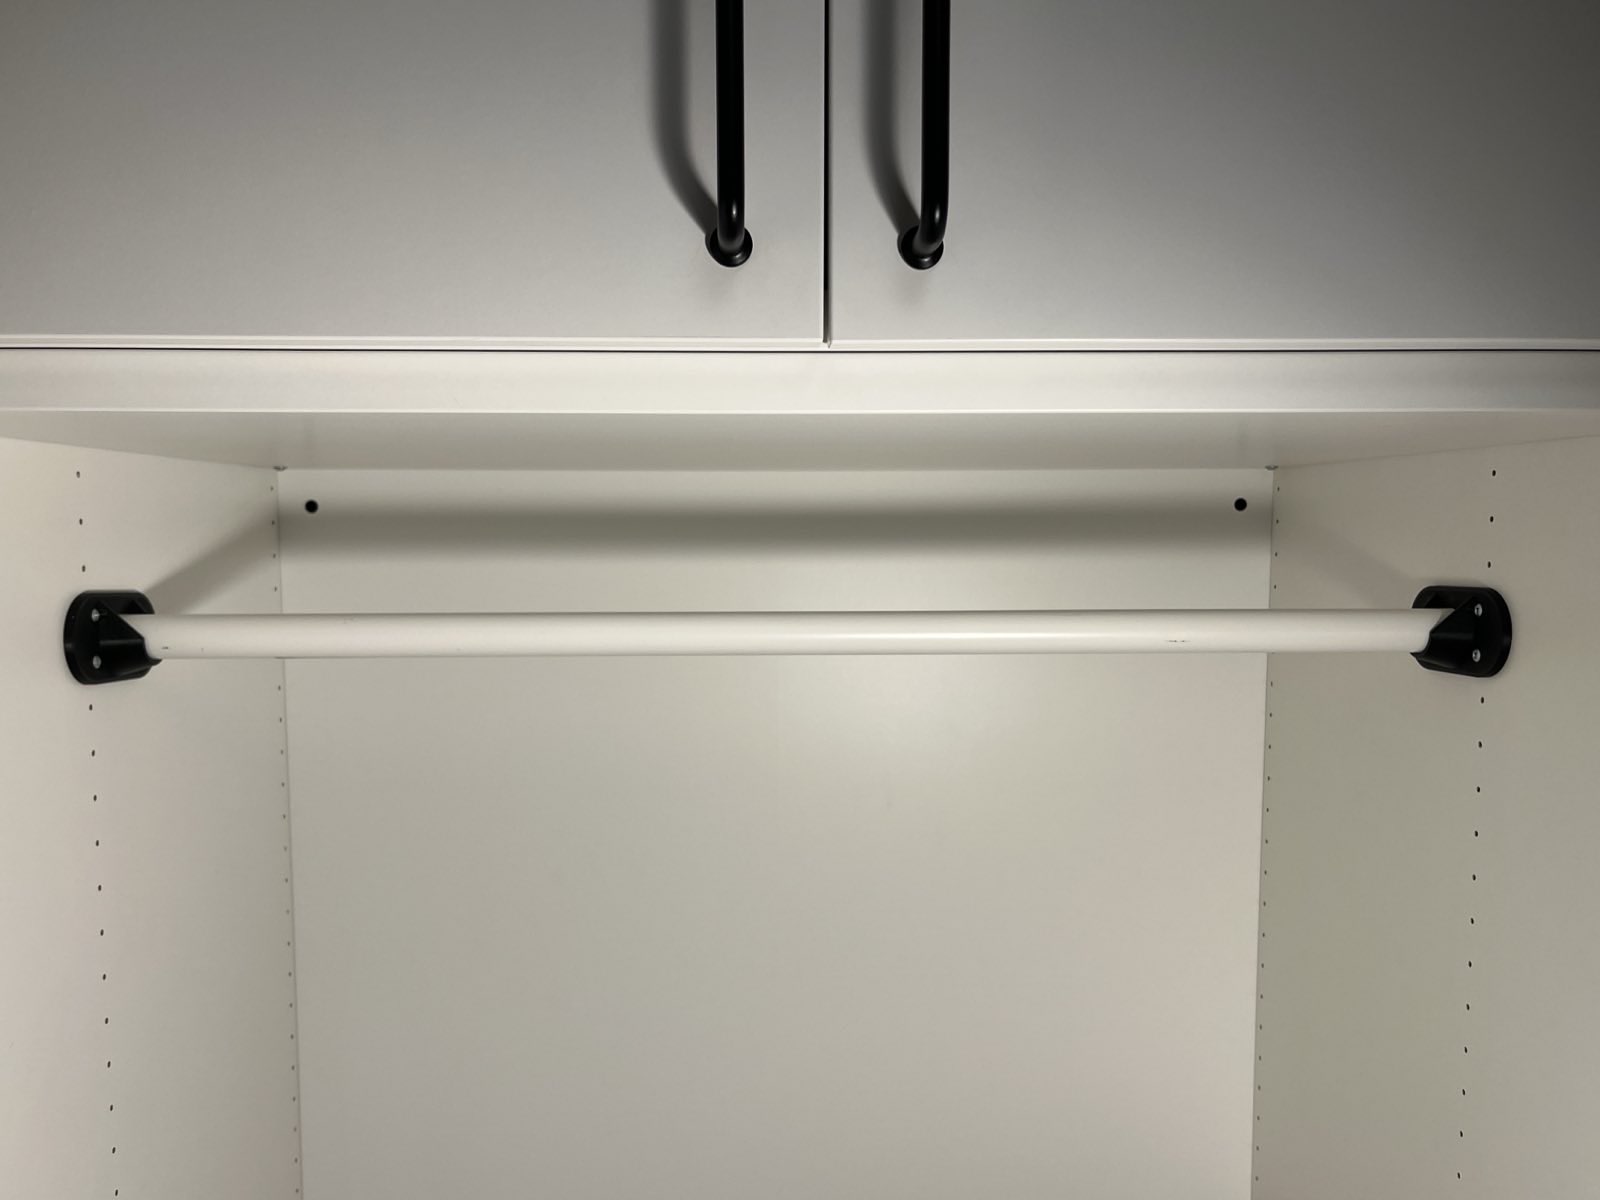
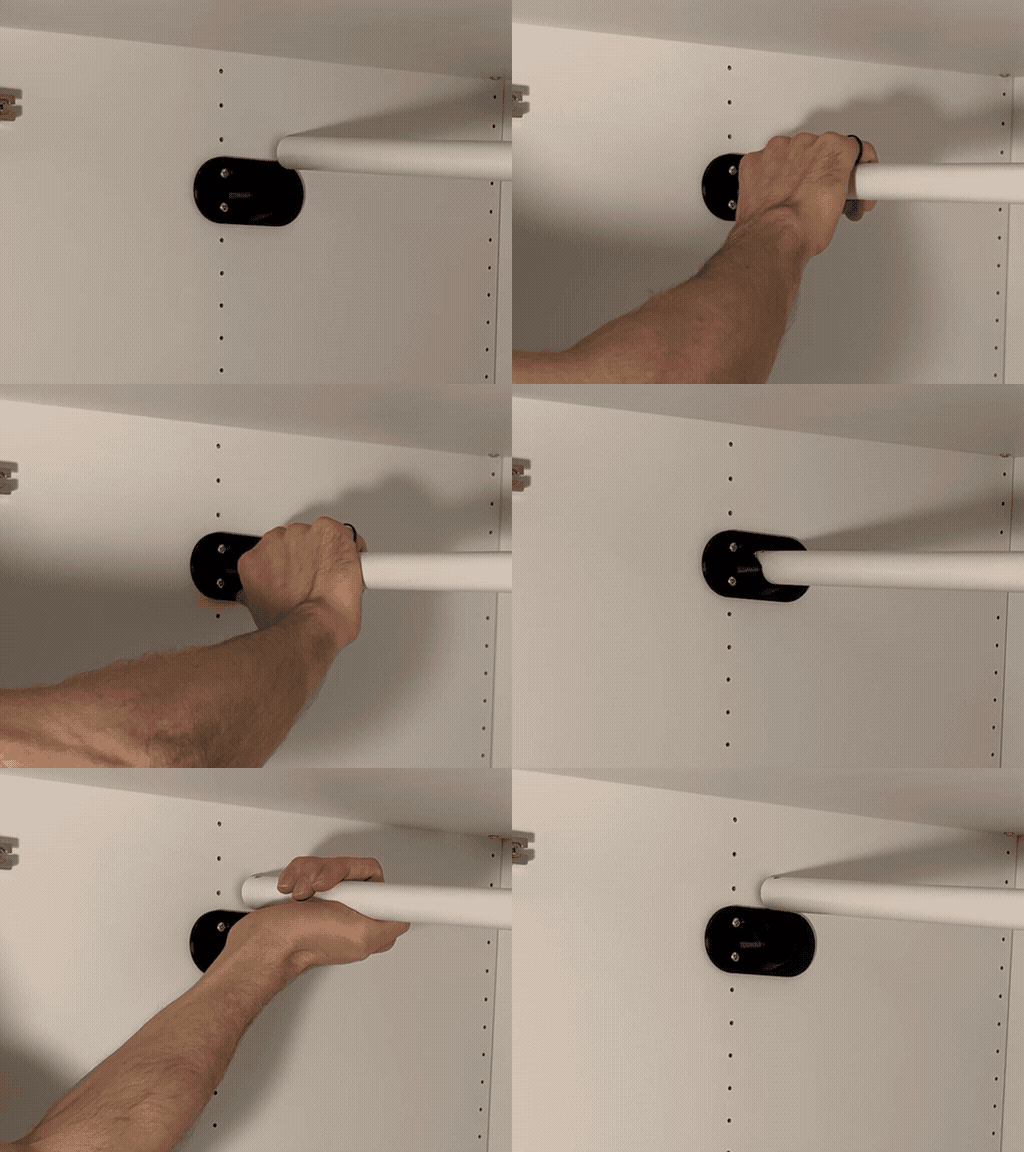
After the original bracket in my Ikea wardrobe broke I made a stronger replacement. It's also more convenient to use, because the rail can be easily removed.
The vertical distance between holes is 25mm - a standard distance for the Ikea system. There is also a hole for an additional screw to avoid the torque.
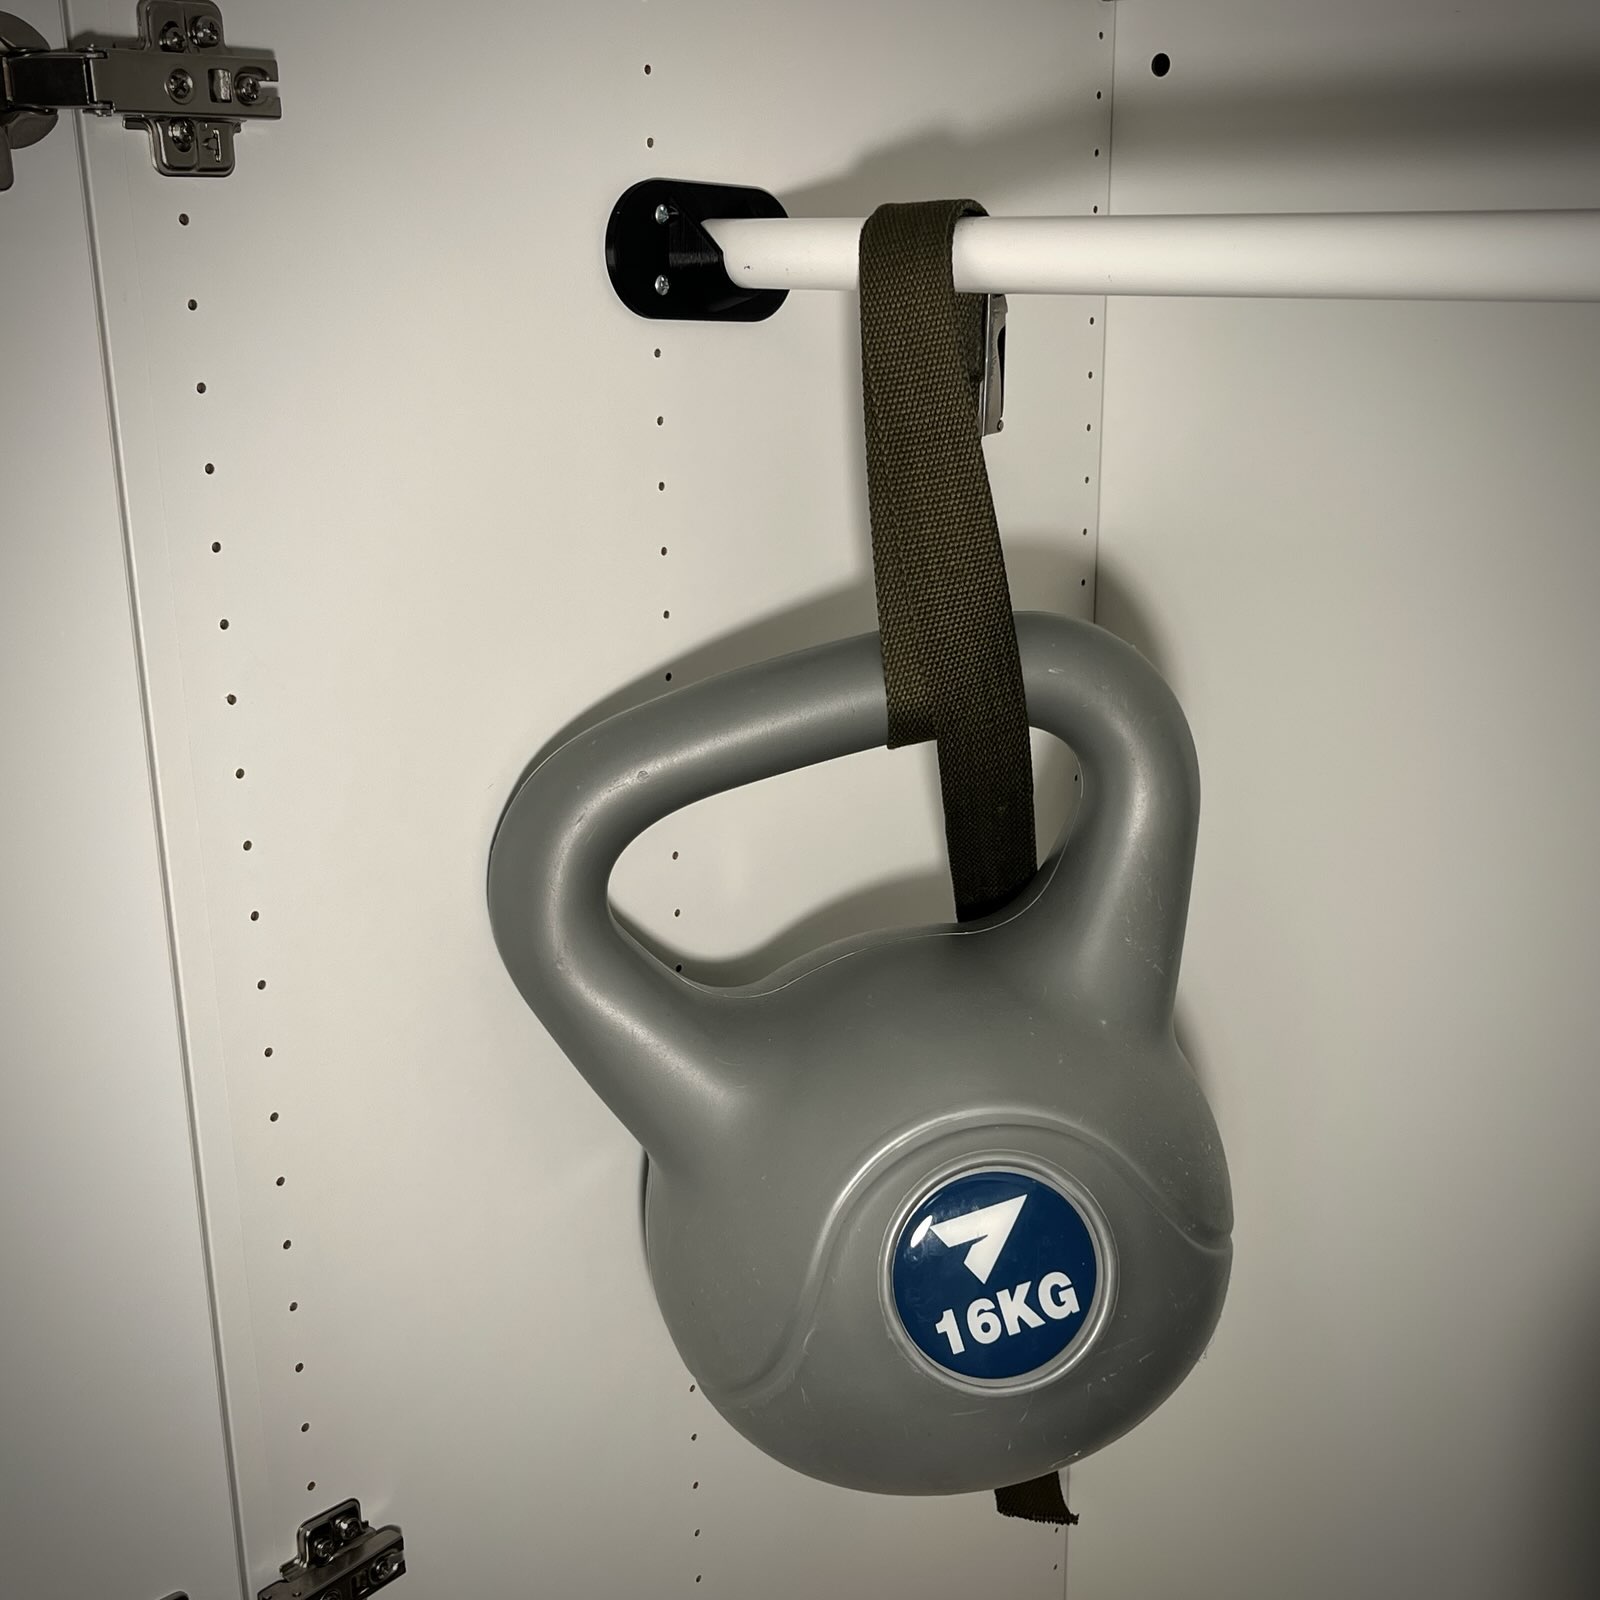
I printed the brackets from PLA with 5 perimeters and they're stronger than enough. Printing was super easy with no supports and no post-processing required.
recommended print parameters:
• PLA • 0.2mm layer • 5 perimeters • 6 top, 5 bottom layers • infill 30% • mirror the second instance in the slicer
how to mount:
In an Ikea wardrobe: mount them as the original brackets and then snap the rail in from the above. You can also consider digging an additional hole in the wardrobe, to use the horizontal set of screw holes to make the setup stronger.
In other wardrobes:
• prepare two Φ4mm woodscrews • drill two holes (Φ1-3mm) in the wardrobe with a horizontal spacing of 50mm • screw the bracket to the wardrobe using the horizontal set of holes • repeat for the second bracket (on the same height) • snap in the rail* in from the above
*the rail should be a Φ25mm cylinder/pipe of length slightly less than the distance between the wardrobe walls minus 10mm; you can also use a rail with smaller diameter but it won't snap in and will be a bit loose; you can also use a shorter rail by as much as 15mm but again it will be loose and there will be more torque on the bracket
how to remove the rail:
To remove the rail you can hit it gently from down below as shown on the .gif animation. Do it next to the bracket, once for each bracket. Mind the end of the rail.
how to use the parametric file:
• download the .FCStd file • to open it you need to have FreeCAD installed; it's free, open-source and you can easily install it from here: https://www.freecad.org/downloads.php • if you are new to FreeCAD just follow my detailed instruction from the attached .pdf file • the process will generate an .stl file and here we are
Feel free to share your comments or contact me in case of any questions!
Design and description by maciejk , licensed CC-BY-SA.
Frequently asked
How long does shipping take?
A fully parametric strong wardrobe rail bracket for a cylindrical rail (fits Ikea Hjalpa) is printed to order. Lead time is typically 1-3 business days plus 1-4 days NZ shipping. Standard NZ shipping is $10, free over $75.
What material is this printed in?
By default this is printed in High-Detail Resin (8K) at 0.025 mm layer height on an MSLA resin printer. Custom material and colour swaps are available, just leave a note at checkout.
Can I get this in a different colour?
Yes. Every product can be printed in any of the resin colours we stock, or hand-painted on request. Leave a note at checkout or email [email protected].
Do you ship outside of New Zealand?
Currently New Zealand only. Australian shipping is coming.
Who designed this?
Designed by an independent sculptor and licensed for commercial printing. The original is linked on this page.