Fidget Toys
Botanical Portal Desk Toy
SKU 3DPW-pr-414209
$45.00NZD
In stock · Made-to-order resin · Ships from Auckland · Free shipping over $75
- Material
- High-Detail Resin (8K)
- Colour
- Grey
- Weight
- ~88 g
- Print time
- ~4.8 h
- Shipping
- $10 std · $20 express
- Lead time
- 1-3 d print + 1-4 d ship
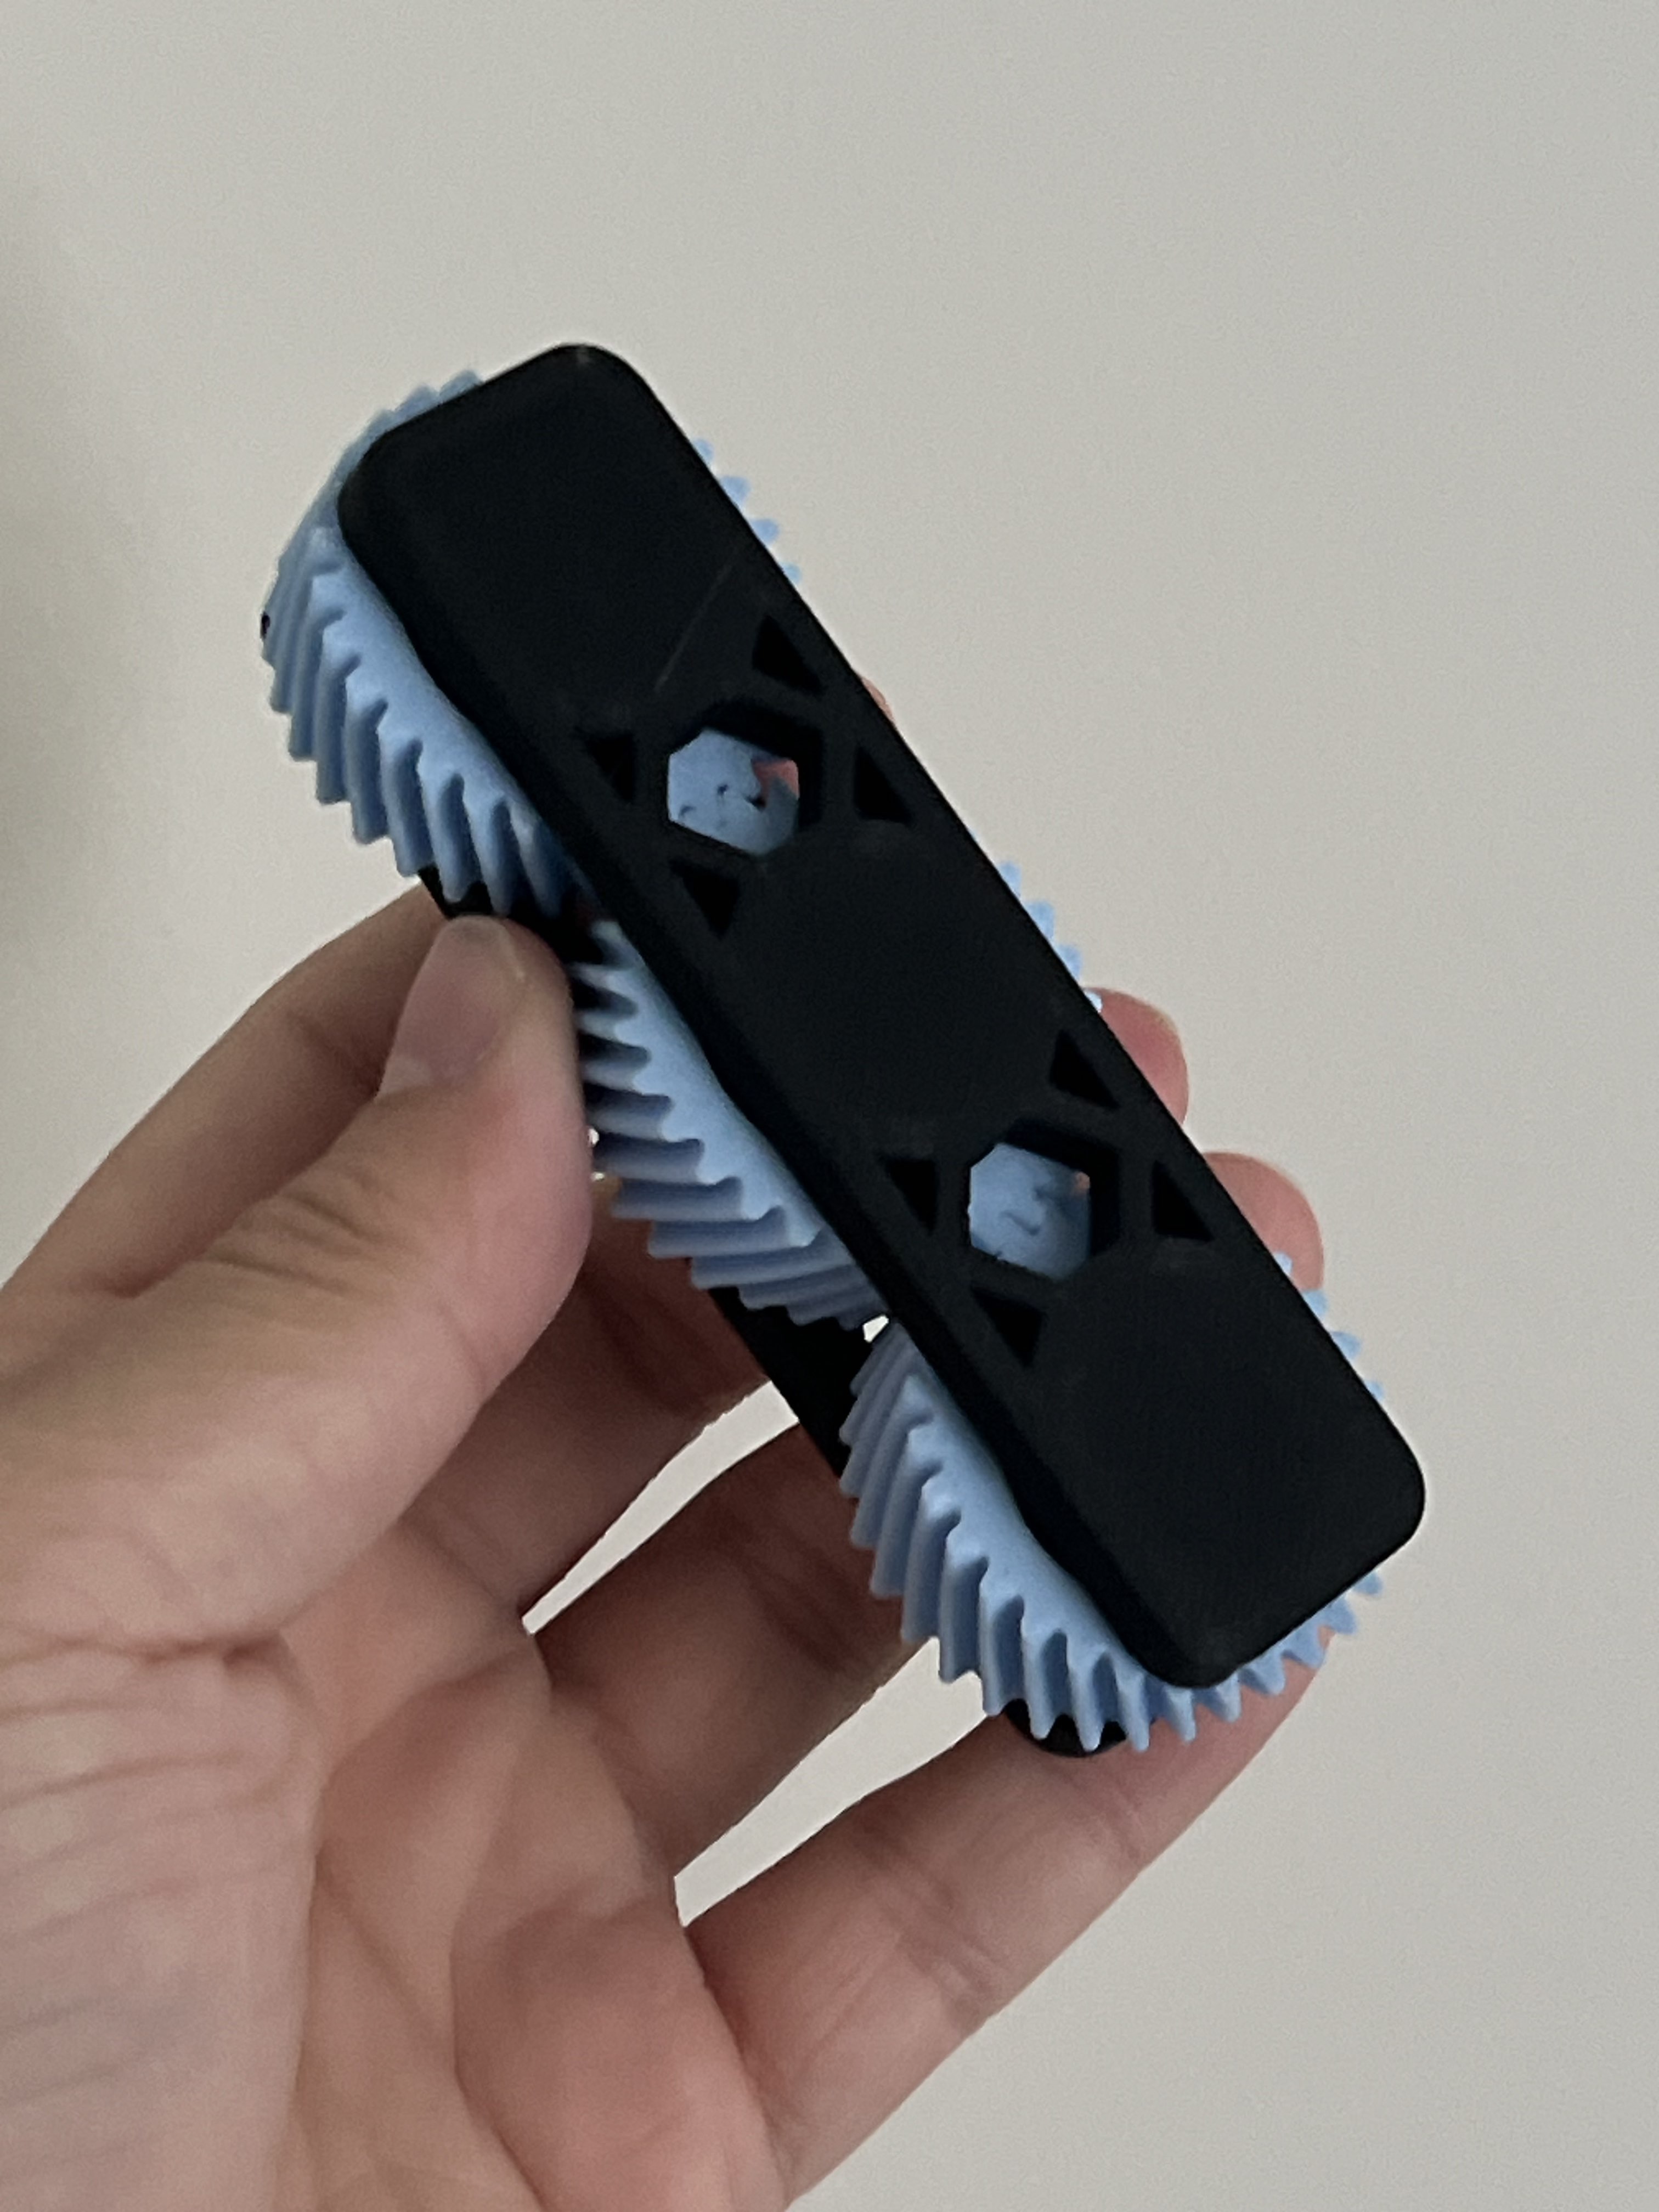
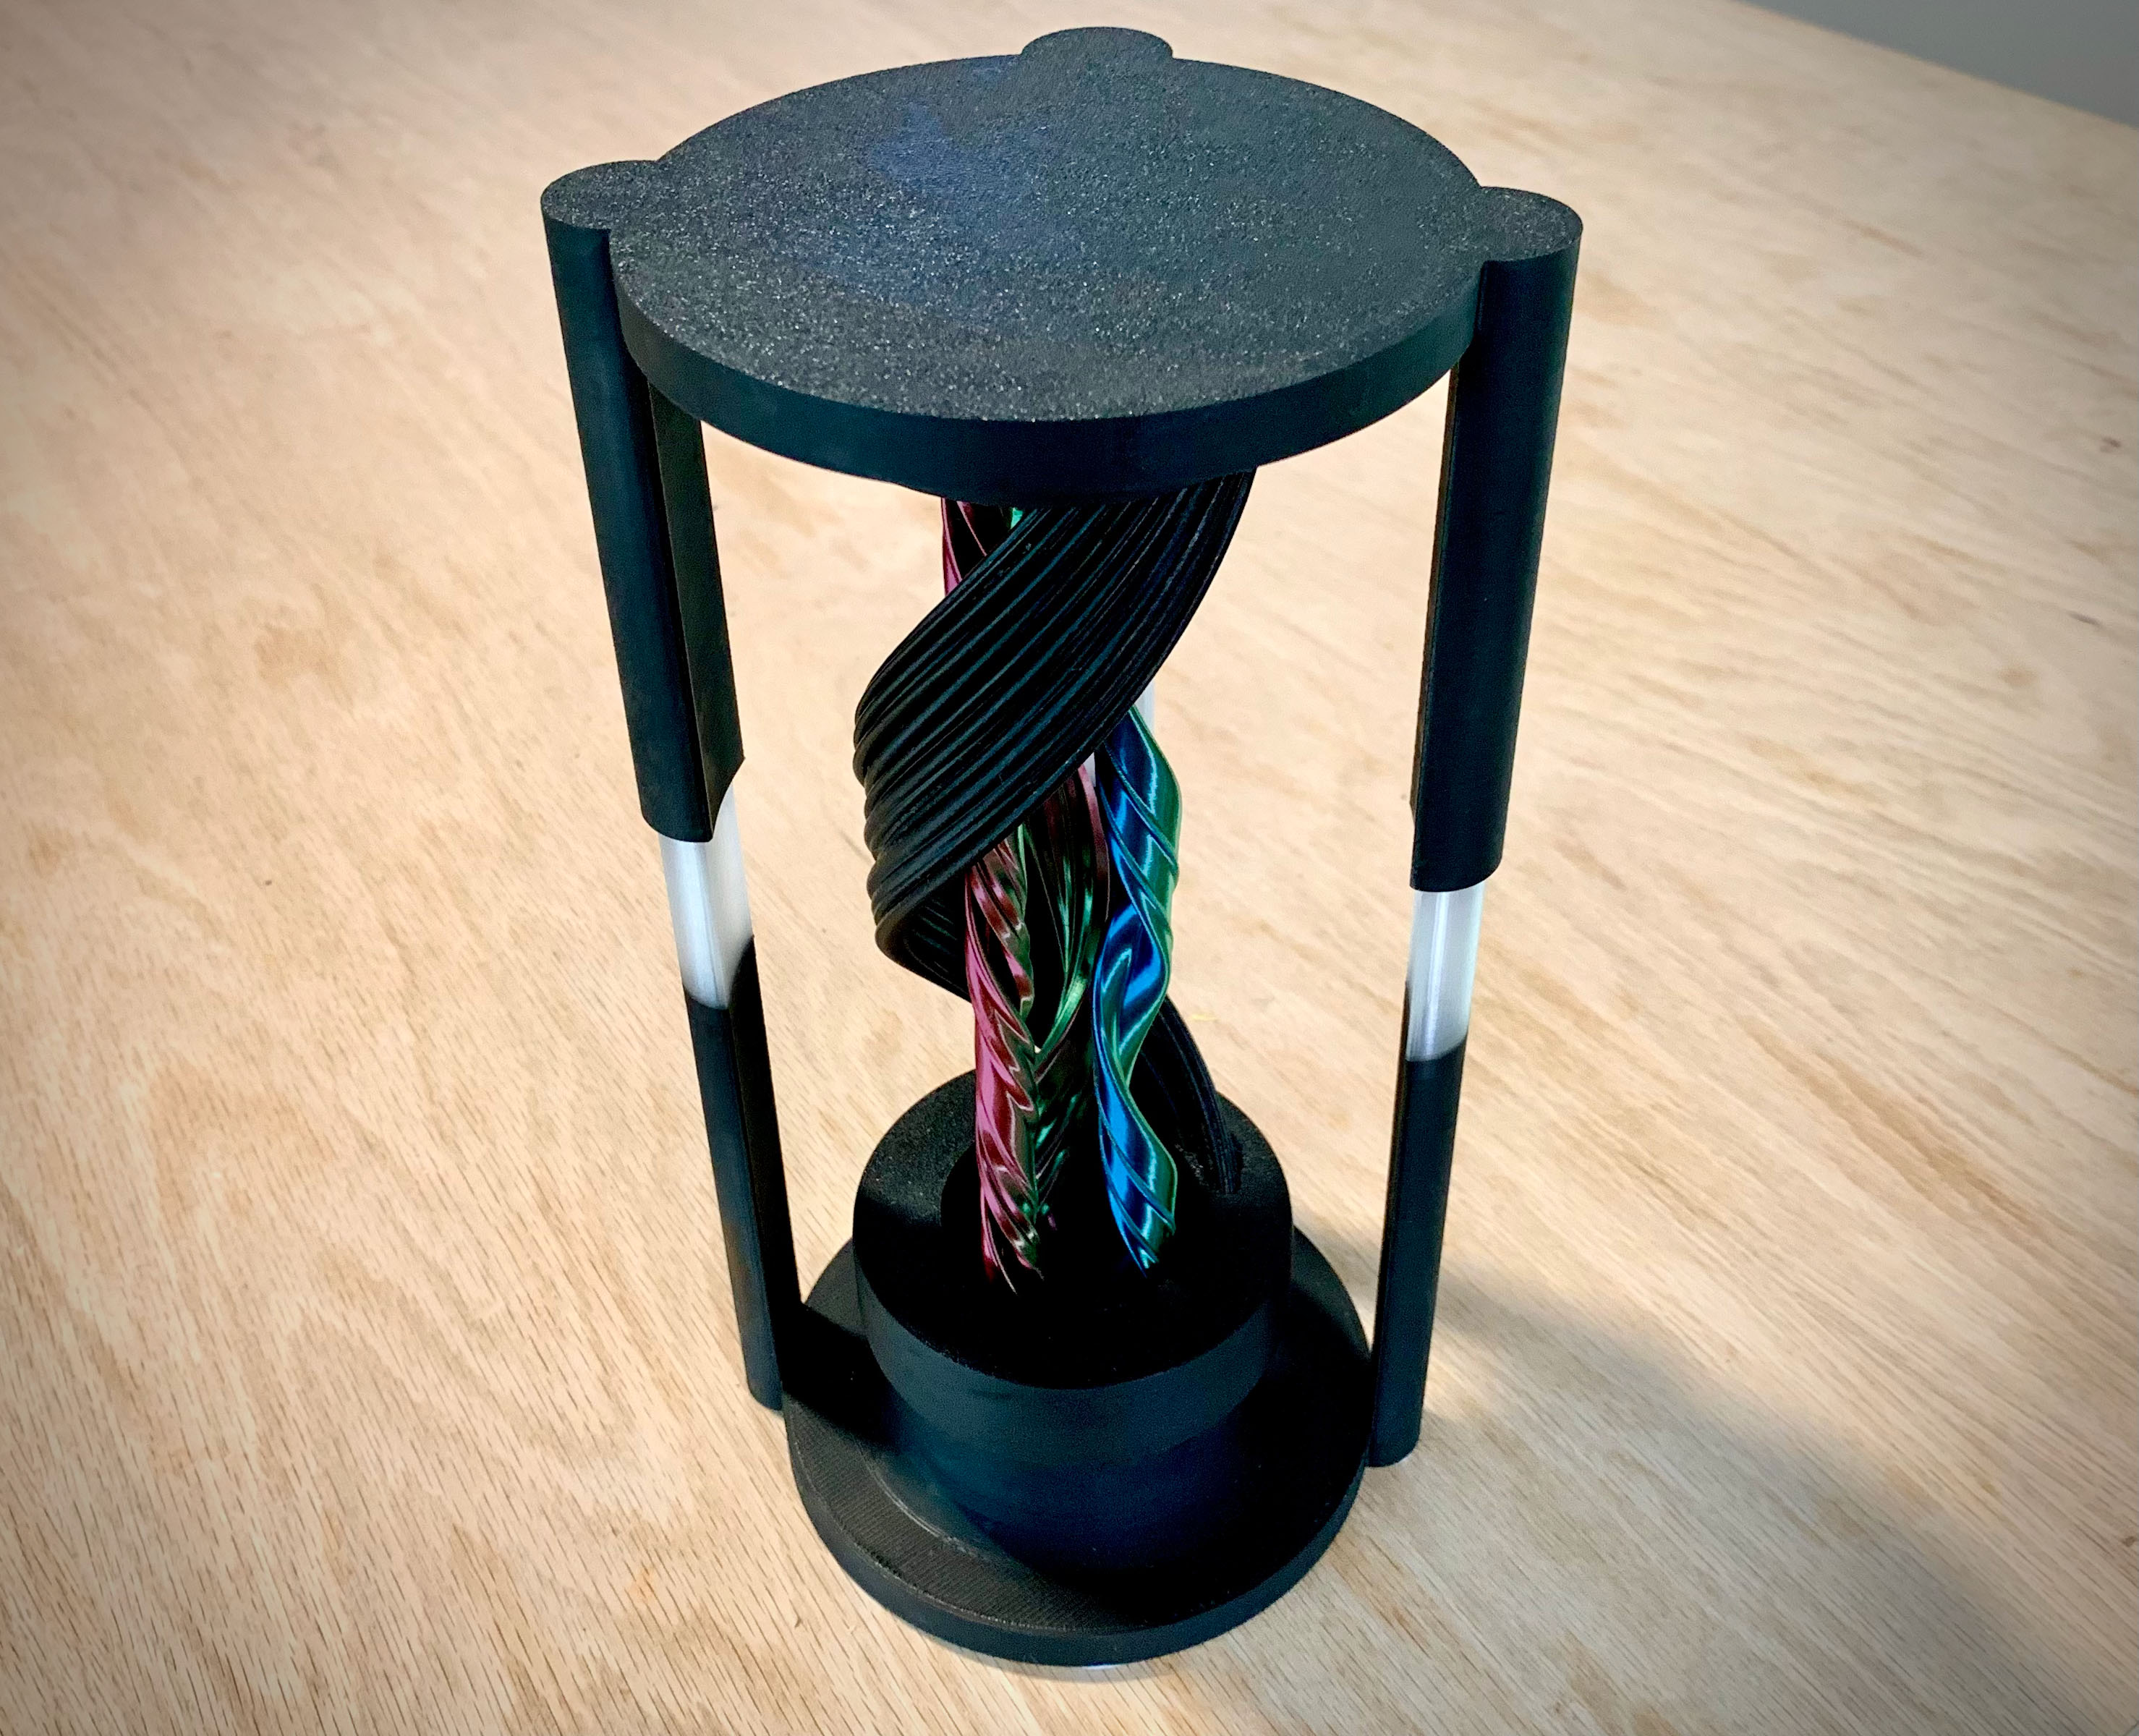
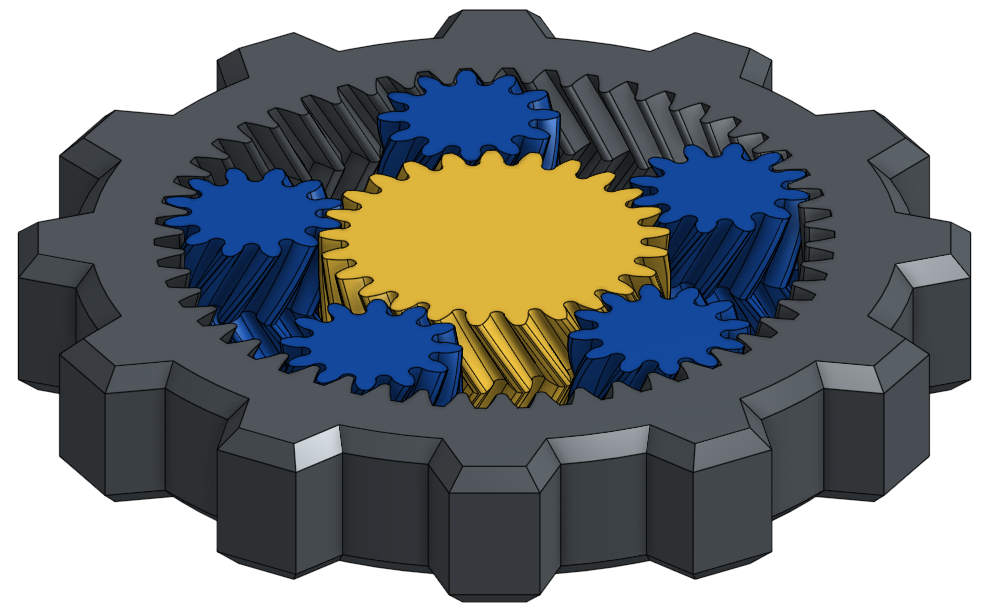
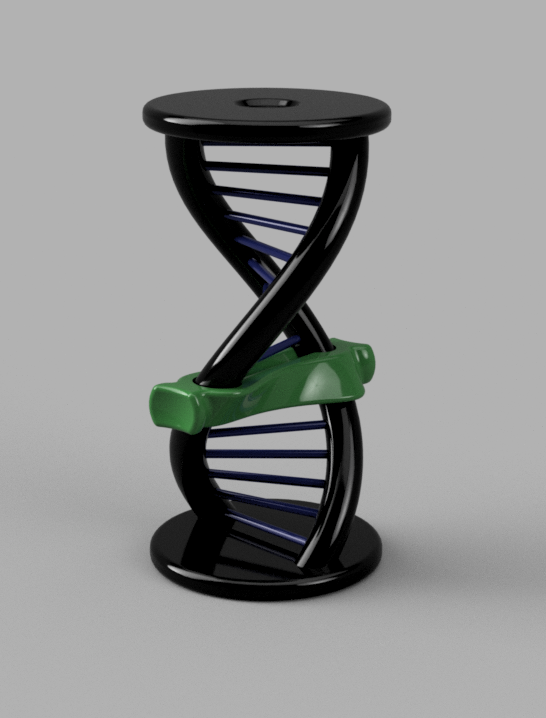
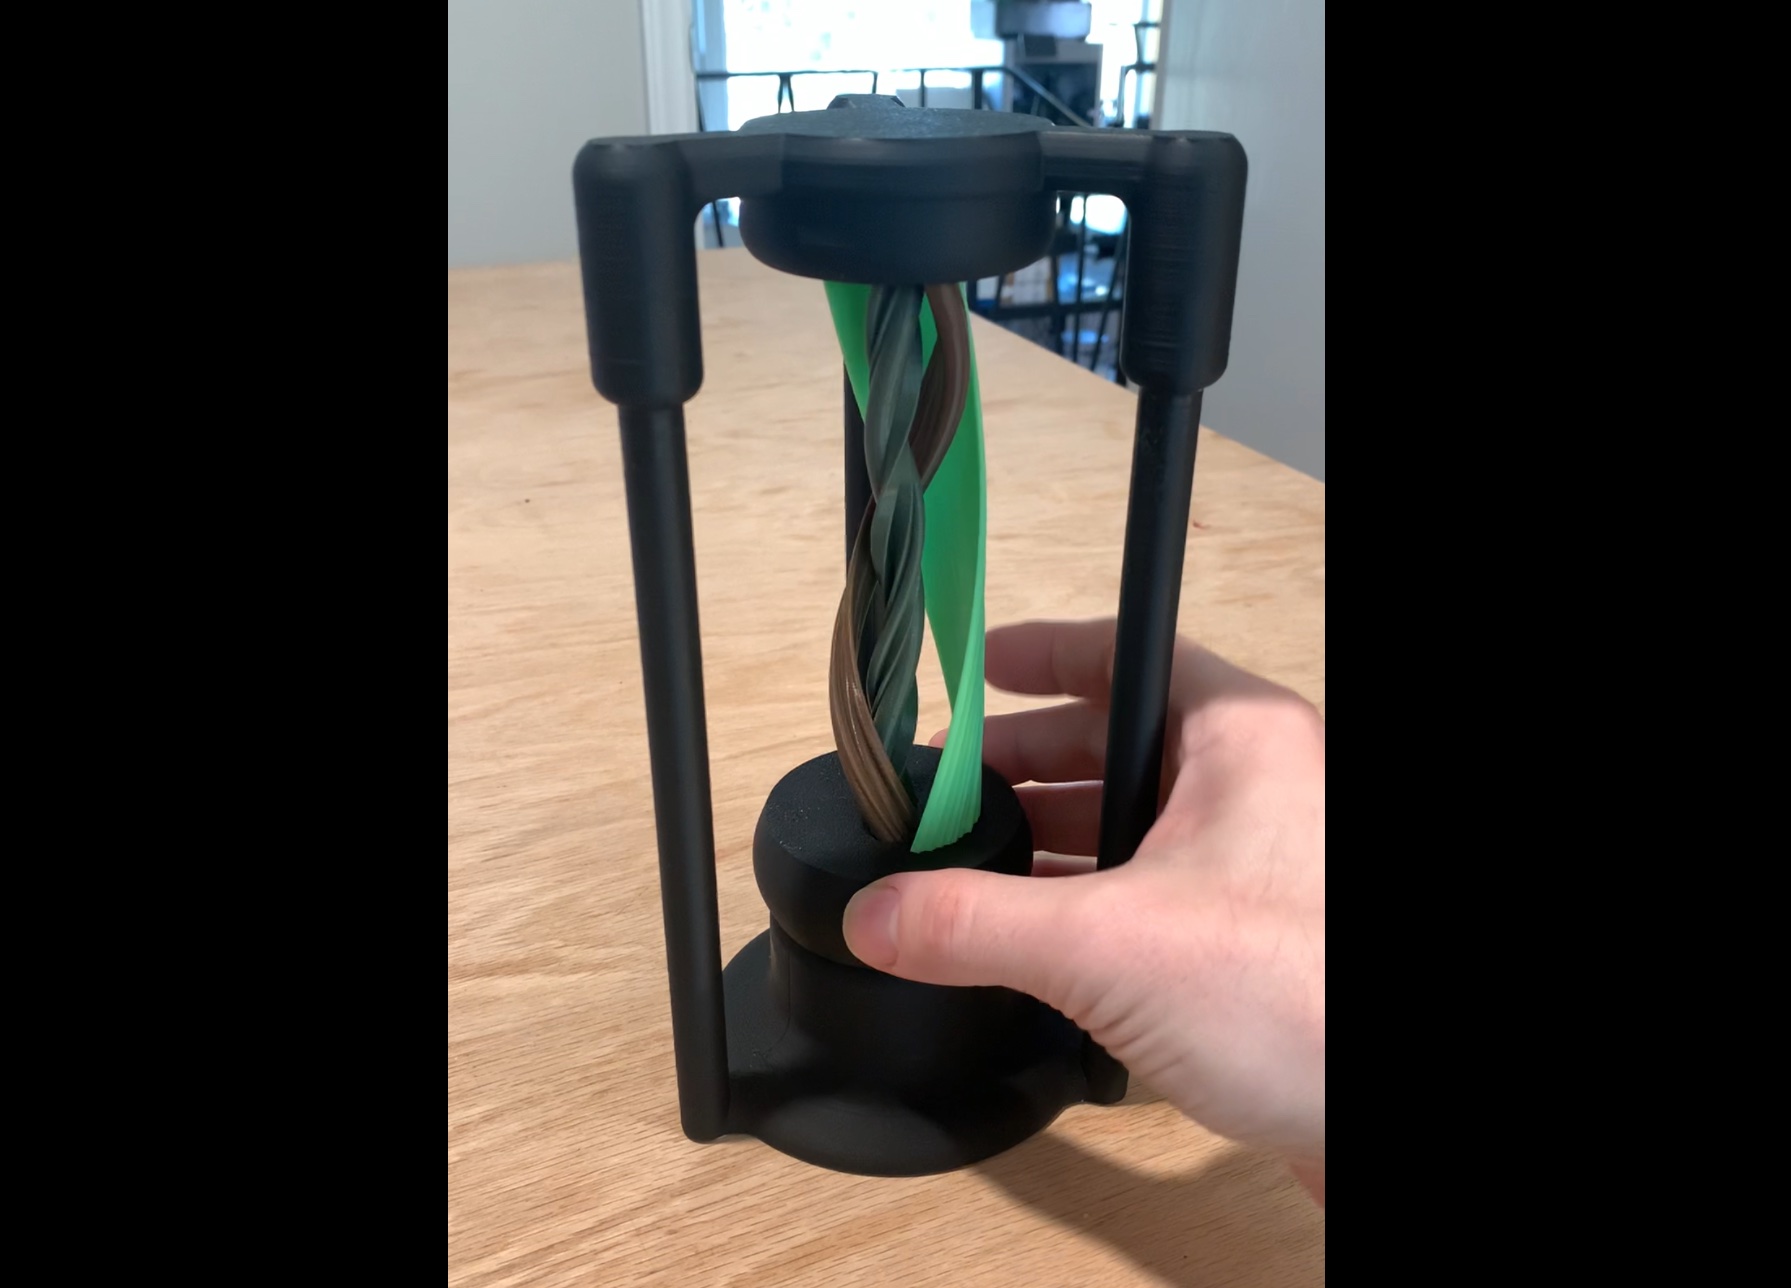
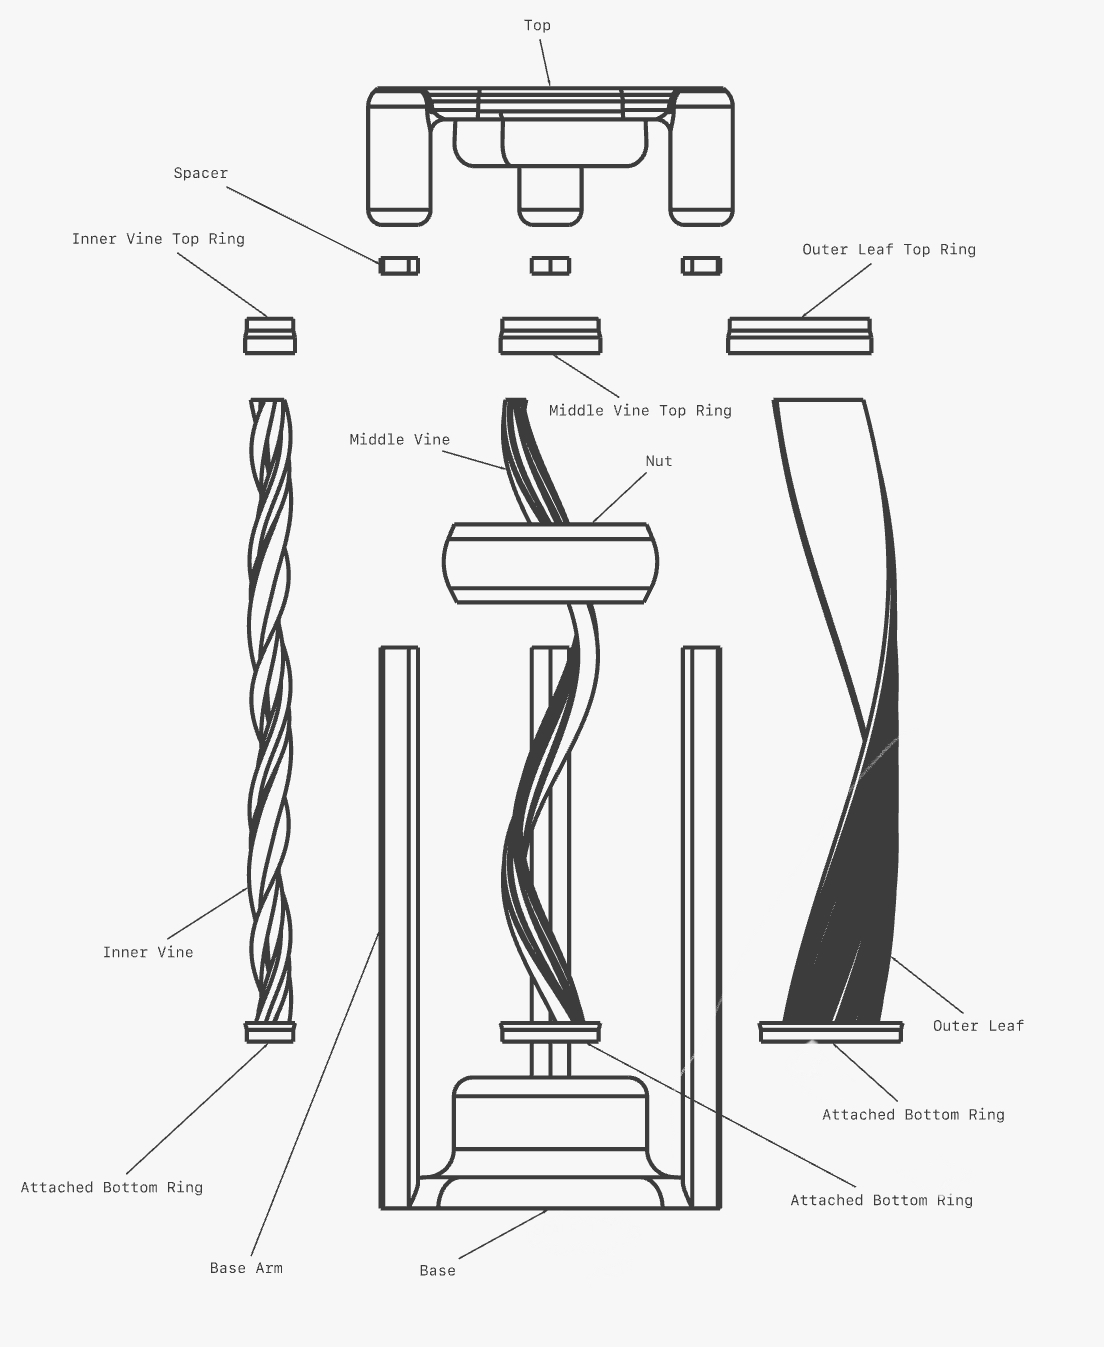
DemoThis is the third, maybe final (but who am I kidding) version of my magic portal desk toy. A bound cord of leaves and vines spans two portals, and can be slid up and down between them, apparently vanishing into the aether. Previously: Dual Portal Desk Toy – A simpler version. This model has a detailed description of the illusionMagic Portal Desk Toy - The original and simplest version.Differences from previous versions: Stronger illusion thanks to three separate elementsCompatible with more printers, requiring only 210 mm of build heightCan be scaled (with adjustment to XY compensation), since all components are printedEasier to calibrate for smooth operationMore complicated to assembleNote to 3D printing beginners: This is an ambitious project, both in terms of assembly and printing. Particularly on a budget printer, you may have to spend a lot of time fudging tolerances to make it work, and the screw elements may require you to add scaffolding to print successfully, as they are very tall and thin. PrintingThere are three sets of files for printing: botanical-portal.step-*: These files correlate with the instructions below, which include advice on calibration. The parts are oriented for printing. I recommend printing these while you follow the instructions, and making sure that everything is working well at each step. This will help to minimize the work in reprinting. botanical-portal.bycolor.*: These files are great if you have a really dialed in printer and want to do everything in as few prints as possible. Everything is oriented for printing and separated by color. botanical-portal.assembled.3mf: a single file containing all parts in their final assembled position. This is most useful as a reference during assembly. Each file set contains a “License” object. You can delete that. It's mostly a reminder to folks selling prints online about their obligation to give attribution. The botanical-portal.for-remixing.step file is a much more CAD friendly version for customizing the model. Print SettingsI printed at 0.12 mm layer height. This level of detail (or better) is necessary on the screws (which need to be close to helical symmetry), and is highly recommended on the nut to reduce friction. The other parts should be fine to print at whatever layer height you want. Other parameters aren't particularly sensitive. I do recommend making the arms on the base nice and strong. I personally generally prefer to put my material in walls rather than infill, so I did 2.1mm walls, and 15% lightning infill. ScalingIf you have more vertical print volume, I expect that scaling vertically will work fine. A 124% scale factor will put the tallest component at 256 mm. Scaling up uniformly should also work, but it might be a little jiggly, since the bearing clearances will scale up too. Scaling down uniformly will probably require XY compensation (or STEP file) adjustments, since the clearances will get tighter. Other requirementsCA glue or similarCA glue accelerator (optional, but recommended)General purpose machine lubricant/grease. Even something like petroleum jelly should work here. (optional)AssemblyEach step assumes that you have printed the parts in “botanical-portal.step-#” where # is the step you're on. See the attached exploded drawing for part names. Step 1You can delete the license card. We start with the top and the middle vine top ring. We're first going to take a moment to make sure that the bearings fit together properly. You'll see some concentric ridges in cavity on the top, one of which should fit the ring. Place it and make sure that it sits well. The top should float a millimeter or so over the ridges, and should turn easily. If you're using a lubricant, apply it to the inside and outside of the ring and make sure it turns smoothly. If the ring doesn't spin easily, you're probably over-extruding. That's OK, you can fix this with a small amount of negative XY compensation. I would start with -0.1 mm. However, the ring should not bottom out. It needs to float on the ridge to turn easily. If you needed to add compensation, use that same compensation for the rest of your parts. Step 2You should now have the base, and the other two top rings. Lubricate the rings (optional) and check that they all turn easily in both the base and top. Step 3-5These are the screws, each of which has an attached bottom ring. I recommend printing these separately and in different colors, but that’s up to you. The illusion will also be improved by using a filament swap to print the rings in black. You can go ahead and optionally lubricate the bottom rings, inside and out. Step 6Now print the nut and try threading both vines and the outer leaf through their respective holes. You're looking for minimal resistance, to the extent that the screw components should easily fall through it. If it's sticky, reprint the nut with negative XY tolerance. Note: If you're using BambuStudio, you can use POSITIVE "X-Y hole compensation" instead, and not impact the outer dimensions of the nut. Step 7Finally, the spacers. These are included as a separate file, because you may need to shorten or lengthen them to dial things in. Place the top on its flat side, and insert the spacers into the arm sockets. Thread the vines and outer leaf through the nut again. Attach the top rings to each of the screws and insert them into the bearing ridges on the top piece (remember, it should be sitting face down for now). The attached rings on the other side should now line up relatively flat. Spacer calibrationWith the top still lying flat, line up the base so that you can push its arms down into the sockets (they should fit in fairly loosely), and adjust as needed to seat the attached rings into the ridges on the base. Push it down as far as it will go. If the arms won’t reach all the way to the spacers, and the attached rings are seated, print slightly taller spacers and repeat. If the arms reach the spacers, but the rings aren’t seated properly on both sides, print slightly shorter spacers and repeat. While holding the base down firmly, slide the nut up and down. It should slide with very little resistance (although it will make a sound). If it is difficult to turn, print taller spacers. GluingRemove the spacers and, optionally, spray them with accelerator. Place a dab of CA glue into each socket, then press the spacers into them (it may help to use a screwdriver to press them in). Place a dab of glue on each arm of the base, then repeat the process of aligning everything like before. While holding the base in place, check again that you can easily slide the nut up and down. Set something heavy like a book on top of the base to let the glue set well. Finally, flip the whole thing over, and you’re done! Other Stuff To TryI think this would be a lot quieter with a TPU nut. My TPU is currently pretty wet, and the one I printed was too tight. If you want to give it a try, I'd bump up the XY compensation.I would love to see how this looks and sounds with solvent smoothing, but I don't have the setup for that right now.Other Stuff I've Already TriedLoosening the nut makes the toy slightly quieter, but it also makes a little more jigglyGreasing the screws sounds like a good idea, but it just makes a mess
Tags: toy, fidget, fidgettoy, magic, desktoy, resin print, nz made, made to order
Design credit: Original design by Ada Cohen - licensed under CC-BY-SA.
View original model + STL files on Printables ↗
View original model + STL files on Printables ↗
Frequently asked
How long does shipping take?
Botanical Portal Desk Toy is printed to order. Lead time is typically 1-3 business days plus 1-4 days NZ shipping. Standard NZ shipping is $10, free over $75.
What material is this printed in?
By default this is printed in High-Detail Resin (8K) at 0.025 mm layer height on an MSLA resin printer. Custom material and colour swaps are available, just leave a note at checkout.
Can I get this in a different colour?
Yes. Every product can be printed in any of the resin colours we stock, or hand-painted on request. Leave a note at checkout or email [email protected].
Do you ship outside of New Zealand?
Currently New Zealand only. Australian shipping is coming.
Who designed this?
Designed by an independent sculptor and licensed for commercial printing. The original is linked on this page.