Fidget Toys
Quadruple Portal Desk Toy
SKU 3DPW-pr-427933
$47.00NZD
In stock · Made-to-order resin · Ships from Auckland · Free shipping over $75
- Material
- High-Detail Resin (8K)
- Colour
- Grey
- Weight
- ~92 g
- Print time
- ~5.1 h
- Shipping
- $10 std · $20 express
- Lead time
- 1-3 d print + 1-4 d ship
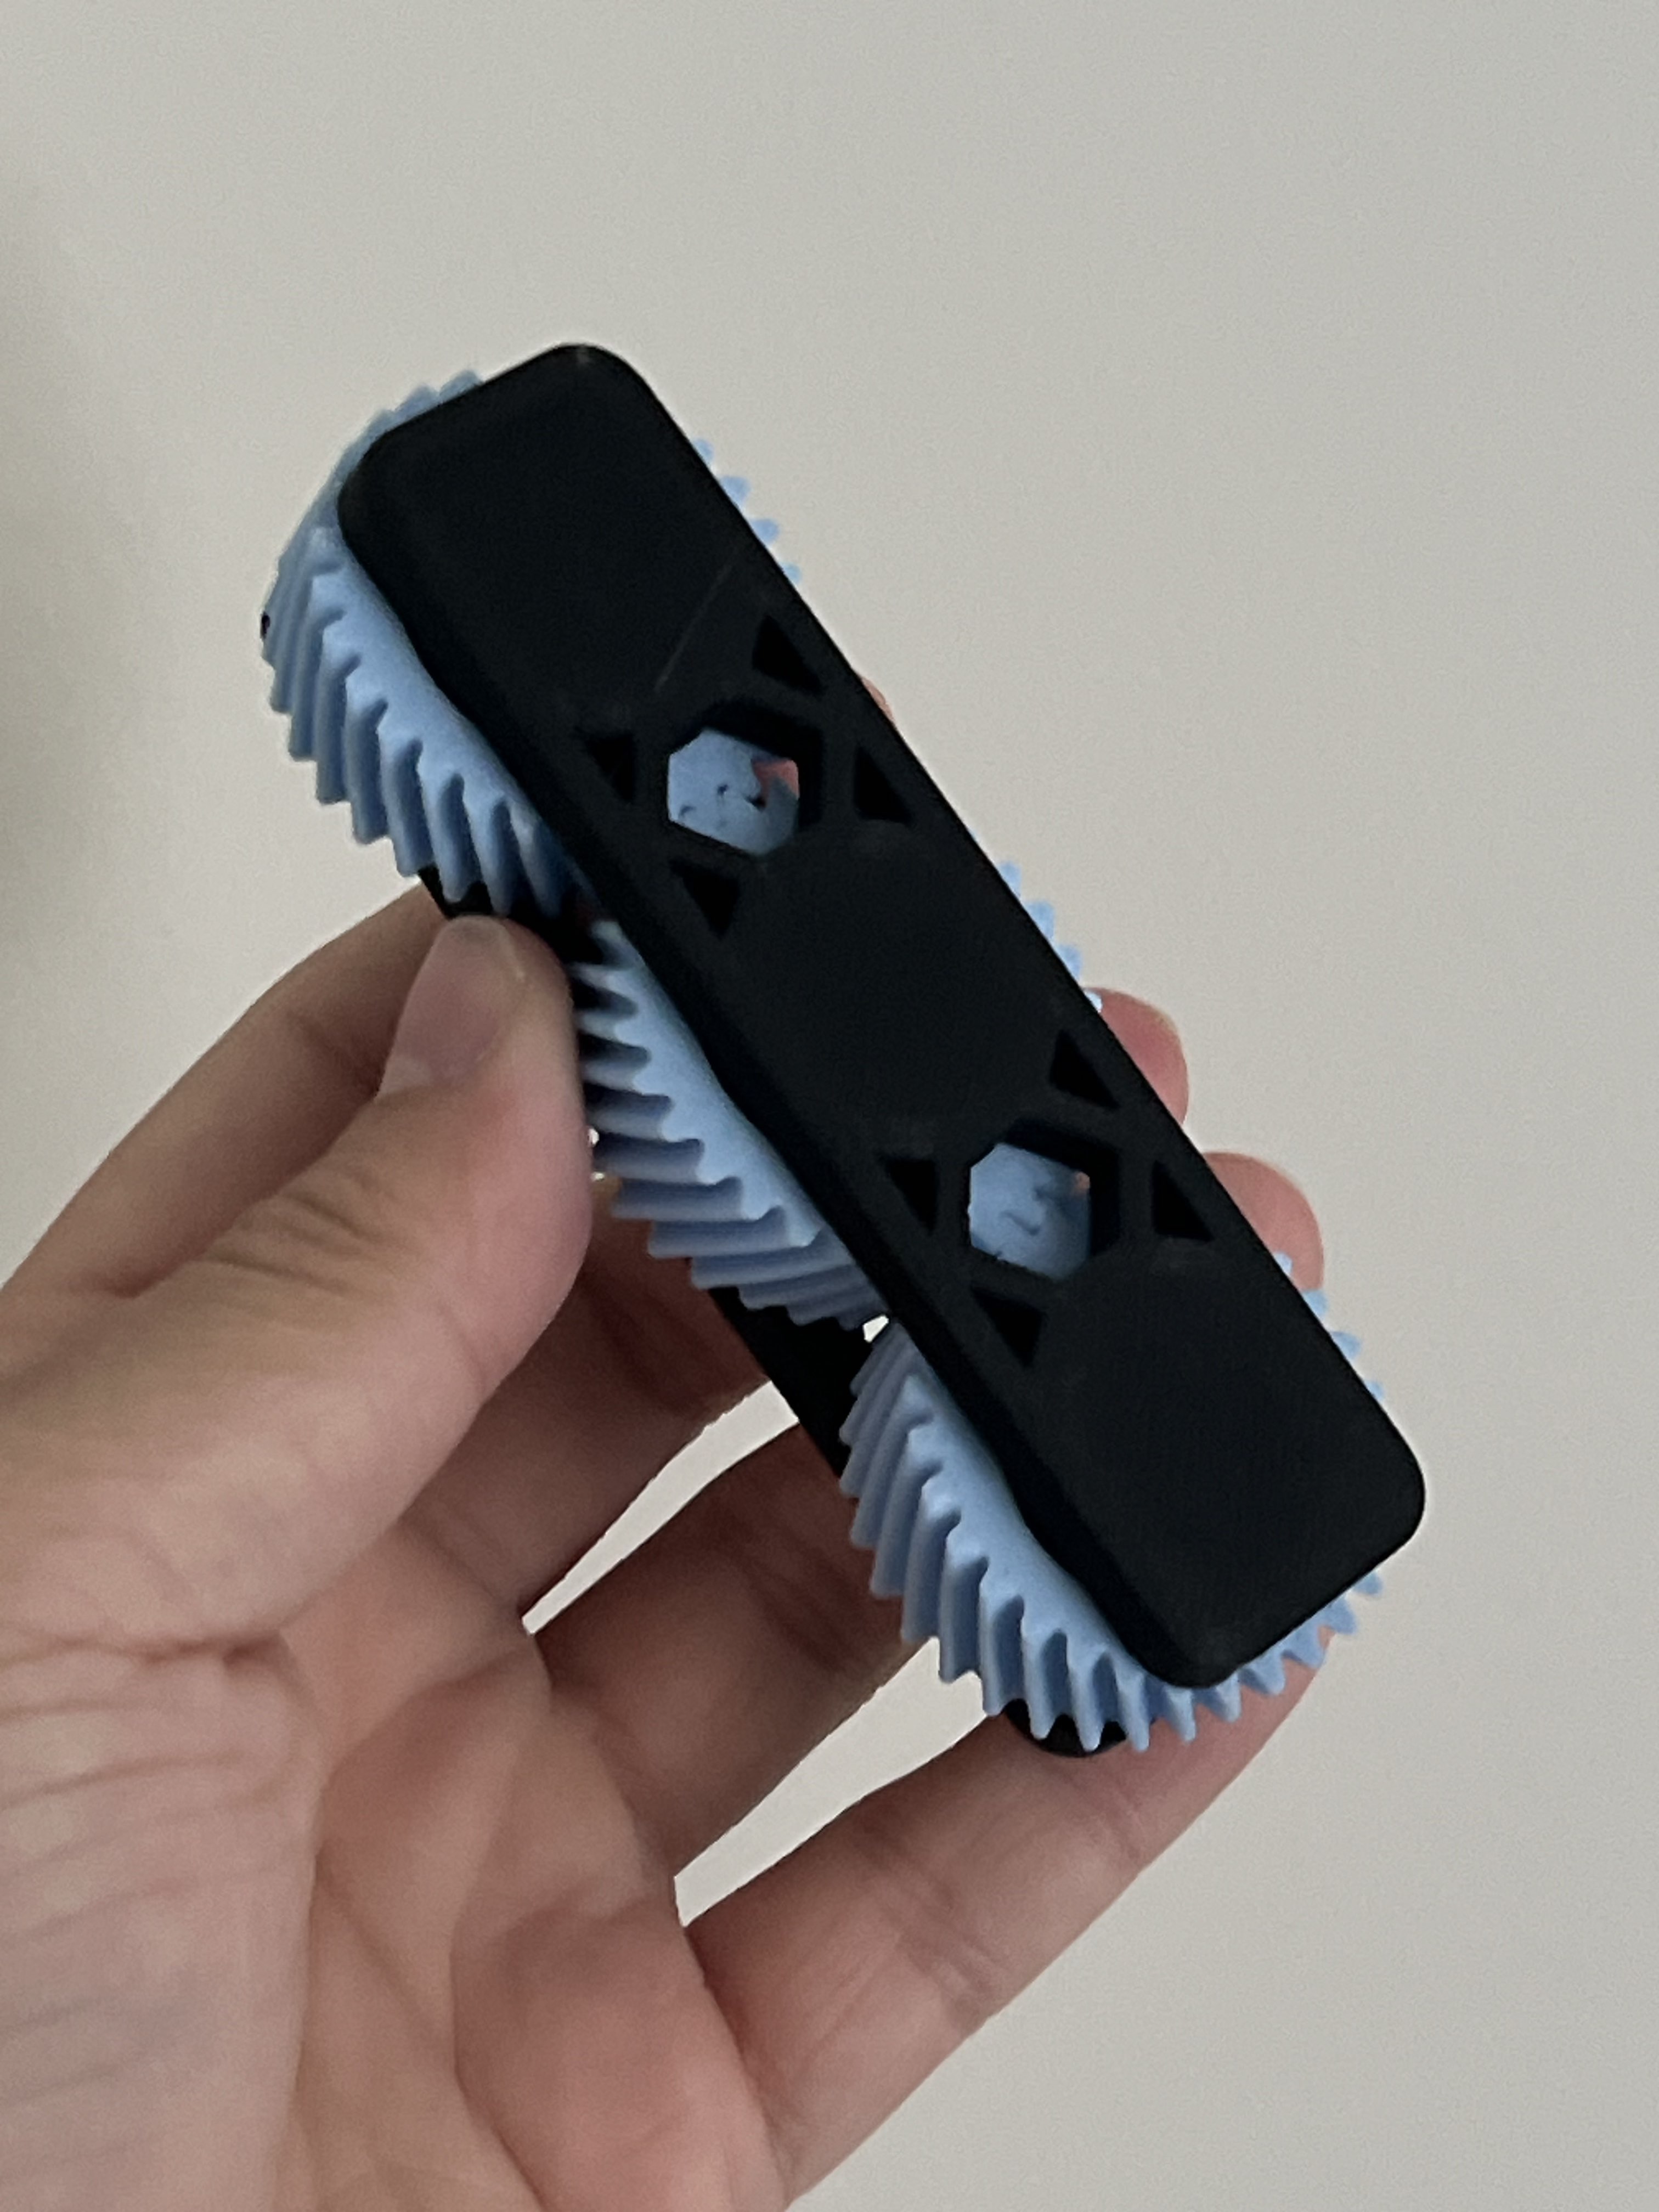
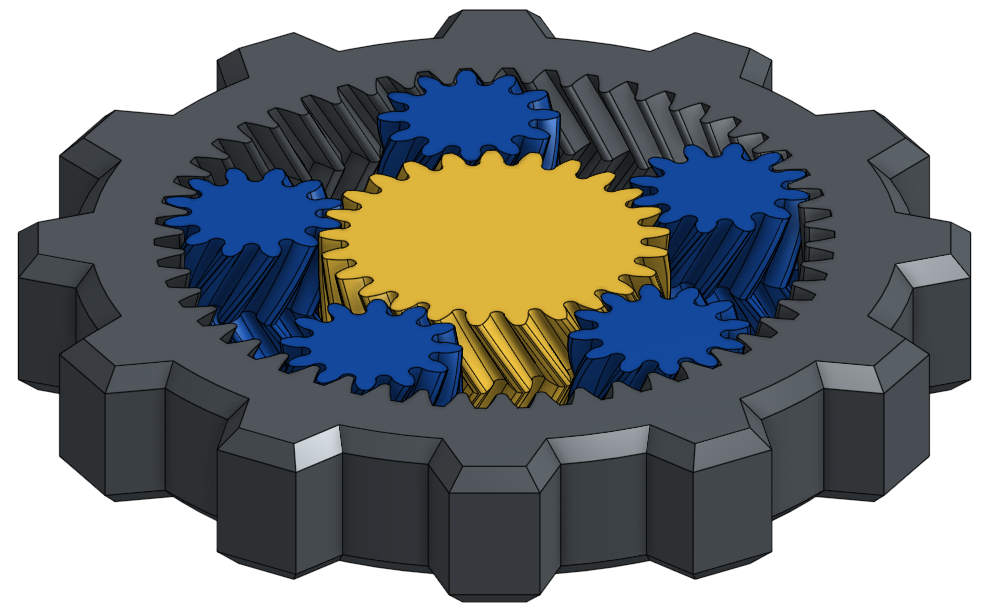
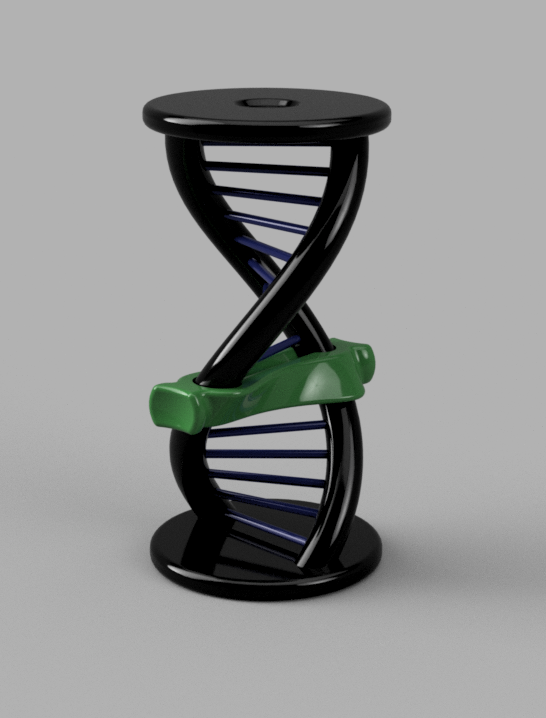
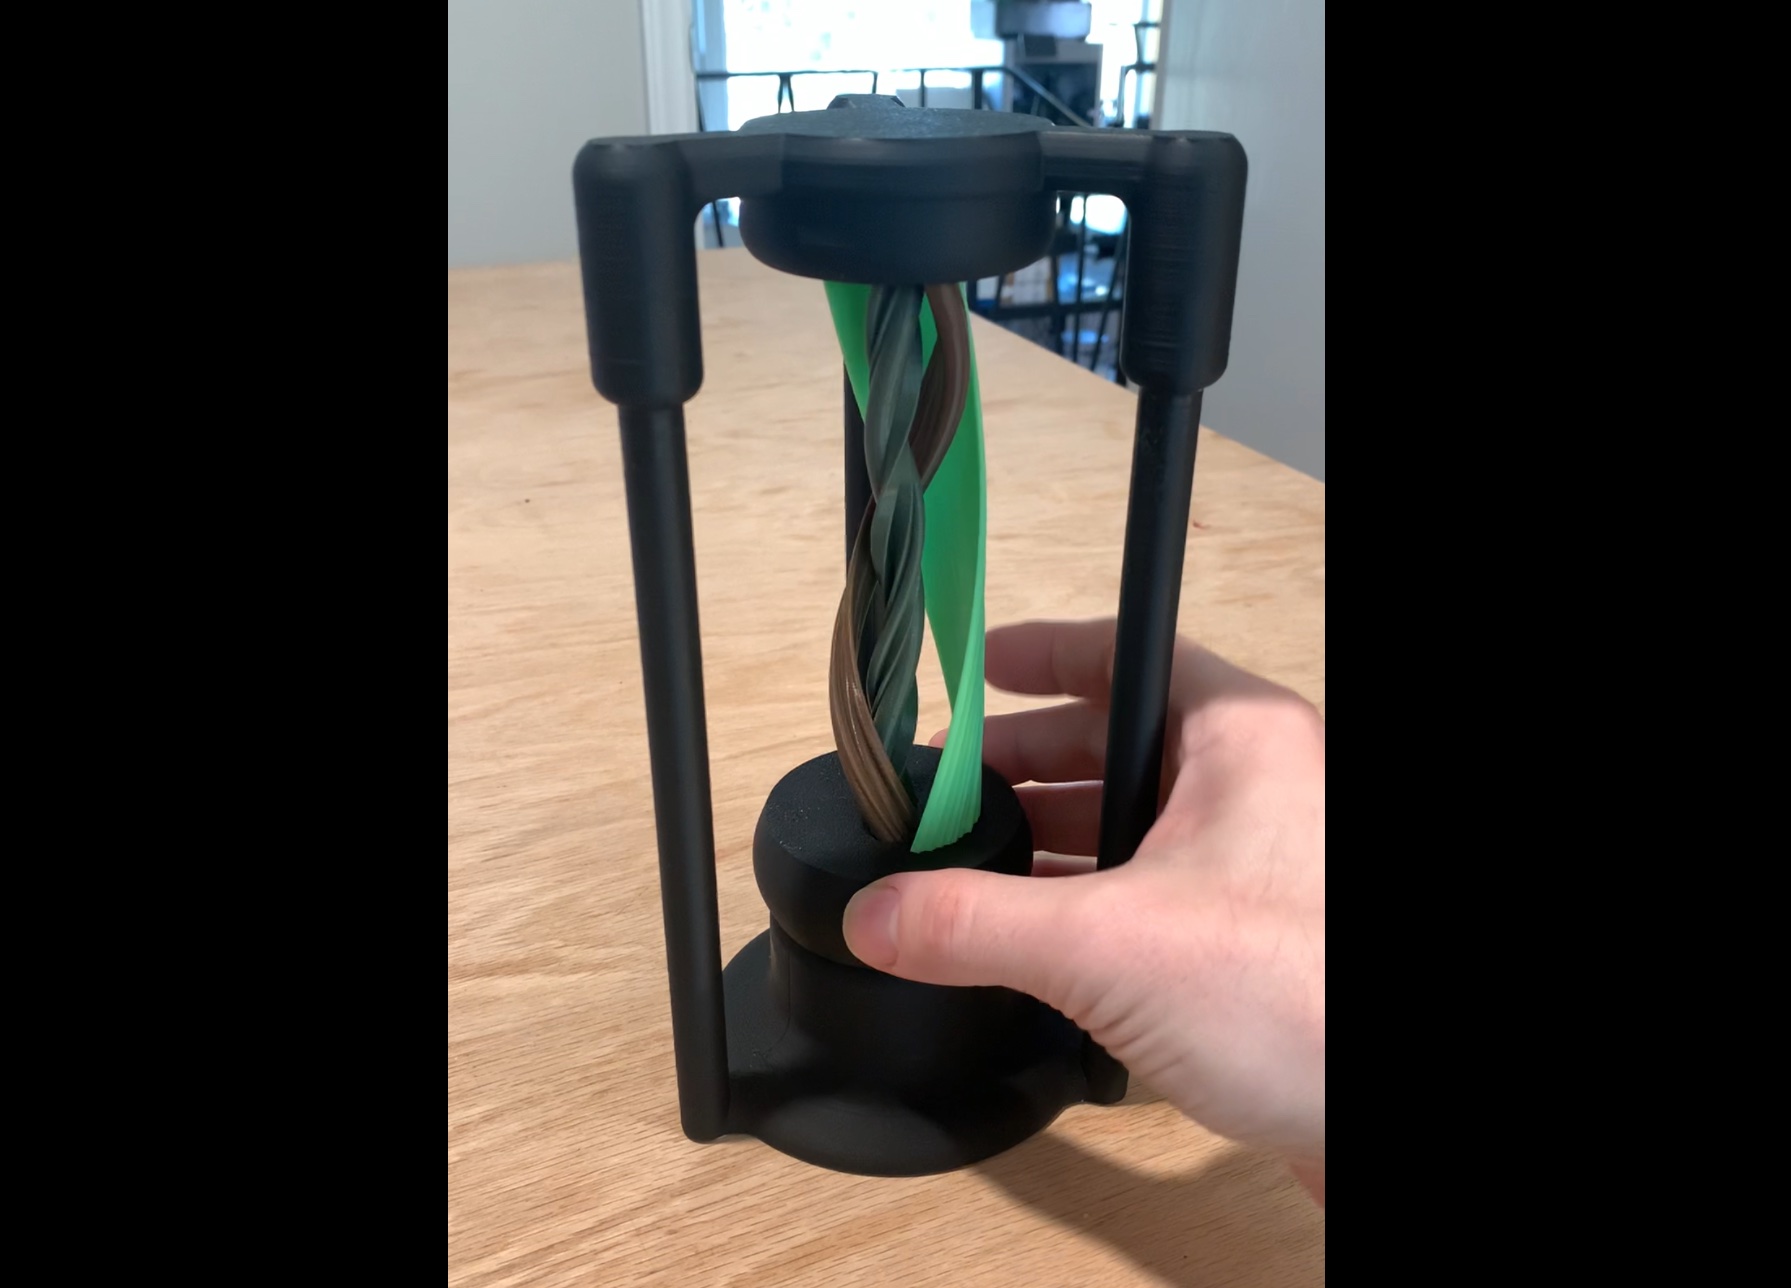
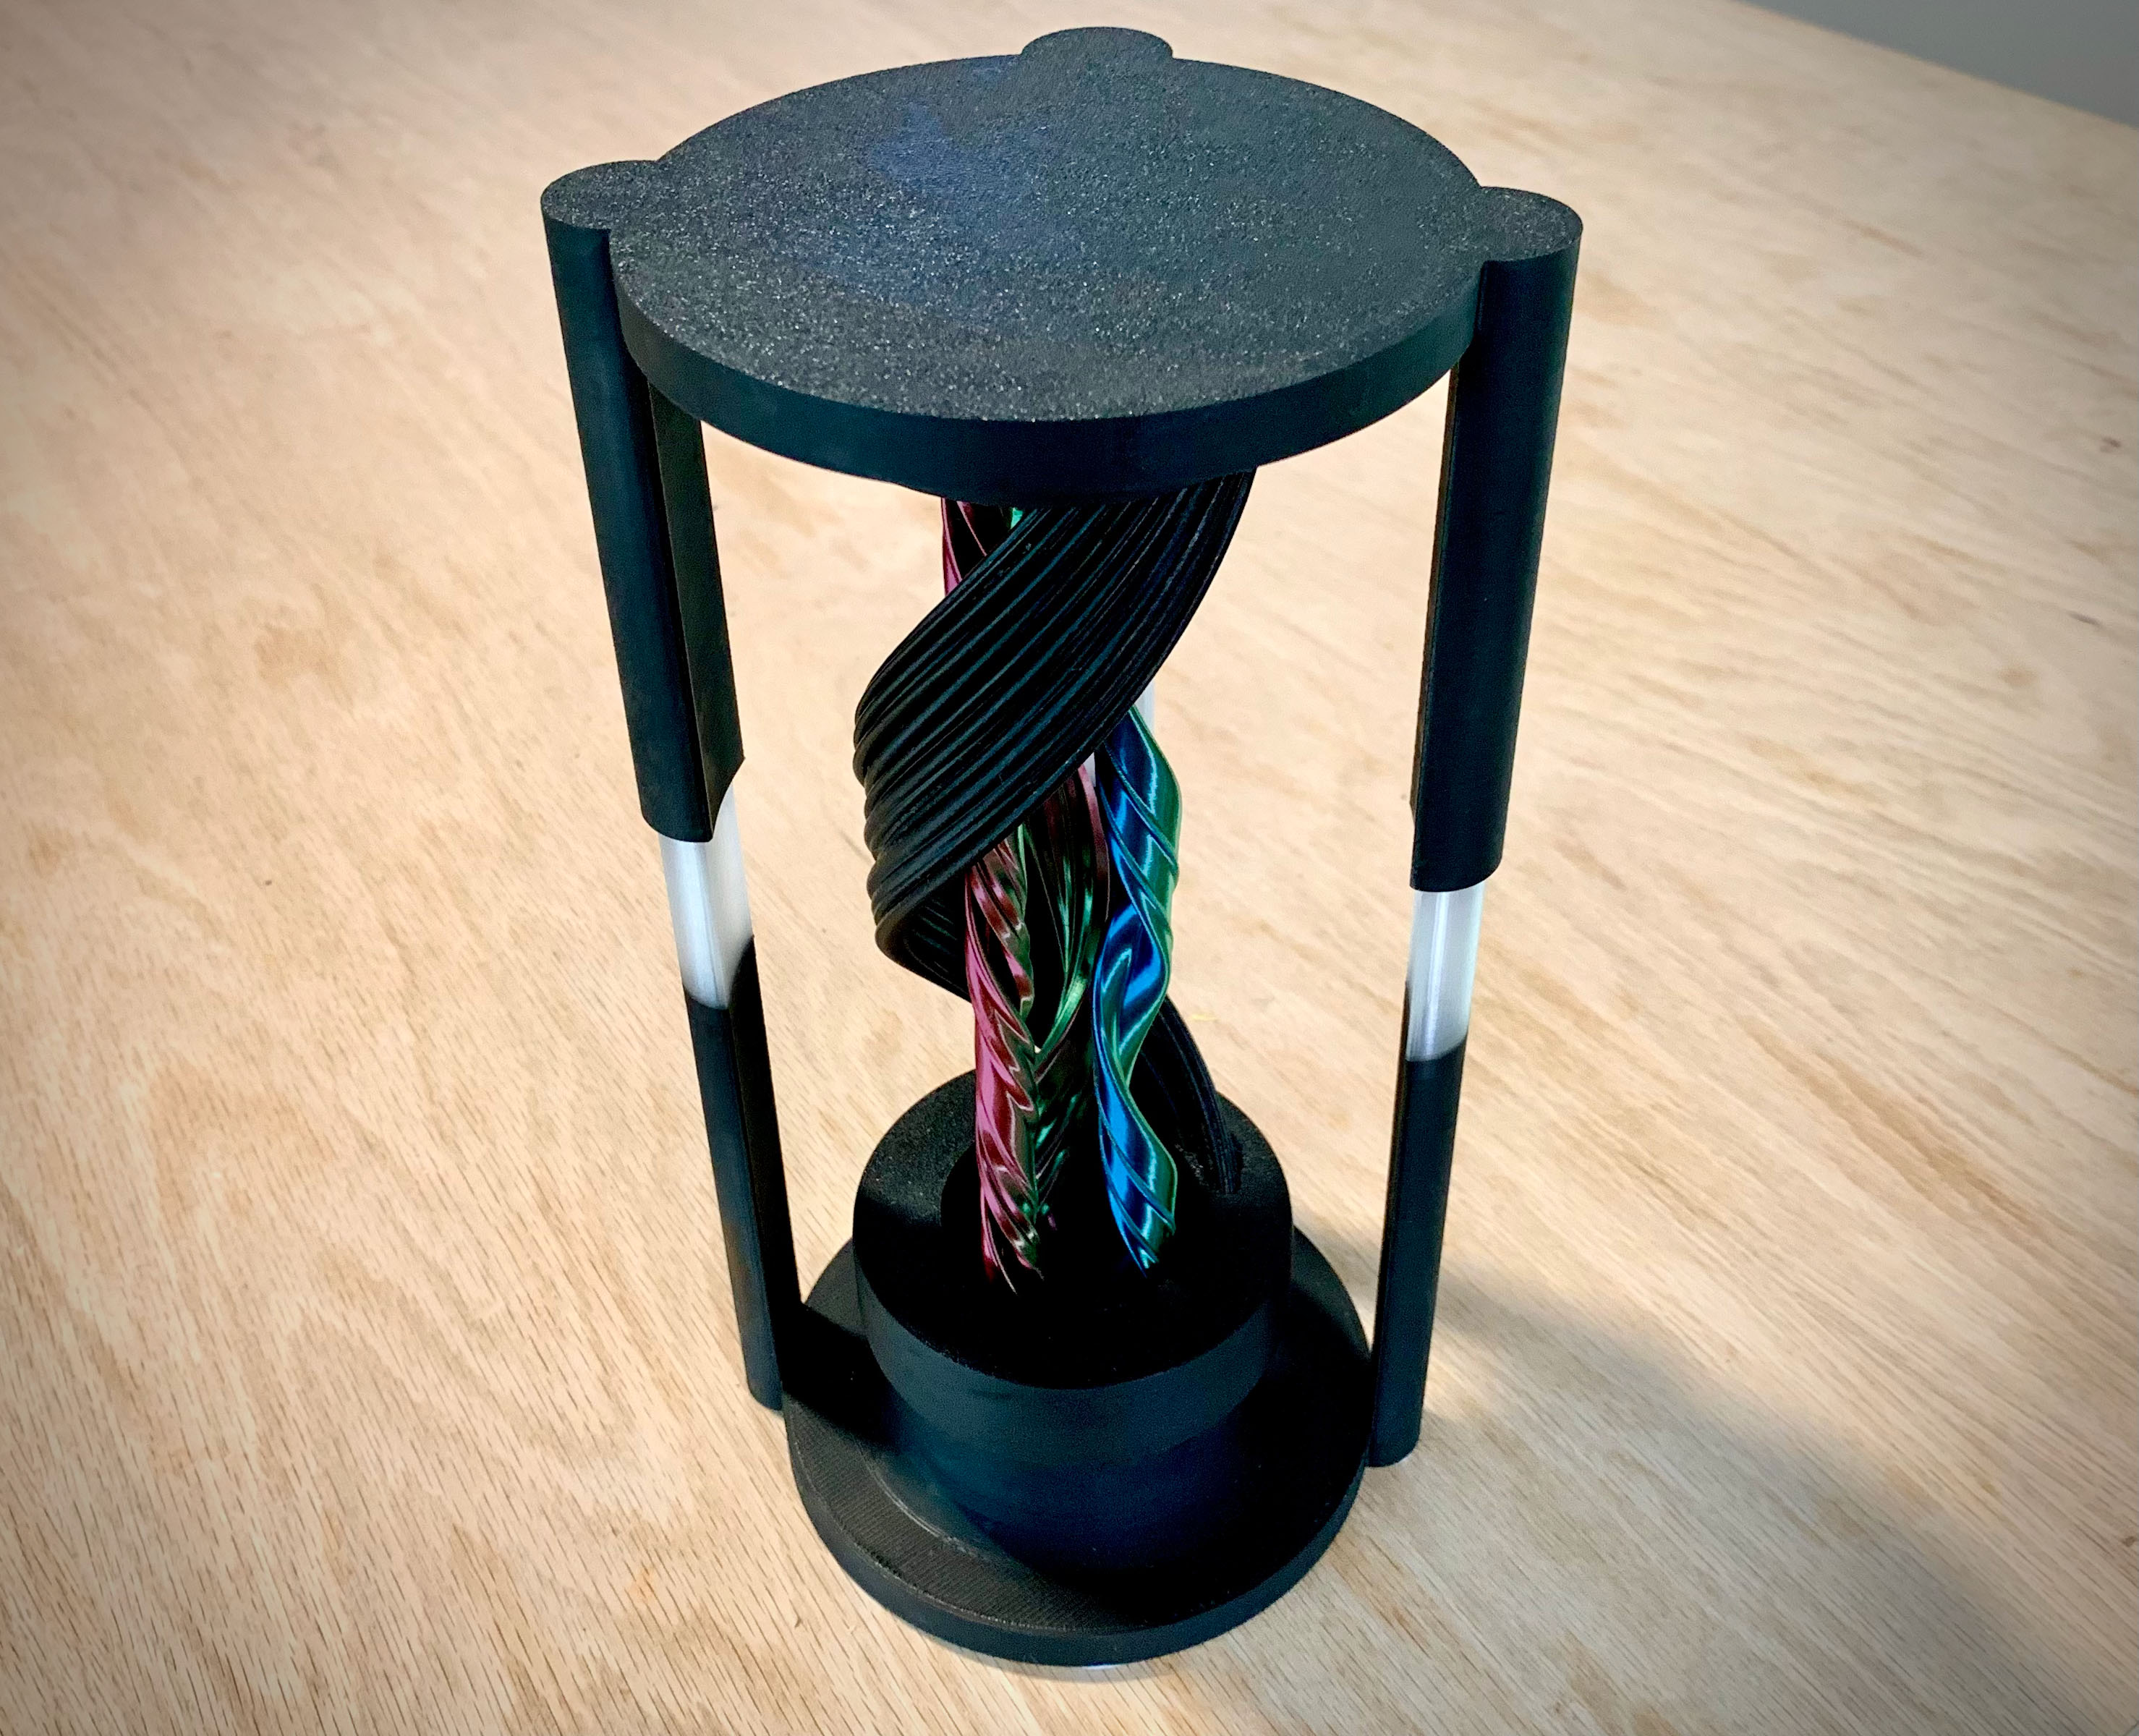
Just when I thought I was out, the portal pulls me back in. This is the most ambitious portal illusion toy yet, with four separate, off-axis elements, all printable parts (except for the mandatory grease and CA glue), and guaranteed to give you a migraine during assembly, or your money back! This is a very involved printing and assembly process. If you want a much easier (but admittedly less cool) version of the same illusion, check out the other models in my magic portals collection. This is by far the most difficult version. New FeaturesFour separate elementsDecoupled nut that allows infinite movementHollow nut that makes the illusion even more confusingGeared elements which rotate on separate axesUnequal arm spacing to offer a larger unobstructed viewMore modular design to make it easier to tweak settings without reprinting the larger piecesNote: I made a few last minute revisions between assembly and uploading to address some minor issues. I filleted some annoying sharp edges, which should have no functional impact. I also corrected a tiny dimensional error in “Cap 1” which made one of the screws a little bit prone to becoming dislodged.Assembly RequirementsCA glue Any general purpose lubricating grease compatible with your print material. I used Super Lube 21030 on PLAPatienceI do not recommend using CA glue accelerator on this project, because you're going to want some working time to make adjustments. Printing requirementsMinimum build volume: 120x120x245 mmA well-calibrated printerYou may be able to scale this model down to print on a smaller printer, but you will likely need to do some XY compensation work to make the nut loose enough, and to make sure the gears and caps are able to slide easily on their rails. Printing⚠ Note This is a difficult print. The screw pieces in particular can be very finicky, because they will tend to wobble. A little bit of wobble can be fine; it will mar the surface finish just a bit, but only at the top, where it's less noticeable. Too much wobble, and the tops will just turn into a mess. See below for tips. I recommend using the “Quadruple Portal Toy.oriented.3mf” file for printing. This has all pieces in the recommended orientation, and the black pieces separated to their own plate. You can delete the “license” object. The screws should be printed with a layer height of 0.16 mm or lower. When printing the screws, make sure not to print them with infill. Instead, turn up the perimeters so that they print solid. Grid infill or similar will cause the printer to make fast moves which are likely to cause these to fail. If you're having trouble printing these, you can try adding tree/organic supports to support them in a few places. You shouldn't need a lot of support; just enough to keep the part still. You can also try just turning the print speed way down, which will make them wobble less. FilamentI printed the base and outer screw in black PLA+, and the inner screws in AMOLEN Dual and Tri-color silk. You can do them in solid colors instead, but you won't get that cool color changing effect. I also used a filament swap to print part of the base “arms” in transparent PLA. This is not required, but it should help dispel the misconception that the strands are “pulled through” the arms. AssemblySnap the gear pieces onto the bases of the screws. The pegs are differently sized, so each screw will only snap onto one gear.Apply some grease to the grooves on gears, as well as the gears' teeth.Place the base down on your work surface and place the gear sides of the screws into the cavity. Don't worry about lining the gears up yet.Thread the nut over the outer screw. The nut should automatically slide down to the bottom. If it doesn't, check to make sure you don't have any globs inside the thread. If it's just tight, reprint it with -0.2 mm XY compensation.Screw the caps onto the screws. You should be able to do this gently. If they are too tight, reprint them with -0.1 mm XY compensation (incrementing as necessary). These do not need to be tight, and the screws are fragile. At this point, the screws should be standing up, and caps 1-3 should be inside the outer cap. Grease the grooves on the capsPlace the top onto the base, carefully lining up so that the arms go into their sockets, and so that the caps go into the cavity. Do not push all the way down. Just get to the point that the caps clear the rim of the cavity.Now you need to move the screws around so that the grooves on the caps and gears line up with the rims on the base. Refer to the cover photo and/or the “Quadruple Portal Toy.assembled” 3mf file. To see which goes where.Push the top down some more until it makes contact with the caps. Carefully flip the whole piece over, so that the top is on the work surface. Now you're going to move the screws around some more until their grooves snap into place with the rims on the top. Make sure that they stay lined up with the rims on the base as well.Push the top down just a bit more, then rest your hand on it to keep it in place, and make sure that everything works properly when you move the nut up and down. If it seems very tight and doesn't want to turn, first make sure that the gears and caps are aligned, and then try backing the top off a little bit. Small adjustments here.Did you just absolutely hate steps 7-10? I'm so sorry. We're going to do them again, now that we know everything is working. Carefully flip the toy back over and remove the top from the base.Apply a small amount of CA glue to the the sides of each arm, near the tips. Don't bother putting glue on the tips of the arms, since those may not actually need to make contact with the sockets.Repeat steps 7-10, adjusting until you can move the nut smoothly, but so that the screws don't dislodge. (This is why we don't use CA accelerator; we need some time to tune this).Allow the CA glue to set.
Tags: toy, portal, fidget, fidgettoy, magic, desktoy, resin print, nz made, made to order
Design credit: Original design by Ada Cohen - licensed under CC-BY-SA.
View original model + STL files on Printables ↗
View original model + STL files on Printables ↗
Frequently asked
How long does shipping take?
Quadruple Portal Desk Toy is printed to order. Lead time is typically 1-3 business days plus 1-4 days NZ shipping. Standard NZ shipping is $10, free over $75.
What material is this printed in?
By default this is printed in High-Detail Resin (8K) at 0.025 mm layer height on an MSLA resin printer. Custom material and colour swaps are available, just leave a note at checkout.
Can I get this in a different colour?
Yes. Every product can be printed in any of the resin colours we stock, or hand-painted on request. Leave a note at checkout or email [email protected].
Do you ship outside of New Zealand?
Currently New Zealand only. Australian shipping is coming.
Who designed this?
Designed by an independent sculptor and licensed for commercial printing. The original is linked on this page.