INDX Coil Winding jig- replacement parts
- Arrives in 2 to 7 business days Printed in Auckland. $10 shipping, free over $75
- 14-day faulty refund If it arrives broken or misprinted, we reprint or refund it
- Secure checkout Card payments handled by Stripe
- Material
- High-Detail Resin (8K)
- Colour
- Grey
- Weight
- ~11 g
- Express shipping
- $20
More information
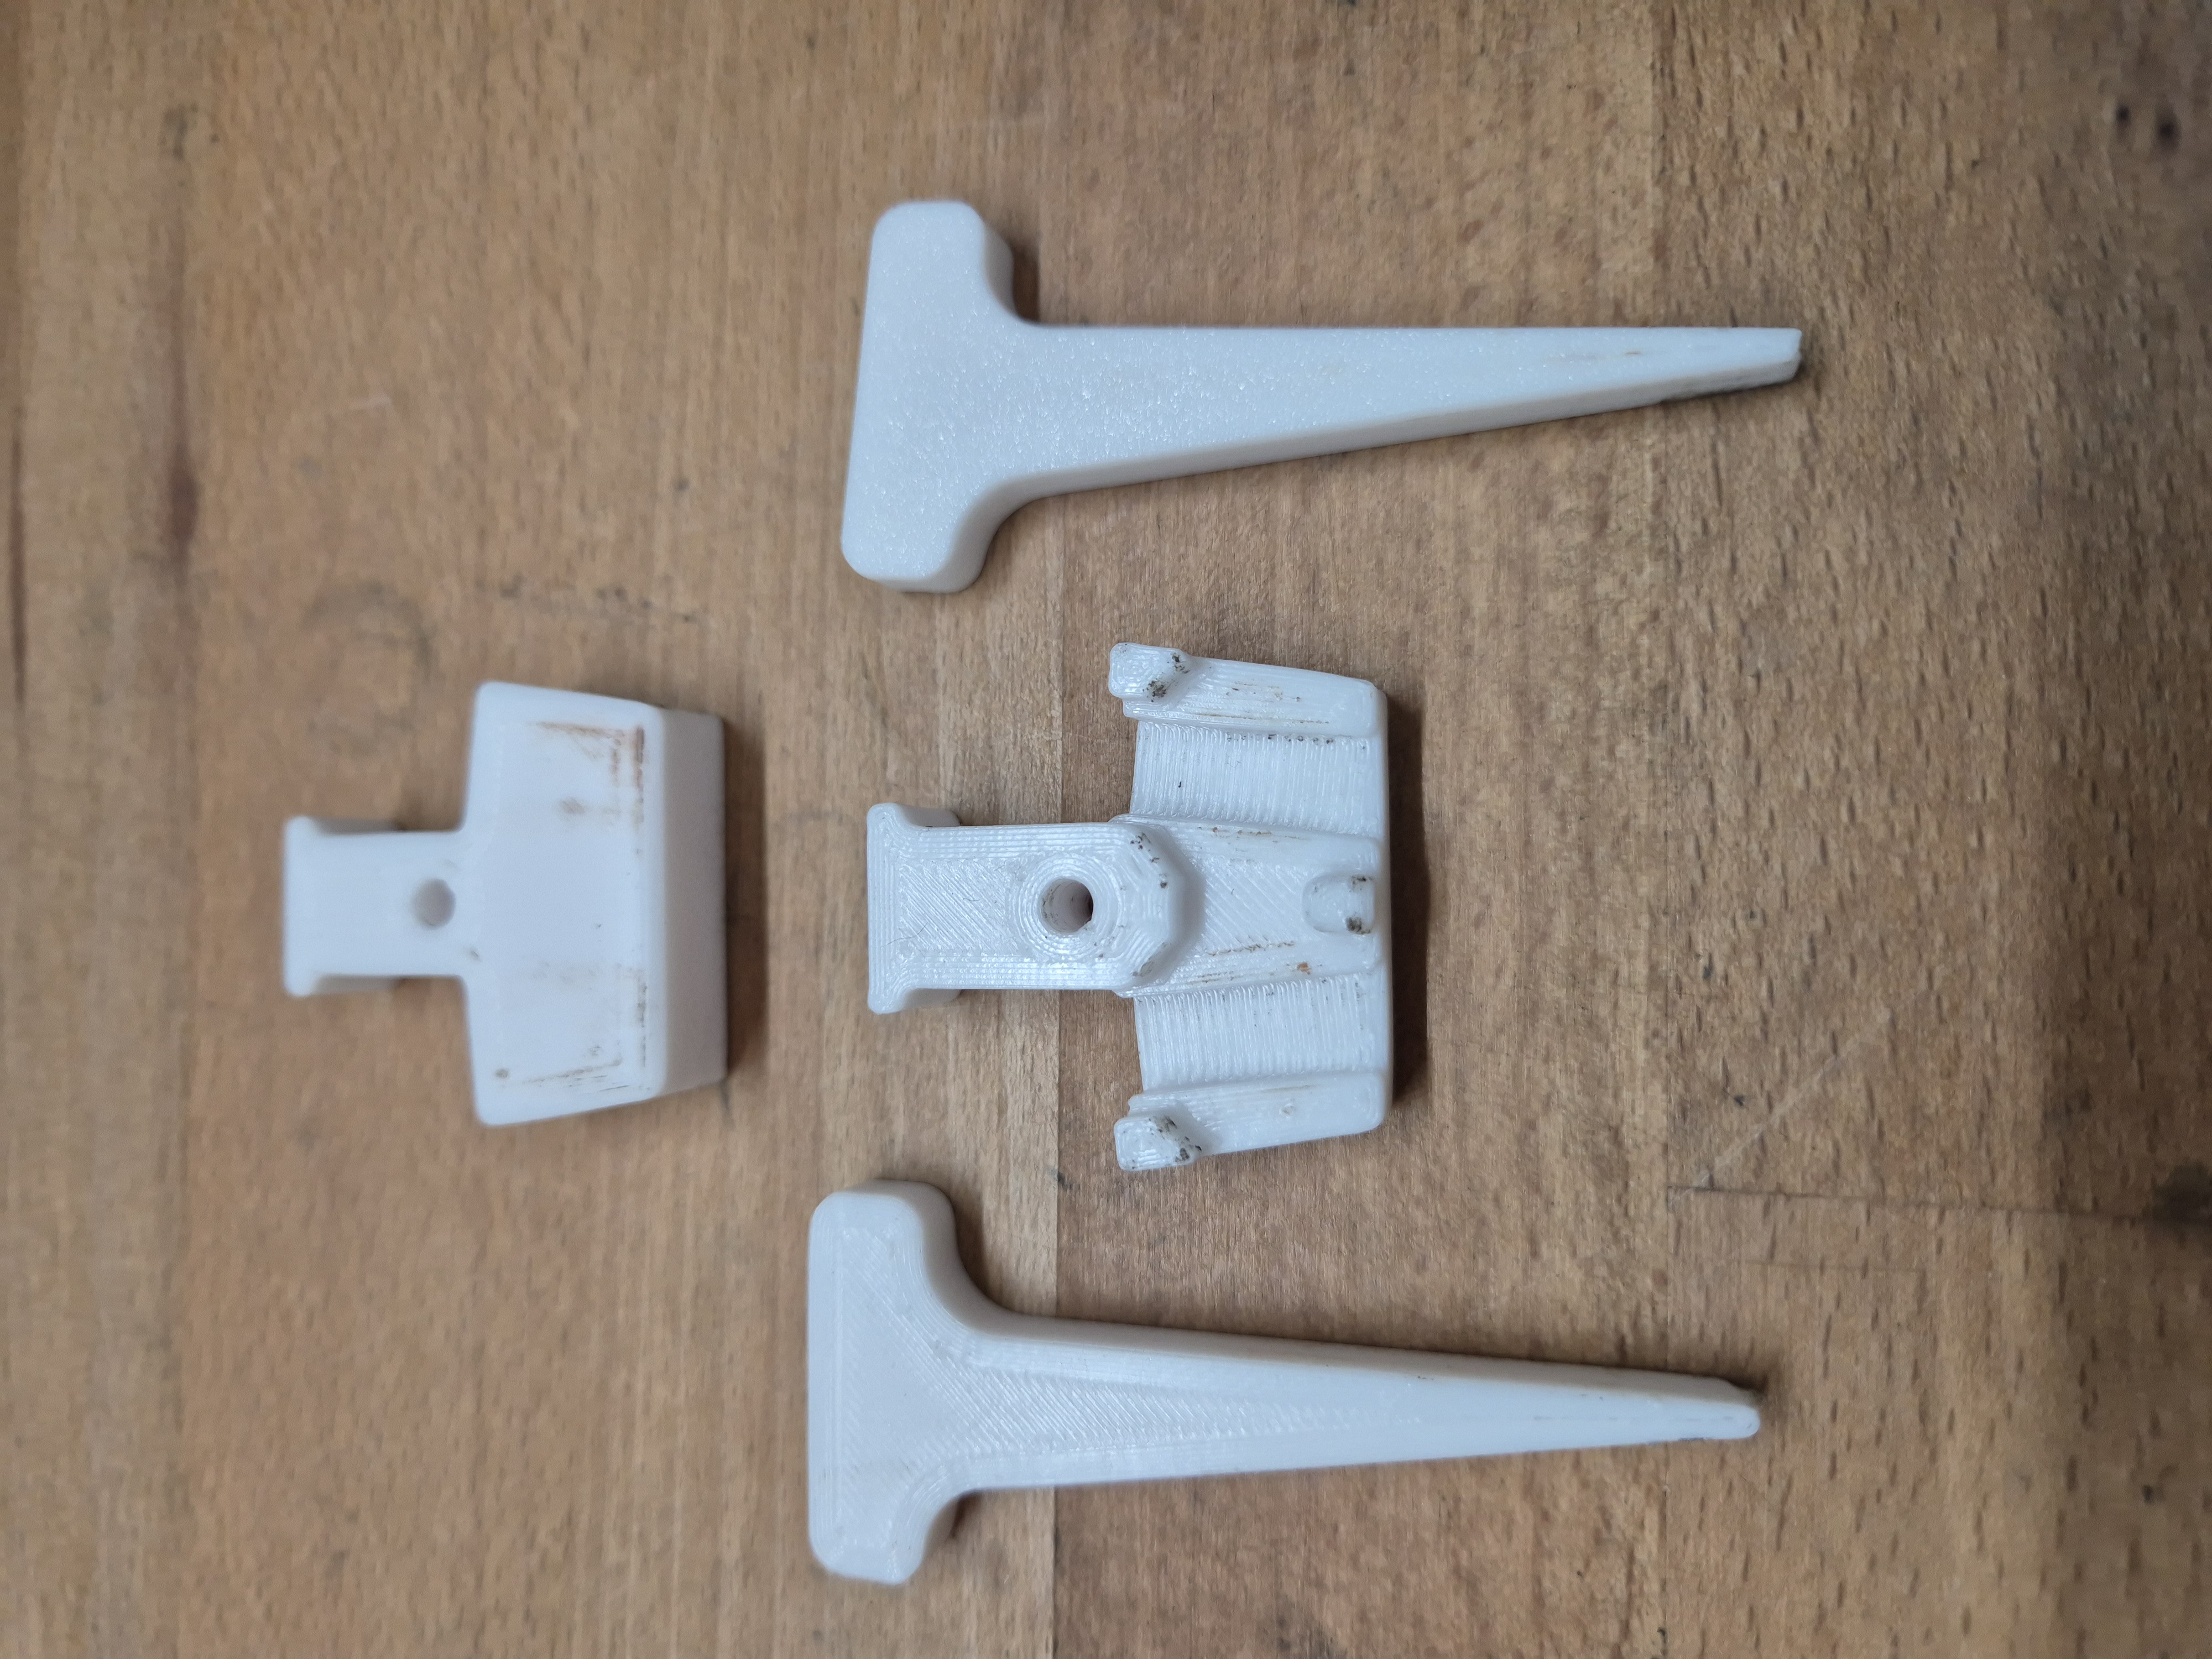
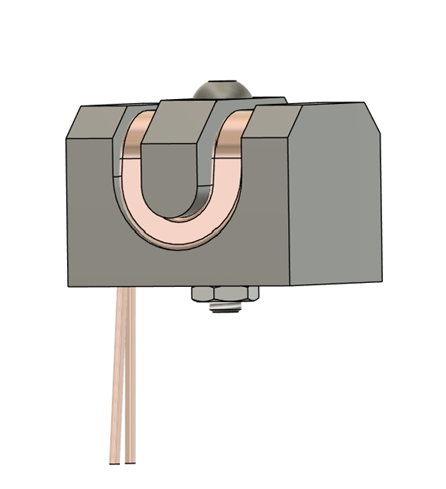
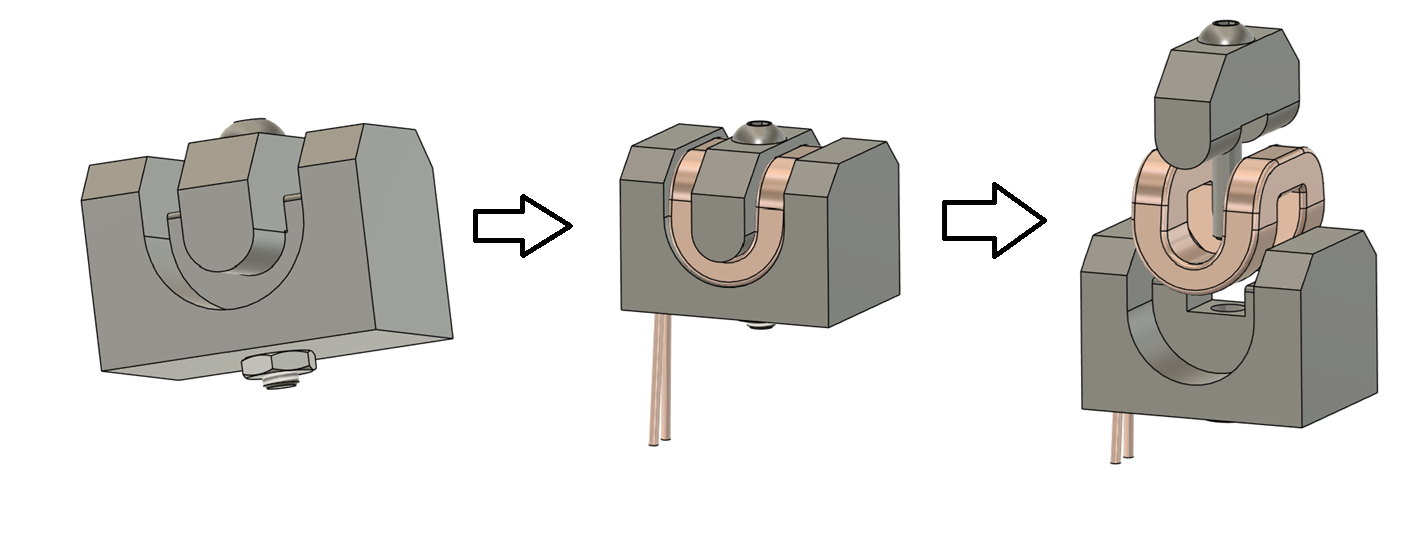
Work in progress 3d printed winding jig. assembles in 2 pieces with an M3 screw and a nut. This model was made based on actual coil dimensions measured from the official Prusa 3MF of the toolhead which contained a full mesh of the coil geometry.
If you have a damaged coil, dead board, or are otherwise willing to do some testing on a real coil please let me know so we can make DIY coil accessible possible for others.
We know the coil is assembled with individual windings assembled from smaller stranded magnet wire and it is in the neighborhood of perhaps 20-30 turns in line with the general high current-low voltage nature of induction heating typically. The fine stranding is done to make the wire more flexible than the solid core more typical of induction coils so it could be wound tightly. If we knew the diameter of the individual strands in the bundle and the total number of turns overall to wind your own with this jig to replaced coils damaged when a blob occurs and damages the exposed coil. You can see the overall shape of the wires here below, and the Indi dual strands in each in the second photo.
If someone has a damaged coil and is willing to take some measurements let me know and we can work on making that easier!
The general process for production would be
• Take enameled magnet wire the diameter of the small strands here, and count out X strands of the overall length of the bundle with some excess length (where x is the number of strands in each bundle). Then you would line up all these together. We don't know wire length required yet, but this is easy to calculate if someone can work with me to get turn count.
• Pull it taught and then gently twist the bundle, just enough to kind of make it a manageable bundle of wires and not individual strands.
• flame the ends of the bundle to burn off the enamel at the end, and apply solder to solder them together. On one end of the bundle solder a thick (maybe 16, 18, or 20 AWG?) wire on that will be used to connect to the board.
• Screw together the winding jig, tape the end with the soldered on thick wire to the inside of the bundle.
• Begin winding the coil around the jig, overall turn count will need to be measured first so if you can help me get measurements please reach out to me!.
• when you reach the specified turns pull any slack out of the strands from the coil, kapton tape the end of the bundle tightly, and then tape the bundle to the rest of the coil. Cut the excess length off, and then flame carefully and apply solder to the end, and attach another thick wire as before to connect the other end of the bundle to the board. It would be a good idea to check the inductance and resistance with an inductance/capacitance/resistance meter but if we can get solid measurements of the coil specs and at least one person can test a diy coil iit likely would not be needed.
• Apply kapton tape to the inner face of of the coil, unscrew the jig and carefully remove the coil, adding Kapton tape as needed to keep it together as needed.
• Immerse coil in high temperature epoxy, enamel silicone, or similar material, preferably with vacuum degassing to drive the adhesive or potting compound into the coil gaps. In a pinch cyanoacrylate may be used wicked into the coil instead because hey- it was good enough for bondtech to use it on the OEM coil right???
• let the coil cure.
• Desolder old coil from old coil, solder new one in, and pray it works
Design and description by Robert Samples , licensed CC-BY-SA.
More 3D printed woodworking jigs and guidesMore 3D printed replacement parts
Frequently asked
How long does shipping take?
INDX Coil Winding jig- replacement parts is printed to order. Lead time is typically 1-3 business days plus 1-4 days NZ shipping. Standard NZ shipping is $10, free over $75.
What material is this printed in?
By default this is printed in High-Detail Resin (8K) at 0.025 mm layer height on an MSLA resin printer. Custom material and colour swaps are available, just leave a note at checkout.
Can I get this in a different colour?
Yes. Every product can be printed in any of the resin colours we stock, or hand-painted on request. Leave a note at checkout or email [email protected].
Do you ship outside of New Zealand?
Currently New Zealand only. Australian shipping is coming.
Who designed this?
Designed by an independent sculptor and licensed for commercial printing. The original is linked on this page.