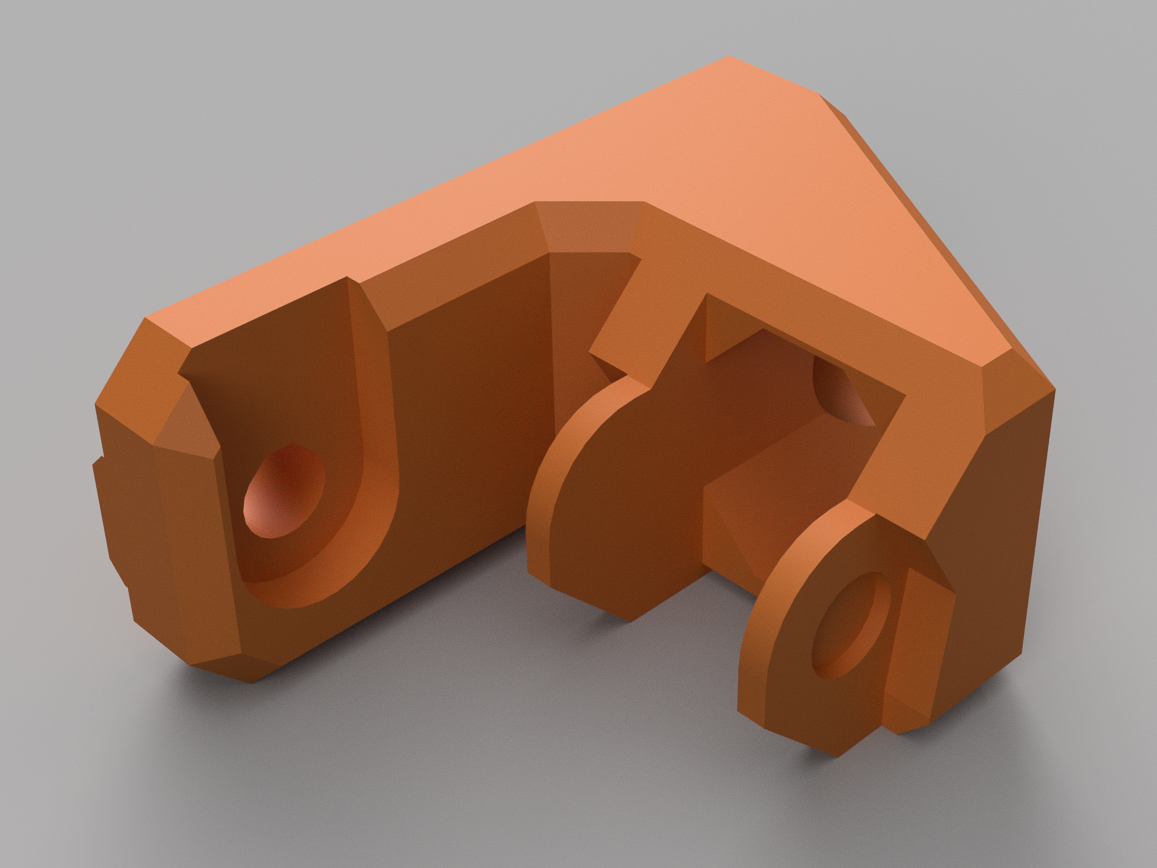
Logitech C270 X-Axis Camera Mount for Bear X-Axis and Frame Upgrade
- Arrives in 2 to 7 business days Printed in Auckland. $10 shipping, free over $75
- 14-day faulty refund If it arrives broken or misprinted, we reprint or refund it
- Secure checkout Card payments handled by Stripe
- Material
- High-Detail Resin (8K)
- Colour
- Grey
- Weight
- ~22 g
- Express shipping
- $20
More information
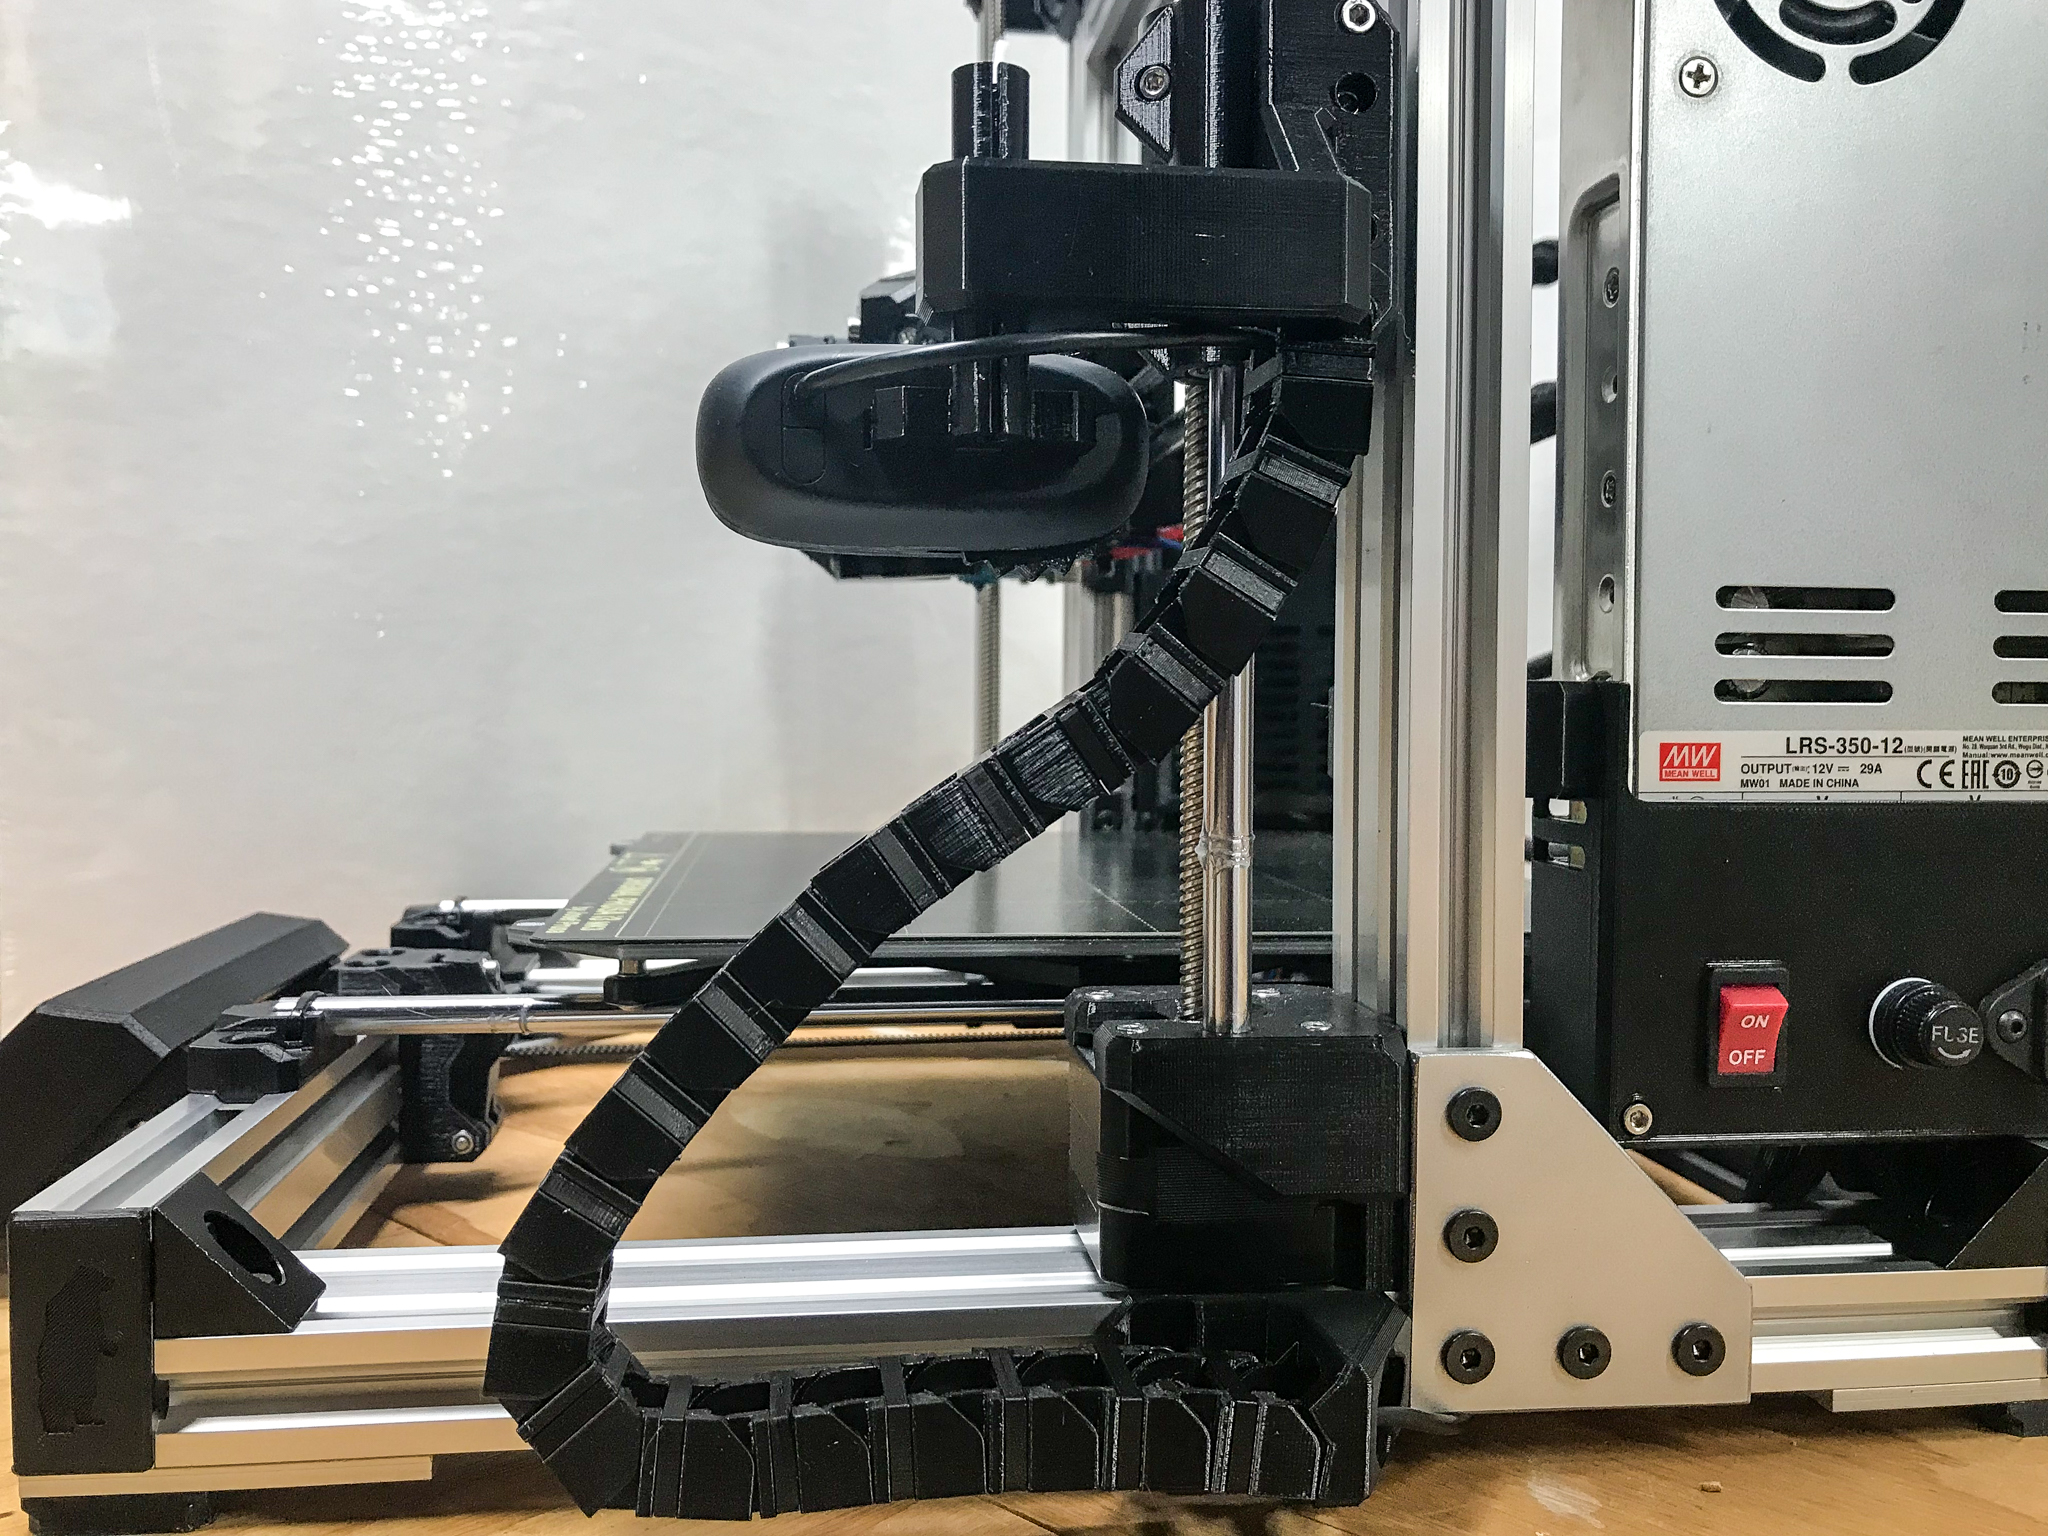
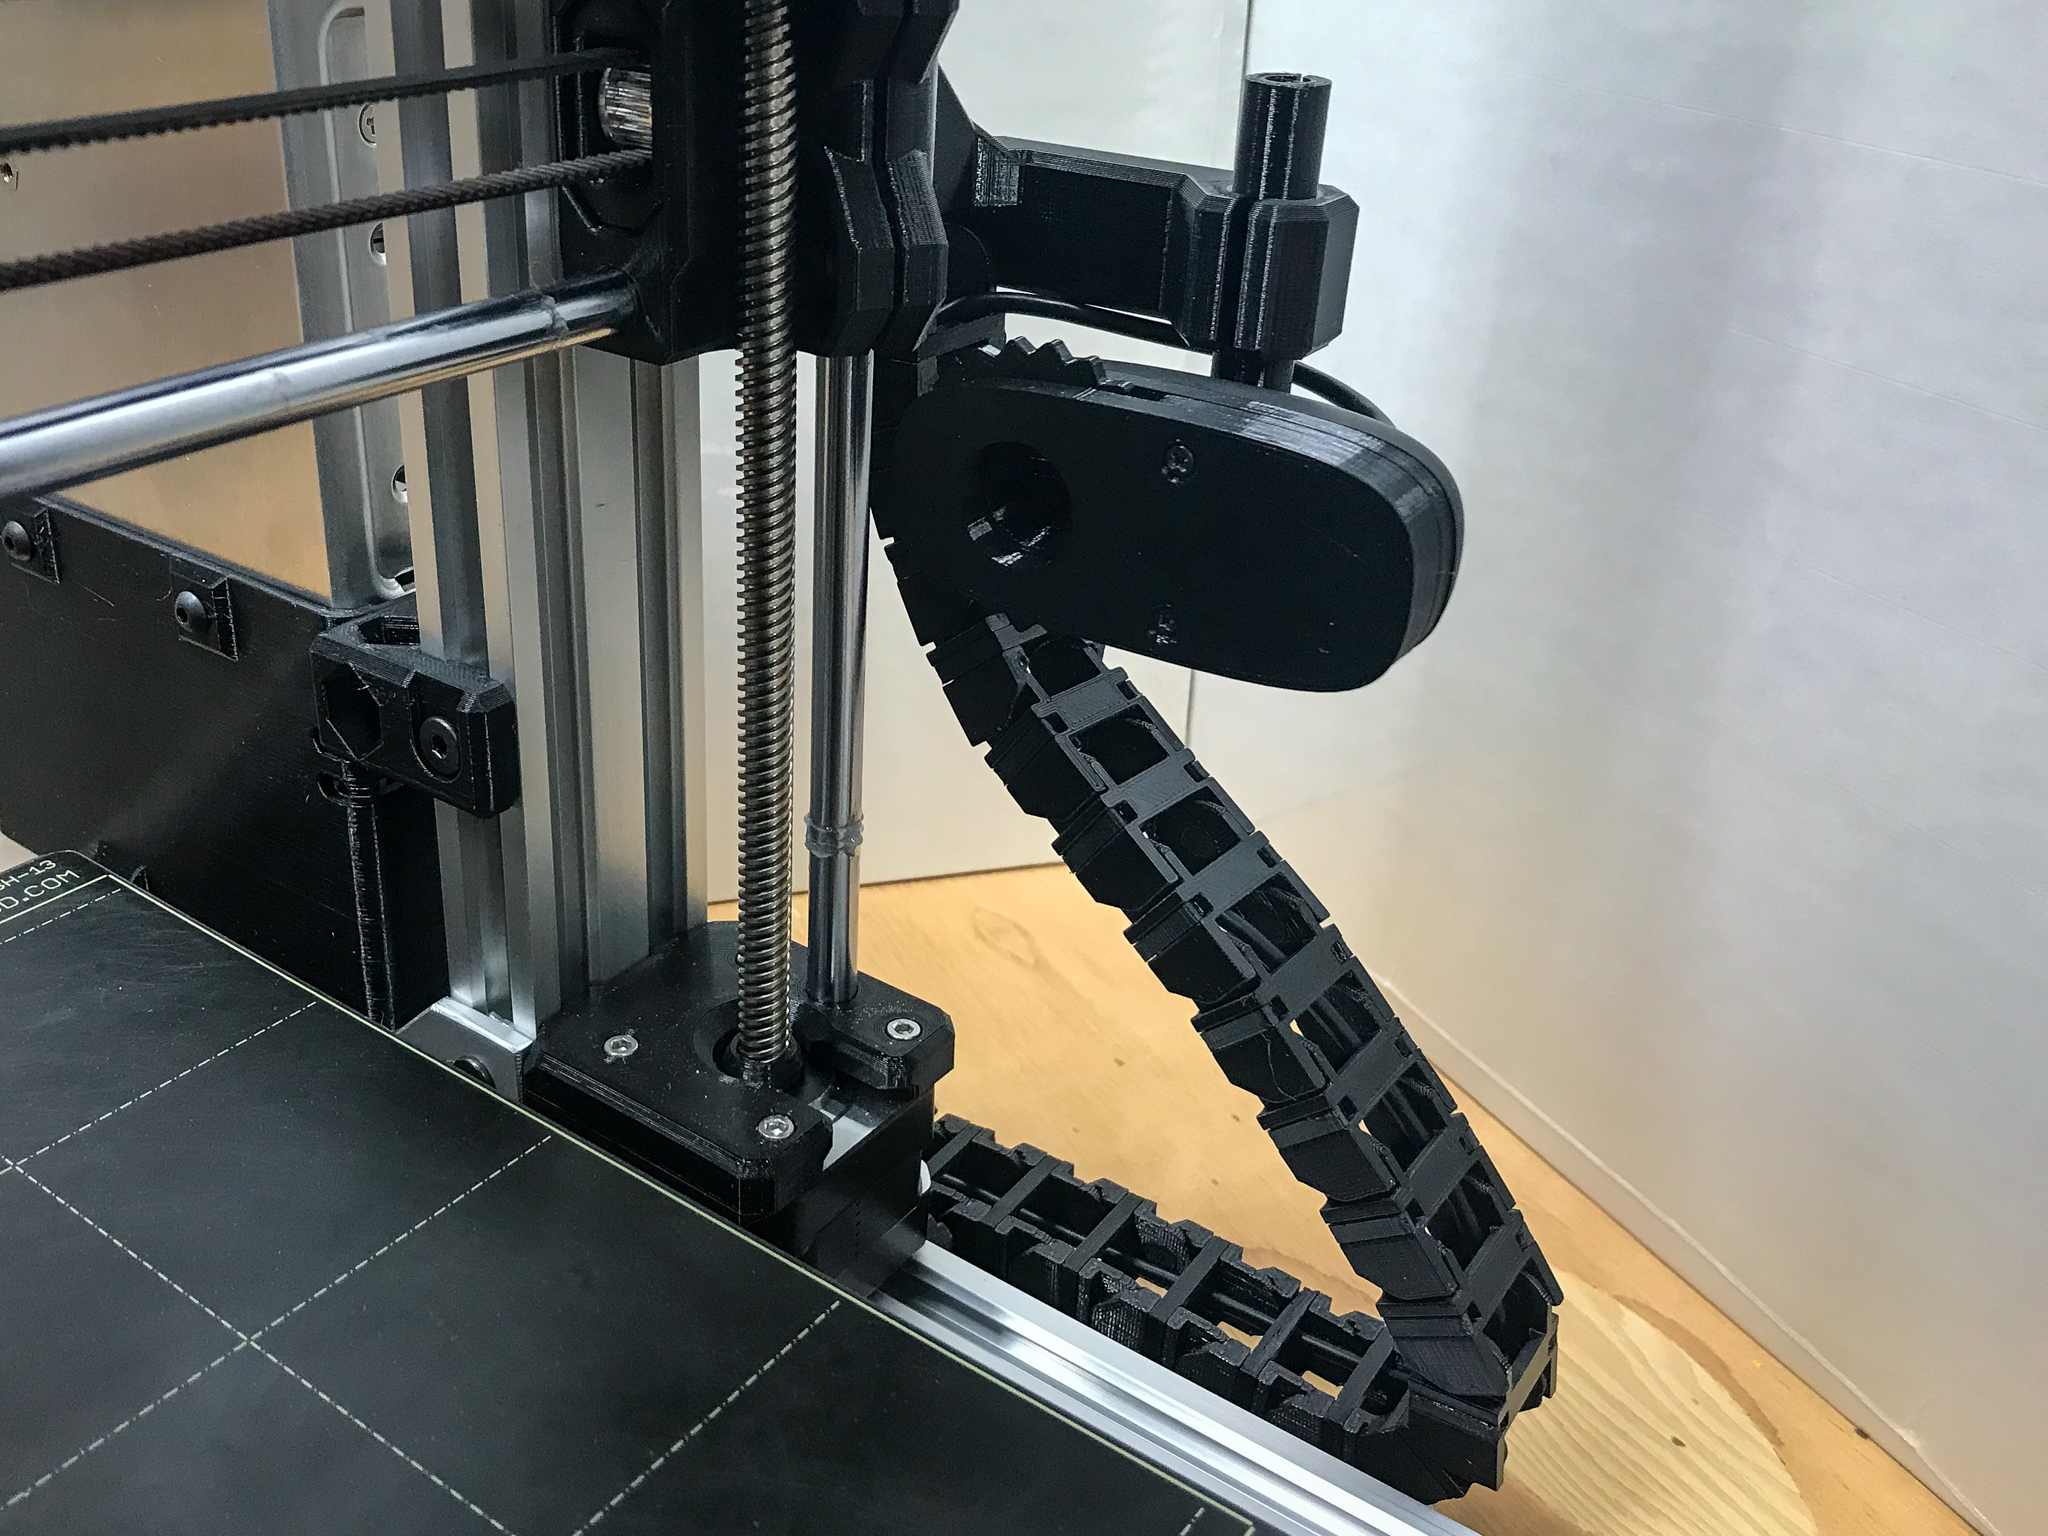
This is an adaptation of the Logitech C270 X-Axis Camera Mount that allows it to be used on a Bear Frame Upgrade and X-Axis.
IMPORTANT: This mount uses the screw holes on the right side of the Bear x-axis that are intended for adjustments to the x-axis smooth rod lengths. These adjustments have not been necessary on either of my Bear builds, so re-purposing the screw holes for the mount was not a problem. If your build requires the use of these adjustment screws, it will likely require finicky work with washers/spacers or longer screws and springs to get the mount installed and still get the correct adjustment on the smooth rod(s).
Printing
Use the supplied .gcode file, or slice and print the following:
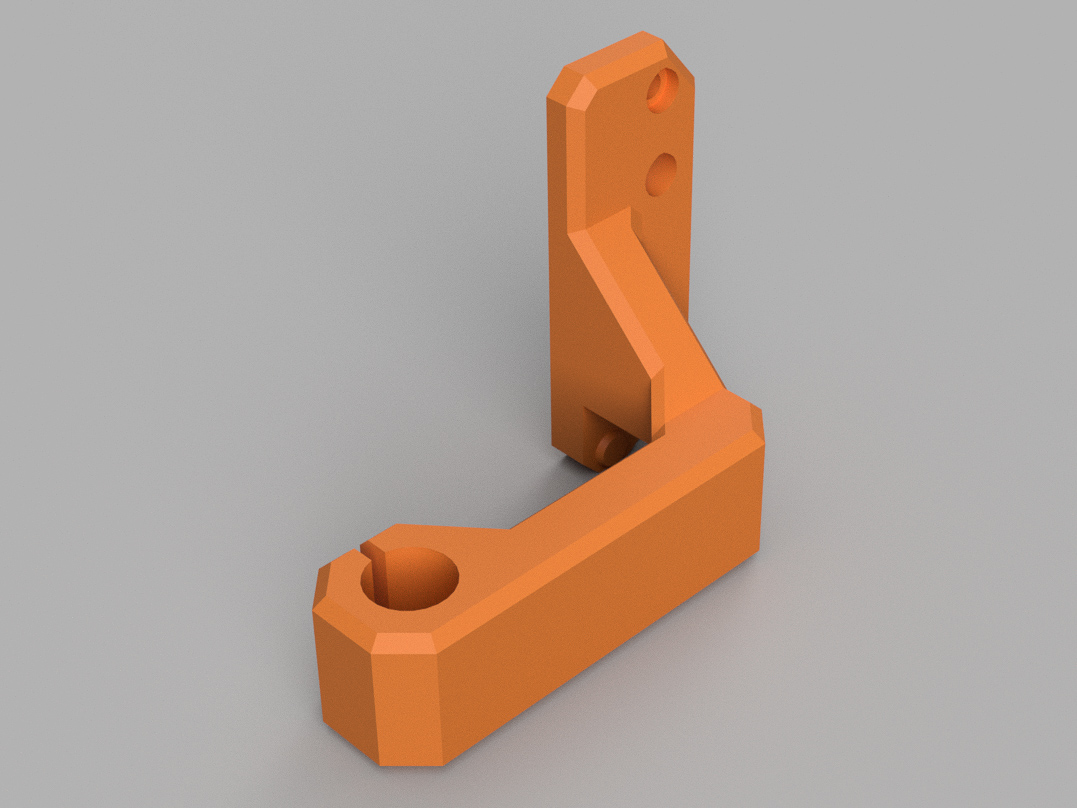
• c270_arm-bear.3mf
• c270_clip_holder-bear.3mf
These two parts replace the similarly named parts in the original mount. All other parts from the original mount can be printed as-is.
Note that there is also an extended version of the arm piece (3mf only, not in the gcode) that is 50mm longer than the original part. This is a requested modification that I have not printed or tested personally, and should be considered experimental.
Assembly
The assembly instructions remain the same as the original mount, with the exception of the following:
Step 14: Attach the assembled mount to the X-Axis using two M3x8 or M3x10 screws. Ensure that the screws do not bottom out against the ends of the x-axis smooth rods!
Step 15: Attach the chain clip to the horizontal V-Slot below the mount using 2 drop-in tee nuts and 2 M5x8 screws.
Source
The Fusion 360 source files are included in the file section for anyone who wants to make improvements or adjustments.
Credits
• The original X-Axis mount was designed by sennah91 and is available at https://www.thingiverse.com/thing:2388629.
• Grégoire Saunier's Bear X-Axis Fusion 360 source was used to help build these components. It is available from https://github.com/gregsaun/bear_extruder_and_x_axis/tree/master.
Print instructions
The Gcode file is sliced for Prusament PETG on an MK3/S using the 0.20mm QUALITY MK3 setting and 20% infill. I did not enable support material, as I have had no difficulty printing either of these pieces without any support material.
3mf files have been provided for both components for those who want to do the slicing themselves.
Design and description by fasteddy , licensed CC-BY-SA.
Frequently asked
How long does shipping take?
Logitech C270 X-Axis Camera Mount for Bear X-Axis and Frame Upgrade is printed to order. Lead time is typically 1-3 business days plus 1-4 days NZ shipping. Standard NZ shipping is $10, free over $75.
What material is this printed in?
By default this is printed in High-Detail Resin (8K) at 0.025 mm layer height on an MSLA resin printer. Custom material and colour swaps are available, just leave a note at checkout.
Can I get this in a different colour?
Yes. Every product can be printed in any of the resin colours we stock, or hand-painted on request. Leave a note at checkout or email [email protected].
Do you ship outside of New Zealand?
Currently New Zealand only. Australian shipping is coming.
Who designed this?
Designed by an independent sculptor and licensed for commercial printing. The original is linked on this page.